Discover creative and inspiring polymer clay craft ideas to unleash your artistic potential.
Key takeaways:
- Polymer clay is a versatile material for crafts and decor.
- Essential tools and materials for polymer clay projects.
- Conditioning clay ensures strength and durability.
- Techniques for shaping polymer clay: rolling, coiling, pinching, molding, sculpting, blending, cutting.
- Follow baking instructions carefully for successful curing.
What Is Polymer Clay?
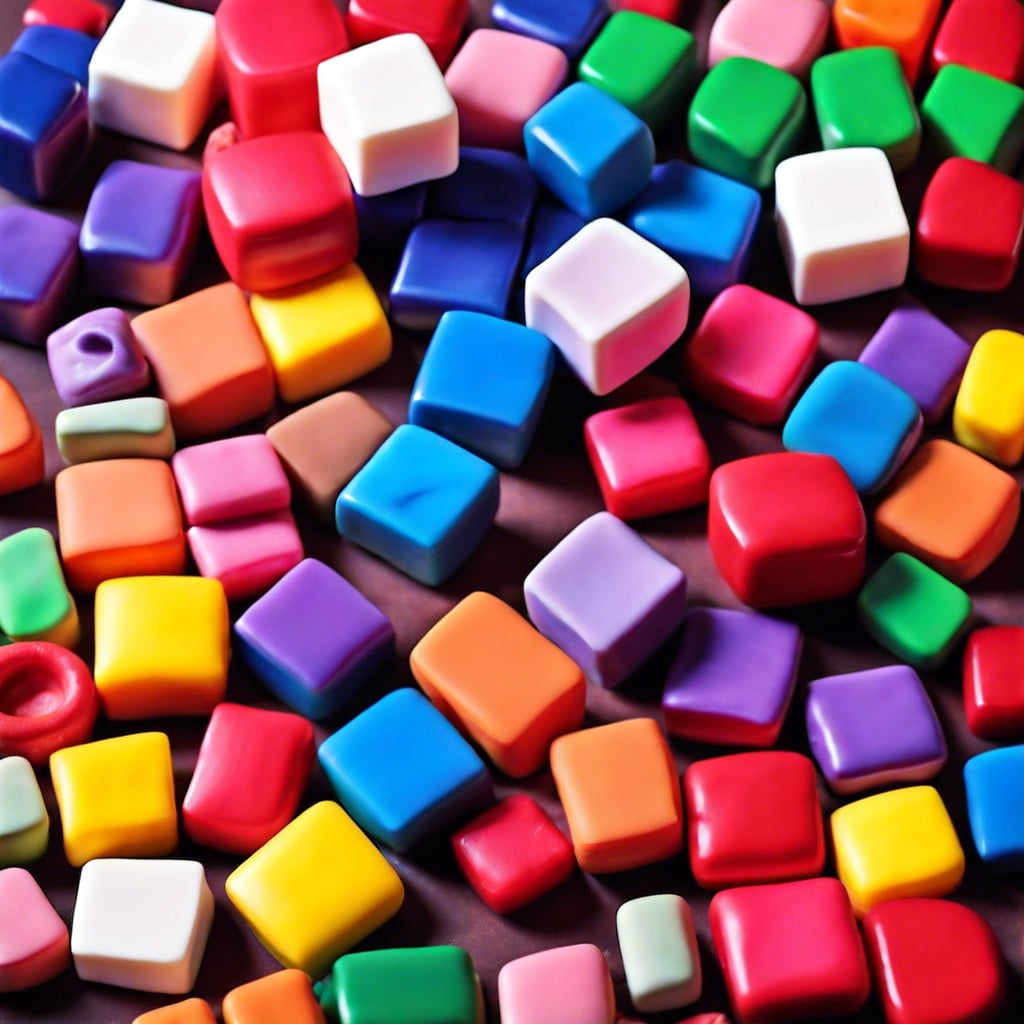
Polymer clay is a versatile, man-made modeling material composed of polymers, plasticizers, coloring agents, and fillers. Unlike earth clay, it doesn’t dry out in the air and instead requires baking in a home oven to harden. This characteristic allows crafters unlimited time to work with the material before finalizing their designs.
Available in a spectrum of colors which can be blended to create custom hues, its consistency ranges from soft and pliable to firm, catering to different crafting needs. Once cured, it can be sanded, drilled, carved, and even painted, making it a popular choice for making jewelry, home decor items, miniatures, and sculptures. Its accessibility and ease of use make it a favored medium for both beginners and experienced artists.
Polymer Clay Tools and Materials
Embarking on a polymer clay project means gathering a few essential tools and materials. Firstly, you’ll need the clay itself, available in a multitude of colors that can be mixed to create custom hues. A smooth work surface, such as a ceramic tile or a piece of glass, is key for rolling and shaping.
Rolling tools like brayers or pasta machines ensure an even thickness of your clay sheets. Various cutting instruments, including knives, blades, and cookie cutters, aid in achieving precise shapes and designs. For adding detail and texture, consider rubber stamps, texture sheets, or even household items like a toothbrush or lace.
To assemble your pieces, a selection of glues and adhesives formulated for polymer clay is useful. Additionally, oven thermometers are critical for monitoring the baking temperature to avoid under or over-curing the clay.
Lastly, to give your finished craft a professional touch, sanding supplies for smoothing and polishing compounds for shining are recommended. By assembling these tools, you can approach your polymer clay projects with confidence and creativity.
Conditioning Polymer Clay
Before you sculpt or shape polymer clay, it’s crucial to condition it. This process warms the clay, making it more pliable and workable. Start by kneading the clay with your hands or rolling it through a pasta machine. If the clay is particularly hard or crumbly, a few drops of clay softener can help. You’ll know it’s ready when it’s smooth, bendable, and doesn’t break when you pull it apart.
Regular conditioning ensures your finished crafts will be strong and durable, preventing cracks during the baking process.
Basic Techniques for Shaping Polymer Clay
Creating with polymer clay often starts with a few simple, yet effective techniques to shape and form your designs:
- Rolling: Using your hands or a rolling pin, you can flatten the clay into sheets of varying thickness for your projects.
- Coiling: Roll the clay into long, snake-like coils that can be constructed into pots, figures, or intricate patterns.
- Pinching: Use your fingers to pinch and shape the clay, a method that’s particularly useful for making small sculptures like animals or flowers.
- Molding: Press the clay into silicone molds or any other textured surface to impart detailed patterns and shapes.
- Sculpting: With sculpting tools, you can add fine details, textures, and intricate features to your creation.
- Blending: Combine different colors of clay by twisting and rolling them together to create gradients or marbled effects.
- Cutting: Utilize clay cutters or even simple household items like knives and cookie cutters to achieve precise shapes and edges.
Remember, patience and practice are key to mastering these techniques and achieving desirable results in your polymer clay crafts.
Baking Polymer Clay: Time and Temperature
Successfully curing polymer clay hinges on adhering to the correct baking time and temperature as specified by the manufacturer.
Typically, the temperatures range from 215-300°F (102-149°C) and the baking time from 15 minutes to an hour per 1/4 inch (6mm) thickness.
Always preheat your oven for a consistent temperature.
Use an oven thermometer to ensure accuracy, as some ovens can be off by a significant margin.
Place your creation on a parchment paper-lined baking sheet or on a ceramic tile to avoid sticking and to distribute heat evenly.
It’s crucial to avoid overbaking, which can lead to discoloration and brittleness, or underbaking, which will result in an incomplete cure.
For projects thicker than 1/2 inch, consider baking at lower temperatures for a longer time to prevent cracking.
After baking, let your creations cool slowly to minimize thermal shock and potential breakage.
Remember, patience and attention to detail are key ingredients for a perfect polymer clay masterpiece.
Related Reading
 Polymer Clay Flowers: Crafting Delicate Blooms for Any Occasion
 Polymer Clay Christmas Ornaments: Craft Your Own Festive Decor
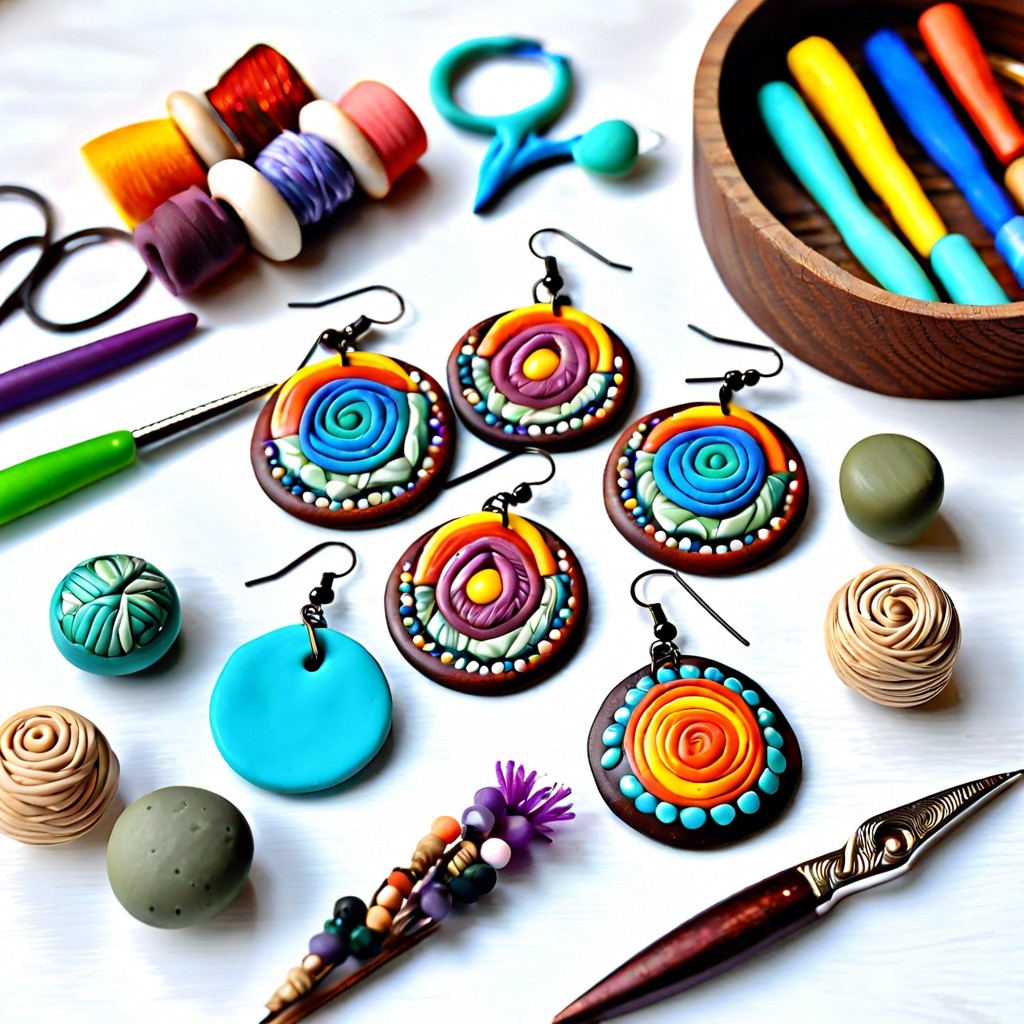 Polymer Clay Earring: Creating Fashion Statements with Your Own Hands
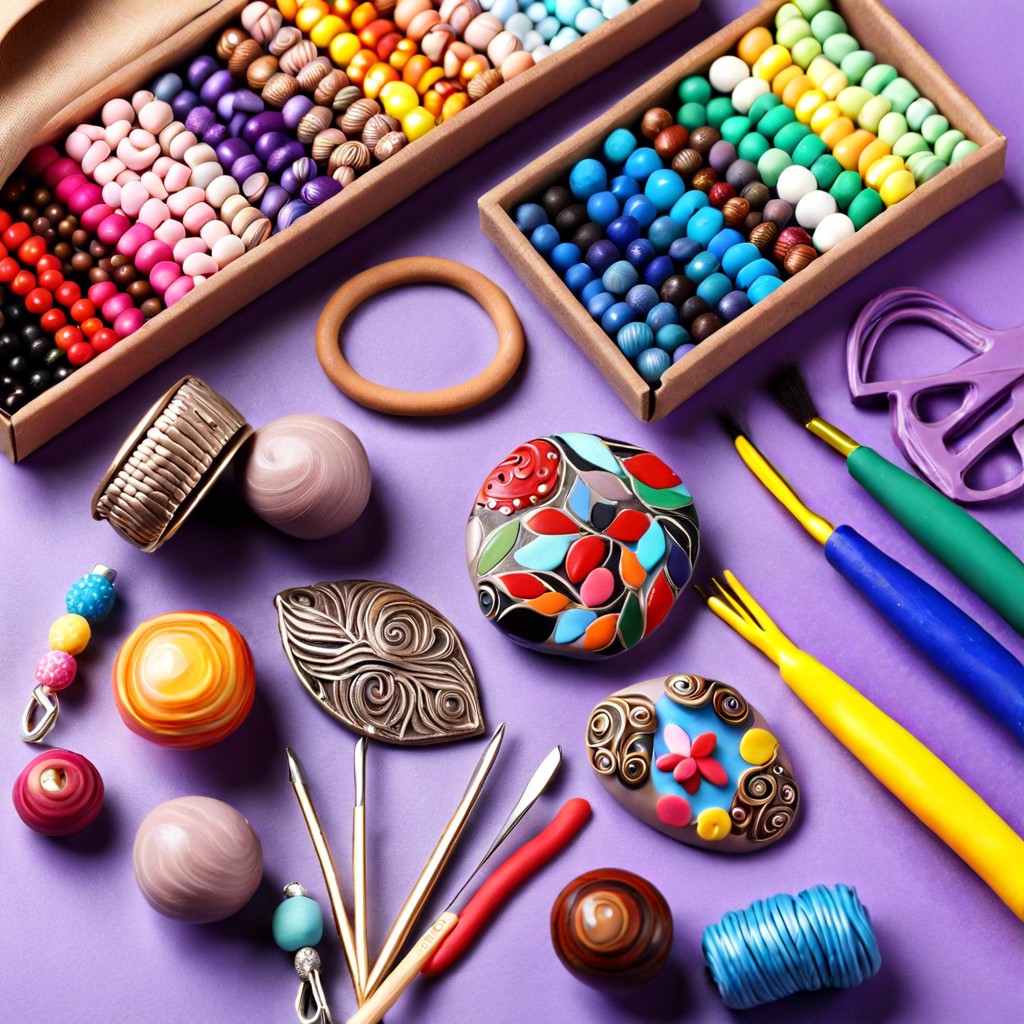 How to Make Polymer Clay Beads for Stunning DIY Jewelry
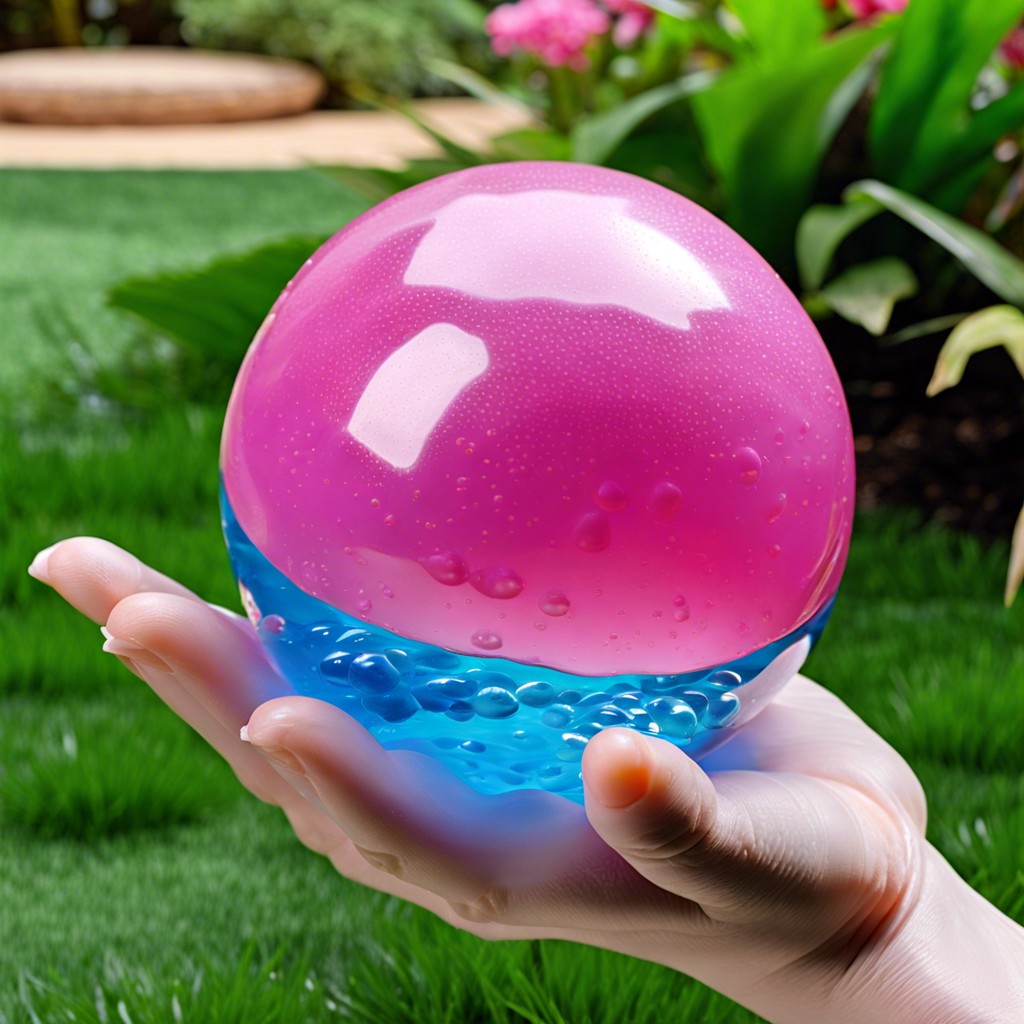 Water Balz Jumbo Polymer Ball: The Ultimate Guide to Fun and Utility
Recap