Uncover a variety of charming polymer clay earring designs to inspire your next personal accessory or handcrafted gift.
Key takeaways:
- Choosing the right polymer clay for earrings is crucial.
- Benefits of polymer clay: lightweight, versatile, and durable.
- Steps to create polymer clay earrings: conditioning, shaping, baking, finishing.
- Design ideas for cute polymer clay earrings: nature-inspired, geometric shapes, food-themed, seasonal motifs, abstract art.
- Finishing and curing polymer clay earrings: temperature, baking surface, time, cooling, sanding, glazing.
Choosing Polymer Clay for Cute Earrings
Selecting the right type of polymer clay is crucial for earring making. The clay should be easy to condition, meaning it becomes pliable without much effort. Soft and smooth varieties often work best for detailed designs. Choose a brand that bakes to a sturdy finish, so your earrings are durable. Colors are also important; opt for brands offering a spectrum of vibrant hues that don’t fade easily after curing. Always check the clay’s compatibility with other materials you plan to use, like metal earring posts or glaze, to ensure a successful creation.
Benefits of Polymer Clay for Earrings
Polymer clay offers several advantages for those looking to craft earrings. Its lightweight nature ensures that even larger, statement pieces can be worn comfortably throughout the day. Versatility is another strong suit — the clay can be molded into countless shapes and adorned with textures, inlays, or surface effects.
The color options are virtually limitless, whether you choose to mix clay colors, paint finished pieces or embed pigments. Durability is also a key benefit, as polymer clay, once cured, becomes sturdy and water-resistant, making it suitable for everyday wear.
Importantly, its accessibility and ease of use make it a favorite among beginners and experienced crafters alike.
Steps to Create Polymer Clay Earrings
Begin by conditioning your polymer clay until it is pliable, which makes it easier to shape and prevents cracking. Roll the clay into a thin sheet using a rolling pin or pasta machine, aiming for even thickness to ensure uniform curing.
Use cookie cutters, a craft knife, or specialized clay tools to cut out your desired shapes. You can create anything from simple circles to intricate floral patterns.
Add texture and details to your pieces with stamps, texturing tools, or anything with an interesting pattern, like a piece of lace. Remember, the level of detail can transform an ordinary piece into a visual delight.
Pierce a hole at the top of each shape with a needle tool or toothpick. This will be for attaching the jump ring later on.
Bake your creations in the oven according to the manufacturer’s instructions on the polymer clay package. Use an oven thermometer to ensure the temperature is accurate and prevent under or over-baking.
After baking, let your earrings cool completely before handling. This is crucial as polymer clay is most fragile when hot.
Once cooled, you can sand the edges if necessary, for a smooth finish. Then, attach earring hooks, jump rings, and any other hardware using pliers to open and close the rings.
Finally, you may choose to add a layer of glaze or varnish to give your earrings a glossy finish and extra protection.
Design Ideas for Cute Polymer Clay Earrings
When it comes to shaping your polymer clay into earrings, the possibilities are vast. Embrace creativity by exploring different themes and shapes that resonate with your personal style or target audience. Here are some engaging ideas:
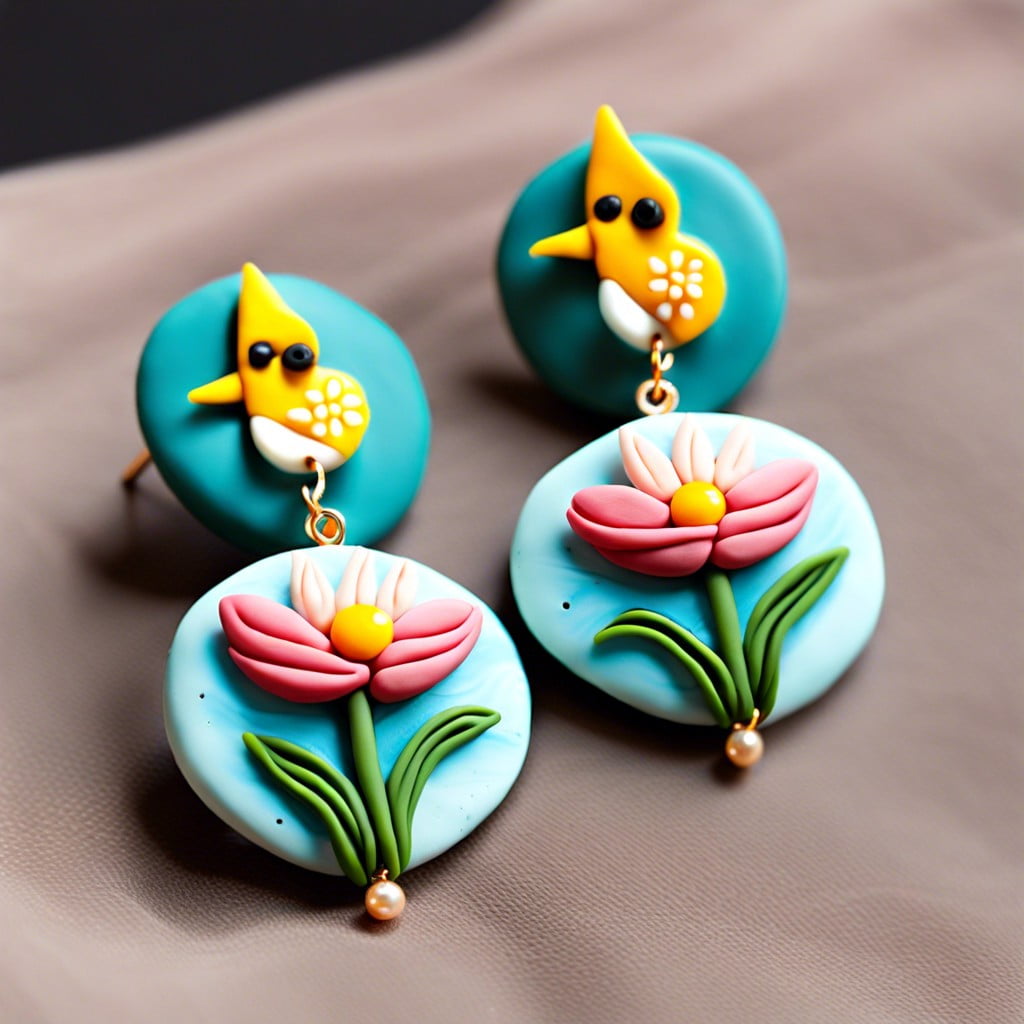
- Nature-Inspired Designs: Think delicate flowers, intricate leaves, or animal shapes. These designs can be stylized or realistic, adding a touch of whimsy to your craft.
- Geometric Shapes: Triangles, circles, and squares offer a modern look. Combine different shapes for a geometric pattern that’s both eye-catching and artistic.
- Food-Themed Earrings: Miniature fruits, sweets, and other edibles molded from polymer clay can create playful and quirky accessories that stand out.
- Seasonal Motifs: Align your earrings with the changing seasons—snowflakes for winter, pumpkins for autumn, or suns for summer provide timely and themed charm.
- Abstract Art: Use color blends, marbling techniques, or random shapes to create abstract and avant-garde designs that are unique conversation starters.
Remember, when crafting your earrings, size and weight are important. Keep your creations lightweight for comfort, and balance the size with the design’s visual impact.
Finishing and Curing Polymer Clay Earrings
Once you’ve shaped and detailed your earrings, it’s essential to properly finish and cure them. Curing is a process where polymer clay hardens and stabilizes after being subjected to heat. Here are key points to consider:
- Temperature: Preheat your oven to the temperature recommended on the clay package, typically between 265-275°F (129-135°C). Using an oven thermometer ensures accuracy.
- Baking Surface: Place your earrings on parchment paper or a ceramic tile to avoid direct contact with the oven rack, which could cause overheating and discoloration.
- Time: Bake for the duration specified by the manufacturer, usually 15-30 minutes, depending on thickness. Over-baking can burn the clay, while under-baking may leave it brittle.
- Cooling: After baking, let the earrings cool slowly at room temperature. Rapid cooling or placing them in the fridge might cause cracking.
- Sanding: Once cooled, you can smooth any rough edges with fine-grit sandpaper. Wet sanding minimizes dust.
- Glazing: For added shine or to seal surface effects, apply a thin layer of polymer clay glaze and let it dry as instructed.
Following these tips ensures your cute polymer clay earrings will be durable, hold up to wear, and retain their vibrant colors.
Related Reading
 Polymer Clay Flowers: Crafting Delicate Blooms for Any Occasion
 Polymer Clay Christmas Ornaments: Craft Your Own Festive Decor
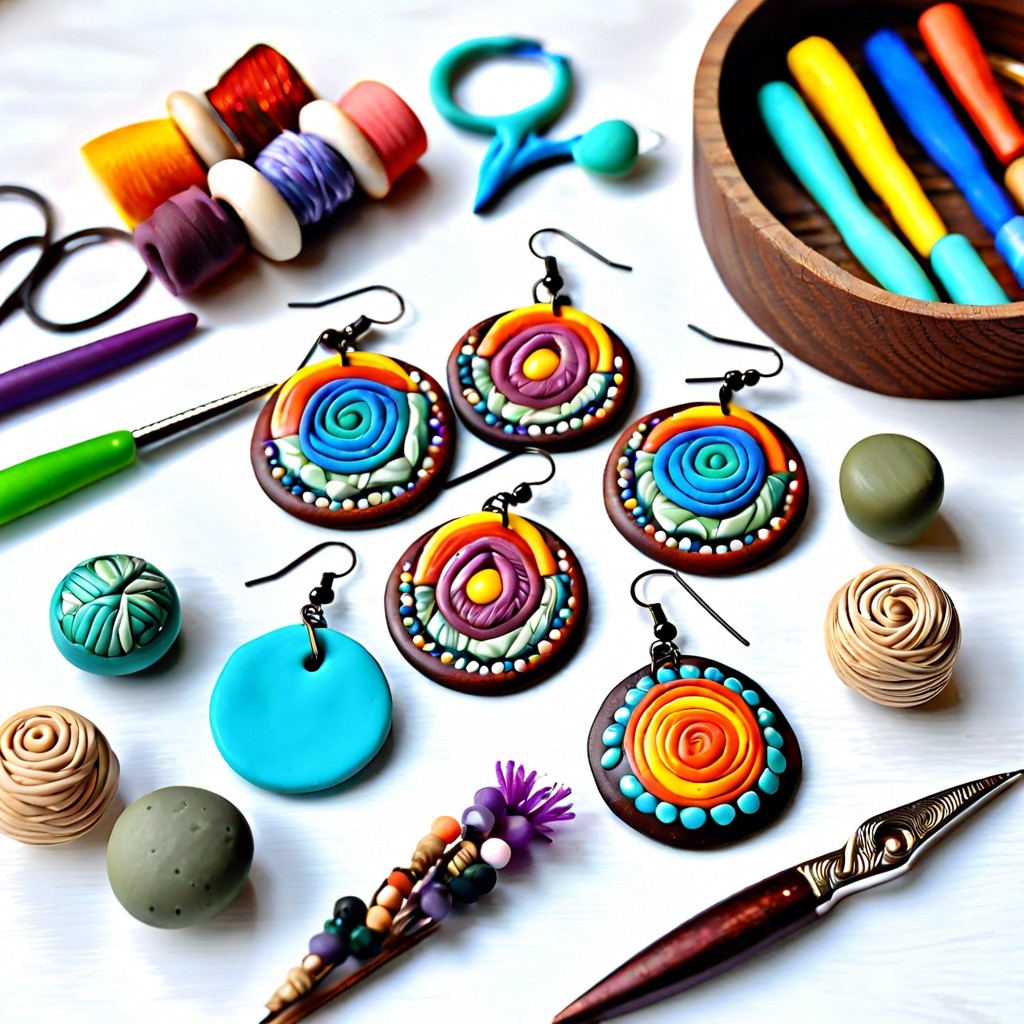 Polymer Clay Earring: Creating Fashion Statements with Your Own Hands
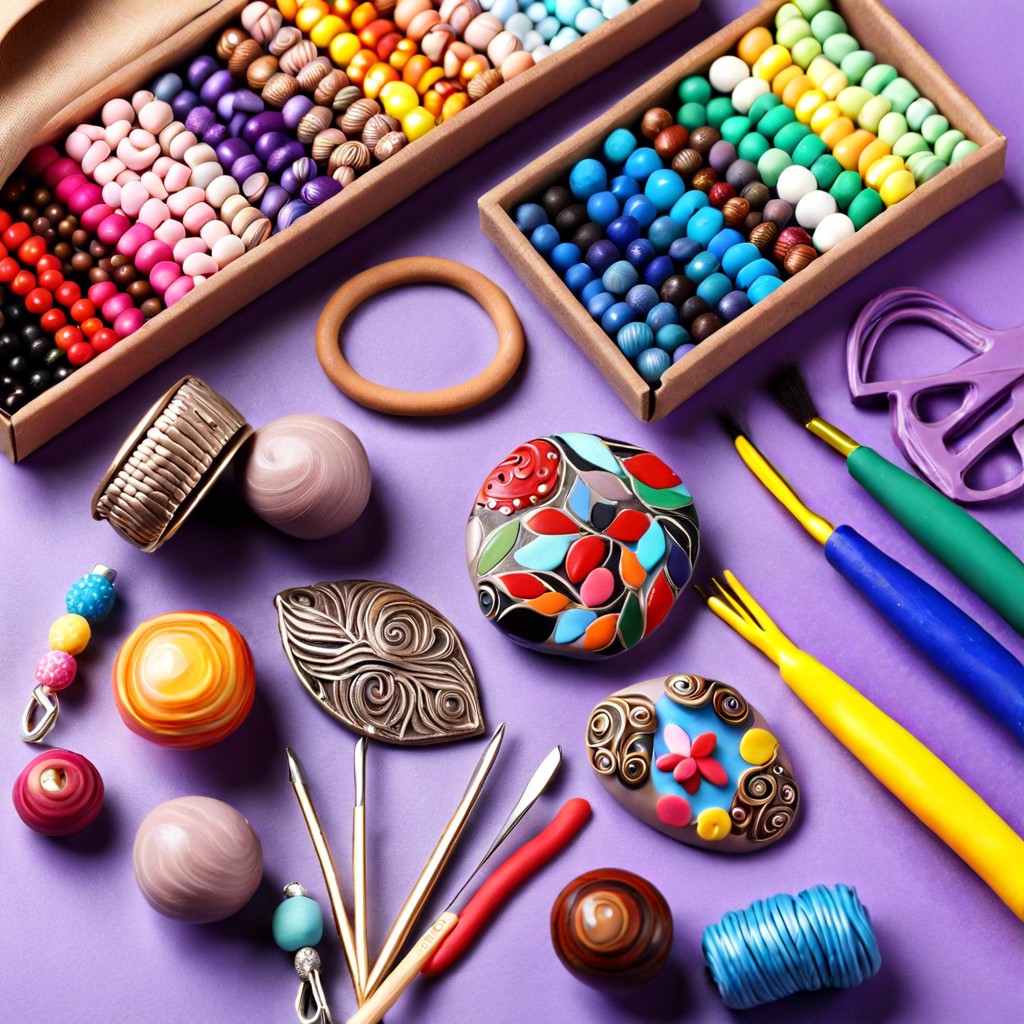 How to Make Polymer Clay Beads for Stunning DIY Jewelry
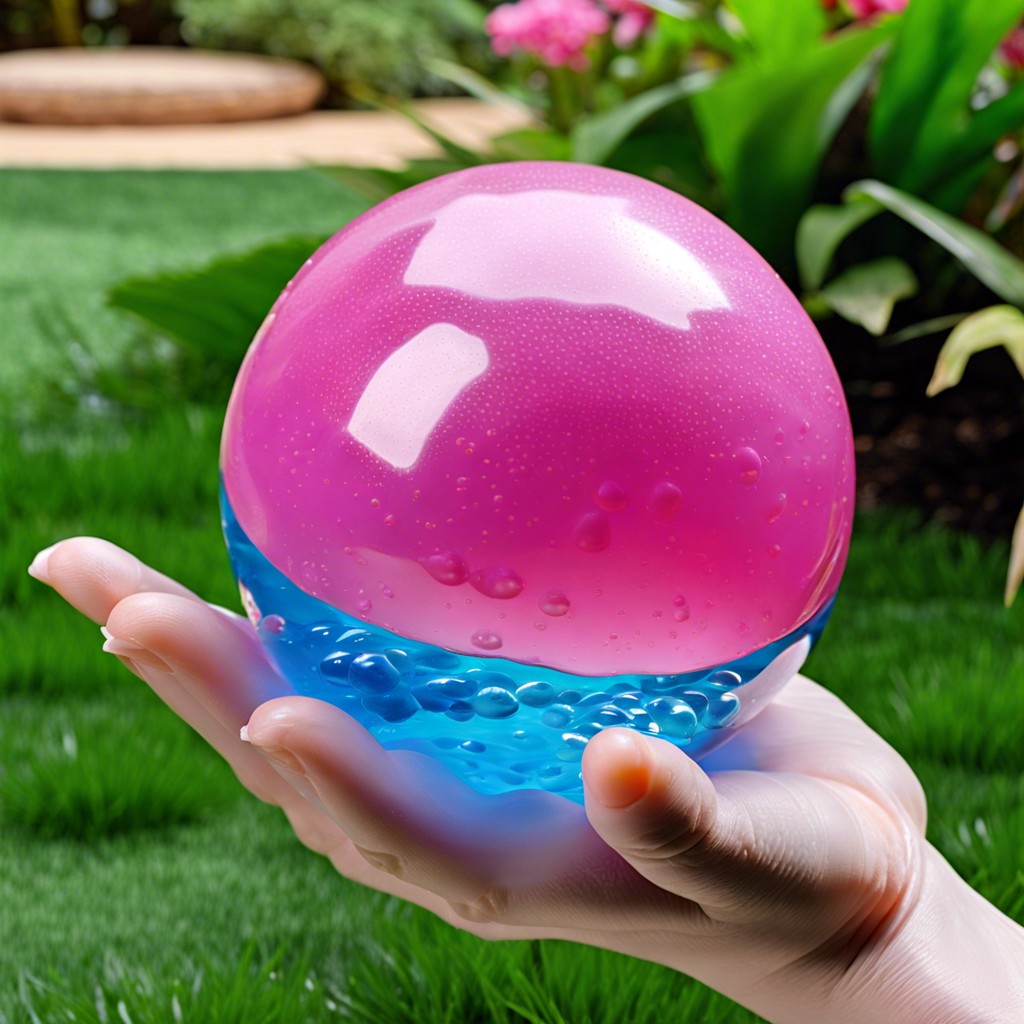 Water Balz Jumbo Polymer Ball: The Ultimate Guide to Fun and Utility
Recap