Discover a range of creative projects you can craft using polymer clay, from jewelry to home decor.
Key takeaways:
- Choose the right type of clay for your project
- Condition the clay before starting
- Utilize a range of tools for shaping and texture
- Pay attention to baking temperature and time
- Finish your creations with sanding, painting, or glazing
Creating With Clay
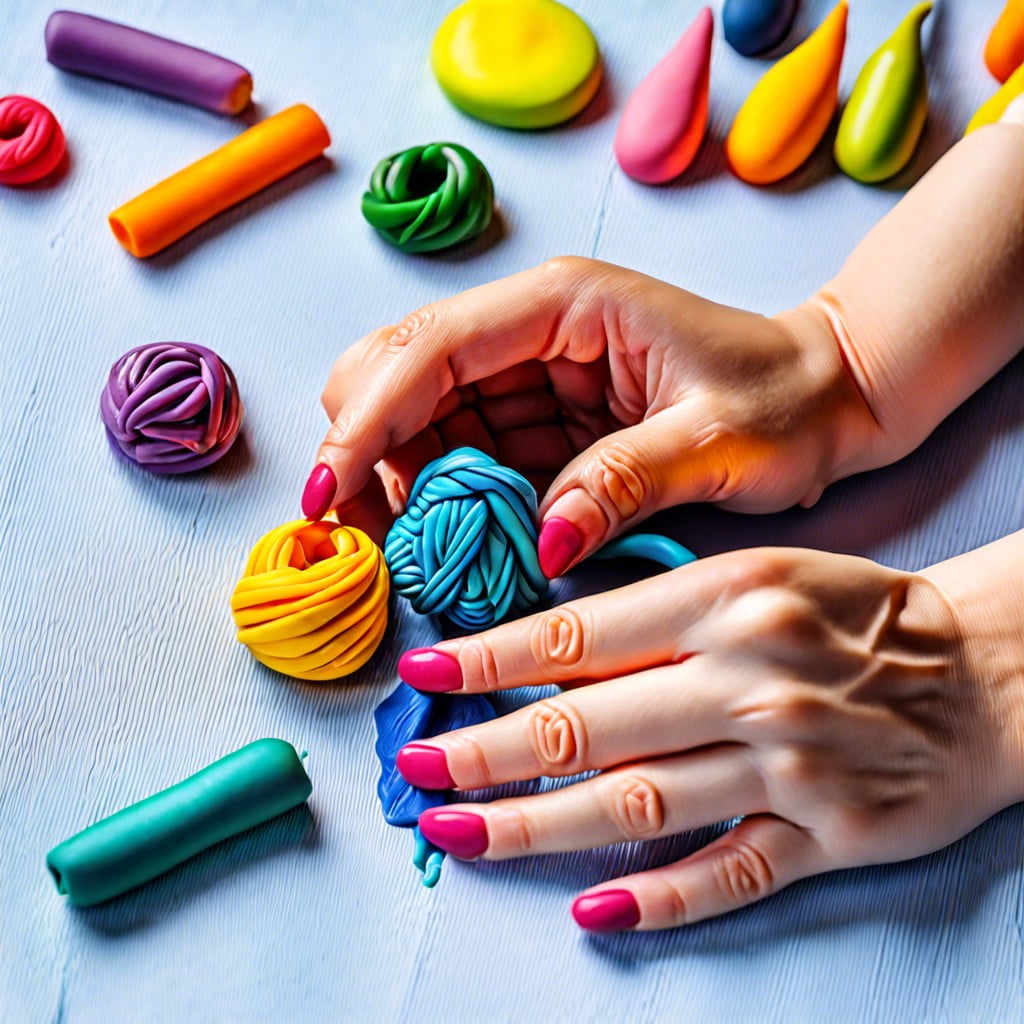
Polymer clay is a versatile medium, ideal for crafting a variety of items. It becomes malleable when worked by hand and hardens into a durable material upon baking, allowing for both intricate sculpting and simple shaping.
Choose the right type of clay: Each brand of polymer clay offers different properties, like varying degrees of firmness and finish, so start by selecting one that aligns with your project’s needs.
Conditioning is crucial: Before you begin creating, it is essential to condition the clay—this means kneading it until it’s soft and pliable to prevent cracks and ensure a uniform texture.
Tool Time: Utilize a range of tools such as rollers for flattening, cutters for shaping, and texture plates or stamps to emboss patterns. Even household items can be repurposed into tools.
Temperature matters: Pay close attention to baking instructions, as the temperature and time will vary by the thickness and brand of clay. Over or under-baking can affect the durability and appearance of the final product.
Finishing touches: After baking, items can be sanded, buffed, painted, or glazed to enhance their look and feel. This step can turn a simple project into a professional-looking piece.
DIY Polymer Clay Earrings
Crafting your own earrings out of polymer clay allows for endless creativity and personal expression. Choose your favorite colors or mix them to create unique hues.
Start by conditioning the clay until it’s pliable. Roll it out and use cutters for shapes like circles, triangles, or even abstract forms. For intricacy, add textures with stamps or create patterns with clay slices.
To assemble, bake the clay according to the manufacturer’s instructions, then let it cool. Finally, attach metal hardware, like jump rings and earring hooks, to bring your bespoke accessory to life. Remember to use a sealant if you desire a shiny finish or to protect delicate designs.
Whether for personal use or as handmade gifts, these earrings can be a statement of your artistic flair.
Personalized Clay Charms
Crafting personalized charms from polymer clay offers an excellent way to create unique accessories or thoughtful gifts. Here are key points to consider:
- Design Selection: Think about the recipient’s interests to determine shapes – anything from animals to initials is possible.
- Color Mixing: Blend different clay colors to achieve custom hues or marbled effects.
- Detailing: Use tools like toothpicks or clay stamps to add texture and fine details to your charm.
- Baking Instructions: Follow the packaging instructions carefully regarding temperature and time to ensure the charms harden properly.
- Finishing Touches: After baking, you can sand rough edges, paint additional details, or varnish for a glossy finish.
- Assembly: Attach a jump ring to your charm to easily use it as jewelry or a keychain embellishment.
By focusing on the finer details and customization, these charming keepsakes become meaningful tokens.
DIY Clay Hand Dish
Begin by conditioning your polymer clay until it’s pliable. Roll it out to an even thickness, aiming for about 1/4 inch for sturdiness.
Next, press your hand lightly into the clay to make an impression. Use a knife or a clay tool to carefully cut around the handprint, leaving a small border for the dish edge.
Smooth the edges with your fingers or a tool to give your dish a finished look. To create the dish shape, gently drape the clay over an oven-proof bowl turned upside down, ensuring the fingers are slightly curled upwards to hold jewelry.
Bake your creation according to the clay manufacturer’s instructions—typically at a low temperature for 15 to 30 minutes. Once cooled, you can add a personal touch by painting it or applying a gloss for protection.
This hand-shaped dish serves as a unique catchall for jewelry or keys.
Polymer Clay Faux Leather Pouch
Polymer clay’s versatility allows for the imitation of different textures, including the look and feel of leather. Here’s how you can craft a unique faux leather pouch:
1. Select the Right Clay: Choose a polymer clay with a flexible finish that mimics the suppleness of real leather.
2. Color Mixing: Blend clays to achieve a natural leather hue or opt for a color that fits your personal style.
3. Condition the Clay: Thoroughly condition the clay to increase its elasticity, making it easier to handle and shape.
4. Texture Creation: Use texturing tools or household items to press patterns into the clay to simulate the grain of leather.
5. Cutting to Size: After achieving the desired texture, roll the clay out to a thin sheet and cut it into the shape needed for your pouch.
6. Assembling the Pouch: Fold and join edges together, using a polymer clay-compatible adhesive or by slightly overlapping and blending the clay where the edges meet.
7. Adding Details: Stitch around the edges with thick thread or a stitching tool for a more authentic leather look.
8. Curing: Bake the clay according to the manufacturer’s instructions, making sure the piece retains its pouch shape during the process.
By manipulating polymer clay, you can create a durable and stylish faux leather pouch without involving actual leather, offering a cruelty-free and creative accessory option.
Related Reading
 Polymer Clay Flowers: Crafting Delicate Blooms for Any Occasion
 Polymer Clay Christmas Ornaments: Craft Your Own Festive Decor
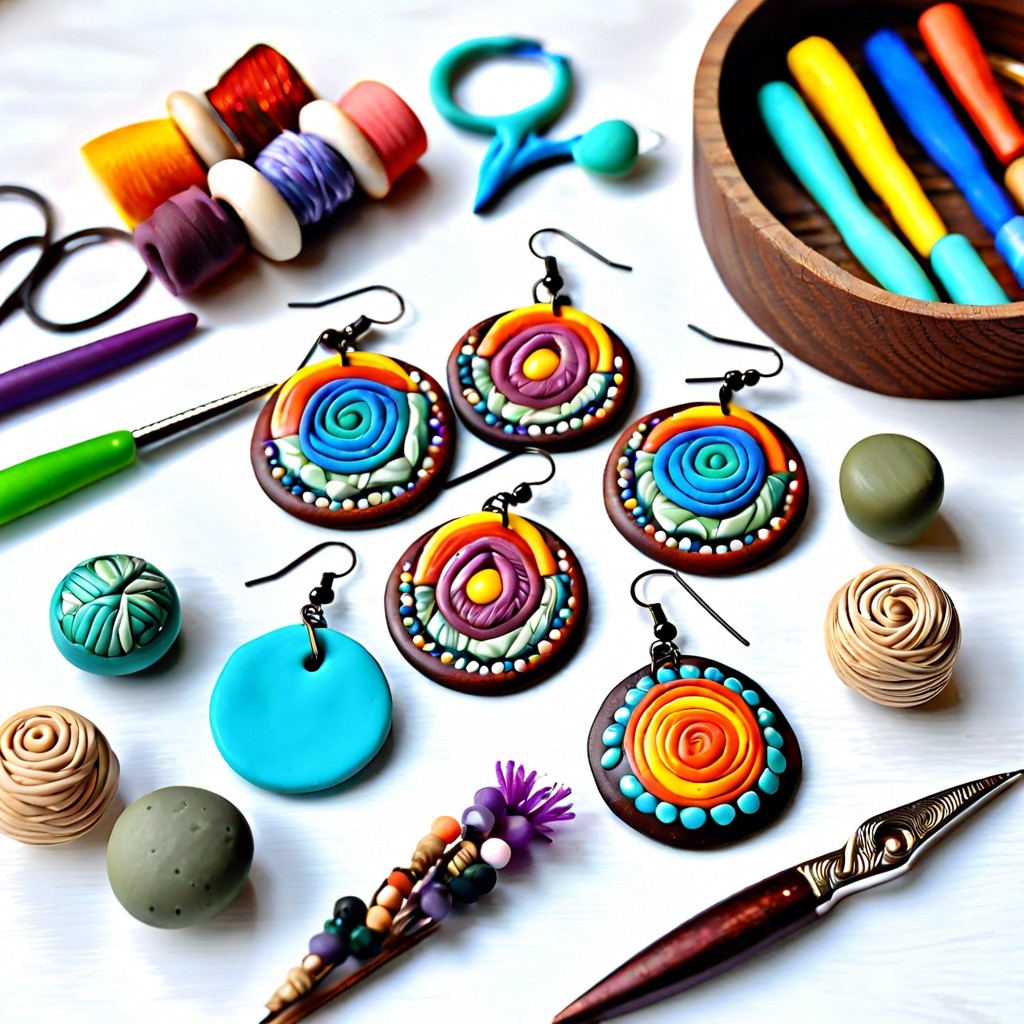 Polymer Clay Earring: Creating Fashion Statements with Your Own Hands
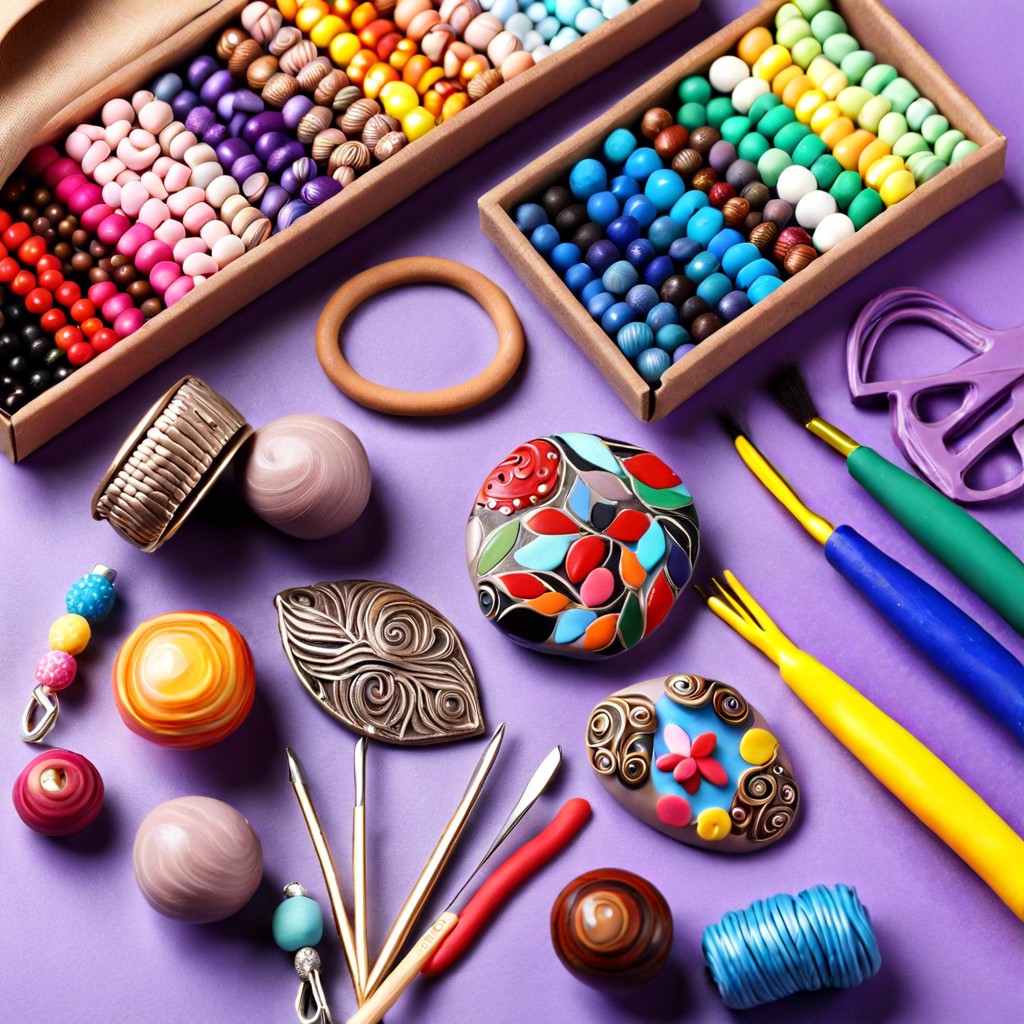 How to Make Polymer Clay Beads for Stunning DIY Jewelry
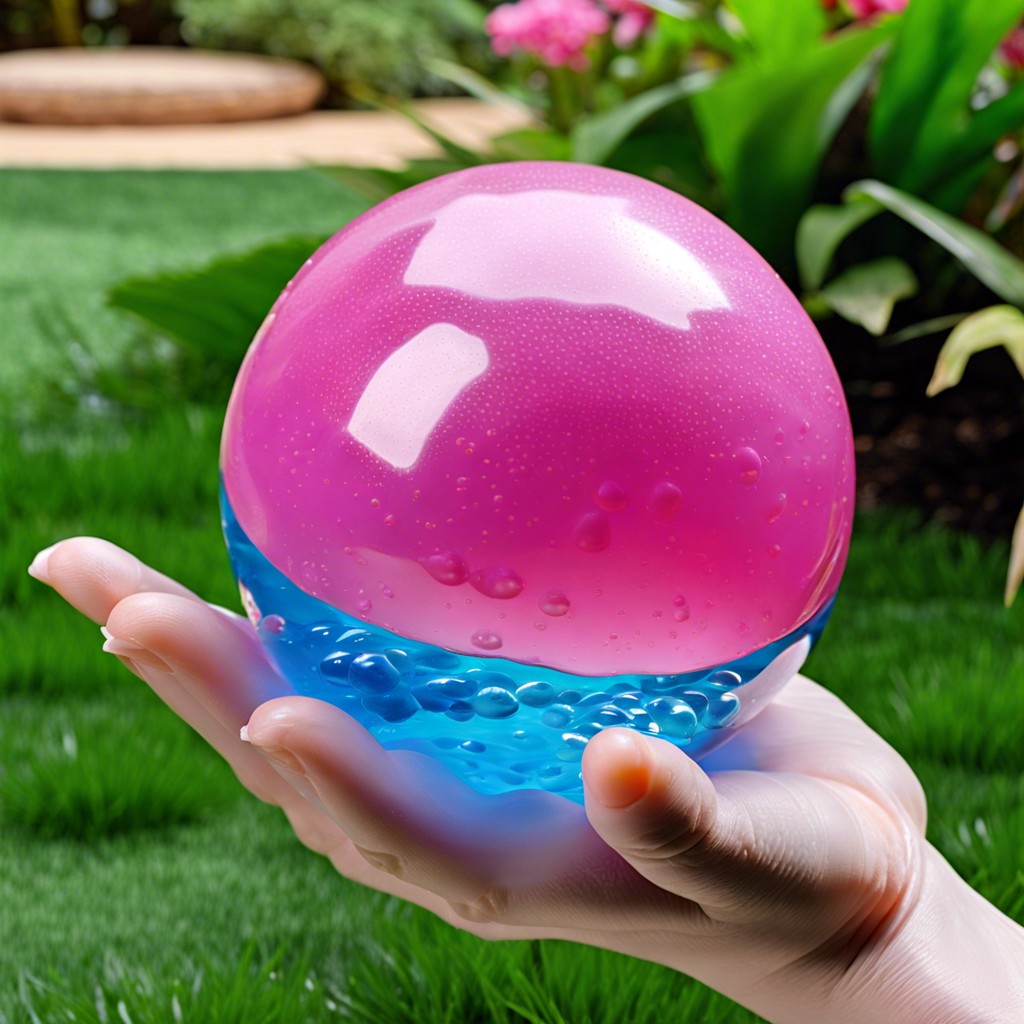 Water Balz Jumbo Polymer Ball: The Ultimate Guide to Fun and Utility
Recap