This how-to guide will show you the steps to create your own polymer clay art, covering the basics from shaping to baking your designs.
Key takeaways:
- Polymer clay is a versatile material for creating art.
- Essential tools include blades, molding tools, and oven thermometers.
- Shaping techniques include rolling, coiling, embossing, and caning.
- Follow proper baking instructions for durability and avoid overbaking.
- Finish with sanding and buffing for a polished look.
Understanding Polymer Clay
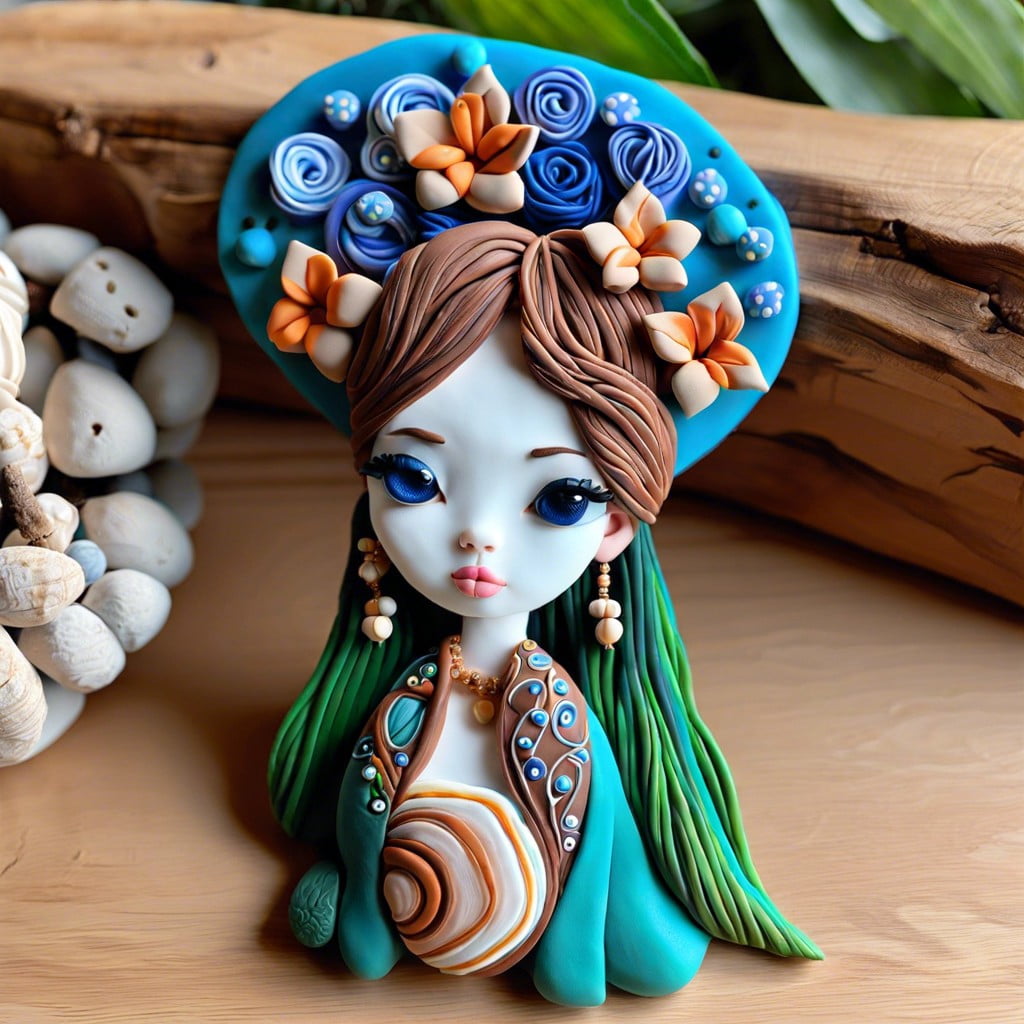
Polymer clay is a versatile sculpting material composed of PVC (polyvinyl chloride) and plasticizers that provide its flexibility. Unlike earthen clay that requires high-temperature kiln firing, it hardens at much lower temperatures in a home oven. This makes it accessible for hobbyists and professionals alike.
Its clay-like consistency allows it to be manipulated with ease; it can be rolled, sculpted, stamped, or extruded. A defining characteristic is its ability to retain vibrant colors after baking, enabling artists to create intricate designs with fine details. The material also comes in a variety of hardness levels, which can be mixed to get a custom firmness suitable for different projects.
Once cured, polymer clay is durable and can be drilled, carved, or glued, expanding its creative potential.
Tools Required for Polymer Clay Art
Starting with a clean workspace is essential to prevent contamination of your materials. Use a ceramic tile or glass surface for easy cleanup and to keep the clay from sticking. Rolling tools, like acrylic rollers or pasta machines, help in conditioning the clay and achieving uniform thickness. Various cutters and molds are handy for creating shapes, while a set of sculpting tools will assist in adding details and textures to your designs.
Blades and cutting tools are fundamental for slicing and trimming the clay. They come in different shapes, such as rigid and flexible, to give you precise cuts and curves. Needles or pointed tools are useful for making small holes or intricate patterns.
To add color or special effects, consider incorporating mica powders, chalk pastels, or alcohol inks. Finally, a dedicated oven for baking your creations will ensure they harden properly without the risk of contamination from food preparation areas. Oven thermometers are advisable to monitor temperature accuracy for consistent results.
Shaping and Molding Techniques
To bring your creations to life, familiarize yourself with a range of shaping and molding methods. Start by conditioning the polymer clay, kneading it until it becomes pliable. Roll it into sheets or snakes for a uniform thickness, a key for intricate designs.
Experiment with pinch pots by pressing your thumbs into a ball of clay and carefully pulling the sides to form a hollow shape. Use coiling, building up layers of long, rolled-out pieces to create figures or pots.
Embossing allows for textured surfaces; press stamps, fabrics, or other objects into your clay to leave an impression. For detailed work, consider caning, where you layer different colors and shapes, then cut cross-sections to apply to your piece.
Sculpting tools can refine your art, carving features or smoothing edges. Utilize a blade for clean cuts, or a needle tool for precision. Always remember the delicacy of clay; too much force or hasty movements can distort your design. Embrace the versatility of polymer clay and let your creativity flow.
Baking Polymer Clay: Time and Temperature
Proper curing is critical to the durability of your polymer clay creation. Follow the manufacturer’s instructions carefully—the guidelines for time and temperature can vary between brands.
Generally, you’ll bake your piece at temperatures ranging from 215 to 300 degrees Fahrenheit for 15 minutes per quarter inch of thickness. Use an oven thermometer to ensure accuracy, as ovens can be off by a few degrees.
Overbaking can cause discoloration and burning, while underbaking may leave your piece brittle. If you’re unsure, it’s better to bake at a lower temperature for a longer period than to risk burning your work at higher temperatures.
Remember, safety first: bake in a well-ventilated area and do not use a microwave or a toaster oven due to the risk of fumes and uneven heating.
Finishing Polymer Clay Art: Sanding and Buffing
After baking, adding the final touches to your polymer clay piece can enhance its appearance significantly. Start with sanding to smooth out any rough areas and refine the shape if necessary. Use waterproof sandpaper, starting with a coarser grit and progressively moving to a finer one. This gradual process helps eliminate scratches and imperfections, leaving a smooth surface.
Buffing is the next step, which gives your artwork a polished look. You can buff by hand with a soft cloth or muslin for a satin finish. For a high-gloss sheen without a coat of varnish, consider using a motorized buffing wheel. Remember that buffing by hand takes patience and time, while using a machine requires careful handling to avoid overheating the polymer clay.
Related Reading
 Polymer Clay Flowers: Crafting Delicate Blooms for Any Occasion
 Polymer Clay Christmas Ornaments: Craft Your Own Festive Decor
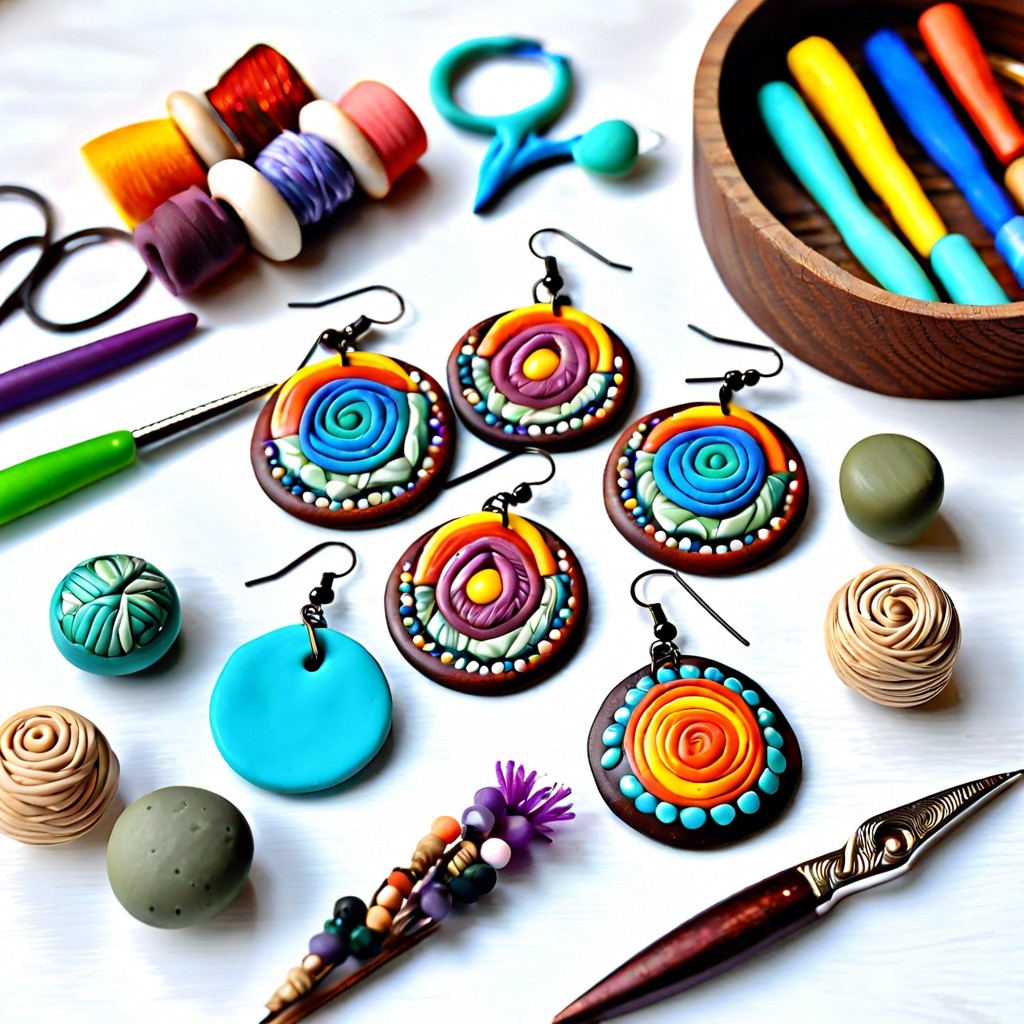 Polymer Clay Earring: Creating Fashion Statements with Your Own Hands
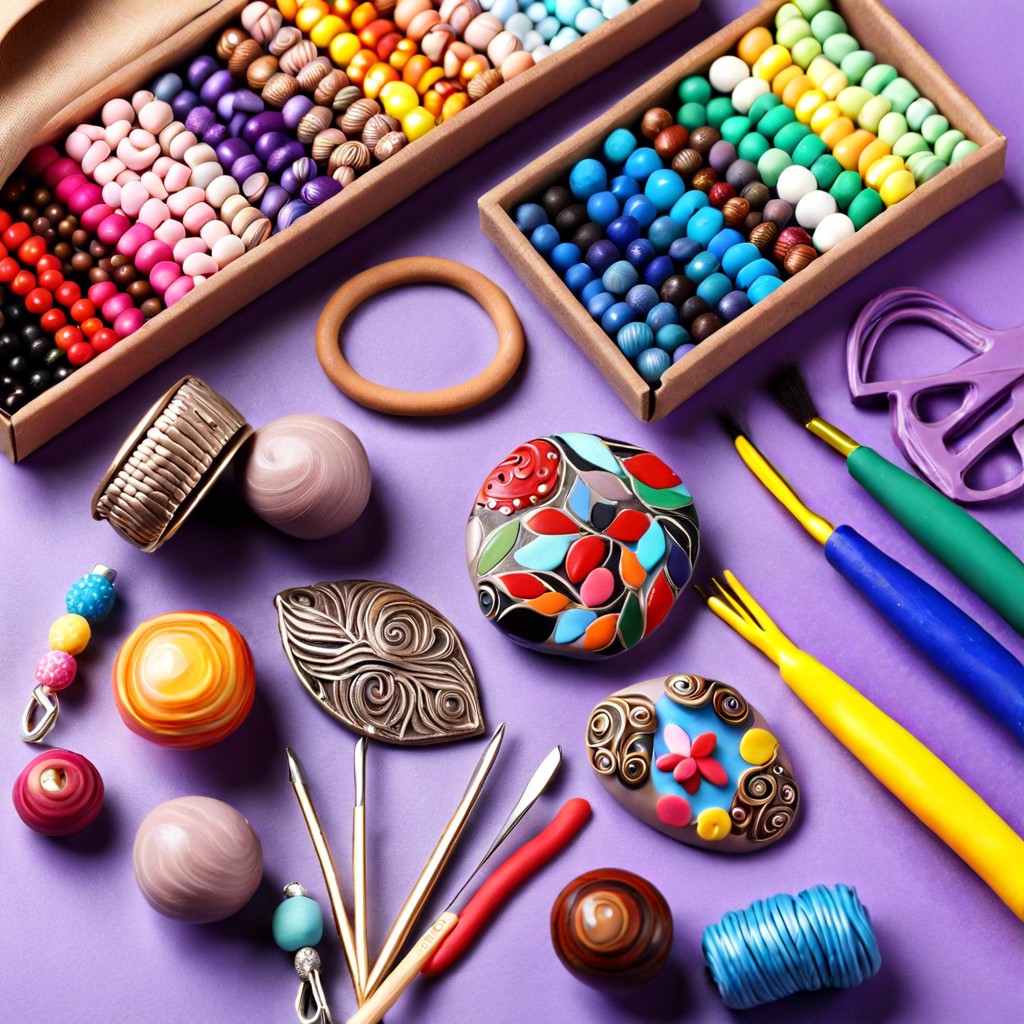 How to Make Polymer Clay Beads for Stunning DIY Jewelry
 Water Balz Jumbo Polymer Ball: The Ultimate Guide to Fun and Utility
Recap