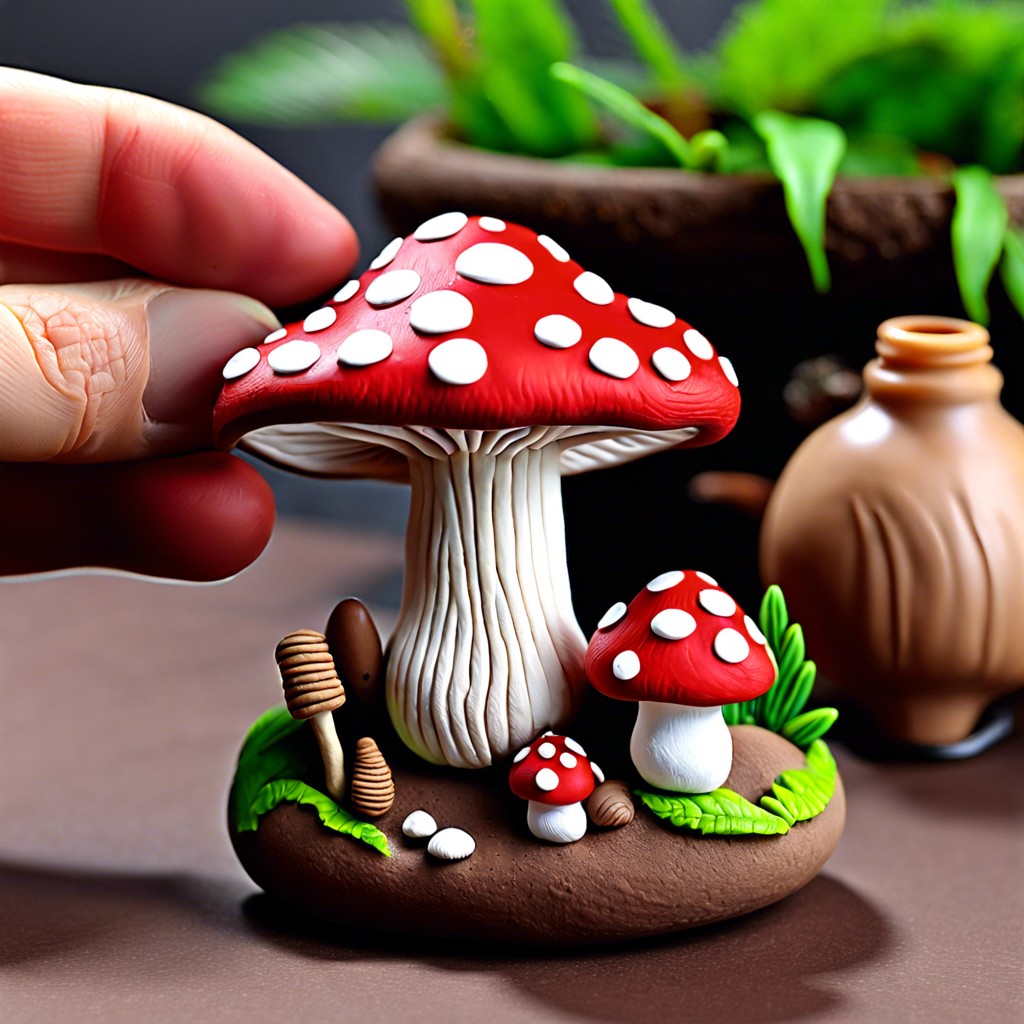
Learn how to make beautiful polymer clay beads with simple step-by-step instructions that even beginners can follow.
Key takeaways:
- Gather polymer clay, tools, and a clean workspace.
- Condition clay by warming and rolling it.
- Shape beads creatively; embrace wonkiness.
- Make holes carefully for beading.
- Bake according to package instructions for perfection.
Gather Materials and Set Up Workspace
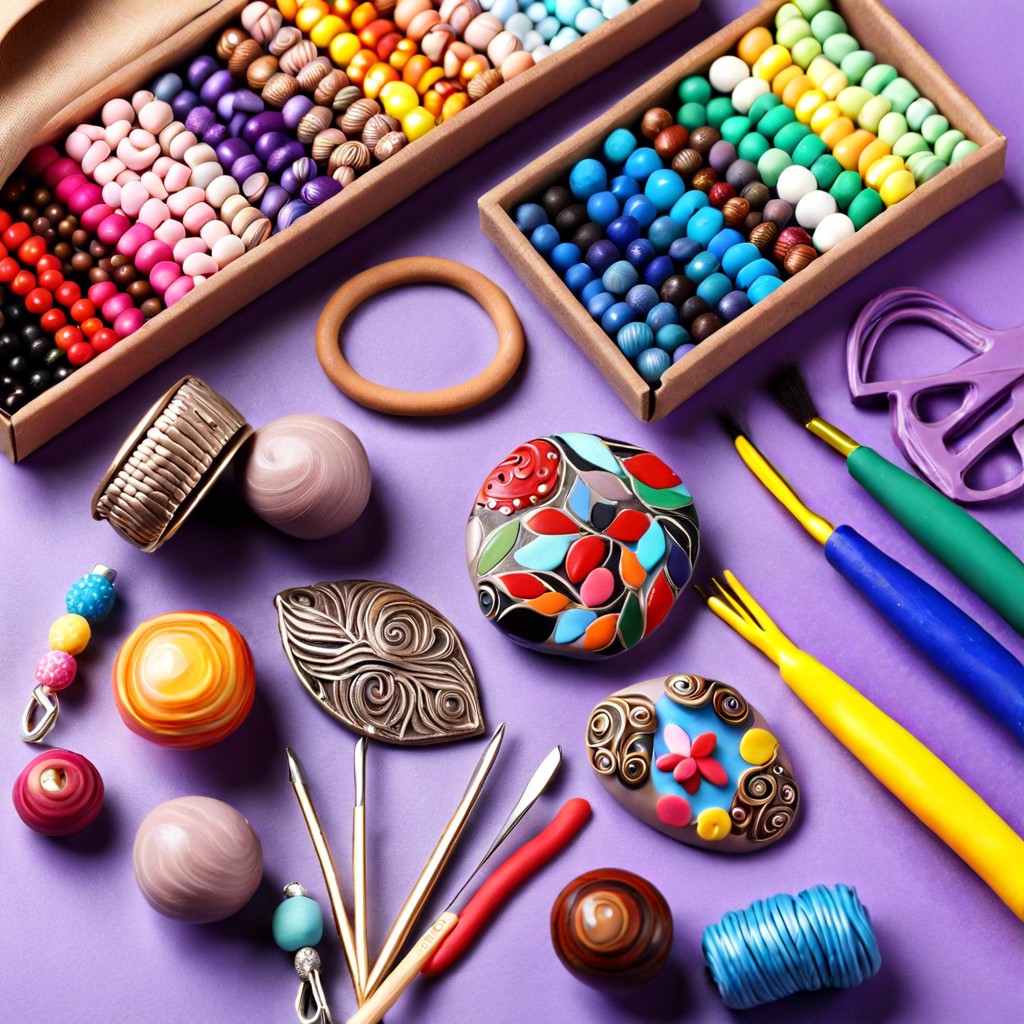
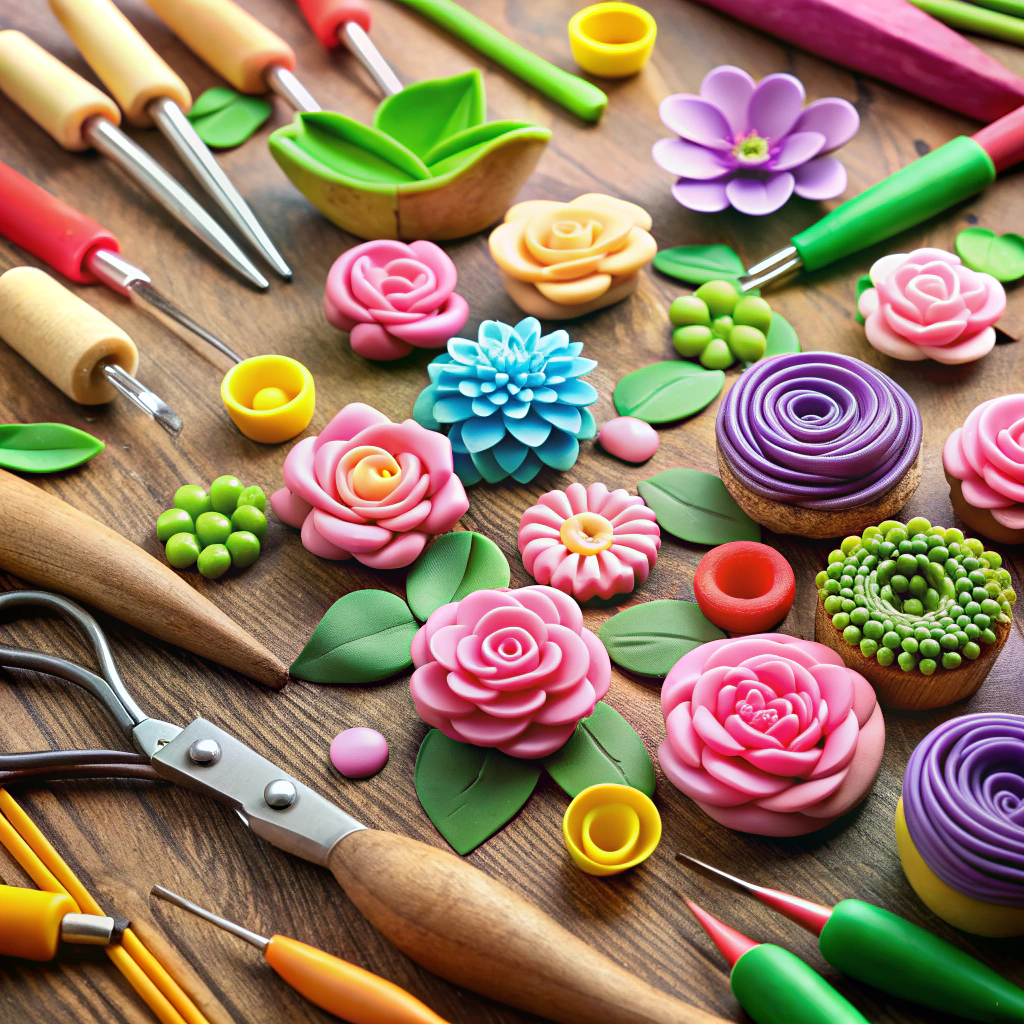
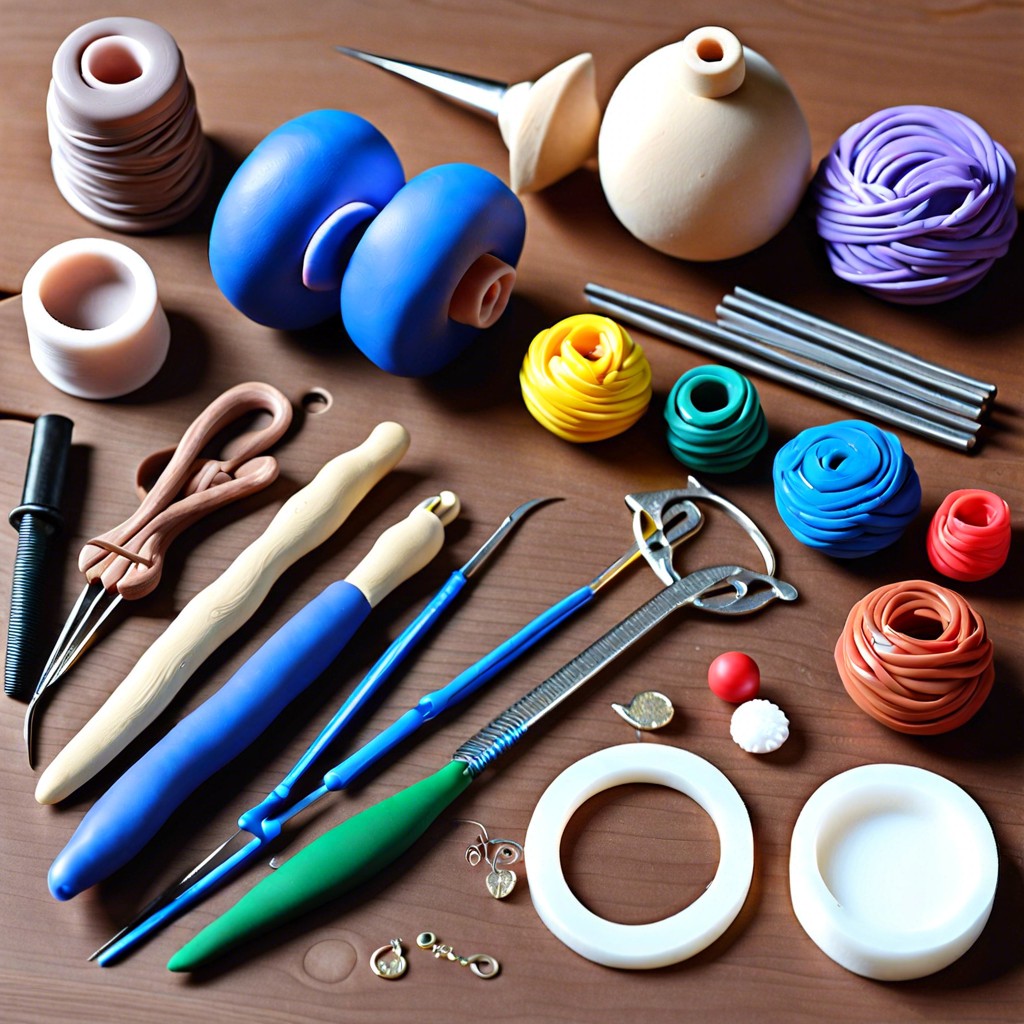
You’ll need polymer clay (lots of colors are fun), a smooth work surface, a rolling pin, and some simple sculpting tools. Don’t worry, fancy tools aren’t necessary; even a toothpick can work wonders! Grab an oven-safe baking sheet too.
Cover your work area with wax paper or a silicone mat. It keeps things tidy and prevents the clay from sticking. Keep your hands clean, as any bits of dust might hitch a ride to your masterpiece.
Oh, and don’t forget paper towels or baby wipes for quick clean-up. They’re your new best friends.
Ready? Great! Time to dive into the creative mess.
Condition the Polymer Clay
Imagine polymer clay is waking up from a long nap. It’s a bit stiff and needs some stretching to become pliable. Here’s how to get it ready for action:
Warm it up: Roll the clay between your hands. Your body heat helps it soften.
Flatten and fold: Press it down, fold it over, and repeat. Think of it as making a mini workout routine for the clay.
Roll it out: Use a rolling pin or an acrylic roller to get rid of air bubbles. Nobody likes unexpected surprises, especially your clay.
Consistency is key: You want an even texture throughout. This will make your bead-making process a breeze.
And just like that, your polymer clay is ready to become fabulous beads. Now, let’s move on to the fun part!
Shape and Design Your Beads
Let’s dive into the fun part—giving your beads some character!
Get creative with shapes. Roll your clay into balls for classic beads, or smash ’em flat for a pancake look.
Want a little twist? Literally twist the clay to make swirly beads. Feeling fancy? How about cube-shaped ones. No one’s judging your geometry skills here.
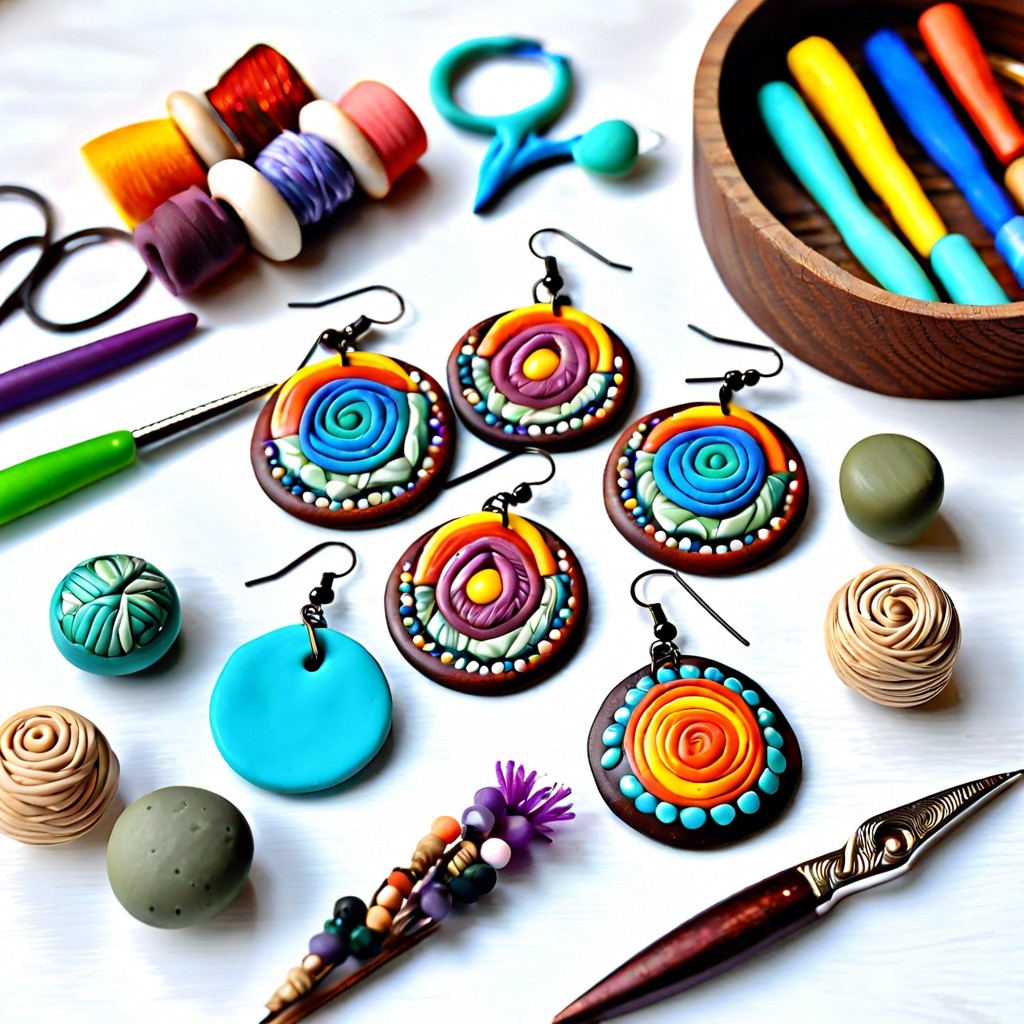
For designs, mix and match clay colors like you’re playing with Play-Doh. Make stripes by layering. Or roll two colors together like a candy cane!
For extra pizzazz, push textures into the clay. Try pressing leaves, fabric, or even random kitchen gadgets for cool effects.
Remember, asymmetry is trendy now. If your bead looks a bit wonky, call it “artsy.”
And don’t worry if you mess up. Just smush it and start over. Polymer clay is forgiving—like that friend who always laughs at your jokes.
Enjoy the creative chaos!
Make Holes for Beading
Time to give your beads some holes, making them actually usable in jewelry!
First, decide where you want the holes. Always aim for the center, unless you’re crafting some avant-garde masterpiece. Use a toothpick, needle, or a tiny drill bit. And, hey, if you’ve ever played Operation, you’ll be a pro at this. Steady hands, people!
Insert the tool gently to avoid misshaping your beautiful bead. If the polymer clay fights back, wiggle the tool carefully rather than forcing it.
For uniform holes, mentally coach yourself into zen mode: think slow and steady. Rotate the bead around the tool rather than shoving straight through. This helps keep that precious round shape intact.
Lastly, keep the holes slightly larger than your string or wire. Once baked, polymer clay doesn’t shrink, so a snug fit is better than an oh-no-it-won’t-fit scenario.
Done? Great! Now onto baking those bad boys into perfection.
Bake and Finish the Beads
Preheat your oven according to the instructions on your polymer clay package. Trust the package—it’s the guru here. Typically, it’s between 230°F and 275°F, but hey, better safe than a molten blob of clay.
Place your beads on a baking sheet lined with parchment paper. If you want to avoid flat spots on your beads, use a bead rack or simply poke them onto skewers or toothpicks.
Slide your bead-laden tray into the oven. Now, baking times can vary based on the thickness of your beads. A good rule of thumb is to bake for 10-15 minutes per quarter inch of thickness. Just don’t leave them in there waiting for a pizza!
Once they’re baked to perfection, let them cool down completely before handling. Touching hot beads is a surefire way to add “fingerprint artist” to your resume.
To finish, sand your beads gently with fine sandpaper for a smoother surface. For a glossy shine, buff them with a soft cloth or add a layer of polymer clay glaze.
Now you have shiny, perfect beads ready to become part of any masterpiece!
Recap
