Learn how to create your own unique polymer earrings with this step-by-step guide.
Key takeaways:
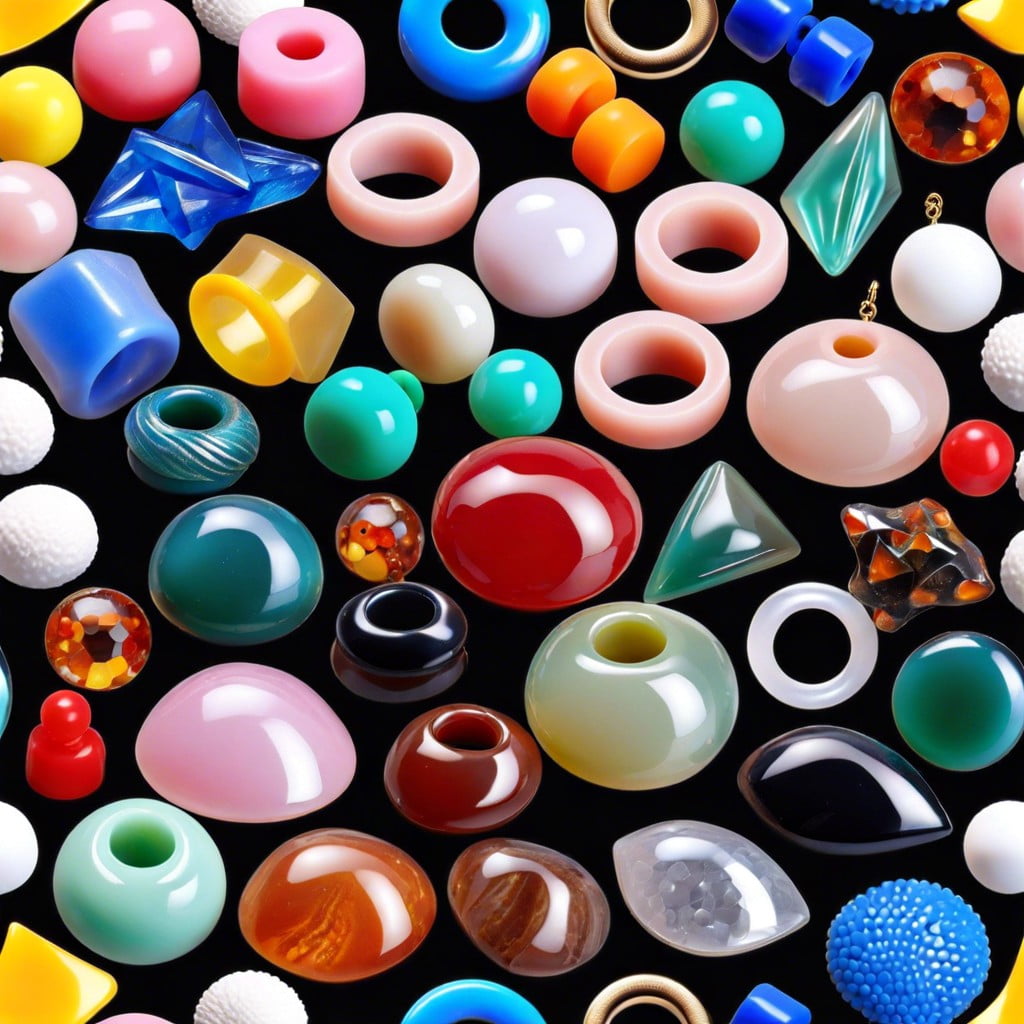
- Polymer clay is the most common material used for making earrings.
- Different types of polymer clay offer different properties and finishes.
- To make polymer earrings, you’ll need clay, cutting tools, an oven, and earring findings.
- Follow a step-by-step process to shape, bake, and assemble your earrings.
- Find inspiration for your designs in nature, art, fashion, culture, and personal interests.
Types of Polymer for Earrings
Polymers are a broad class of materials, but when it comes to making earrings, polymer clay is a top choice. This material mimics the malleability of natural clay yet hardens to a durable finish, making it ideal for crafting jewelry.
Among the types available, the following are most commonly used:
- Polyvinyl Chloride (PVC) based clay: This is the most common type, it’s easy to work with and bakes into a firm, vibrant product.
- Polyurethane polymer clay: Known for its strength and flexibility, it’s a good pick for thinner, more delicate earring designs that require some bend.
- Epoxy polymer clay: Cures without baking, which can be advantageous for designs that incorporate materials that might be damaged by heat.
Each type comes in a variety of colors and can be mixed to create custom hues. Additives like mica powders, glitters, or foils can be incorporated to achieve different effects. Selecting the right polymer depends on the desired aesthetic and functionality of the earrings being crafted.
Materials Needed for Polymer Earrings
To embark on creating polymer earrings, you’ll require:
- Polymer clay: Available in a variety of colors, choose the ones that align with your design goals.
- Rolling tool: A rolling pin or pasta machine flattens clay to the desired thickness.
- Cutting tools: Use craft knives, cookie cutters, or clay-specific blades for shaping.
- Oven: To cure the clay, ensuring it hardens and sets properly.
- Work surface: A smooth, non-porous surface like glass or ceramic prevents sticking.
- Earring findings: These are the hardware parts like hooks, jump rings, and posts that attach to the ear.
- Pliers: Essential for bending wires and attaching findings to your earrings.
- Glaze or sealant (optional): Provides a finish to the earrings which can be matte, shiny, or textured.
Each tool and material plays a pivotal role in the process, from sculpting to the final presentation.
Step-by-Step Guide to Making Polymer Clay Earrings
Before you begin, ensure your work area is clean and you have all necessary tools at hand. Preheat your oven according to the clay manufacturer’s instructions.
1. Condition the clay: Start by kneading the polymer clay to make it pliable. Rolling it in your hands or using a pasta machine can help soften the clay and prepare it for molding.
2. Shape the earrings: Flatten the conditioned clay to your desired thickness, usually about 1/4 inch, with a rolling pin or clay roller. Use cutters or a blade to cut out shapes for your earrings. You can create simple geometric shapes or more intricate designs based on your preference.
3. Add texture and details: Use stamps, textured materials, or carving tools to emboss patterns or add finer details. This step is where you can infuse creativity into each piece.
4. Make holes for hanging: Use a needle tool or a small drill bit to carefully make holes through which you’ll attach the earring hardware. Ensure the holes are smooth and properly aligned.
5. Bake the clay: Place your shaped and detailed clay pieces on a parchment-lined baking sheet and bake them in the oven according to the time and temperature specified by the clay manufacturer.
6. Cooling: After baking, let the clay cool completely before handling to avoid any deformation.
7. Assemble the earrings: Attach jump rings and earring hooks to the cooled clay pieces through the holes you’ve made earlier. Use pliers to open and close the jump rings securely.
8. Add finishing touches: Apply a clear glaze or varnish if desired for a glossy finish and extra protection.
Remember to follow all safety measures while baking and handling the clay, especially when using sharp tools and working with high temperatures.
Design Inspiration for Polymer Clay Earrings
When looking for inspiration to design your polymer clay earrings, consider the following points:
- Nature: Observe the patterns, shapes, and colors found in nature. Leaves, flowers, and animal prints can translate into beautiful and organic earring designs.
- Art Movements: Gain ideas from art history, such as the bold colors of Pop Art, the geometric shapes of Cubism, or the whimsical swirls of Art Nouveau.
- Fashion Trends: Look at current fashion trends for popular themes and color schemes that could appeal to a broad audience.
- Cultural Motifs: Explore motifs specific to different cultures, like mandalas or Celtic knots, which can add a touch of global appreciation to your designs.
- Personal Interests: Create designs that reflect personal hobbies or passions, such as music, astronomy, or literature, to resonate on a personal level.
- Texture and Color: Experiment with combining various textures and a palette of colors to create unique and visually engaging pieces.
- Social Media: Utilize platforms like Pinterest and Instagram to see what styles or themes are trending in the handmade jewelry space.
Remember, while inspiration can come from anywhere, ensure your designs are original and do not infringe on other artists’ work.
Safety Tips When Working With Polymer Clay
While polymer clay is non-toxic, it’s still important to handle it with care, especially when curing it in the oven. Ensure proper ventilation in your workspace to avoid inhaling any fumes. Always bake the clay according to the manufacturer’s instructions—overheating can release harmful chemicals.
Use dedicated tools and baking surfaces for your clay projects, as the residues shouldn’t mix with items used for food. To prevent skin irritation, wear gloves if you have sensitive skin or are working with clay for prolonged periods. After finishing your crafting session, wash your hands thoroughly to remove any clay residue. Keep your workspace clean to avoid clay particles accumulating over time.
Related Reading
 Polymer Clay Flowers: Crafting Delicate Blooms for Any Occasion
 Polymer Clay Christmas Ornaments: Craft Your Own Festive Decor
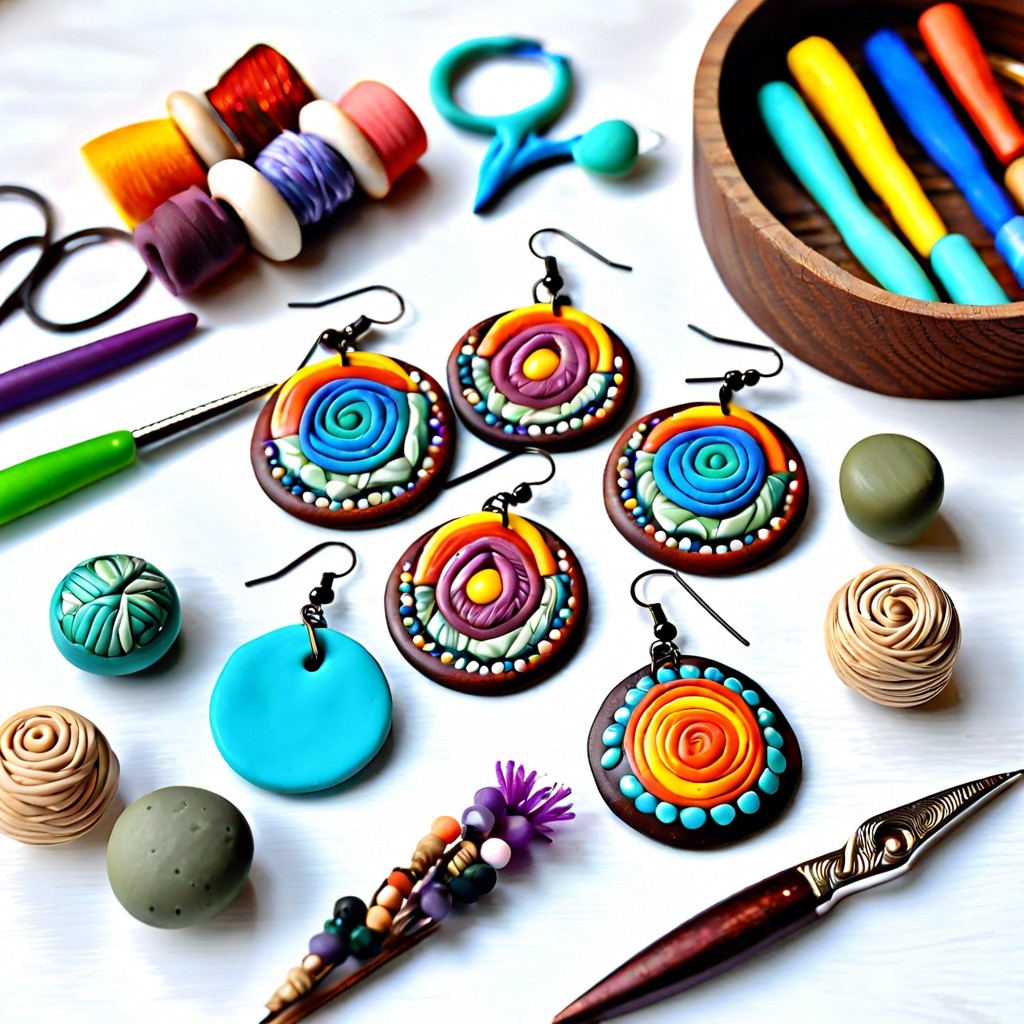 Polymer Clay Earring: Creating Fashion Statements with Your Own Hands
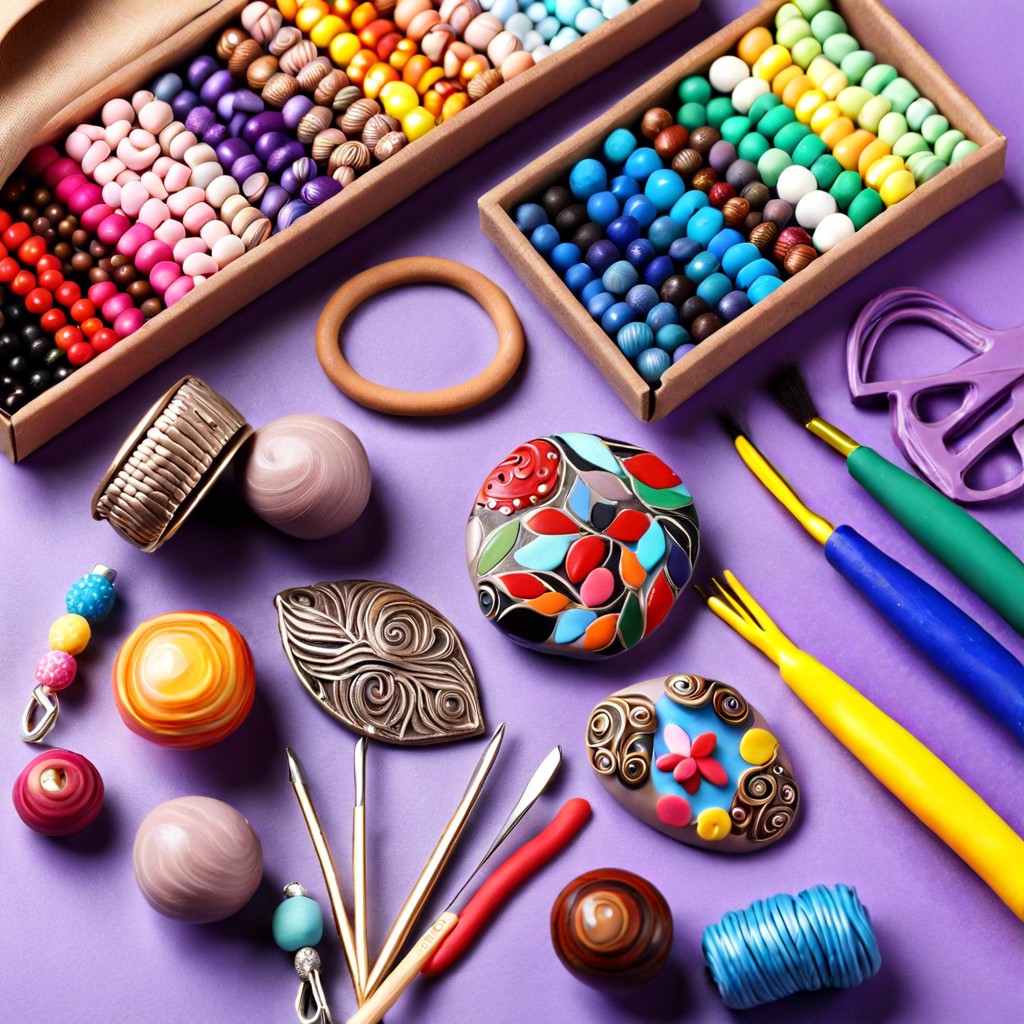 How to Make Polymer Clay Beads for Stunning DIY Jewelry
 Water Balz Jumbo Polymer Ball: The Ultimate Guide to Fun and Utility
Recap