Discover effective solutions to tackle the common problem of short shot injection molding in the construction industry.
Short shot injection molding is a common issue faced in the world of polymers and construction. It occurs when a plastic injection mold does not fill completely, leading to incomplete parts.
To fix this problem, there are several steps that can be taken. First, you might need to increase the injection speed or pressure, allowing the mold to fill before the plastic has a chance to cool and solidify. Another solution could be adjusting the mold temperature, as a hotter mold can keep the plastic fluid for a longer time. Additionally, consider the design of the mold itself; a simpler design with fewer and larger channels can help ensure complete filling.
This article will delve into these solutions in detail, providing a comprehensive guide to tackling short shot injection molding.
Key takeaways:
- Short shot injection molding occurs when a plastic injection mold does not fill completely.
- Increasing injection speed or pressure can help fill the mold before plastic solidifies.
- Adjusting mold temperature can keep plastic fluid for longer filling time.
- Designing mold with fewer and larger channels can ensure complete filling.
- Causes of short shot include material viscosity, improper venting, low temperature, frozen flow channels, and design problems.
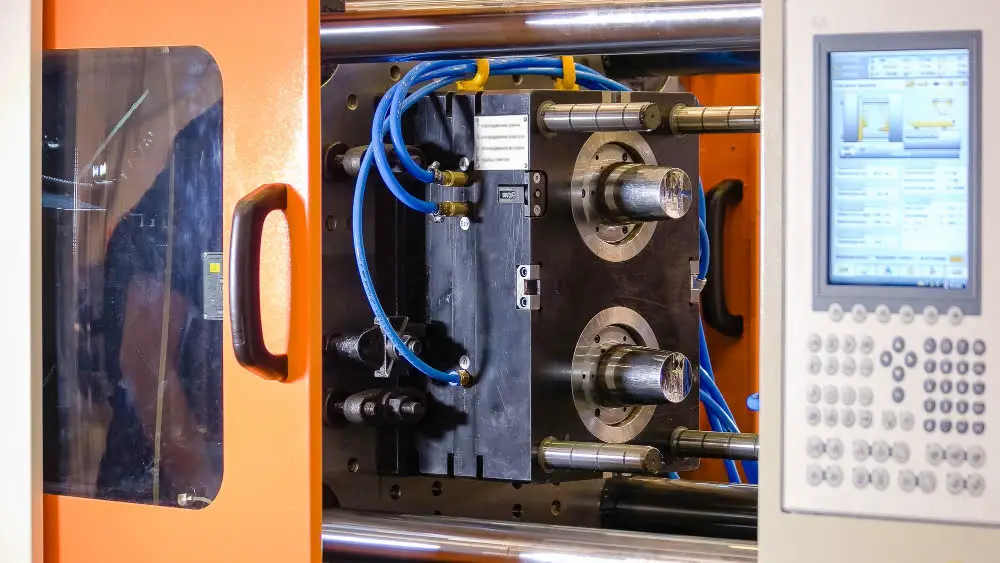
Understanding Short Shot Injection Molding
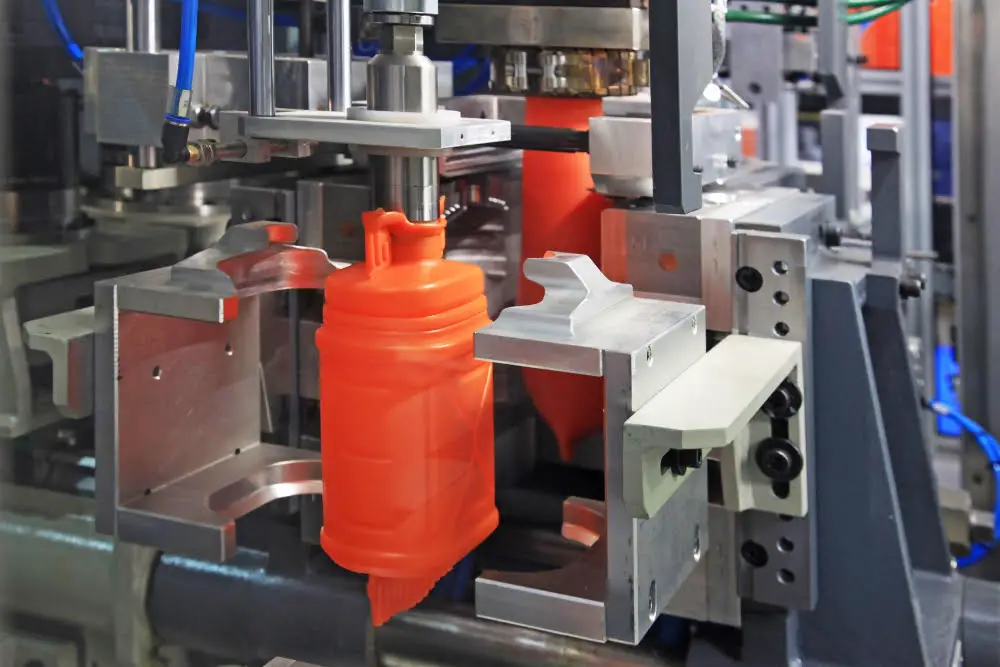
Short Shot Injection Molding is a common manufacturing anomaly that occurs when a molded part is not completely filled with molten plastic. This hiccup is due to the early solidification of this material before it can fill the full cavity of a mold.
Here is a simpler breakdown:
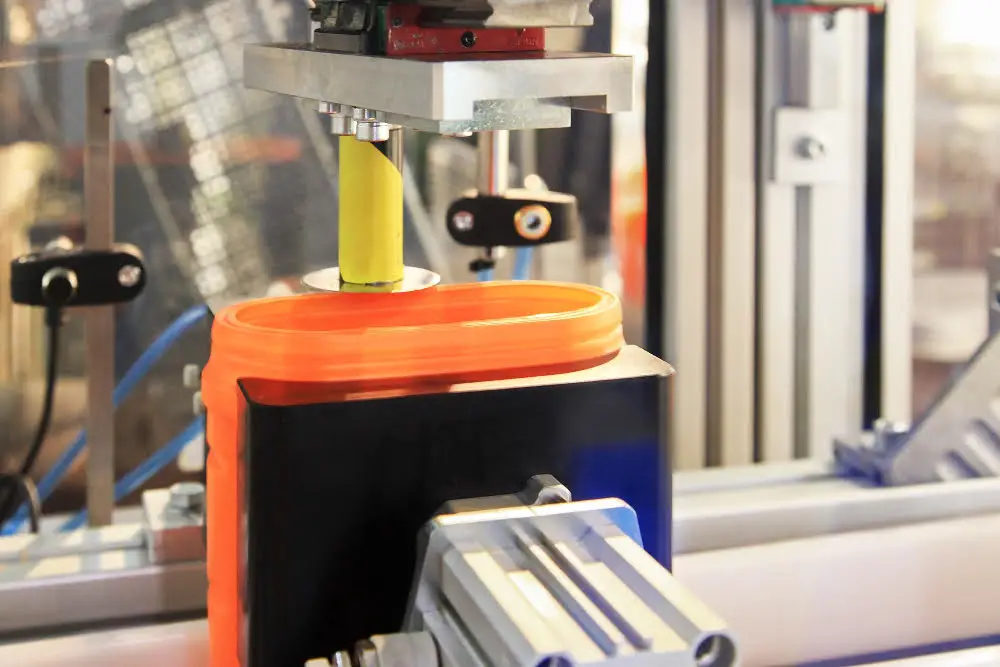
- The process commences with molten plastic injected into a mold.
- Under ideal conditions, the plastic fills the entire mold, capturing all intricate details.
- In a short shot scenario, the molten plastic fails to fill the entire mold.
- Premature cooling or setting of the plastic is often the culprit.
- The result is a product with incomplete or missing parts, leading to production waste and additional cost.
- Understanding this problem includes identifying its causes and implementing solutions to avoid future occurrence.
But what causes Short Shot Injection Molding, and how can it be fixed?
Primary Causes of Short Shot Injection Molding
Several factors play a key role in triggering short shot injection molding.
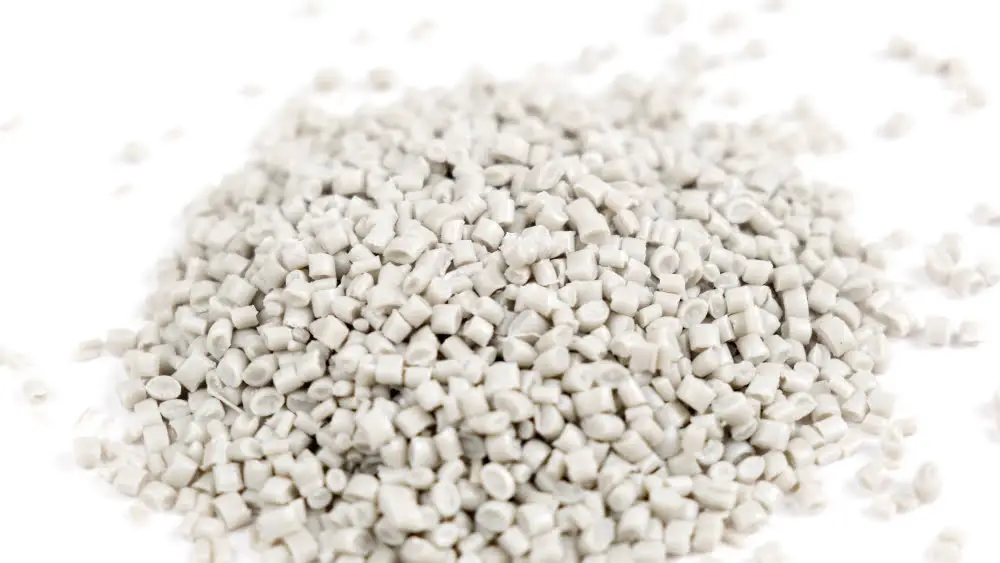
Firstly, material viscosity can be a major culprit. If the plastic material is too thick, it may not flow as smoothly into the mold, leading to incomplete parts. Choosing the right material with suitable viscosity is crucial.
Next, improper venting of the mold can create a vacuum effect. In simple terms, this means that the air inside the mold doesn’t have an escape route. This trapped air can stop the material from completely filling the mold, causing a short shot.
Temperature control is another important factor. An overly low temperature setting on the heater can prevent the plastic from fully melting, making it harder to inject into the mold. Thus, maintaining an optimal temperature balance is key.
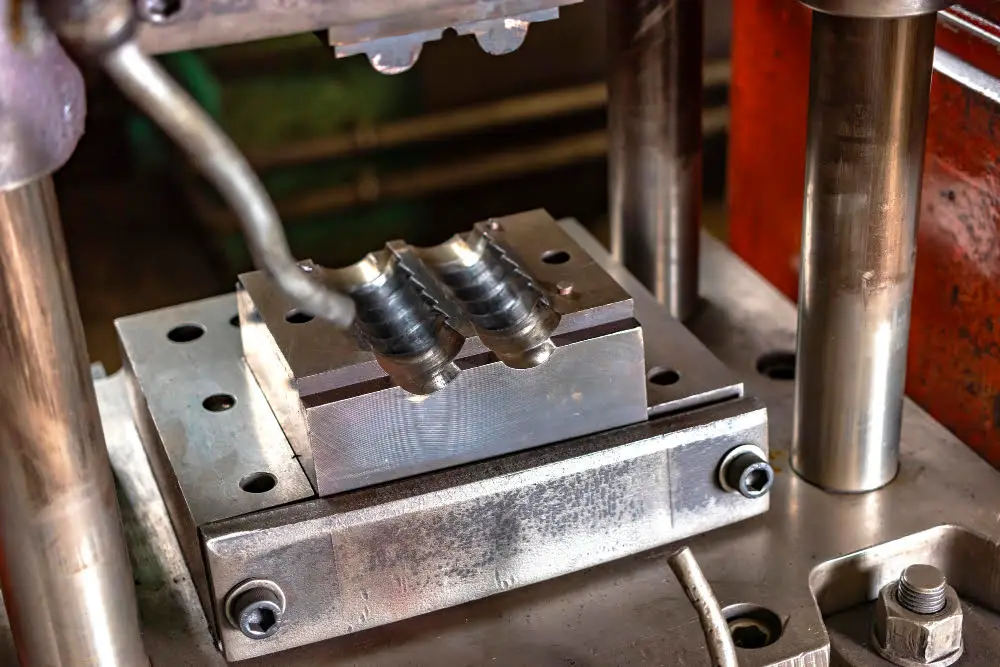
Additionally, blockage in the flow channels that supply the material to the mold often leads to short shots. If these channels, known as runners, are chocked or frozen, the material won’t be able to reach the mold, leading to incomplete parts. Frequent checks and cleaning can help prevent this.
Lastly, structural design problems, or not using Design for Manufacture principles, can also cause short shots. Here, the problem lies in how the mold is designed, with issues like complex geometries, thin walls or high aspect ratios preventing the material from filling the mold. Making changes in the mold design or using simulation tools can be a proactive solution.
Each of these factors could be affecting the end result of the molding process. Understanding them and knowing how to mitigate their effects will help improve the quality of the final parts.
Effect of Material Viscosity On Short Shot Injection Molding
Understanding the basic principle of viscosity is essential – it is the measure of a fluid’s resistance to flow. In the context of injection molding, higher viscosity means the molten polymer resists flowing through the mold, potentially leading to short shots.
1. Choosing the right material can help strike a balance. Materials with too high a viscosity may not fully flow into the mold before it begins to cool and solidify, while low-viscosity materials might flow too quickly, potentially causing their own problems.
2. Adjusting the injection speed is another important consideration. By increasing the injection speed, the material spends less time in the heated barrel, reducing its viscosity and enabling it to better fill the mold.
3. The mold temperature plays a role as well. A higher mold temperature can reduce the material’s viscosity, facilitating a better flow into the intricacies of the mold, thereby minimizing the risk of short shots.
Remember, knowing your material’s ideal conditions for effective injection molding is crucial to avoid short shots. The temperature, pressure, and the time it takes for the material to cool and solidify all matter when working with a high-viscosity polymer. Do thorough research or consult a professional if necessary, before initiating the process.
Influence of Improper Venting On Short Shot Injection Molding
Improper venting in the mold affects the quality of injection molding by leading to short shots. This happens when the air trapped in the mold cannot escape quickly enough, preventing the plastic from fully filling the mold.
Key areas to understand include:
- Air traps: If the injection mold is not correctly designed or vented, air traps are created stopping the material to fill the mold, causing short shots.
- Location of vents: For efficient molding, vents need to be precisely located at the end of the fill to prevent pressurized air from causing short shots.
- Size of vent: The size of the vent is also crucial. If it is too small, air may not escape quickly enough; too large, and plastic may seep through, affecting the molding process.
For practical steps to fix this:
- Analyze the mold design to ensure it allows for proper venting and reduce the possibility of air traps.
- Consider the precise placement of the vents, concentrating on the end of the fill where air is highly pressurized.
- Fine-tune vent size to find a balance between too small (causing slow air escape) and too large (allowing plastic to seep through).
Impact of Low Temperature in Short Shot Injection Molding
Plastic behaves differently at various temperatures. If the temperature is too low, the plastic will cool down prematurely. This can result in incomplete filling of the mold, leading to short shot.
Keeping plastics at the optimum temperature is crucial for efficient injection molding. Different types of plastic require different temperatures. Do carefully consult the plastic manufacturer’s guidelines to ensure materials are at their recommended temperatures.
One sign of low temperature in your process would be if the plastic in the hopper (the chamber holding the raw plastic pellets) appears glossy or slick. This can indicate that the plastic is not reaching a high enough temperature to fully melt, causing problems with the injection.
It’s worth keeping an eye on ambient temperature swings as well. Even if your machine settings are accurate, changes in the surrounding environment can affect the performance of your equipment and influence plastic behavior. Examine how changing seasons, daily temperature shifts or drafts from open doors and windows might be influencing your process.
Steps you can take to avoid the impact of low temperatures:
- Regularly monitor your machine temperature settings and make sure they match the recommendation from the plastic manufacturer.
- Consider the installation of insulation blankets around the machine to minimize the impact of ambient temperature.
- Regularly calibrate the heaters and the temperature sensors of the injection molding machine to ensure accuracy.
- Regularly check the plastic appearance in the hopper and adjust temperature as necessary.
- Use a “purging compound” to clean the machine regularly. This substance helps maintain the proper temperature inside the machine and prevent materials from degrading.
Remember, understanding the interaction of temperature and plastic is essential to successful injection molding. With the right knowledge and best practices, it is completely possible to minimize or eliminate short shot issues caused by low temperature.
Role of Frozen Flow Channels in Short Shot Injection Molding
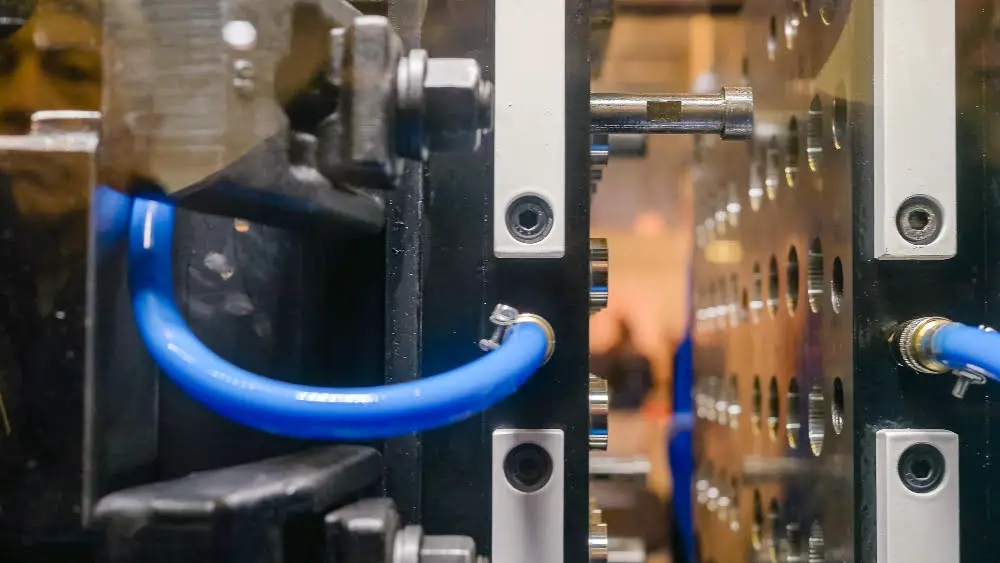
As the molten polymer travels through the mold channels, it begins to cool and can eventually harden before reaching the mold’s farthest points. This premature freezing is a common cause for short shots in injection molding. Frozen flow channels prevent the complete filling of the mold, resulting in incomplete parts.
To overcome this issue:
- Increase the material’s injection speed: A faster injection rate helps the plastic reach the mold’s farthest points before hardening.
- Opt for higher temperature settings: A higher mold temperature can prevent premature freezing of the plastic material. However, this needs to be balanced with the risk of degrading the polymer and the cooling time required for the final part.
- Use heated runners: This approach can maintain the polymer’s temperature as it travels through the flow channels, preventing premature freezing.
- Adjust wall thickness: Designing the mold with uniform wall thickness can ensure that freezing happens uniformly, reducing the chances of premature solidification in narrow sections of the mold.
Applying Design for Manufacture to Prevent Short Shots in Injection Molding
An effective solution to prevent short shots revolves around the concept of ‘design for manufacture’. This approach emphasizes designing with an understanding of the manufacturing process and its constraints, with the objective of ensuring successful and efficient production.
Through incorporating design for manufacture in injection molding, the likelihood of short shots occurring can be significantly reduced. The key considerations include:
- Optimize gate size and location: The gate regulates the flow of the polymer into the mold cavity. Its size and position can influence the filling pattern and pressure requirements.
- Ensure uniform wall thickness: Variations in wall thickness can result in an uneven flow of the material during the injection phase and lead to short shots. Strive for uniformity in the mold design to facilitate a smoother flow.
- Design appropriate runners: Runners guide the material from the injection unit towards the mold cavity. The design of runners, including their size, shape, and path, plays a significant role in preventing short shots.
- Develop venting solutions: Adequate venting is crucial for the escape of trapped air or gases during the injection process. Insufficient or improper venting can obstruct the complete filling of the mold, causing short shots.
Applying these design principles can substantially improve the overall quality and consistency of the end product, avoiding issues such as short shots in the injection molding process.
FAQ
What causes short shots in injection molding?
Short shots in injection molding are typically caused by restricted flow within the mold due to too narrow or blocked gates, trapped air pockets, insufficient injection pressure, material viscosity, and improper mold temperature.
How do you prevent short shot injection molding?
Preventing short shot injection molding can be achieved through proper venting to allow for air escape and ensuring a correct fill volume that is similar to the setup sheet, thereby enabling the pack pressure to completely fill and pack out the part.
What causes a short shot?
A short shot is primarily caused by the uneven flow in each gate of a multi-cavity mold, resulting in mold cavities not being distributed in a balanced way.
What is short shot injection molding?
Short shot injection molding occurs when a plastic injection molded part does not completely fill, resulting in a missing portion, often caused by issues like poor venting or material variations.
What factors influence the occurrence of short shots in the injection molding process?
Short shots in the injection molding process can be influenced by factors such as insufficient injection pressure, too-fast cooling of the polymer, and inadequately designed molds.
How does material choice affect the likelihood of short shot injection molding?
Material choice significantly affects the likelihood of short shot injection molding as different materials have varying melting points and viscosities, which can either facilitate or hinder the complete filling of the mold.
Can operator errors lead to short shots in injection molding?
Yes, operator errors can indeed lead to short shots in injection molding.
Related Reading
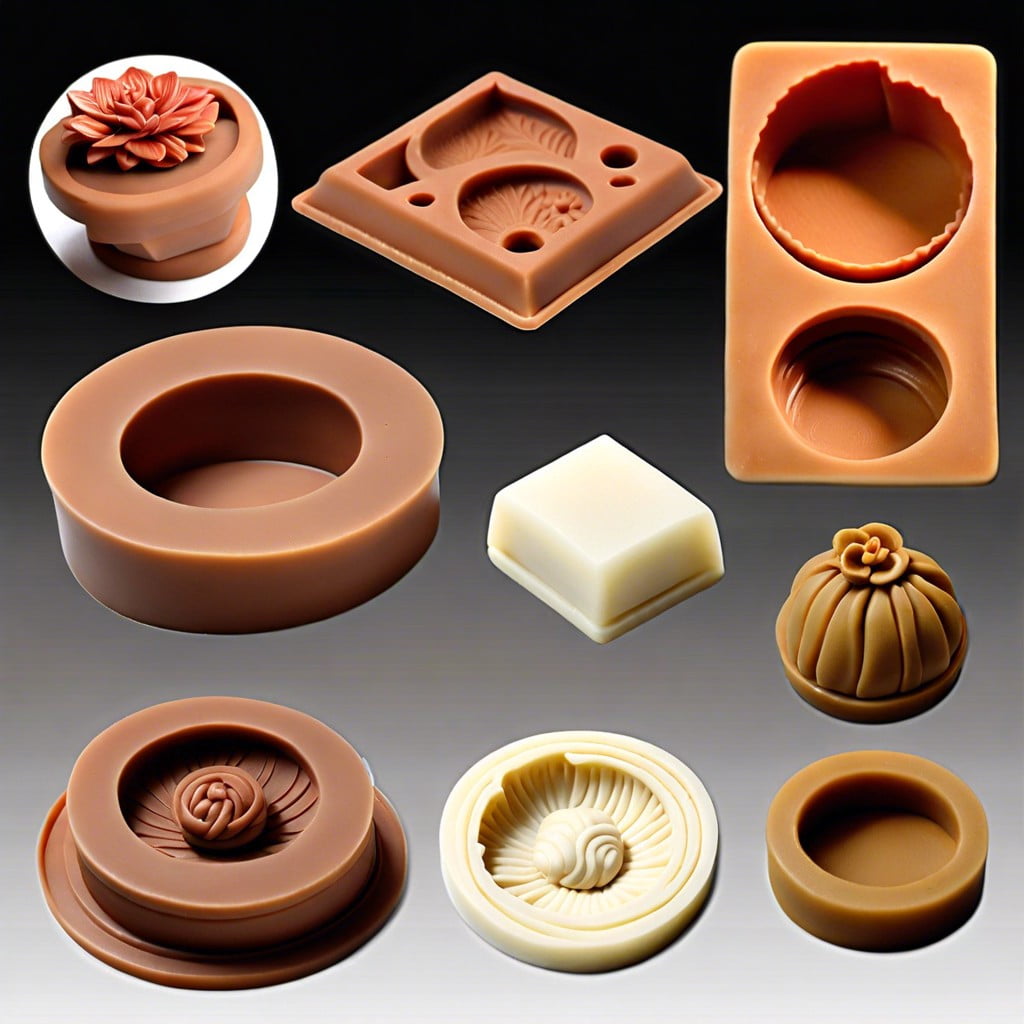 Polymer Clay Molds: How to Create and Use Them Effectively
Polymer Lower: Understanding Its Uses and Benefits in Modern Applications
 Polymer Molding: Understanding the Process and Its Applications
 How to Find Plastic Extrusion Clients: A Comprehensive Guide to Acquiring Business Leads
 How to Make Plastic Fence Extrusion: A Comprehensive Guide for Beginners
Recap