Discover the versatility and process of polymer molding, a technique central to crafting a myriad of everyday items from plastic toys to automotive parts.
Key takeaways:
- Polymer molding involves manipulating plastics to create desired shapes and functionalities.
- The process requires precise control of temperature, pressure, speed, and cooling.
- Key equipment includes injection machines, molds, and clamping units.
- The injection molding cycle consists of melting, injecting, cooling, and ejecting.
- Different types of injection molding processes include thermoplastic, thermoset, reaction, structural foam, and overmolding.
Process Characteristics
Diving straight into the nuts and bolts, polymer molding is all about precision and control. This process involves manipulating plastics to adopt desired shapes and functionalities. It starts with the selection of the right kind of polymer. The chosen material affects not just the final product’s appearance, but also its strength and flexibility.
Temperature is a key player here. By heating the polymers to a specific melting point, they become malleable enough to be cast into molds. This stage is a delicate balance; too hot and the material may degrade, too cool and it won’t fill the mold properly.
Pressure also has a starring role in ensuring the material fills the entire mold cavity. Think of it like filling an ice cube tray with water. If you just pour gently, you’ll get some splashing and not all cubes will be perfect. But with a controlled, steady pressure, each nook and cranny of the tray gets filled to the brim, leaving no room for pesky air pockets.
Speed is another factor. Picture the hare and the tortoise—rushing can introduce flaws, but too slow a pace risks imperfections as the material starts setting too soon. The art is in finding the sweet spot, where the material flows smoothly and quickly enough to create an even finish without compromising quality.
Lastly, cooling is the period where patience is key. Once the mold is filled, the material needs to solidify. Cut this process short and you risk a product that’s like half-baked cookies—seemingly fine on the outside, but a gooey mess underneath. Perfect timing leads to a solid, stable product ready for the world.
These process characteristics are the secret sauce to successful polymer molding: material selection, temperature control, pressure consistency, optimal speed, and adequate cooling. Fine-tune these elements and you’ll have a symphony of plastics at your fingertips.
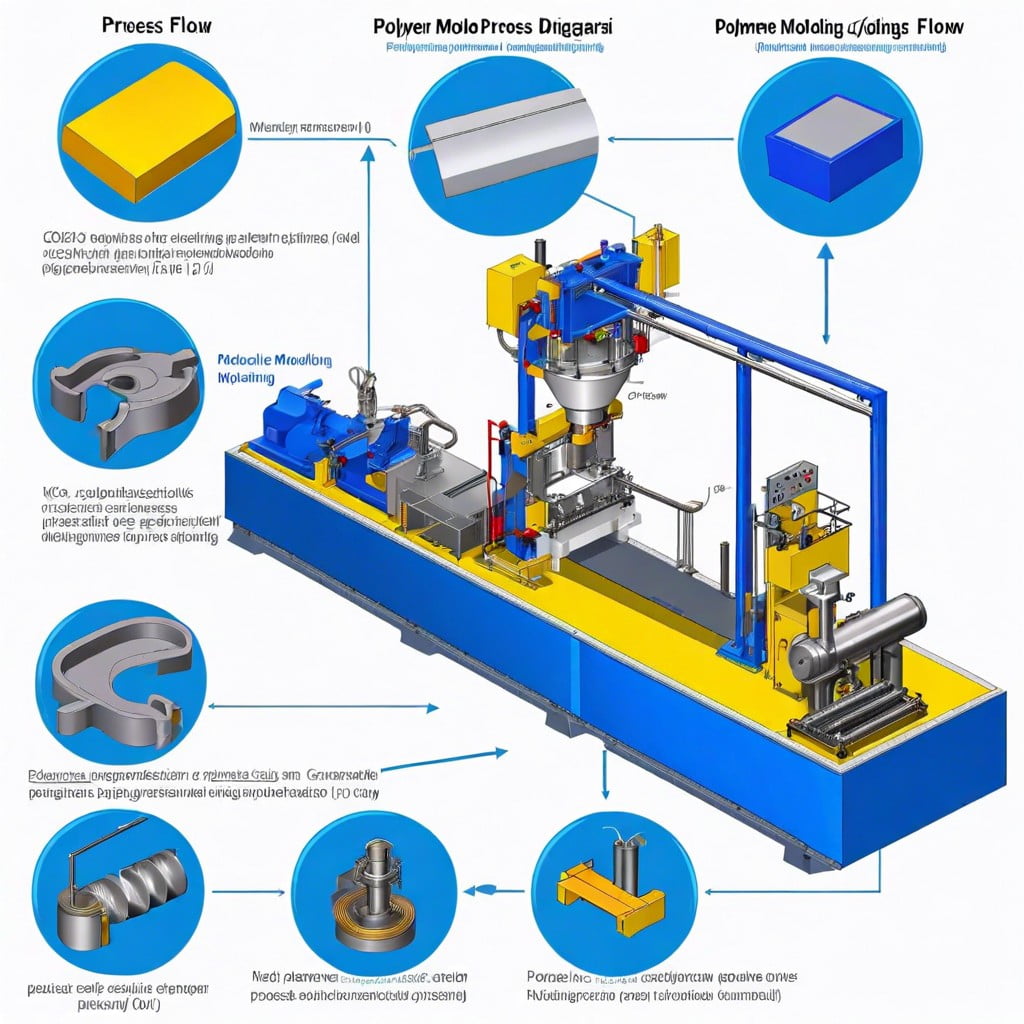
Equipment
Diving straight into the nuts and bolts, polymer molding hinges on some key pieces of equipment:
First up, the injection machine. Picture this as the captain of the ship – it melts, injects, and cools the polymer. It’s where the magic begins! With a hopper to feed in the raw polymer, a heater to melt it down into a gooey liquid, and a high-pressure system to inject it into the mold, this machine is a multitasking marvel.
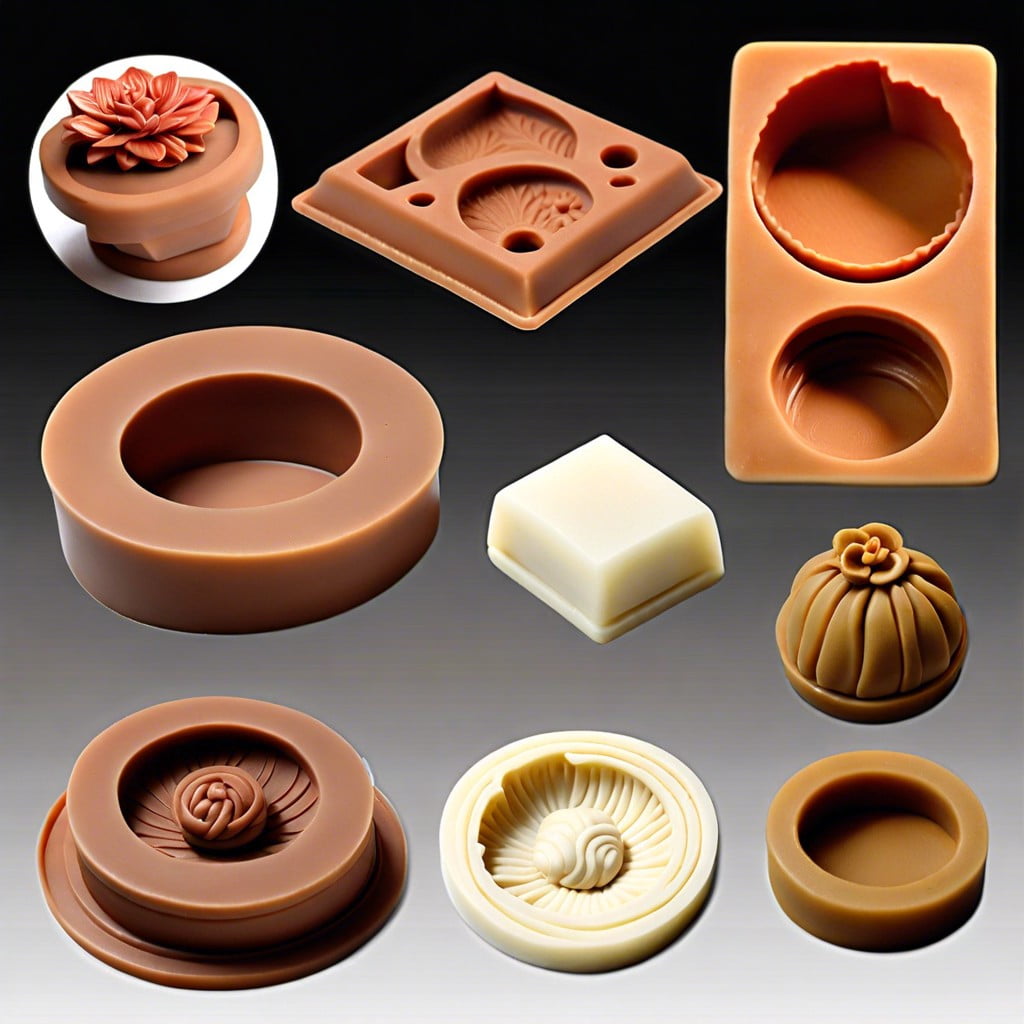
Next, molds are the stars of the show. They’re like waffles irons for your plastic – but way more complex. Crafted from steel or aluminum, they define the final shape of your product. Precision is the game; every nook and cranny in the mold will be mirrored in the output.
Last but not least, let’s talk about the clamping unit. Stronger than your stubborn jar lid at home, this part holds the mold tightly together while the molten polymer is injected. After the mold is filled, it keeps everything in place while the material cools down and solidifies.
Together, these components form the dynamic trio of polymer molding. Without them, our everyday objects would be just… formless ideas!
Injection Moulding Cycle
Injection molding transforms raw polymer materials into finished parts through a series of steps:
- Melting: First up, polymers enter the machinery where they’re warmed until they’re as gooey as melted cheese on pizza—this is done inside a heated barrel.
- Injecting: Like squirting icing onto a cake, the molten polymer is then shot into a mold, which is basically a metal template with the shape of the desired part cut out.
- Cooling: Now, patience is key. The injected material starts to cool and solidify, taking the shape of the mold, similar to how a liquid-filled ice tray turns into ice cubes in the freezer.
- Ejecting: As the final step, once the part has set, it’s like a toaster popping up breakfast; the newly formed part is ejected from the mold, ready to make its way in the world.
Throughout this process, precise timing, pressure, and temperature control are the tricksters. Get them right, and you’ve got yourself a perfect part. Skimp on them, and you might face a mutiny on the factory floor.
Different Types of Injection Moulding Processes
Diving into the diverse ways we can shape polymers, let’s kick off with thermoplastic injection molding. It’s like the Swiss Army knife of the molding world – versatile and widely used. In this process, we heat plastic pellets until they’re molten, then inject them into a mold where they cool and solidify into the final shape.
Switching gears, there’s thermoset injection molding. Think of it as thermoplastic’s cousin who likes to play it cool but can withstand heat. Once these plastics are set, they’re like that super glue mishap – no remelting, no reshaping.
For those intricate designs where detail is king, reaction injection molding jumps into the spotlight. It’s where we mix two liquid components, which react and cure inside the mold. It’s perfect for strong, lightweight parts like car bumpers.
Ever play with a sandwich maker? Well, structural foam injection molding is similar, but with plastic. It adds a foaming agent, resulting in a sturdy ‘sandwich’ with a softer core and a hard crust—ideal for strong, yet lightweight structures.
And lastly, let’s not forget about overmolding. It’s like giving your plastic part a cozy sweater made of another material, usually to add grip or aesthetics to the part. Think toothbrushes with those comfy rubber grips.
Each process has its stage to shine, depending on the final encore you’re after. Keep in mind, no method is a one-size-fits-all; it’s all about striking the right chord for your project.
Moulding Defects
In the polymer molding dance, not every move is flawless. Sometimes, the polymers get a little too creative and we encounter defects. These unintended quirks can arise from a range of issues, including the design of the mold, the conditions under which the polymer was molded, or the characteristics of the polymer itself.
Imagine trying to fill an ice cube tray too quickly; some sections might overflow or not fill completely. Similarly, short shots happen when the mold isn’t filled completely with polymer, akin to finding a half-formed ice cube in your tray.
Weld lines are like the lines you get when you try to repair a torn piece of paper with tape. They occur when two flow fronts meet and don’t mix properly, which can potentially weaken our final product.
Unwanted textures on your finished product’s surface are akin to encountering unexpected speed bumps on a freshly paved road. These sink marks occur where the material shrinks more than expected as it cools.
Let’s not forget about the nuisance of warping, where parts distort as they cool, much like a vinyl record left out in the sun. It’s a reminder that materials can sometimes have a mind of their own.
Each defect tells its own tale of where the process might need a tune-up. Addressing these issues promptly keeps the molding process humming along, yielding products that are both strong and pleasing to the eye. Keep an eye on these cheeky little signs, and you’ll keep the rhythm of polymer molding upbeat and efficient.
Related Reading
 Polymer Clay Molds: How to Create and Use Them Effectively
Polymer Lower: Understanding Its Uses and Benefits in Modern Applications
 How to Find Plastic Extrusion Clients: A Comprehensive Guide to Acquiring Business Leads
 How to Make Plastic Fence Extrusion: A Comprehensive Guide for Beginners
 How to Remove Masking from Plastic Extrusion: Simple & Effective Techniques
Recap