Explore effective techniques to remove masking from plastic extrusion, ensuring a clean and efficient process.
Masking on plastic extrusions can sometimes be a challenge to remove, but with the right technique, it becomes a breeze. This article provides a straightforward solution to effectively eliminate the masking without damaging the plastic. We’ll delve into the specifics of the method, discussing the necessary tools and precautions to take, ensuring a smooth, damage-free result.
Stick around for a comprehensive guide that will make the task of removing masking from plastic extrusions simple and hassle-free.
Key takeaways:
- Masking protects plastic extrusion from scratches and damage.
- Paper and plastic are commonly used for masking material.
- Proper removal techniques prevent residue build-up and surface scratches.
- Safety precautions include wearing gloves and safety glasses.
- Effective masking removal ensures a high-quality finished product.
Basics of Masking in Plastic Extrusion
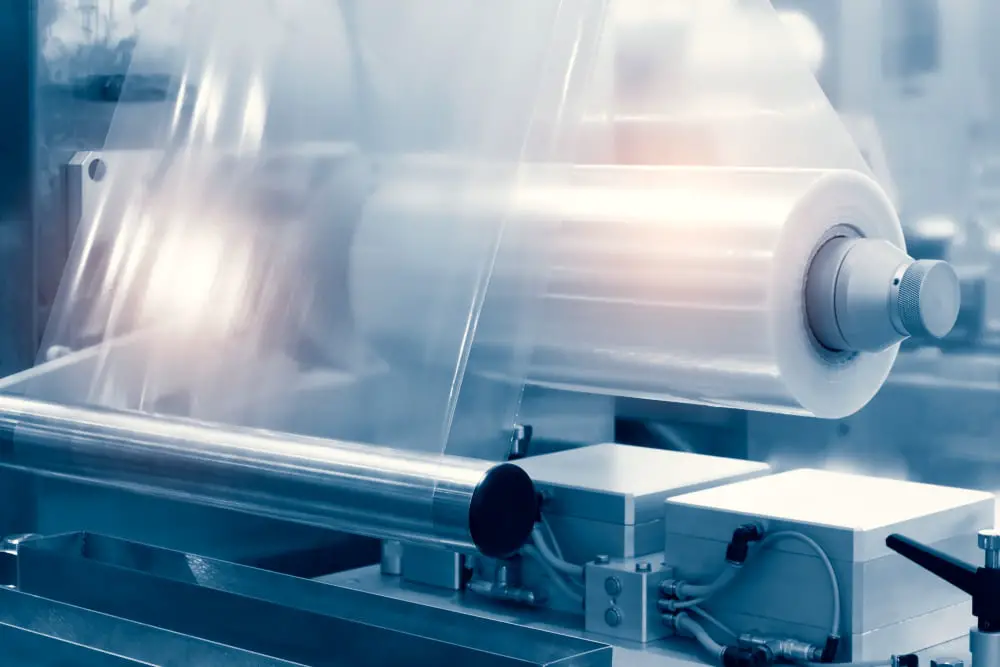
Masking plays an essential role in plastic extrusion processes, offering a protective layer during both production and manipulation of the final product. Typically, it involves the application of a thin, protective film to the surface of extruded products. This protective layer guards against damage from scratches, dust, and other potential external threats, ultimately ensuring a clean and unmarred final product.
Primarily, manufacturers utilize two types of masking material – paper and plastic. Paper masking, often made from kraft paper with an adhesive backing, is common for applications that require an inexpensive, yet effective form of protection. In contrast, plastic masking, which is a polyethylene film, provides greater durability and resists moisture, an ideal pick for applications exposed to harsh or water-prone environments.
To implement the masking, the manufacturer applies the masking material directly to the plastic once it exits the extrusion die and starts to cool. This immediate application allows the masking to become firmly bonded to the plastic’s surface.
The removal of this masking layer requires careful handling to avoid damaging the underlying product. Missteps, such as hasty removal or leaving the masking on for too long, may result in residue build-up, surface scratches, or patchy sections. Thorough knowledge about the right time and techniques for removing the masking can help to avoid these issues.
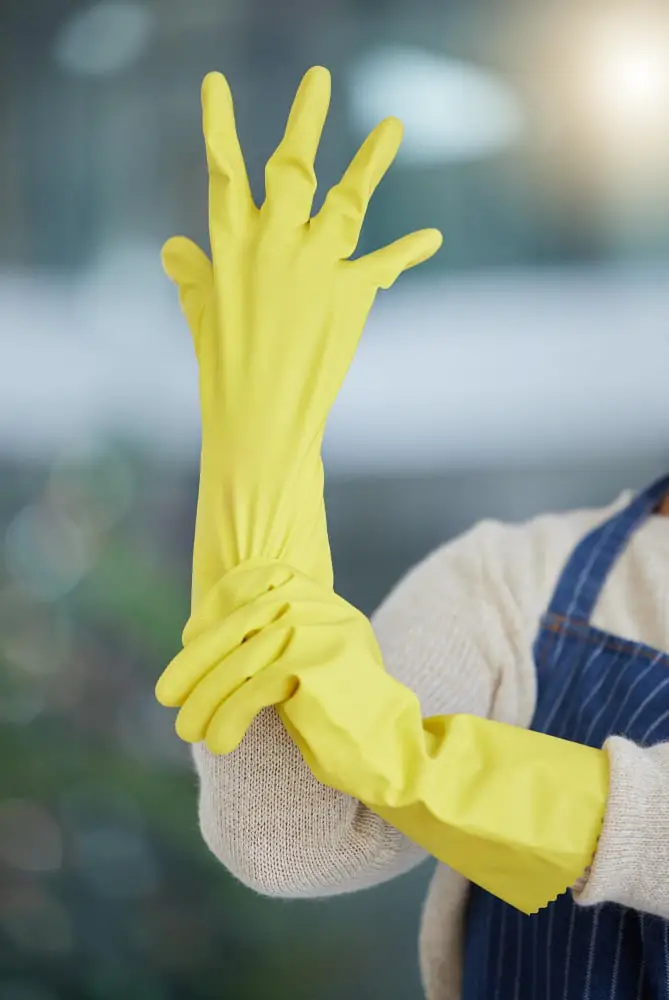
Remember, wearing protective gear while handling plastic extrusion products is a prudent safety measure. Gloves can protect the handlers’ hands from possible sharp edges, while safety glasses shield the eyes from potential flying particles during the removal process.
Purpose of Protective Film For Acrylic Sheets

The protective film on acrylic sheets serves several important functions. Firstly, it protects the surface from scratches and abrasions during transportation and handling. It also shields the acrylic material from direct sunlight and UV rays that may cause discoloration and reduce its visual clarity.
This film acts as a barrier against chemical or paint spills during the fabrication or construction process, preventing any damage to the acrylic sheet. Importantly, it enables quality inspection and approval, as any defects or scratches on the surface directly affect the aesthetic and functional properties of the acrylic sheet.
Removing this protective film requires caution to avoid causing damage to the acrylic sheet. Doing so too quickly can generate static electricity, attracting dust particles. On the other hand, leaving the film on too long can make removal difficult, especially under certain temperature or humidity conditions, as the adhesive may bond more tightly to the acrylic sheet over time.
The steps to remove the protective film are straightforward:
- Start at a corner of the sheet and gradually pull the film back over itself, not upwards. This reduces the risk of static electricity.
- Avoid using sharp objects, which could potentially scratch or damage the surface of the acrylic.
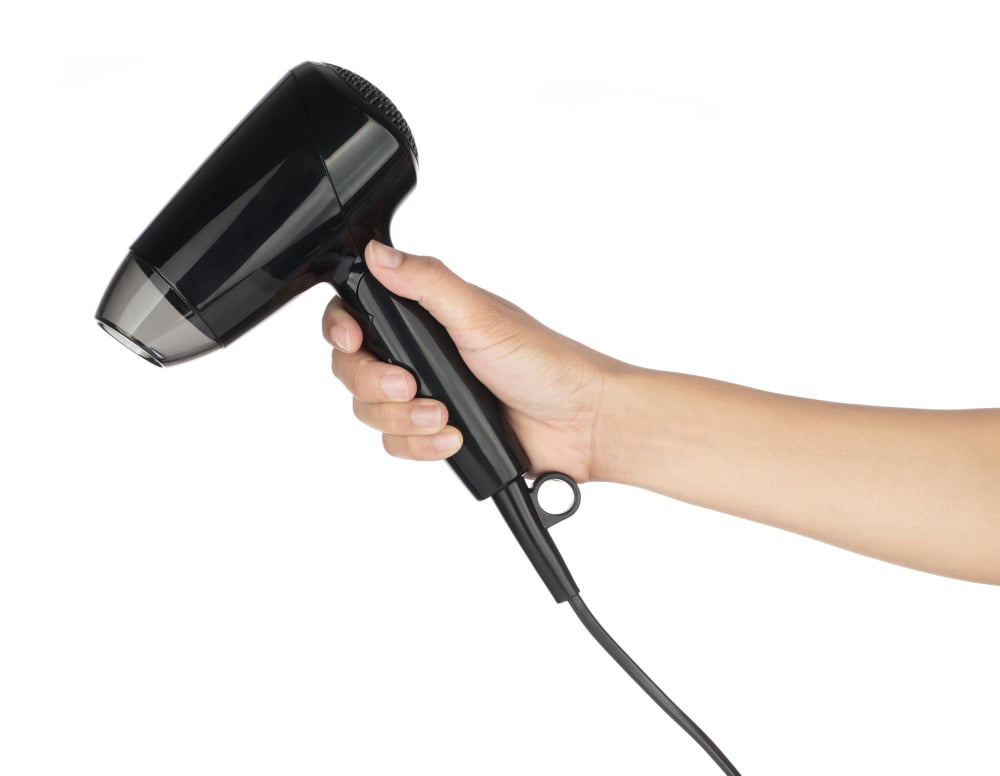
- If resistance is encountered while peeling, applying moderate heat with a heat gun or hairdryer can soften the adhesive and make the process easier. However, keep the heat source moving to avoid overheating and warping the sheet.
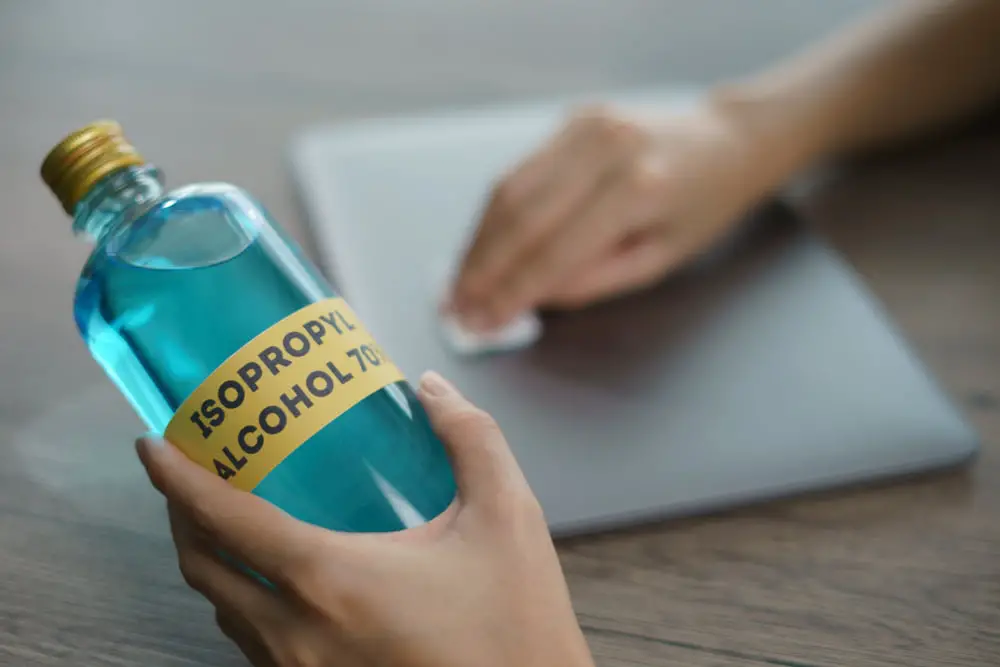
- If the film becomes hard to remove due to age or exposure, mild solvents like isopropyl alcohol can help loosen the adhesive without harming the sheet. Always test the solvent on a small, discreet portion of the sheet to ensure no discoloration or other adverse effects occur.
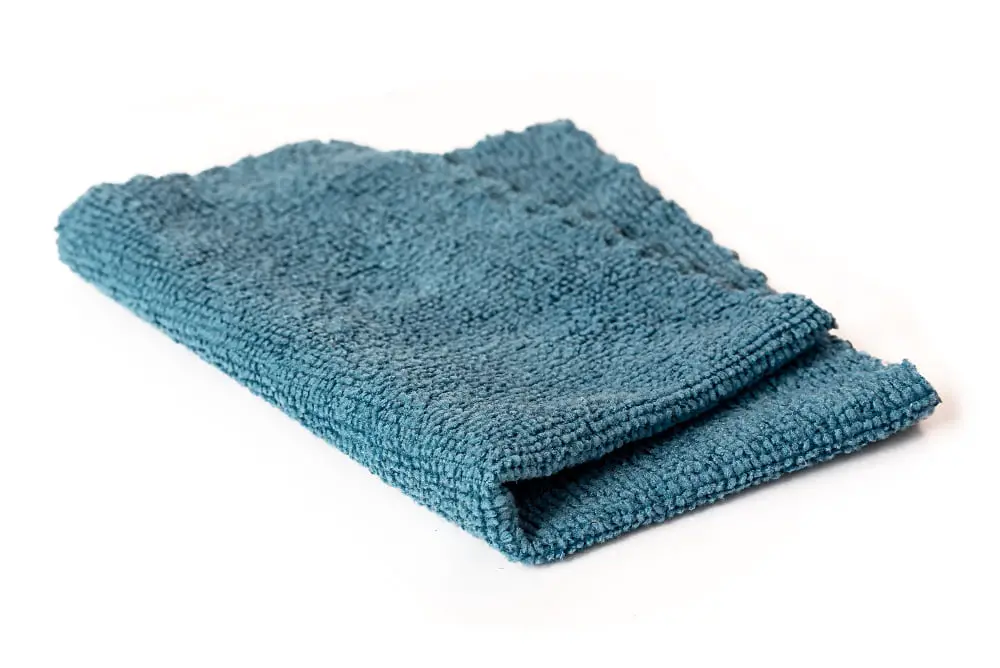
- Finally, clean the surface with a soft cloth and mild cleaning solution to remove any remaining adhesive residue.
Remember, each step must be performed with care to maintain the quality and longevity of the acrylic sheet.
Steps to Remove Paper Masking From ACRYLITE® Sheet
Firstly, lift one corner of the film using a non-abrasive tool or your fingernail. It is imperative to avoid using sharp objects that could potentially scratch the plastic.
Proceed by slowly pulling the film off. It is essential to do this gradually. Quick removal can create static electricity that could attract dust to the surface of the plastic sheet.
When the film sticks, apply a heat source, such as a hairdryer, to make it more pliable. Be sure to maintain a safe distance to prevent damage to the acrylic sheet.
Wipe the sheet with a mix of mild dish soap and water to clear off any residue. Use a soft cloth to prevent scratching the acrylic surface.
Lastly, dry the surface with a lint-free cloth. Always ensure you’re working in a clean area to keep the newly exposed surface free of dust and dirt particles. Avoid using strong cleaners or solvents that can damage the acrylic sheet.
How to Handle Protective Film in Acrylic
Handling protective film on acrylic appropriately is crucial for maintaining the quality of the final product. First, ensure the acrylic sheet is clean and dry. Avoid a dusty or humid environment, as it can interfere with the masking process.
Next, align the film onto the sheet. Always begin from one end and gradually move towards the other, smoothing down the film as you go. This approach helps to minimize air bubbles which can cause film peeling.
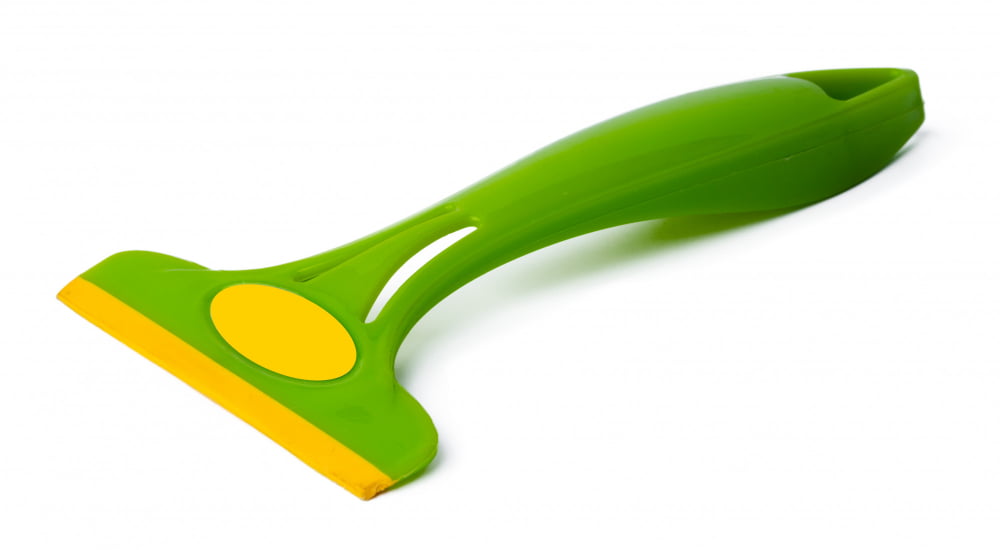
While applying the film, avoid using sharp objects, such as blades, to smooth out the film; this could lead to unnecessary scratches on the plastic. Instead, use a plastic scraper or simply your fingers.
Always remember to protect the masked acrylic piece from extreme temperatures until it’s ready for use. Exposure to too much heat can cause the film to adhere strongly to the plastic, making it difficult to peel off.
When storing, place the acrylic sheets in flat stacks, and avoid putting weight on them. This reduces the risk of film indentation on the plastic surface.
Finally, be gentle while removing the film. Pull it off slowly at a 180-degree angle. Rushing or using force can lead to an uneven surface as the film may tear, leaving fragments on the plastic.
Resolving Common Difficulties in Removing Protective Film
If the protective film is torn or fragmented, moisten the area with a spritz of soapy water to loosen the film. Using a plastic scraping tool for the job can avoid leaving scratches on the extrusion.
At times, the masking adheres strongly due to exposure to heat or sunlight. Keeping the masked plastic in a cooler environment often softens the masking, preparing it for easier removal.
Age can cause the masking to stick aggressively to the plastic extrusion. A low-speed, high-torque drill with a rubber wheel attachment can gently yet effectively lift older masking.
For stubborn film, an adhesive remover or rubbing alcohol applied conservatively can weaken the film’s adhesion, allowing it to be scraped away.
Residues from the masking film might be left behind post removal. These can be wiped away with a soft cloth soaked in warm soapy water, taking care not to scratch the surface.
Always remember to pull or peel away the masking at a tight angle against the plastic surface. This reduces the potential of leaving residue or tearing the film.
Lastly, patience is key! Rushing the removal process can lead to damage or difficulty in removing the film entirely. Apply consistent, steady pressure, and let the masking peel off at its own pace.
Tips to Remove Old Film Stuck On Plastic Extrusion
Removing old film or masking stuck on plastic extrusion is often a frustrating task but can be made easier with the following tips:
- Using Heat: A hairdryer can be used to heat the film lightly, which makes the adhesive underneath it more pliable, causing the film to loosen up. It is essential not to heat the film too much as this might damage the plastic underneath.
- Peeling: Beginning at a corner where the film’s edge is visible, slowly and carefully peel off the film. Pull it at an angle instead of straight up to avoid breaking it prematurely.
- Applying Adhesive Remover: In case of stubborn areas, commercially available adhesive removers can be used. Ensure to choose a remover that is safe for use with the specific type of plastic extrusion. Apply, let it sit for the instructed time, and then wipe or gently scrape off.
- Cleaning: Once the film has been completely removed, clean the surface of the plastic extrusion with a mild soap or a plastic-cleaning solution to remove any adhesive residue.
- Handling with Care: Avoid using sharp objects to pick at the film or scrubbing too hard on the plastic surface as this can lead to scratches or other damage.
These tips focus on carefully removing the film while maintaining the quality of the plastic extrusion underneath. Proper safety precautions should be taken, including the use of safety glasses and gloves, while handling the adhesive remover or any sharp tools.
Impact of Effective Masking Removal On the Quality of Plastic Extrusion
Effective removal of masking affects the quality of the finished product in several ways.
Masking protects acrylic sheets from getting scratched or damaged during the manufacturing and transportation stages. When removed properly, this leaves the surface clean and clear, ready for any subsequent treatment or finishing.
Wrong removal can damage or scratch the surface. For instance, if the masking is pulled off too quickly, it might generate static electricity that can attract dust and debris.
Keeping the plastic extrusion at room temperature before removing the protective film helps to prevent the film from breaking or tearing during the process.
Using a plastic blade, rather than a standard metal one, to initiate the film removal minimizes the risk of scratching.
The angular direction of the film removal is also crucial. The film should be removed perpendicular to the surface, not parallel or at an angle, to avoid undue force on the surface.
In cases when the film is stuck on the acrylic, soaking it in warm, soapy water can soften the adhesive and make the removal easier.
The state of the plastic after film removal often dictates the quality of the final product. A well-handled, undamaged surface provides a better base for further processing, adhesive bonding or printing.
The protection offered by the film also extends into the customer’s end. It acts as a selling point, ensuring the product reaches the customer without any damage or scratches. Customers generally prefer a product with intact film, as it guarantees a scratch-free surface until the moment of final installation.
Remember to dispose of the used film responsibly since it’s a plastic product. Recycling or reusing the protective film can contribute towards the company’s sustainability goals.
In all instances, follow safety measures to ensure a safe work environment. Wearing gloves can protect your hands, while safety glasses prevent any stray pieces of plastic from entering your eyes.
By mastering the art of effective masking removal, you can ensure a high-quality, damage-free finished product, be it for any type of plastic extrusion.
Maintaining Safety While Removing Masking From Plastic Extrusion
To promote safety during masking removal on plastic extrusions, adherence to specific guidelines and usage of appropriate tools is crucial.
Always wear protective gloves. Some masking materials may have sharp edges that could cut or irritate the skin. Gloves also improve grip, reducing the risk of dropping and damaging the extrusion.
Avoid using sharp objects like knives or metal scrapers for removing masking. They can damage the surface of the plastic and potentially cause personal injury. Instead, employ plastic scrapers or special adhesive-removing tools.
Application of heat can often facilitate the removal of paper or film masking. A hairdryer or heat gun on a low setting can be used to lightly warm the masking, making it more pliant and easier to peel off. However, it is imperative to remember not to overheat the surface as it can lead to melting or deforming of the plastic.
Ensure proper ventilation if you need to use a chemical solvent to dissolve stubborn adhesive residue. Read and adhere strictly to the manufacturer’s safety instructions.
Never rush the process. Rapid movements can result in accidents and potentially damage the extrusion. The goal is to progressively unmask the plastic surface while maintaining the integrity of the product.
FAQ
What are the most effective methods for cleaning plastic extrusion dies?
The most effective methods for cleaning plastic extrusion dies include using ultrasonic cleaning, manual cleaning with a non-abrasive tool, or applying a professional-grade cleaning solution specific to the type of polymer residue.
How does the type of polymer used impact the process of removing masking from a plastic extrusion?
The type of polymer used significantly impacts the process of removing masking from a plastic extrusion as different polymers have varying degrees of adhesion to the masking material, demanding distinct removal techniques.
Does the temperature influence the easiness of masking removal from a plastic extrusion?
Yes, temperature significantly influences the ease of masking removal from a plastic extrusion as higher temperatures can soften the adhesive, making it easier to remove.
Related Reading
 Polymer Clay Molds: How to Create and Use Them Effectively
Polymer Lower: Understanding Its Uses and Benefits in Modern Applications
 Polymer Molding: Understanding the Process and Its Applications
 How to Find Plastic Extrusion Clients: A Comprehensive Guide to Acquiring Business Leads
 How to Make Plastic Fence Extrusion: A Comprehensive Guide for Beginners
Recap