Learn how to create your own unique polymer clay rings with this easy-to-follow guide.
Key takeaways:
- Use essential tools: polymer clay, rolling pin, ring mandrel
- Steps to make a basic polymer clay ring: shape, cut, join, bake
- Add texture with embossing tools, everyday items, silkscreens, marbling
- Properly cure the ring for durability: temperature, time, oven type
- Prioritize safety: work in ventilated area, wash hands, use designated tools, follow curing instructions
Essential Tools for Crafting Polymer Clay Rings
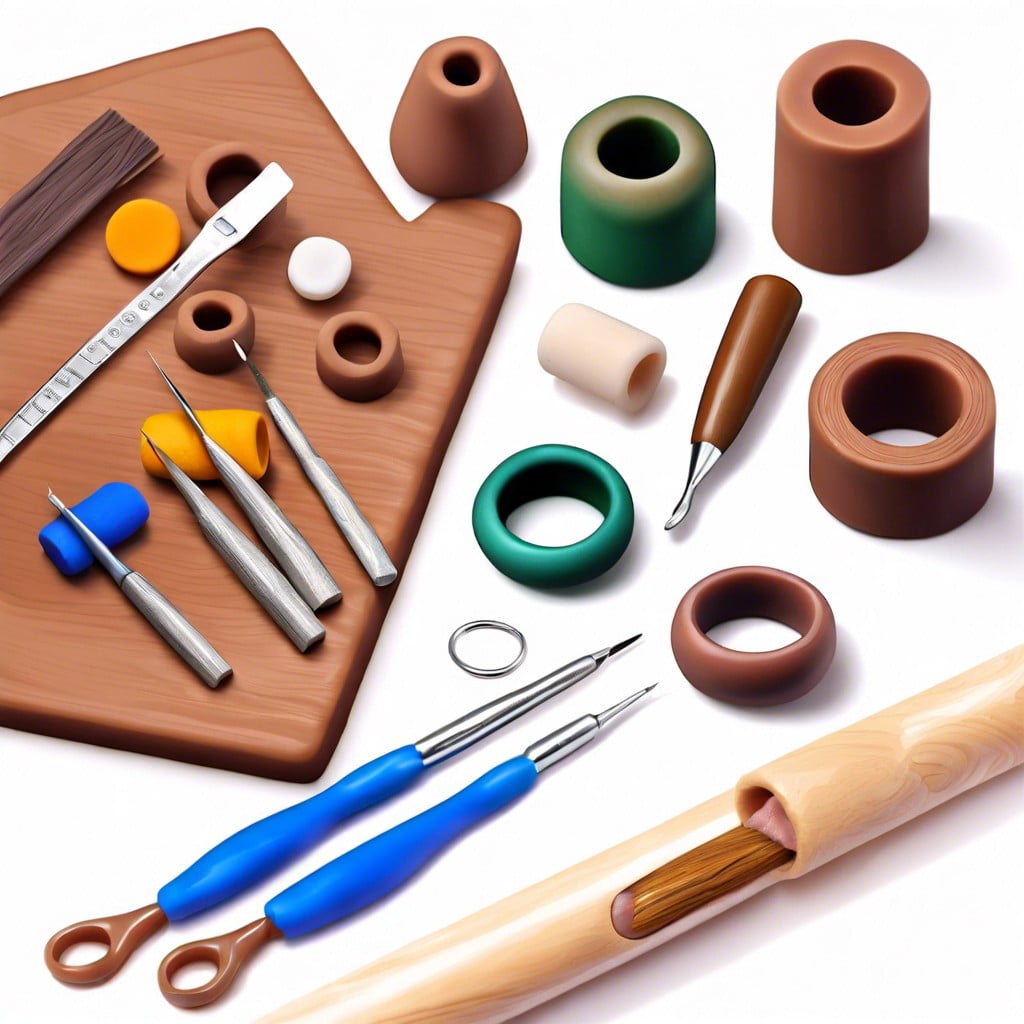
To embark on your journey of creating polymer clay rings, you’ll need a few essential tools. First and foremost is the polymer clay itself. Opt for a high-quality brand to ensure strength and ease of use. A rolling pin or pasta machine is crucial for flattening the clay to your desired thickness, while ring mandrels or appropriate circular objects help shape the clay into perfect ring sizes.
Precision comes next; a set of clay cutters or a sharp craft knife allows for clean cuts and edges. A smoothening tool or your fingers aid in buffing out any roughness for a professional finish. To add intricate designs or textures, look to texture sheets, stamps, or even household items with interesting patterns.
For blending colors or creating gradients, a set acrylic paints and small brushes will serve well. Lastly, consider a polymer clay oven for proper curing, but if that’s not accessible, a kitchen oven with an oven thermometer to accurately set the temperature will suffice.
These fundamental tools pave the way for transforming simple clay into wearable art. With them at your disposal, you’re well-equipped to start crafting polymer clay rings.
Step-by-Step Guide to Making a Basic Polymer Clay Ring
Begin with a conditioned piece of polymer clay, ensuring it’s soft and pliable. Roll it into a smooth ball between your palms, then elongate it into a sausage shape. Use a roller or pasta machine to create an even thickness—about 2 mm works well for rings.
Wrap the clay around a ring mandrel at your desired size, slightly overlapping the ends. With a blade, make a clean cut through both layers at the overlap. Remove the excess and gently press the ends together for a seamless join.
Smooth out any fingerprints or imperfections with your fingers or a tool. For a more refined appearance, you can dip your fingers in water and run them over the clay’s surface.
Transfer the ring on the mandrel to a baking tray lined with parchment paper. Follow the curing instructions specified by the polymer clay manufacturer—typically, it involves baking in an oven at a prescribed temperature for a set duration.
After baking, let the ring cool completely before handling it. This final step ensures the ring hardens to its maximum strength, making it ready for wear or further embellishment.
Techniques for Adding Texture and Patterns
There are numerous ways to infuse your polymer clay creations with unique textures and patterns that can transform a simple ring into a piece of wearable art.
Embossing tools are a key investment for imprinting designs onto the surface of the clay. Rolling a textured wheel or stamping with a patterned block can impress intricate details. It’s best to do this before shaping your clay into a ring, when it’s still flat and easier to work with.
For a more hands-on approach, consider everyday items like lace, leaves, or even bubble wrap to press patterns into the clay. These natural and found textures can produce surprising and beautiful effects that are one of a kind.
Silkscreens designed for polymer clay are another method to apply detailed patterns. Mix acrylic paint with a medium to a suitable consistency and apply it over the screen placed on the clay. Once the paint is dry, you remove the silkscreen to reveal the pattern.
Adding visual depth is possible by combining different colors of clay. Techniques such as marbling, where you twist and fold multiple colors together, or cane working, where you layer colors and slice through to reveal patterns, allow for endless creativity.
Finally, don’t overlook simple tools like a toothpick or a needle. These can be used to draw or carve into the clay, either freehand or using a stencil as a guide.
Remember that polymer clay is versatile, and the only limit for creating textures and patterns is your imagination and willingness to experiment.
Curing Polymer Clay Rings for Durability
After you’ve designed and shaped your polymer clay ring, curing it correctly is crucial for achieving strength and durability. Here’s what you need to know:
**Temperature Matters**: Follow the manufacturer’s recommended temperature on the clay package. Typically, this is between 265-275°F (129-135°C). An oven thermometer can confirm if your oven is at the correct temperature.
**Time is Key**: Generally, curing takes 15-30 minutes per 1/4 inch thickness. Under-cured clay can be brittle, so ensure it’s baked for the full time suggested.
**Oven Type**: Convection ovens are preferred for even heat distribution. If using a conventional oven, consider tenting foil over your creation to prevent scorching.
**Post-Curing Cooling**: Allow the rings to cool slowly inside the oven after turning it off to minimize the risk of thermal shock, which can cause cracking.
**Multiple Batches**: If you’re making multiple rings, bake a test piece first to ensure your oven settings yield the desired results without burning your work.
Follow these points, and you’ll have rings that are not only unique but also sturdy enough for everyday wear.
Safety Precautions When Working With Polymer Clay
Before diving into the creative process, it’s crucial to prioritize your safety. Polymer clay emits fumes when baked, so ensure you work in a well-ventilated area, preferably with an open window or an exhaust fan. If you’re particularly sensitive to smells or substances, consider wearing a mask for additional protection.
Hands-on work with polymer clay requires frequent handling. Wash your hands thoroughly after use to remove any residual material. It’s also advisable to avoid eating or drinking while working to prevent accidental ingestion of clay particles.
Additionally, designate specific tools for clay work. Materials used with polymer clay should not be repurposed for food-related uses due to the potential residue that could contaminate food.
Finally, follow the manufacturer’s instructions for curing the clay, typically involving oven baking. Use an oven thermometer to ensure the temperature stays within the recommended range, as overheating can not only damage your piece but may also produce hazardous fumes. By observing these precautions, you’ll help ensure a safe and enjoyable crafting experience.
Related Reading
 Polymer Clay Flowers: Crafting Delicate Blooms for Any Occasion
 Polymer Clay Christmas Ornaments: Craft Your Own Festive Decor
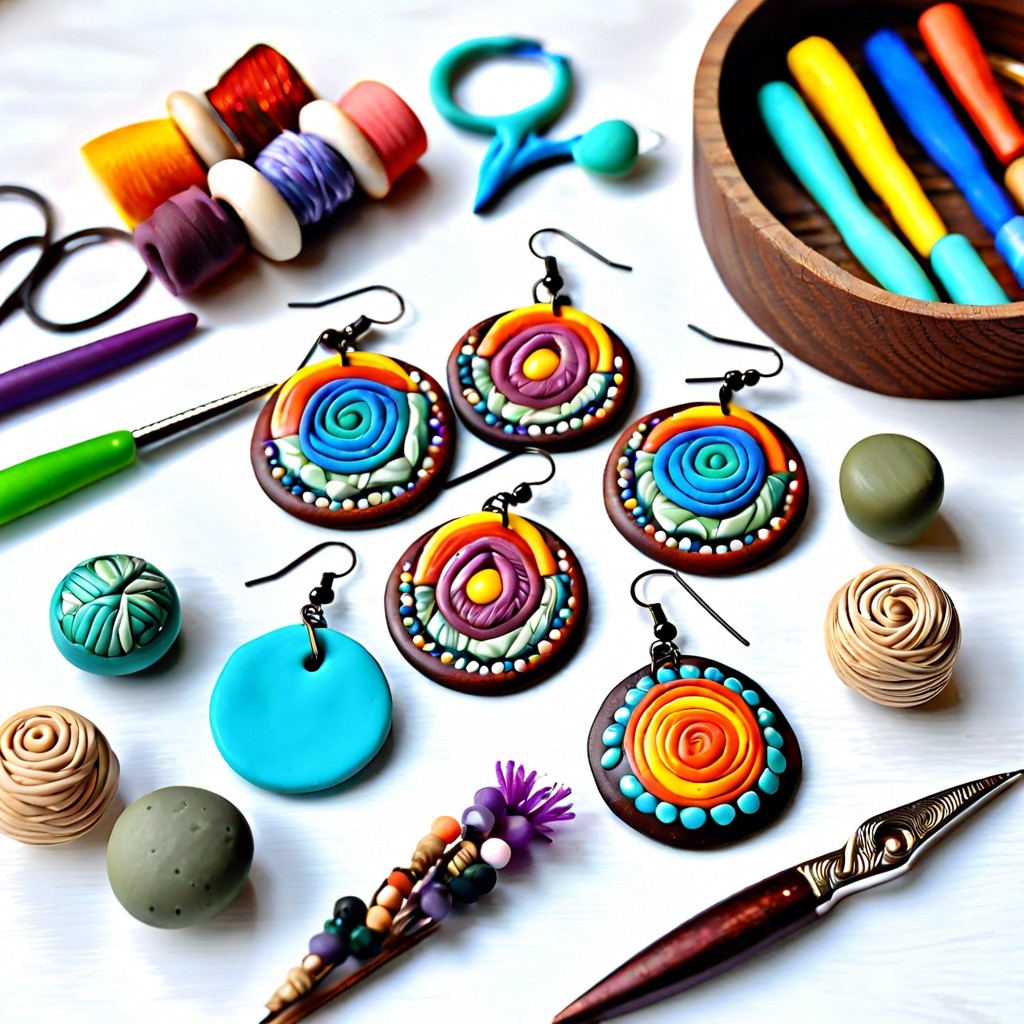 Polymer Clay Earring: Creating Fashion Statements with Your Own Hands
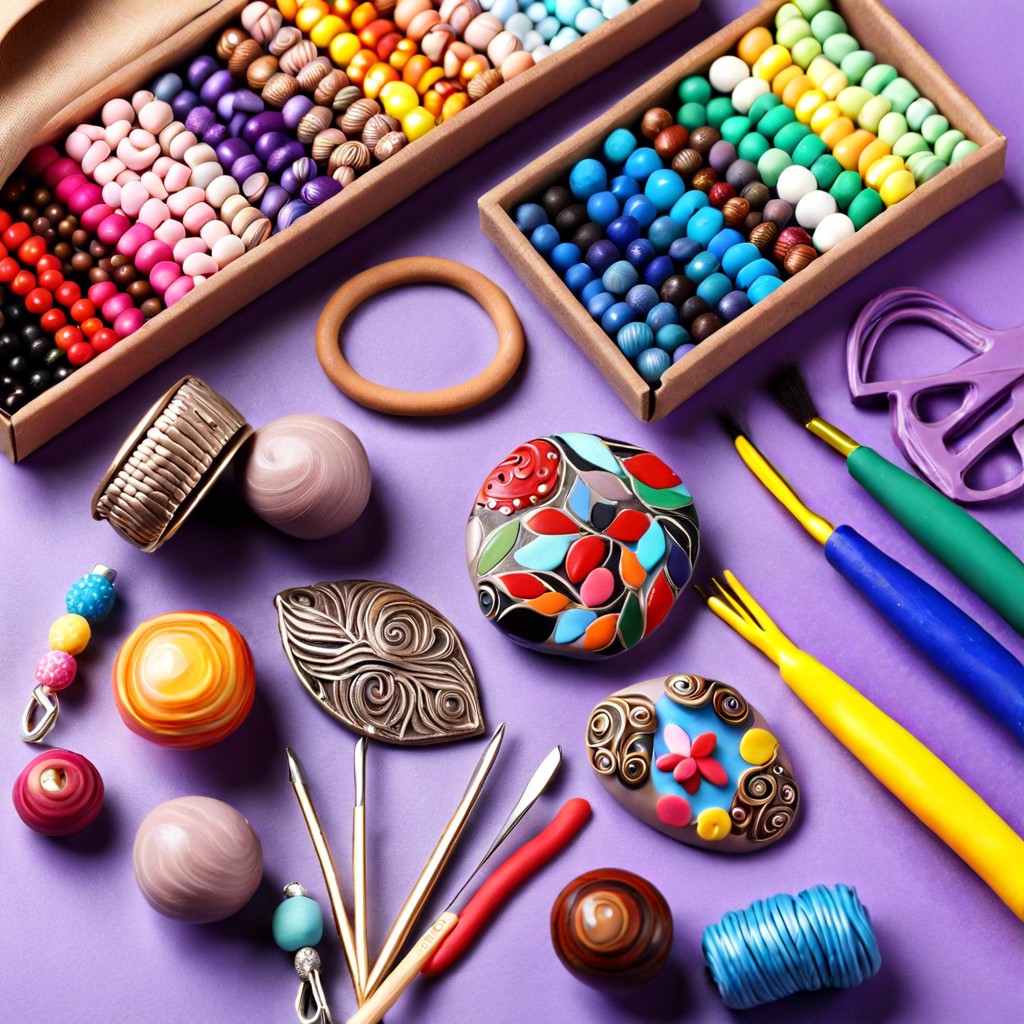 How to Make Polymer Clay Beads for Stunning DIY Jewelry
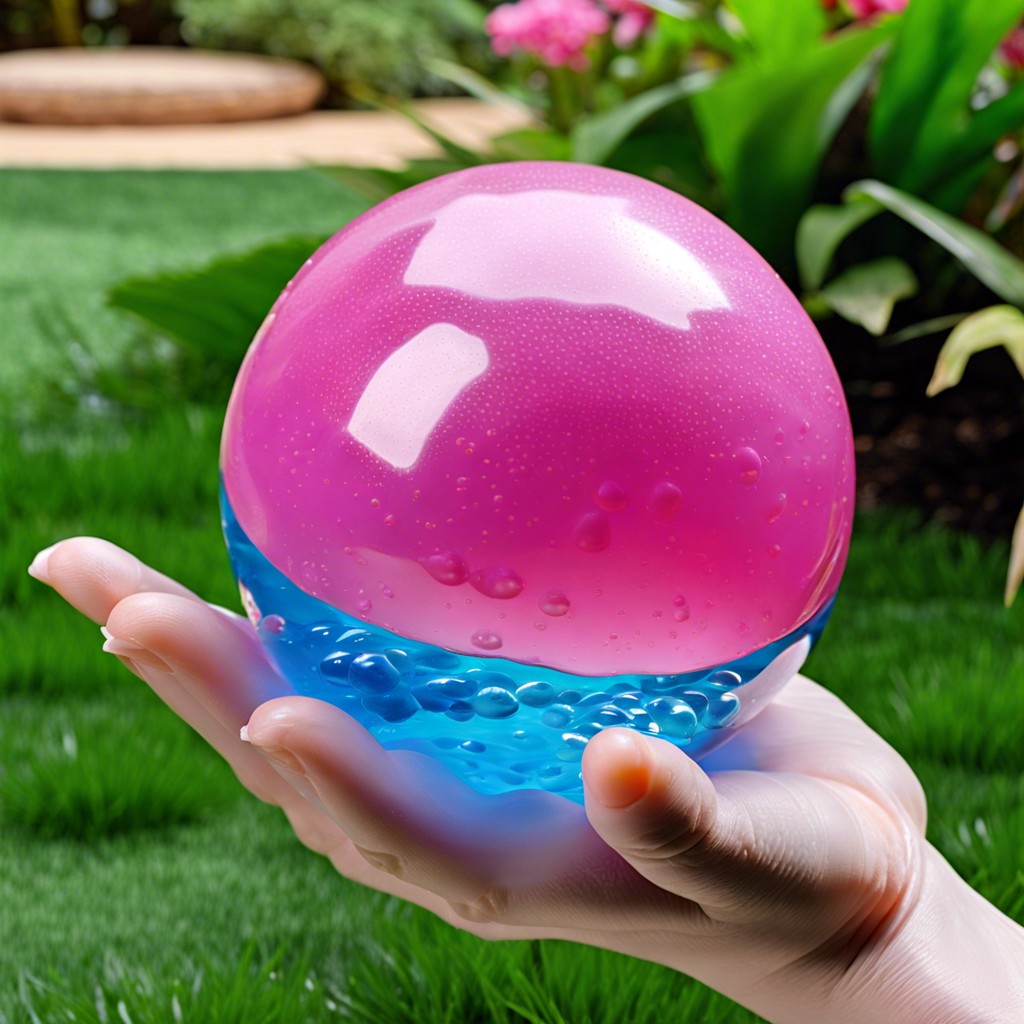 Water Balz Jumbo Polymer Ball: The Ultimate Guide to Fun and Utility
Recap