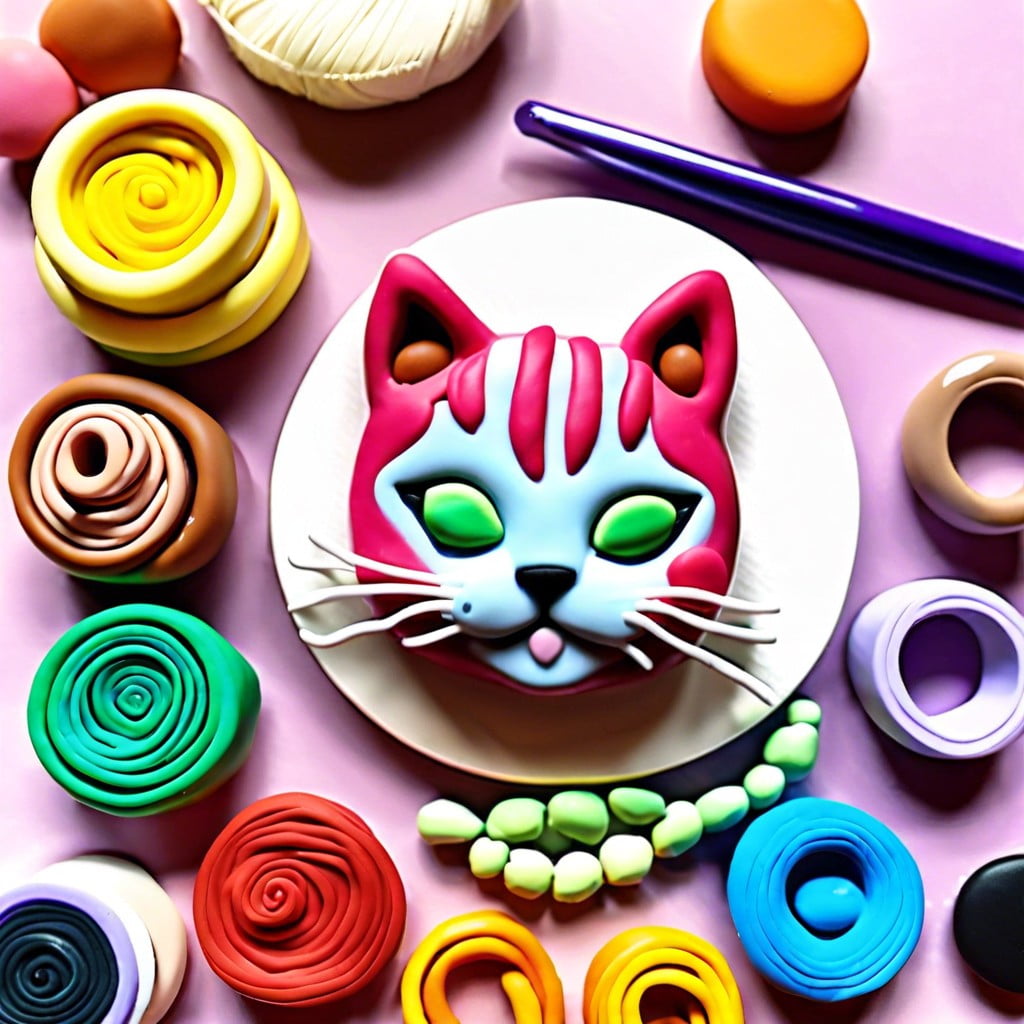
Discover how to create a charming polymer clay cat with simple steps and techniques in this how-to guide.
Key takeaways:
- Gather essential materials: polymer clay, tools, oven, glaze.
- Condition clay to ensure even texture and reduce air bubbles.
- Shape body, head, legs, tail, ears, and facial features.
- Bake at specified temperature and time for durability.
- Follow safety precautions to protect health when working with clay.
Materials Needed for Polymer Clay Cat Creation
To begin crafting your polymer clay cat, gather these essential materials:
- Polymer clay in colors of your choice, such as those for the cat’s fur, eyes, and any additional details.
- A smooth, flat work surface that’s easy to clean, like a ceramic tile or a piece of glass.
- Sculpting tools, which can range from dedicated clay shapers to simple household items like toothpicks, needles, or a small rolling pin.
- An oven to cure the clay. Ensure it has a precise temperature setting as polymer clay requires specific heat to harden.
- Aluminum foil or parchment paper, used to line the baking tray for a non-stick surface.
- A clear glaze or varnish, to give your finished cat sculpture a protective finish and shine if desired.
Collecting these items before you start shaping your polymer clay cat will streamline the creative process, allowing for a smoother and more enjoyable experience.
Conditioning the Polymer Clay
Before starting your feline sculpture, it’s essential to prepare the polymer clay, making it pliable and easier to shape. This process is known as conditioning. To begin, warm the clay by kneading it in your hands or using a pasta machine dedicated to clay crafting. If the clay is too firm, you can mix in a small amount of clay softener or liquid polymer clay to ease the process.
Conditioning ensures an even texture, reducing the risk of air bubbles that can cause cracks during baking. Keep kneading until the clay is soft and smooth, which may take several minutes. Once it reaches a workable consistency, you’re ready to sculpt your polymer clay cat with greater ease and precision. Remember, well-conditioned clay will hold fine details better and result in a more polished final piece.
Shaping the Basic Form of the Cat
When crafting a cat from polymer clay, start by rolling a piece of clay into a ball to form the body. A slightly smaller ball will become the head. To ensure stability, create indentations in the body and head where the two spheres will connect. Blend the areas where the head and body meet to create a seamless feline silhouette.
For the legs, roll out four equal-sized pieces of clay into cylinder shapes and attach them to the body, ensuring they are proportional to the size of the body and head. Blend the top of the legs into the body for a natural look. If you want your cat in a specific pose, adjust the leg shapes accordingly.
The tail can be formed by rolling another piece into a thin, tapered shape. After attaching it to the body, curve it gently to infuse life into your creation. If the tail is standing or curled, consider using a hidden wire for extra support.
For the ears and facial features, mold small amounts of clay into the desired shapes. Triangle pieces work well for ears. Press them gently onto the head, making sure they are even and aligned. Facial features like eyes, nose, and mouth can be added as small yet distinct shapes or carved into the head with tools.
Feel free to add textures or individual fur clumps to create realism. A simple tool, like a toothpick or a small knife, can be used to make fine lines or patterns that mimic fur. Remember to continuously turn your piece and check proportions from different angles to ensure symmetry and balance.
Baking the Polymer Clay Cat: Time and Temperature
Once you’ve meticulously shaped your polymer clay cat, it’s time to solidify its form through baking, a crucial step in the creation process.
Begin by preheating your oven to the temperature specified on the clay package, which is generally between 215-300°F (102-149°C). Precise temperature is key; too high, and the clay can burn or emit fumes, too low, and it won’t cure properly.
For a uniformly baked cat, place it on a baking sheet lined with parchment paper to prevent sticking. The size of your cat determines the baking time. As a rule of thumb, bake for 15 minutes for every 1/4 inch (6 mm) of thickness. A standard-sized cat sculpture might typically require 30-45 minutes, but always refer to the clay manufacturer’s recommendations.
Use an oven thermometer to double-check the accuracy of your oven’s temperature setting. Fluctuations can lead to cracking or brittleness.
Avoid opening the oven frequently, as this can cause temperature drops that affect the baking quality. Once the time is up, let the cat cool down inside the oven to minimize the risk of thermal shock, which can cause cracking.
Remember, patience during this stage will reward you with a well-crafted, durable polymer clay cat.
Safety Precautions When Working With Polymer Clay
Working with polymer clay is generally safe when following simple guidelines:
Always work in a well-ventilated area, especially important when baking your creations, as heating can cause fumes that are unpleasant and potentially harmful over time.
Use dedicated tools and avoid contamination by keeping your crafting equipment separate from kitchen utensils to prevent ingestion of any residues.
Wear protective gloves if you have sensitive skin or to avoid transferring oils and dirt to your project; this also helps in easy clean-up.
Never over bake your polymer clay. Follow the recommended temperature and timing instructions to prevent burning, which can create noxious fumes.
Regularly wash your hands after handling polymer clay, especially before eating, to remove any small particles that could be ingested.
By keeping these points in mind, you can enjoy crafting with polymer clay safely and create adorable cat figurines without worry.
Related Reading
 Polymer Clay Flowers: Crafting Delicate Blooms for Any Occasion
 Polymer Clay Christmas Ornaments: Craft Your Own Festive Decor
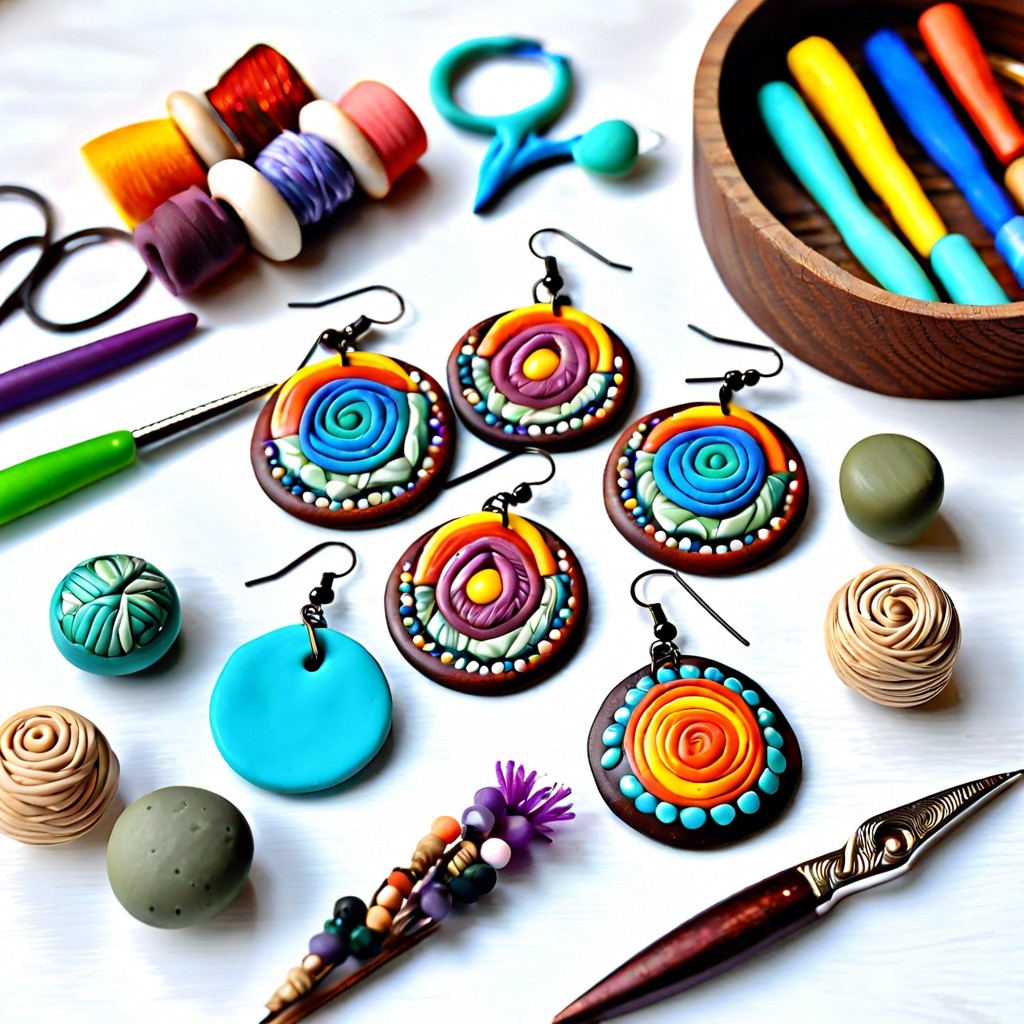 Polymer Clay Earring: Creating Fashion Statements with Your Own Hands
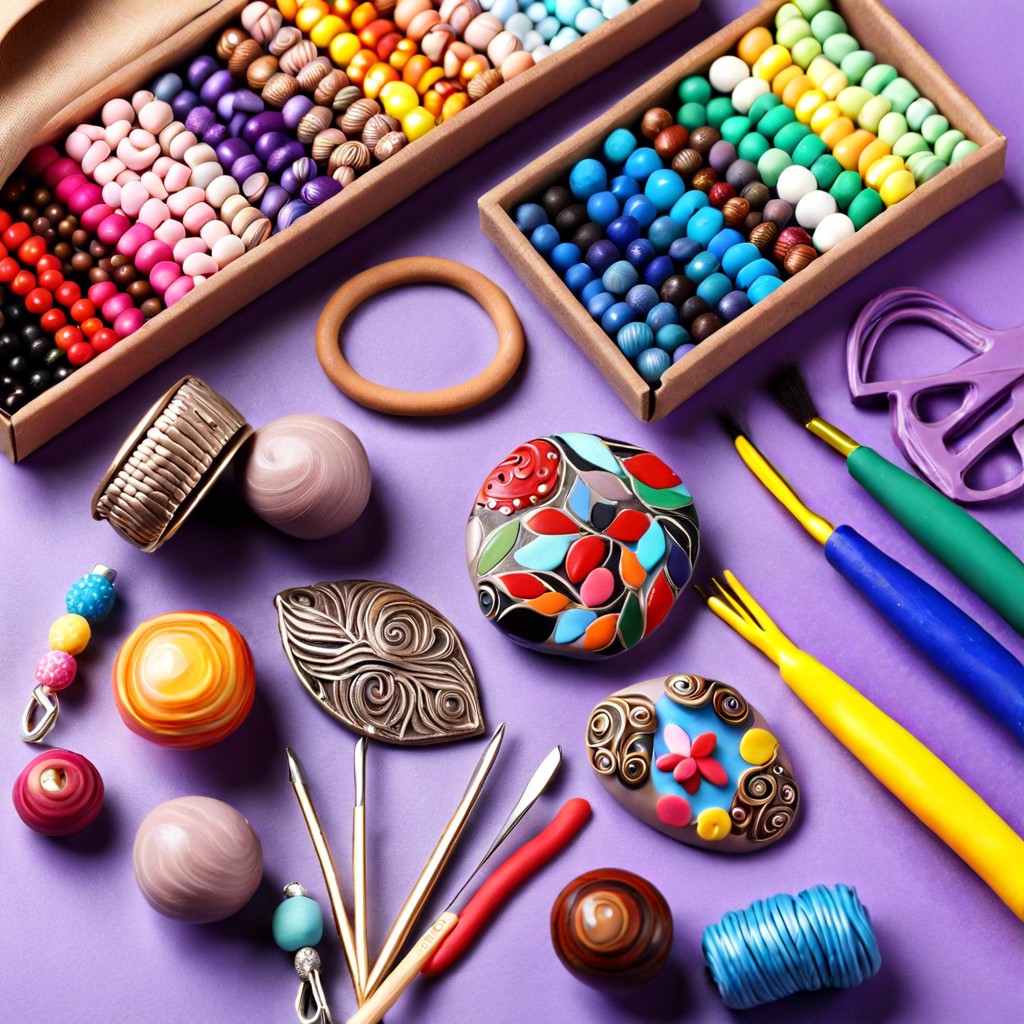 How to Make Polymer Clay Beads for Stunning DIY Jewelry
 Water Balz Jumbo Polymer Ball: The Ultimate Guide to Fun and Utility
Recap