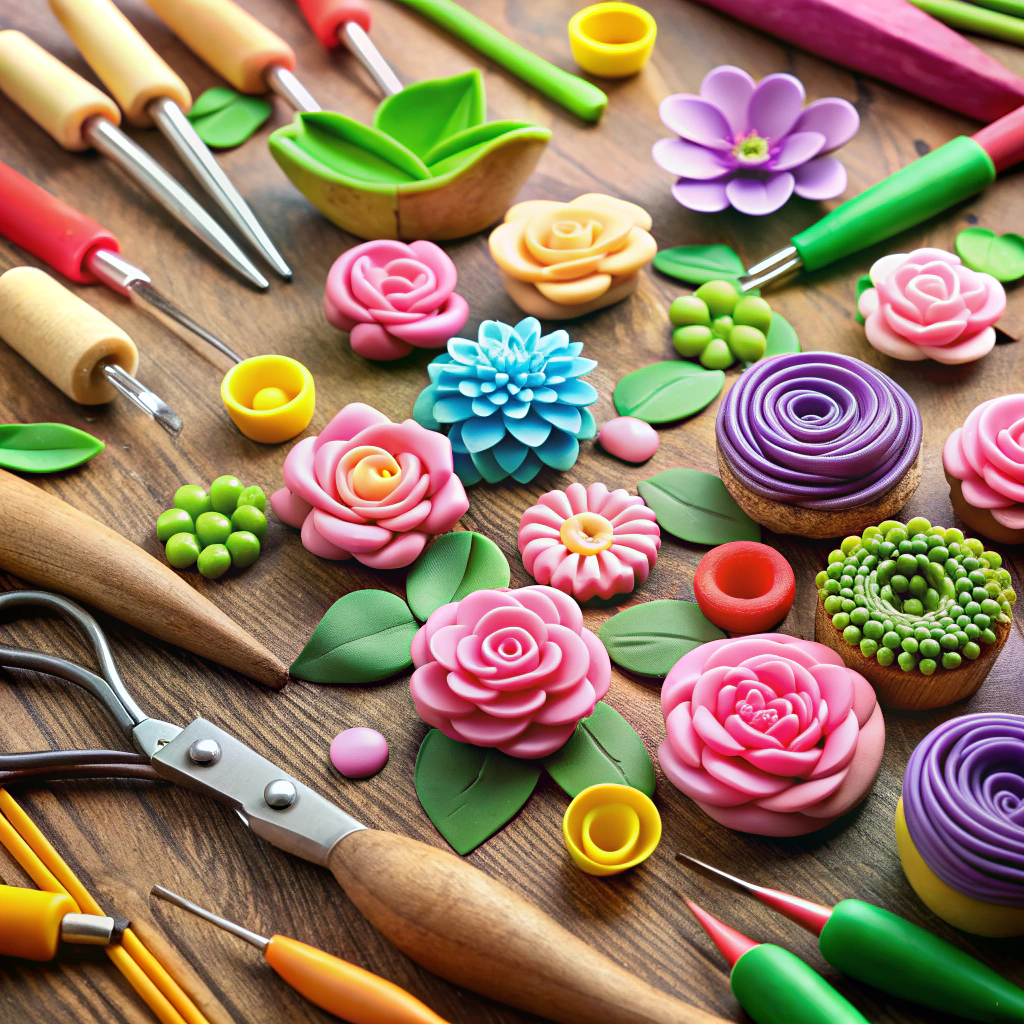
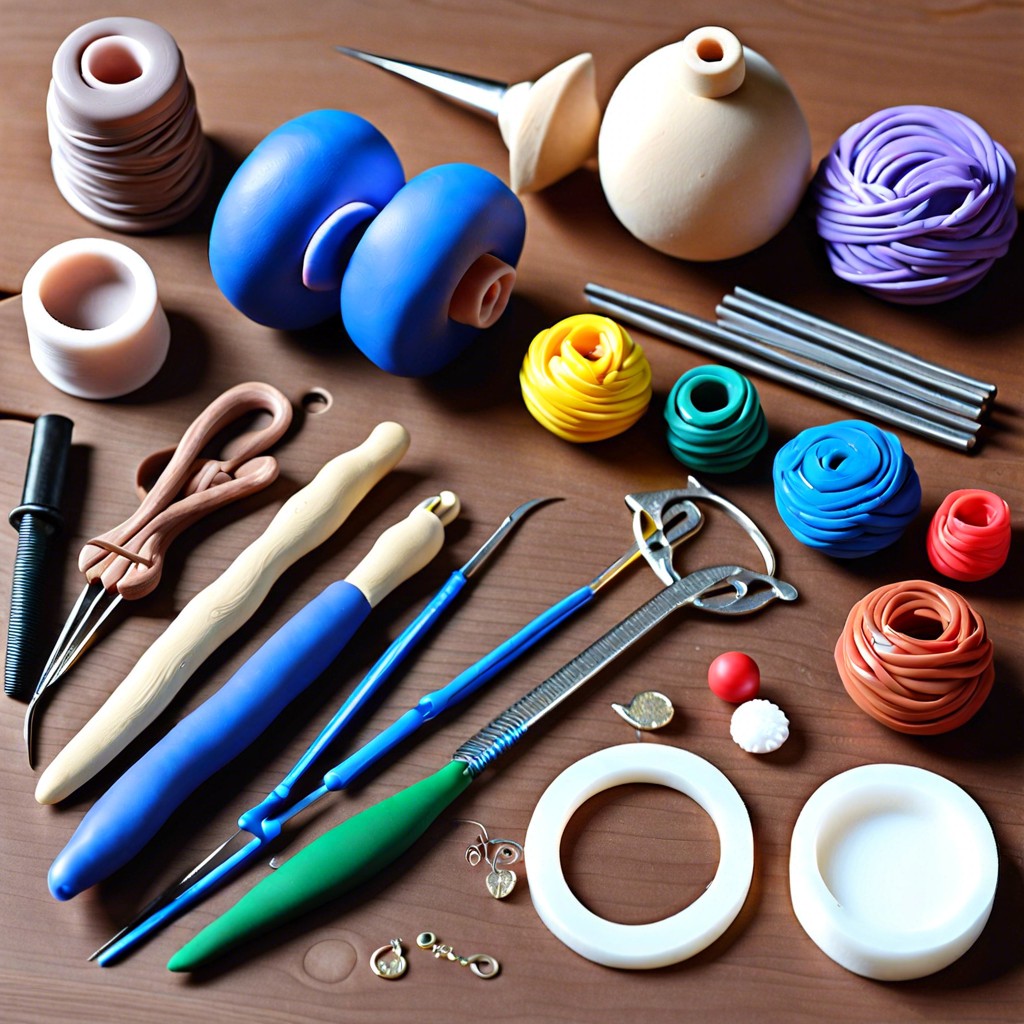
Learn the steps to add a splash of color to your polymer clay projects with the right painting techniques.
Key takeaways:
- Choose the right polymer clay for your project’s needs.
- Condition the clay to ensure it’s pliable and crack-free.
- Select the appropriate paints for your desired finish.
- Prep the clay by cleaning, baking, and sanding before painting.
- Learn basic painting techniques like layering, blending, dry brushing, and sgraffito.
Choose the Right Polymer Clay
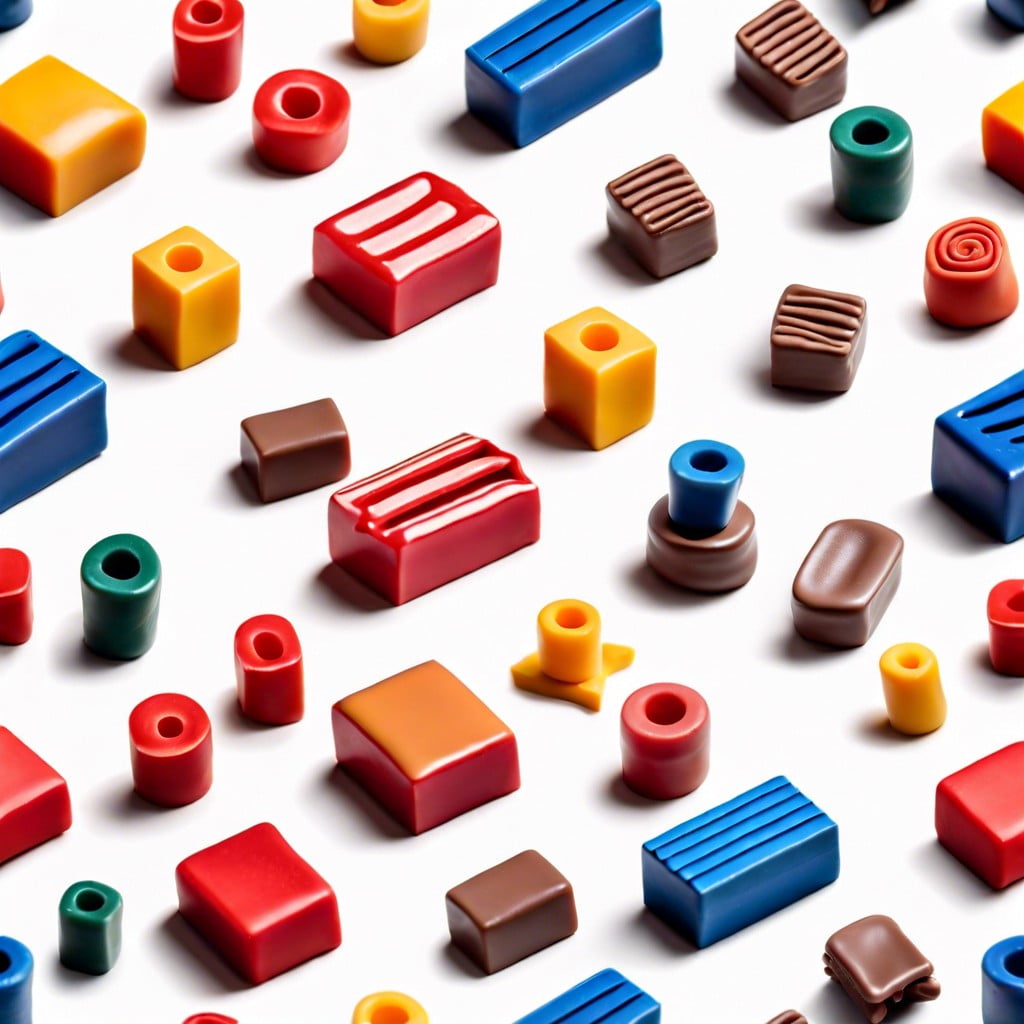
When diving into the world of polymer clay, think of it as picking out the best type of bread for a sandwich—it’s pivotal for a satisfying end result. Different brands and types of polymer clay have their own perks and peculiarities that can affect the outcome of your project. For instance, some clays are stiffer and may hold detail better for intricate sculptures, while others are more pliable, ideal for those just getting their hands dirty in the craft.
Before you pick your polymer champion, ponder what you’re crafting. If you’re sculpting something that demands sturdiness, like jewelry, you might want to buddy up with a clay that bakes to a strong finish. On the flip side, if you’re painting a figurine that won’t see much wear and tear, a softer clay could be your ally.
Also, consider the color of the clay. While you’ll be painting over it, the base hue can influence the vibrancy and the number of paint layers needed for full coverage. Light or white clays are blank canvases that make colors pop without needing multiple coats, while darker clays may require strategic planning with acrylics.
And here’s a tip straight from the kiln: always check the baking instructions. All polymer clays don’t bake the same, and the last thing you want is your masterpiece resembling a melted ice cream cone because of a temperature mishap. So, review those temperatures and times like checking the weather before a day at the beach—being prepared pays off!
In short, a little foresight before choosing your polymer clay goes a long way, and aligning your choice with your project’s needs will set you on the path to a masterpiece. Happy sculpting!
Conditioning Your Clay
Before letting your imagination run wild with colors, you’ll need to ensure your polymer clay is pliable. This process is analogous to warming up before exercising, to prevent any cracks or breaks. To do this, simply knead your clay with your hands. The warmth and motion will transform it from its stiff, store-bought condition into a supple and workable material, like dough becoming elastic as you work it.
Don’t be shy; apply some elbow grease! If the clay feels too tough, you can mix in a clay softener or a dab of baby oil. Roll, fold, and press repeatedly until the clay is soft and smooth—this makes application of paint later on even and without unexpected texture. Remember, your masterpieces deserve a flawless canvas!
Pick Your Paints
Choosing paints for polymer clay isn’t a one-size-fits-all scenario; it’s more like picking the right tool for the job. Acrylic paints are the go-to for most crafters. They’re affordable, easy to find, and come in a rainbow of colors. Plus, they clean up with just water – talk about convenience! But if you want something with a little more pizzazz, metallic or pearlescent acrylics can add some bling to your creations.
If you’re after durability and a more professional finish, consider liquid polymer clay. You can mix it with micas, dyes, or even alcohol inks to create custom hues. The result? A strong bond with your piece as it cures together in the oven.
For those tiny details that really make your work pop, you might lean towards oil paints. They offer richer colors and longer working times, but remember, patience is key – these paints take their sweet time to dry. And to save yourself from a sticky situation, use a sealer post-painting with oils to avoid any tacky aftermath.
Lastly, pens and markers tailored for plastic use slide onto polymer clay like a dream, giving you the power to doodle intricate designs with ease. Opt for water-based versions to maintain the clay’s integrity – alcohol-based ones might be a little too harsh.
A paintbrush in your hand is your magic wand here – with the right choice of paint, you’ll transform your clay from plain Jane to a technicolor dream. Remember to play around, experiment, and discover which paints make your heart sing – and your polymer clay sing along with it. Happy painting!
Prep Your Clay for Painting
Before your brush touches that clay, make sure it’s primed for the masterpiece ahead. Begin with a thorough surface cleaning; a simple wipe with a damp cloth can remove any pesky dust or oils. It’s a blank canvas affair — you want nothing between your paint and the sculpture.
Now, for a bit of a baking session. Follow the clay’s baking instructions to a T. An even, thorough cure ensures your sculpture is ready for its colorful future. Ever heard of painting sunshine on a cloudy day? That’s what painting on uncured clay would be like; results can be unpredictable. Ensure your work is completely cool before proceeding.
Finally, sanding can be your secret weapon. It smooths out the imperfections, giving the paint a friendly handshake with the surface. Opt for a fine grit to avoid unwanted texture. Smooth moves lead to smooth finishes!
And just like that, your polymer buddy is prepped and eagerly awaits its transformation. Let the painting commence!
Learn Basic Painting Techniques
Diving straight in, let’s keep our paintbrush dance light on its feet – aim for thin layers. It’s like building suspense in a thriller novel; each thin coat adds depth and mystery to your artwork. Be patient and allow each layer to dry completely before whispering another delicate layer on top. This technique prevents the sorrowful tale of smudging and peeling.
For smooth color transitions, akin to watching the sun gently dip below the horizon, blending is your friend. Use a dabbing motion to mix colors on the clay, which can create subtle gradients or bold new hues.
Feeling adventurous? Try your hand at dry brushing – where less is more. Dip just the tips of your brush into the paint, wipe off the excess, and sweep it across the raised surfaces. It’s like highlighting your clay’s ‘best features’ with a more natural, sun-kissed glow.
Remember the old “prevent and protect” adage? It works for painting too! Shield your creation’s already painted areas from accidental splashes with a bit of masking. It’s like putting up a “do not disturb” sign for your wet paint.
To add finesse to your masterpiece, sgraffito might just be the spice you need. With a pointed tool, etch delicate lines into paint layers to reveal the treasure trove of colors beneath. It’s like a secret garden hidden within your polymer clay canvas.
Keep it playful, and let these methods be tools on your creative Swiss Army knife. Happy painting!
Recap
