Learn how to create your own unique polymer clay bracelets with this step-by-step guide.
Key takeaways:
- Different polymer clays have varying textures and hardness.
- Gather tools like clay sculpting tools, rolling tools, and a needle tool or drill.
- Consider color schemes, patterns, sizes, textures, and closure mechanisms for design.
- Proper curing is crucial for durability – follow baking instructions carefully.
- Store your bracelet in a cool, dark place and clean with a damp cloth.
Types of Polymer Clay for Bracelets
Selecting the appropriate polymer clay is crucial in bracelet making. Different brands offer varying textures and hardness, which affect the final product’s durability and workability.
- **Premo! Sculpey**: Known for its durability after baking, it’s ideal for thin or delicate bracelet components.
- **Sculpey III**: Softer and more pliable, it’s great for beginners but may be more prone to breakage; not recommended for thin designs.
- **Fimo**: Offers a range of effects like metallic or glitter, and is firmer to work with, resulting in robust bracelets.
For intricate patterns, consider a clay that blends easily, like Kato Polyclay, which also boasts a high-quality finish and strength.
Remember to factor in the finishing effects you want to achieve. Some clays come pre-tinted in vibrant colors that maintain their intensity after baking, reducing the need for painting or glazing.
Necessary Tools and Materials
To begin crafting polymer clay bracelets, gather a few key tools and materials. You’ll need polymer clay in colors or effects that match your design vision. A work surface, such as a glass or ceramic tile, provides an ideal space to roll and shape your clay. A rolling tool helps flatten the clay to a consistent thickness; a simple acrylic roller or pasta machine is perfect for the job.
For shaping and detailing, a set of clay sculpting tools can be quite beneficial. These may include knives, blades, and other shaping implements to create textures and patterns. To create holes for stringing or to attach clasps, a needle tool or a drill is necessary.
Speaking of stringing, select elastic, cord, or wire, depending on the desired look and durability of your bracelet. Additionally, consider the closure mechanism, such as clasps or toggles, to finish the design. To enhance your bracelets, you might also use varnish or glaze, which not only add a professional touch but can also protect the clay from wear and tear. Lastly, an oven is required for curing, and an oven thermometer is a wise investment to ensure the temperature is accurate for a successful bake.
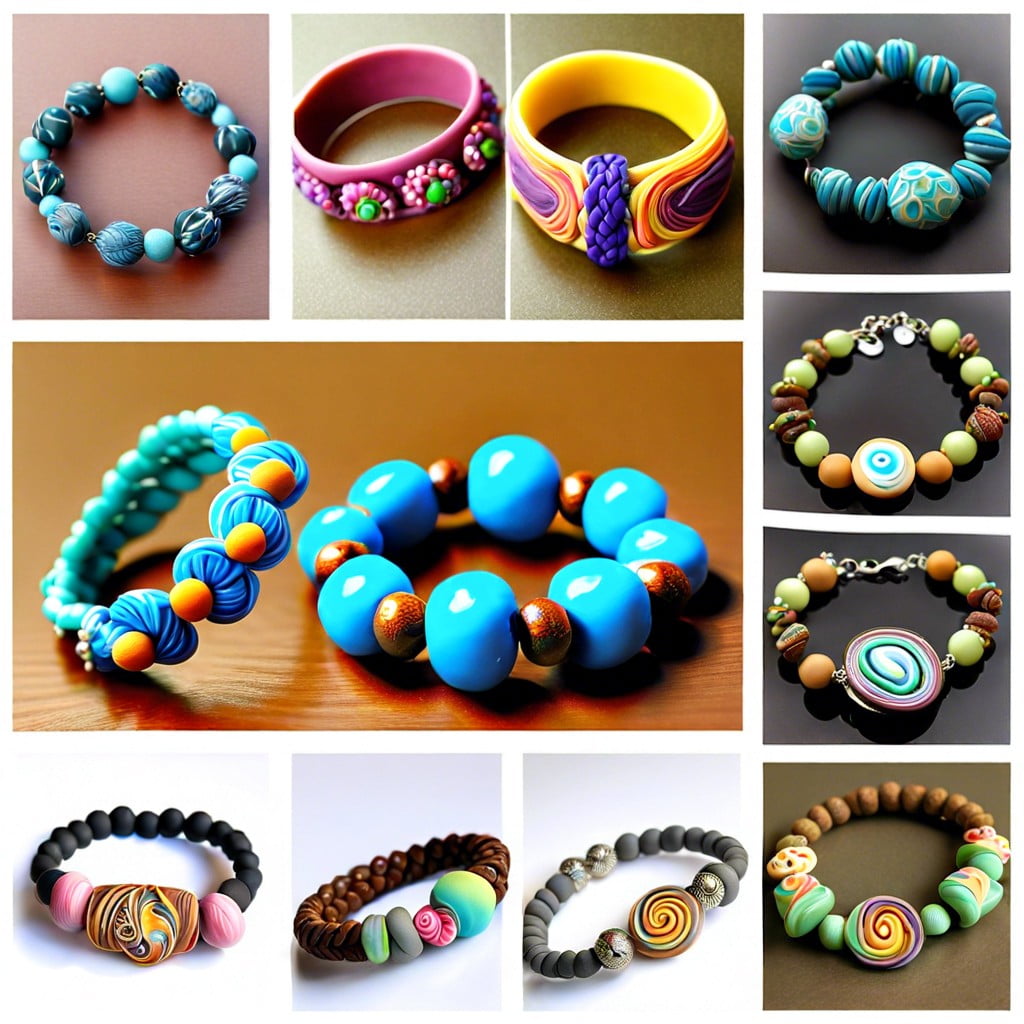
Designing the Bracelet
When envisioning your bracelet, consider the artwork you want to create. Will it be a solid color, employ a marbled effect, or feature intricate patterns? Here are some points to ponder:
**Color Schemes:** Choose colors that complement each other. Use a color wheel to help select a palette that matches your taste or the intended outfit.
**Pattern Design:** From simple stripes to detailed canework, decide on a design that fits your skill level and style preferences. Beginners may start with basic shapes, while advanced crafters can explore complex techniques like millefiori.
**Size and Shape:** Determine the length and width of the bracelet. A standard bracelet is about 7-8 inches long, but it’s important to tailor it to the wearer’s wrist size. Likewise, decide if the beads will be round, square, or another shape.
**Texture:** Smooth, matte, or textured – each finish creates a different aesthetic. Textures can be made using tools like stamps, carving, or even everyday items such as a piece of lace.
**Functional Components:** Consider how the bracelet will be fastened. Will it be a stretchy slip-on, use a clasp, or perhaps feature a magnetic closure?
Experiment with your design on paper first, or use a temporary shaping material like playdough to visualize the final product. Remember, the beauty of polymer clay is in its versatility; there’s plenty of room for creativity and personal expression.
Curing Polymer Clay: Baking Instructions
To ensure your polymer clay bracelet hardens and becomes durable, proper curing is essential. Here’s a step-by-step guide on how to bake your creation:
- Preheat your oven according to the clay manufacturer’s instructions. Typical temperatures range from 215-275°F (102-135°C). Use an oven thermometer to verify the accuracy of your oven’s temperature.
- Place your bracelet on a parchment-lined baking sheet or a piece of ceramic tile. This provides a flat surface and prevents the clay from discoloring or getting shiny spots from direct contact with a metal pan.
- Bake for the recommended amount of time, usually 15-30 minutes per 1/4 inch (6 mm) thickness. Avoid opening the oven frequently to prevent temperature fluctuations that could affect the curing process.
- After baking, allow the bracelet to cool gradually to avoid any thermal shock that could lead to cracking.
It’s crucial to stick to the recommended temperature and time for curing. Overbaking may cause discoloration or burning, while underbaking will leave your bracelet weak and brittle. If you are unsure about the correct temperature or time, it’s always safer to err on the side of caution and bake at the lower end of the temperature range and increase the time slightly, rather than increase the temperature.
Maintenance and Care for Polymer Clay Bracelets
Polymer clay bracelets are quite durable, but they still require some care to keep them looking their best. Keep them away from prolonged exposure to sunlight and heat, as this can cause fading and weakening of the material. When you’re not wearing your bracelet, store it in a cool, dark place.
For cleaning, simply wipe the surface with a damp cloth. Avoid submerging the bracelet in water, especially if it has embellishments like beads or metal fixtures that might be affected. Chemical cleaners and abrasives can damage the clay’s finish, so they should be avoided.
Consider applying a coat of polymer clay varnish to protect the color and enhance the shine. Reapply it as needed, depending on how often you wear the bracelet.
If your bracelet has moving parts or adjustable features, ensure they are functioning smoothly. Occasionally check for any loose components and secure them back in place.
Handle your polymer clay bracelet with care to prevent any chips or cracks. However, should it become damaged, often a little bit of liquid polymer clay can be used to repair small cracks upon rebaking as per manufacturer instructions.
Related Reading
 Polymer Clay Flowers: Crafting Delicate Blooms for Any Occasion
 Polymer Clay Christmas Ornaments: Craft Your Own Festive Decor
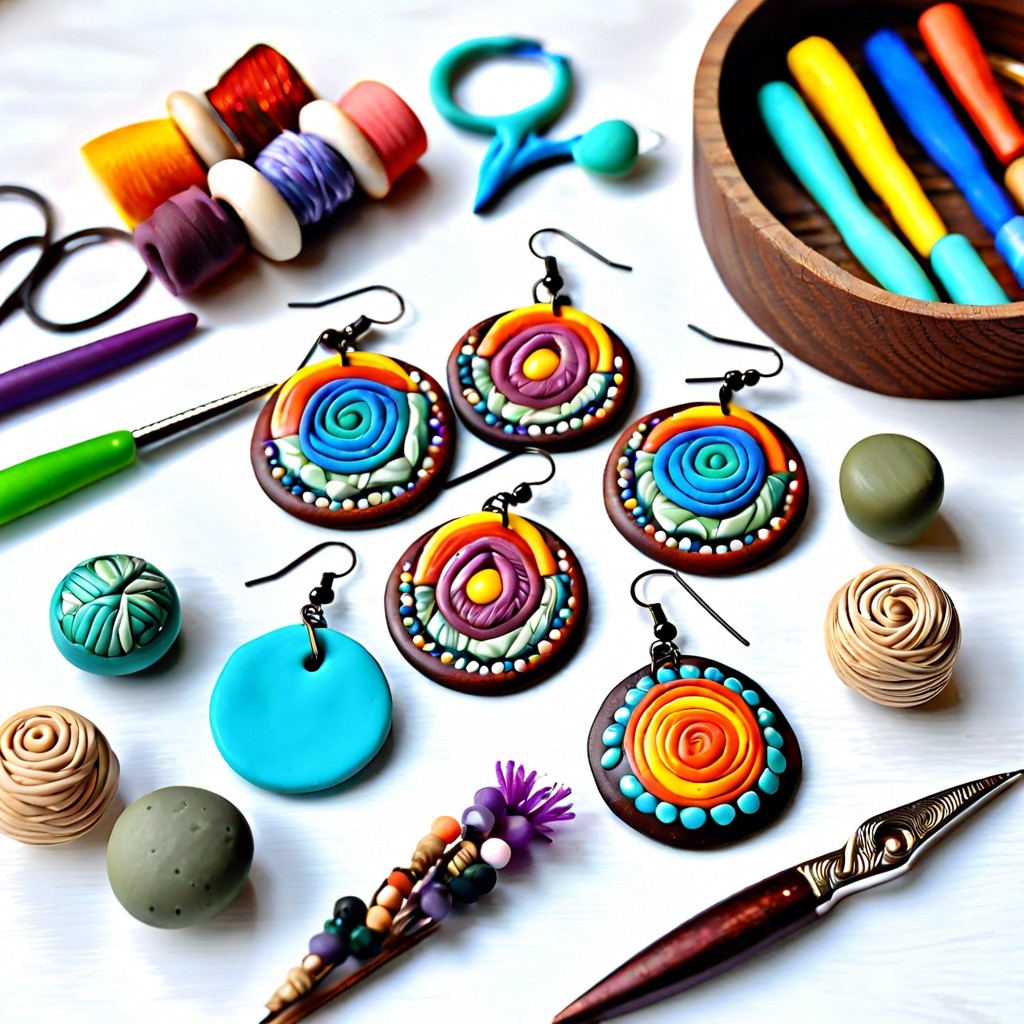 Polymer Clay Earring: Creating Fashion Statements with Your Own Hands
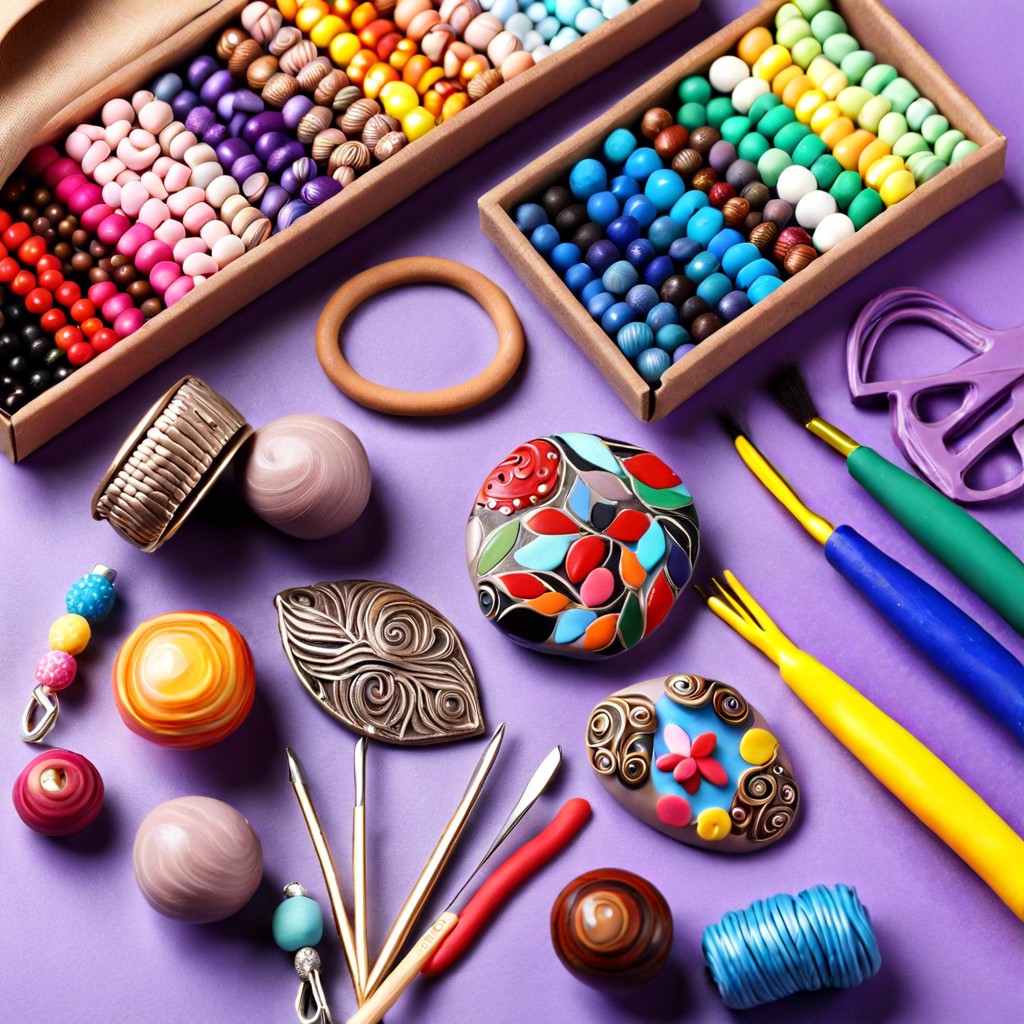 How to Make Polymer Clay Beads for Stunning DIY Jewelry
 Water Balz Jumbo Polymer Ball: The Ultimate Guide to Fun and Utility
Recap