In this how-to guide, you’ll learn the best techniques for painting polymer clay to achieve a durable and attractive finish.
Key takeaways:
- Select high-quality acrylic paints for vibrant and durable results.
- Use soft, synthetic brushes and fine-tipped pens for precision.
- Apply paint to clay before baking for better adhesion and color intensity.
- Create an antique finish by applying and wiping off darker paint.
- Seal the finished piece with an appropriate varnish for protection.
Select Quality Paint
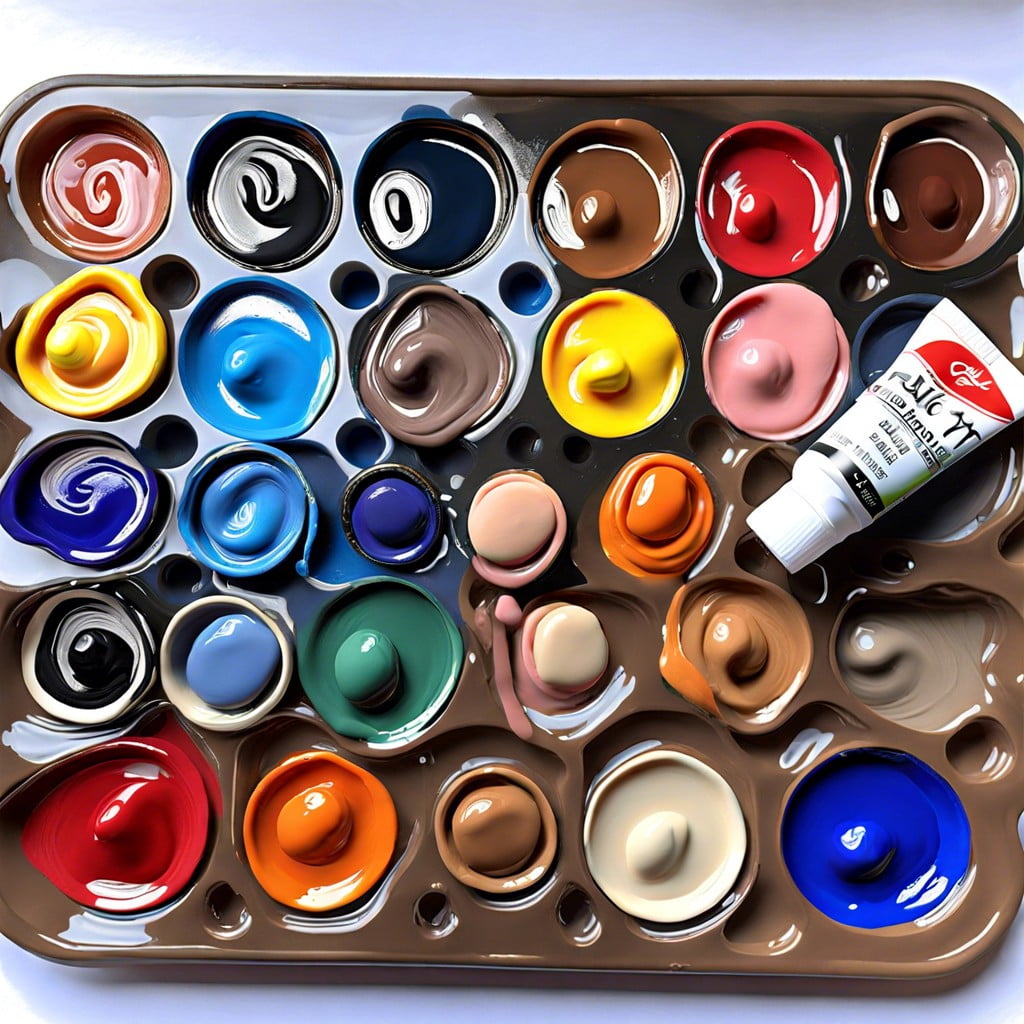
When it comes to painting polymer clay, the type of paint you choose is crucial for a durable and vibrant finish. Acrylic paints are a popular choice due to their fast-drying properties and water solubility, making them easy to work with and clean up. Opt for high-quality acrylics to ensure that the colors adhere well and maintain their brightness over time.
Keep in mind that some paints contain additives that might not be compatible with polymer clay, potentially leading to stickiness or a failure to dry properly. Always check for compatibility by testing the paint on a small piece of baked clay before applying it to your final project.
If you aim for a glossy or metallic finish, specialized polymer clay paints are available that are formulated to bond with the clay. These can be particularly effective for achieving a professional look.
Regardless of your choice, make sure to thoroughly mix the paint prior to application to prevent color separation and to ensure a uniform shade on your creation. Remember, investing in quality paint pays off in the long-term appearance and durability of your art.
Use the Right Tools
Choosing the correct tools for painting polymer clay can dramatically affect the precision and quality of your work. Soft, synthetic brushes allow for smooth application, while finer tips provide detail work without leaving brush strokes. Opting for a sponge can create unique textures or a stippled effect that brushes can’t achieve.
Consider using a palette knife to mix paints or apply them in a more impressionistic style. If you’re aiming for precision or intricate designs, fine-tipped pens or markers may be used, given that the paint or ink is compatible with the clay.
Remember to protect your workspace with a non-stick mat or wax paper, preventing clay from picking up debris and making cleanup easier. Using these right tools will help ensure that your painted polymer clay project looks professional and has the finish you desire.
Paint Before You Bake
Applying paint to polymer clay before it’s baked can enhance both the color and the durability of your piece. Unbaked clay acts as a porous surface, allowing the paint to adhere better once it’s cured in the oven. Here are some points to keep in mind:
- Thin layers work best to prevent paint from cracking during the baking process. Build color gradually to achieve the desired intensity.
- Use acrylic paints for their ease of application and compatibility with polymer clay. They dry quickly and bake well.
- Always check the paint manufacturer’s recommendations to ensure the paint is oven-safe at the temperature required for baking your polymer clay.
- Remember that baking times may vary slightly with paint applied, so keep an eye on your creation to avoid over-baking.
- For pieces with fine details, consider using a small brush or a toothpick to apply paint accurately to the desired areas.
By following these tips, you’ll ensure your painted polymer clay project retains its vibrant colors and detailed designs after baking.
Add an Antique Finish
Achieving an antique finish on polymer clay can add depth and character to your creation. This effect highlights grooves, textures, and details, giving your piece a weathered look. To do this, apply a darker shade of acrylic paint over the surface of the baked clay. Once the paint is in place, quickly wipe off the excess, leaving the darker color in the recesses of the texture. This technique helps to accentuate the intricate designs and makes the piece appear aged. It works exceptionally well on sculpted items with detailed patterns or on textured surfaces. For a more subtle antique effect, dilute the paint with a bit of water before applying it to the clay. This adds a gentle patina without overwhelming the original colors. Always experiment on a test piece first to perfect your technique before applying it to your final project.
Seal the Finished Product
Sealing polymer clay is the final step to protect your paintwork and give your creation a finished look. Here’s why sealing is important:
- Durability: A sealant provides a protective coating that can prevent chipping, scratching, or wearing of the paint.
- Aesthetics: You can choose between matte, satin, or glossy finishes to enhance the visual appeal of your piece.
- Compatibility: Not all sealants are created equal. Water-based varnishes are generally recommended as they are less likely to react with the clay or paint.
When applying the sealant:
- Ensure the paint is completely dry before proceeding.
- Apply the sealant in thin, even layers.
- Allow ample drying time between coats, following the manufacturer’s instructions.
- Consider the use of a sealant that provides UV protection to prevent colors from fading if your item will be exposed to sunlight.
While all sealants aim to protect your artwork, the choice between spray or brush-on varieties comes down to your preference and the level of detail in your piece. Remember, patience during this stage can make a significant difference in the end result, ensuring your painted polymer clay item is well-preserved and looks great for years to come.
Related Reading
 Polymer Clay Flowers: Crafting Delicate Blooms for Any Occasion
 Polymer Clay Christmas Ornaments: Craft Your Own Festive Decor
 Polymer Clay Earring: Creating Fashion Statements with Your Own Hands
 How to Make Polymer Clay Beads for Stunning DIY Jewelry
 Water Balz Jumbo Polymer Ball: The Ultimate Guide to Fun and Utility
Recap