In this article, you will learn about the factors that determine the optimal bake time for polymer clay projects.
Key takeaways:
- Thin pieces: 15-30 min bake time.
- Medium pieces: 30-45 min bake time.
- Thick creations: 1 hour or more bake time.
- Follow manufacturer’s instructions for best results.
- Use an oven thermometer to ensure accurate temperature.
What You Will Learn
Why Do You Need to Bake Polymer Clay?

Baking polymer clay solidifies its shape, transforming it from a pliable material into a hardened, durable final product suitable for various applications.
Without baking, polymer clay remains soft and can be easily deformed.
The heat sets off a chemical process called polymerization, which bonds the molecules in the clay together creating strength and stability.
This process is essential for preserving intricate details and ensuring your creation can withstand handling, wear, and, in some cases, even water exposure.
Baking is also crucial for subsequent painting or varnishing, as these finishes require a hard, stable surface for proper adhesion.
How Long Does It Take to Bake Polymer Clay?
The bake time for polymer clay can vary depending on a few factors, such as the thickness of the piece and the specific brand of clay. Here are some general guidelines that can help you determine the right baking duration for your project:
- Thin pieces (about 1/4 inch or 6mm thick) typically require 15-30 minutes.
- For medium pieces (about 1/2 inch or 12mm), aim for 30-45 minutes.
- Thicker creations may need up to an hour or more to fully cure.
Always refer to the manufacturer’s instructions for the best results, as they can provide the most precise timing for their specific product. Keep in mind that multiple thin pieces can be baked together for the same amount of time, but larger, thicker pieces may need to be baked in separate sessions to ensure even curing. It’s crucial not to overbake, as this can cause discoloration and brittleness, nor underbake, as this can lead to weakness in the final piece. A kitchen timer or alarm is a handy tool to remind you when your piece is done.
What Temperature Should You Bake Polymer Clay?
Determining the correct baking temperature for polymer clay is crucial for achieving the right consistency and strength. Each brand of polymer clay may have a specific recommended temperature, typically ranging between 215-300°F (102-149°C). The package instructions are the most reliable source—always check them first.
Here are some important points to consider:
- Consistency Across Brands: Even though temperatures vary by brand, maintain the recommended temperature for the particular type you are using.
- Oven Variability: Home ovens can be inaccurate, sometimes by as much as 25 degrees. Use an oven thermometer to ensure the actual temperature matches the intended baking temperature.
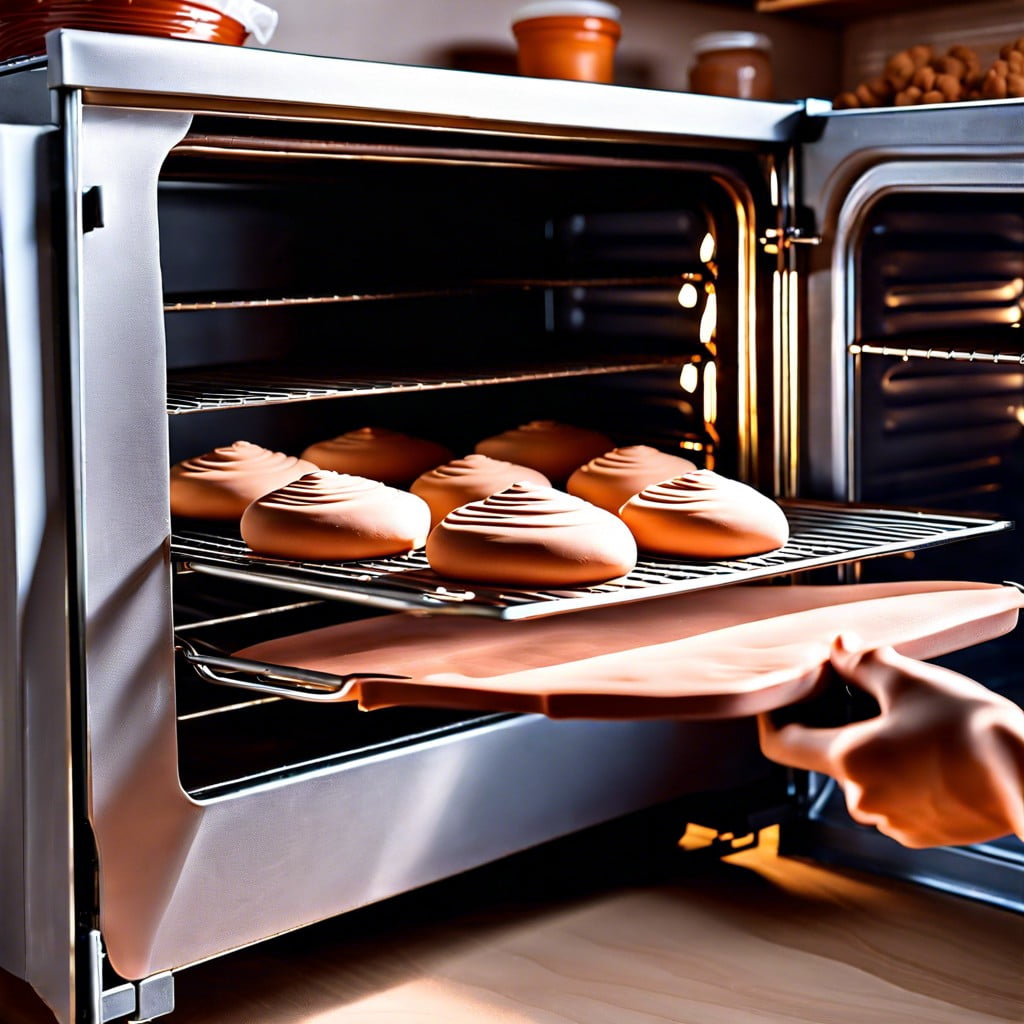
- Preheating: Allow your oven to fully preheat to the set temperature before placing your project inside. This helps in curing the clay uniformly.
- Oven Types: Convection ovens can provide a more even bake with less risk of burning due to the circulating air. However, standard electric or gas ovens are also suitable when monitored properly.
Remember, too high a temperature may cause discoloration or bubbling, while too low can prevent the clay from fully curing. Keeping these points in mind will help in delivering a perfectly baked polymer clay creation.
How Do You Know When Your Polymer Clay Project Is Done Baking?
Determining the doneness of polymer clay isn’t as straightforward as baked goods where you might use a toothpick or a timer. Instead, it requires a bit of finesse and observation.
- Color Consistency: First, look for consistent coloring. Uneven or darkened areas might indicate overbaking, while a very pale surface could suggest it’s underbaked.
- Solidity Test: Gently press the surface of your clay project after it cools down. Properly baked clay should be solid and not give way under slight pressure.
- Cooling Period: Always allow the clay to cool completely before testing. Hot clay can be deceivingly flexible and not indicative of the final solidity.
- Sound Test: A well-baked thin piece of polymer clay will give a satisfying pinging sound when tapped gently, indicating it’s cured well.
Remember, experience is key. With practice, you’ll learn to better gauge when your polymer clay pieces are perfectly baked.
Fixing Underbaked Polymer Clay Projects
If your polymer clay is still soft or bendable after baking, it hasn’t fully cured. You can correct this by rebaking the project. Simply preheat the oven to the recommended temperature and bake for an additional 15-30 minutes.
Pay attention to these tips while rebaking to ensure success:
- Verify the temperature with an oven thermometer to avoid overheating.
- Place a piece of aluminum foil or parchment paper over your project to prevent browning.
- If the clay is particularly thick, extend the baking time rather than increasing the temperature. This ensures thorough curing without burning the surface.
- After rebaking, allow the clay to cool down slowly to avoid cracks.
Remember that multiple baking sessions won’t harm the material, provided you follow the correct temperature guidelines. In fact, this method can often cause the clay to become even stronger.
Related reading:


