Learn the correct baking duration for polymer clay to ensure your project hardens perfectly without burning or remaining too soft.
Key takeaways:
- Baking duration: 15-30 minutes per quarter inch of thickness.
- Assessing doneness: Check hardness, color, and smell.
- Follow package instructions for time, temperature, and oven type.
- Prevent scorching: Preheat, use an oven thermometer, tent with foil.
- Avoid cracking: Condition clay, blend seams, gradual temperature changes, support during baking.
How Long Does It Take to Bake Polymer Clay?
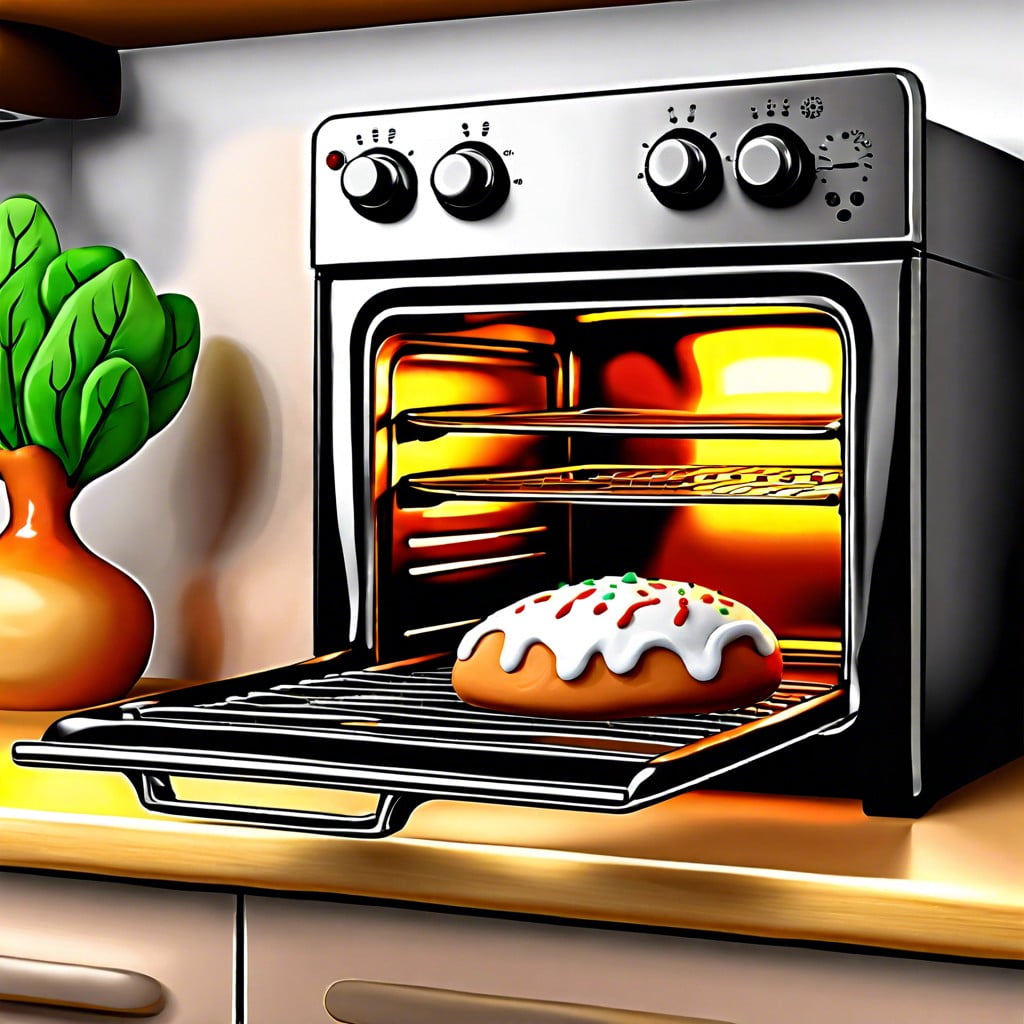
Baking polymer clay correctly is crucial to ensuring your creation is durable and has the desired finish. The curing time varies based on the brand, size, and thickness of the piece you’re working on.
Typically, you’ll need to bake your project for 15-30 minutes per quarter inch of thickness at a temperature of 275°F (135°C).
Always use an oven thermometer to ensure your oven’s temperature is accurate, as ovens can fluctuate. This careful monitoring prevents the overheating that can cause discoloration or even burning of your piece.
It’s also important to know that larger items or those thicker than half an inch might require additional time, so patience and attentiveness are key to determining the right baking duration for your specific project.
How Do You Know When Your Polymer Clay Project Is Done Baking?
Determining the completion of your polymer clay project’s baking process is crucial for ensuring the durability and quality of the piece. Unlike food, you can’t rely on golden brown edges to assess doneness. Instead, consider these points:
Firstly, check if the clay has sufficiently hardened. Gently pressing the surface should not leave any impressions. But be cautious—polymer clay will still be somewhat flexible when hot and will only fully harden upon cooling.
Secondly, observe the color. A correctly baked item will maintain its pre-baked color, while any darkening can be a sign of over-baking.
Lastly, use your sense of smell. While polymer clay will emit a faint odor during baking, a strong, acrid smell may indicate that the temperature is too high, risking burning the clay.
Always allow the clay to cool down completely after the initial baking time to accurately assess these aspects.
Follow Package Instructions
Always start by reading the label on your polymer clay package. Manufacturers provide optimal baking times and temperatures for their specific formulas, which can vary significantly. These instructions are designed to achieve the best results for curing the polymer without burning or underbaking.
- Time and Temperature: The recommended baking time is usually between 15 to 30 minutes per 1/4 inch (6mm) thickness at temperatures ranging from 215-300 °F (102-149 °C).
Oven Types: Remember that different ovens have varying temperature accuracies. To ensure precision, use an oven thermometer.
Polymer Clay Brand: If you’re mixing clay brands, find a middle ground that satisfies the baking conditions of both, without exceeding the lowest temperature limit.
Shape and Size: Large or thick pieces may require a longer baking time while keeping the temperature constant.
Properly cured polymer clay will maximize its durability and finish quality. Paying attention to these details can make a difference in your final creation.
How to Prevent Scorching While Baking Polymer Clay?
To keep your polymer clay from turning into a charred craft disaster, follow these simple tips:
- Always Preheat: Put your clay in the oven only when it has reached the desired temperature. A consistent, proper temperature is critical to prevent scorching.
- Use an Oven Thermometer: Ovens can often run hotter or cooler than their gauges read. An oven thermometer provides an accurate reading so that you can adjust the settings as needed.
- Tent with Foil: Cover your creations loosely with aluminum foil during baking. This acts as a shield from hot spots within the oven that could cause uneven heating.
- Baking Trays: Place another baking sheet or a ceramic tile on the rack below your piece to disperse the heat more evenly.
- Avoid the Elements: Keep your clay away from the top and bottom of your oven where it’s more likely to burn. Centering your piece on the middle rack can help.
- Timing is Everything: It’s better to bake your clay for a longer period at the correct temperature than to increase the heat in an attempt to speed up the process.
By being attentive to these steps, you can maintain the beauty and integrity of your polymer clay creations without the risk of scorching.
Methods to Avoid Cracking in Baked Polymer Clay
To avoid cracks in your polymer clay creations, condition the clay properly. Knead it until it’s supple to ensure an even texture without air bubbles. Uniform thickness is key; avoid thin spots that can weaken the structure.
When using molds or combining pieces, blend seams thoroughly to reinforce the joins.
Gradual temperature changes help prevent cracking. Pre-warm your oven to avoid thermal shock, and place your project inside while it’s heating up. After baking, let your piece cool down in the oven to reduce stress on the material.
Support your work during baking, using a bed of cornstarch or fiberfill to cushion delicate parts. This support helps to distribute weight and prevents warping, which can lead to cracks.
By following these tips and maintaining a consistent baking process, your polymer clay items will come out of the oven looking great and free of unwanted cracks.
Related Reading
 Polymer Siding: A Durable Ally for Your Home
 Protein Polymer Example: Unlocking Nature’s Building Blocks
 Polymer Lipids: Revolutionizing Building Materials
 Polymer-Gel: The Secret Sauce for Durable Buildings
 Creative Polymer Solutions for Innovative Construction
Recap