Discover how to choose the perfect polymer clay kit to suit your crafting needs and skill level.
Key takeaways:
- Polymer clay kits contain colorful clay blocks and shaping tools.
- Specialty tools like needles, rollers, and blades enhance crafting.
- Follow safety guidelines for a pleasant polymer clay experience.
- Blend colors using primary colors and techniques like gradient and marbling.
- Bake clay at the correct temperature for a durable finished product.
Components of a Polymer Clay Kit
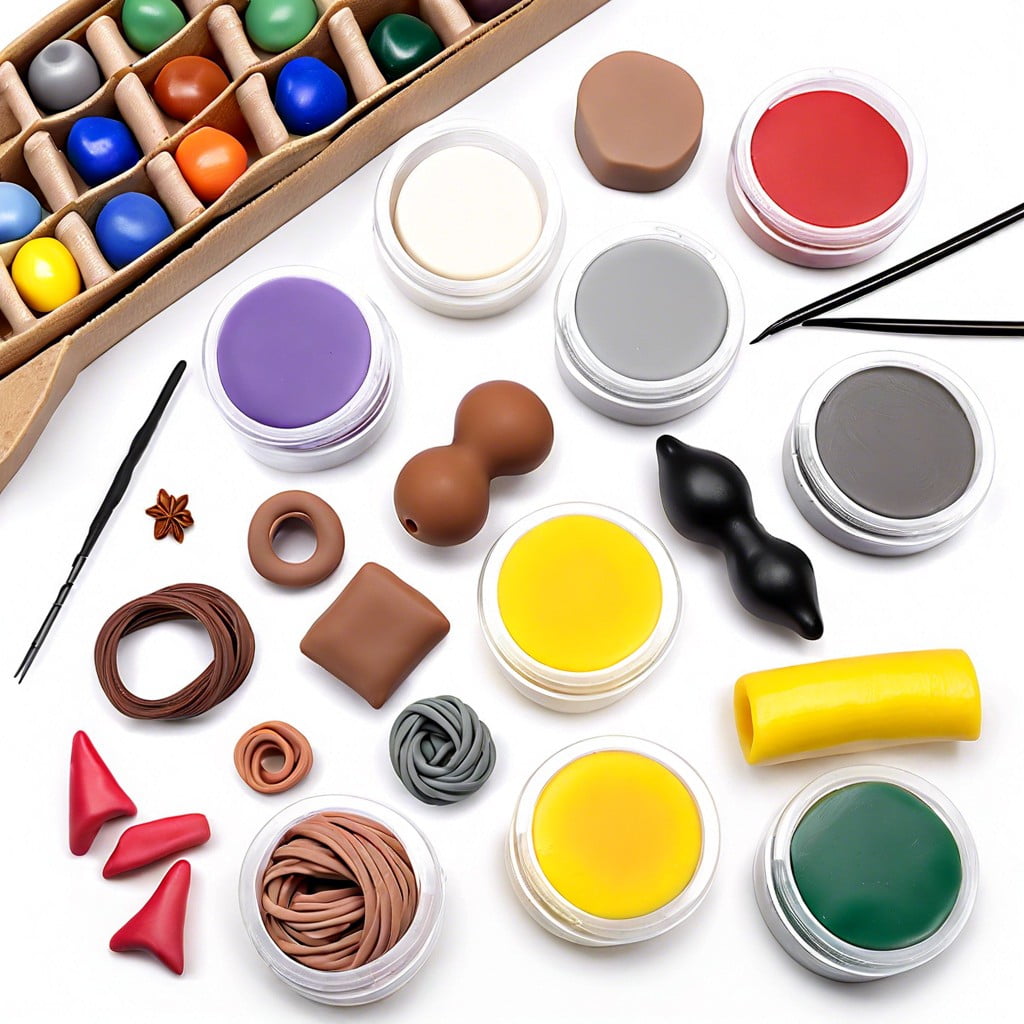
A polymer clay kit typically contains an assortment of colorful clay blocks. These clays come in various colors, allowing for a wide range of creative possibilities. To enhance the crafting experience, some kits also include a set of shaping tools, such as rollers or stamps, which assist in achieving the desired forms and textures.
Many kits also contain a blade or cutting tool for dividing and trimming the clay. This is crucial for ensuring precision in your work. Look for sculpting tools within the kit as well; these can range from simple dotting tools to more complex extruders that can create a variety of shapes and designs.
Lastly, instructions or a project booklet are common inclusions. These instructional materials help beginners get started with basic techniques and inspire more advanced projects. Keep an eye out for baking instructions specific to the brand of clay in your kit, as this is essential for the curing process to solidify your creations.
Specialty Tools and Their Uses
When working with polymer clay, having the right tools can enhance your crafting experience and enable precise work.
Needle tools, with sharp, pointed tips, are perfect for detailing and piercing. They allow you to add fine lines, texture, and small holes, which is essential for jewelry-making or adding intricate details to your creations.
Rolling pins or acrylic rollers help in uniformly flattening clay, ensuring a consistent thickness throughout your piece. This is particularly crucial when layering or joining pieces to avoid cracks and ensure even baking.
For sculpting and shaping, silicone-tipped tools are gentle on clay and provide a smoother finish. Their flexibility is excellent for smoothing seams or creating curved surfaces without fingerprints.
Blade tools, such as tissue blades or craft knives, are indispensable for slicing and cutting polymer clay. They offer clean cuts for canes, shapes, and even skinner blends, which are sheets of clay that gradient from one color to another.
Lastly, texture sheets or stamps imprint patterns onto the clay surface, adding an artistic touch to your work. They can be used for creating backgrounds, depth, and visual interest to any project.
Each tool serves a specific purpose and mastering their use can greatly improve the quality of your polymer creations.
Safety Tips for Using Polymer Clay
Polymer clay is non-toxic, but following safety guidelines ensures a pleasant crafting experience. Work in a well-ventilated area, especially when baking clay, as fumes can be released at high temperatures. Use dedicated tools for clay – do not use kitchen utensils. To avoid ingestion and skin irritation, do not eat while working and wash your hands thoroughly after handling clay. Cured clay is durable, but raw clay should be handled carefully to prevent ingestion by children or pets. Regularly clean your workspace to remove clay residue. When curing polymer clay in the oven, use an oven thermometer to ensure the correct temperature is maintained and prevent burning. Always follow the manufacturer’s instructions for curing times and temperatures.
Techniques for Color Mixing and Blending
Creating unique and vibrant colors with polymer clay opens up endless possibilities. Begin by working with primary colors – red, yellow, and blue. Much like mixing paint, combine these fundamental shades to achieve secondary colors such as purple, green, and orange. White and black can alter the value, making colors lighter or darker respectively.
For smooth blending, soften the clay in your hands to ensure it’s pliable. Roll out two or more colors into thin sheets using a rolling pin or pasta machine. Overlap them slightly and fold, then roll again. Repeat this process until you see the colors merge beautifully into a gradient or entirely new hue.
When looking for a more intricate design, try the Skinner Blend technique. Position two triangles of different colors together into a square with a rectangle rolling pin. Fold the blended piece so the colors run along the length and put it through a pasta machine. As the colors gradually merge with each pass, a seamless gradient is formed.
If you want the colors to mix less uniformly, twisting two or more colors together and rolling them into beads or other shapes can yield delightful marbled effects. Remember, colors can become muddied if overworked, so mix just until you achieve the desired result.
Experimenting is key. Don’t hesitate to try mixing contrasting colors for daring and unexpected outcomes, as some of the best creations come from happy accidents.
Understanding the Curing Process
Curing is a crucial step in transforming your polymer clay project from a malleable form into a hardened, durable finished product. The process involves baking the clay in an oven at a specific temperature, usually provided by the manufacturer on the packaging.
Precision in temperature and timing is key; too low and the clay won’t fully harden, too high and it may burn. An oven thermometer can help ensure the oven is at the right temperature.
Thin pieces may only need to be baked for 15 minutes, while thicker items might require 30 minutes or more. It’s wise to conduct a test bake with a sample piece to determine the perfect timing for your specific clay and oven.
Once cured, the clay should cool slowly to prevent cracking. Never try to cool it quickly by placing it in the fridge or under cold water, as this could result in breakage or loss of detail.
Remember, the curing process is irreversible. Double-check your design for any final touches before you bake your creation.
Related Reading
 Polymer Siding: A Durable Ally for Your Home
 Protein Polymer Example: Unlocking Nature’s Building Blocks
 Polymer Lipids: Revolutionizing Building Materials
 Polymer-Gel: The Secret Sauce for Durable Buildings
 Creative Polymer Solutions for Innovative Construction
Recap