Discover whether polymer clay can dry out and how to best preserve its workability.
Key takeaways:
- Polymer clay doesn’t dry out like traditional clay.
- Proper storage keeps polymer clay fresh and pliable.
- Preserve malleability by wrapping clay tightly and storing correctly.
- Follow instructions for proper baking to prevent dryness.
- Polymer clay and air-dry clay have distinct differences.
Characteristics of Polymer Clay
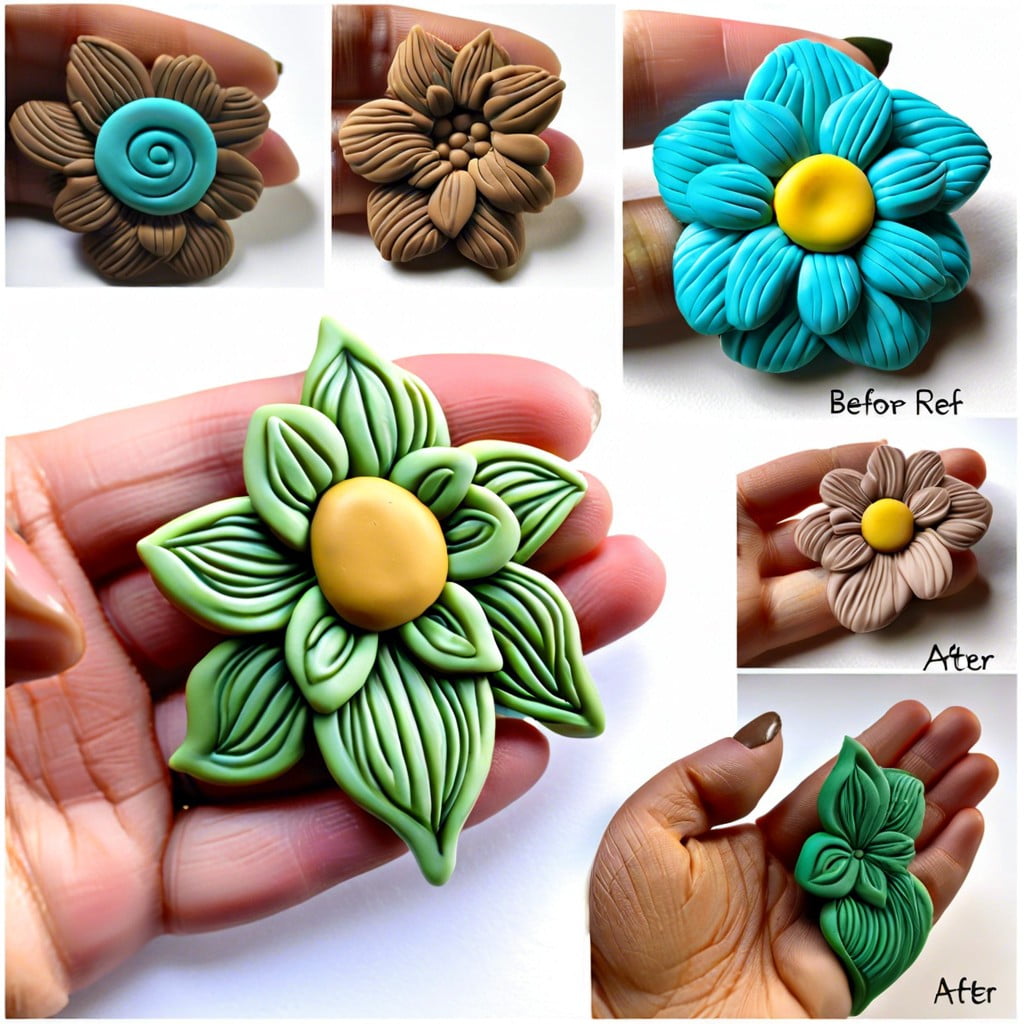
Polymer clay is a type of modeling clay based on the polymer polyvinyl chloride (PVC). Its unique composition allows it to remain pliable at room temperature, only hardening when baked in a home oven. This malleable nature makes it a favorite for crafting intricate designs without the concern of the material drying out like traditional earth clay.
Despite its flexibility, polymer clay doesn’t contain water as a plasticizer, which is why it doesn’t dry out when exposed to air. However, its consistency can change over time, especially if stored improperly or left unsealed. Components in the clay’s formula, such as plasticizers, give it strength and durability once cured, resulting in a finished product that’s water-resistant and, if correctly baked, should not become brittle or crumble.
These key aspects make it ideal for various applications such as jewelry, home decor, and miniature sculptures, ensuring a user-friendly experience for both beginners and professionals. While polymer clay isn’t air-dry clay, it requires specific conditions to transform from a flexible state to a hardened, finished state. Understanding this difference is crucial to working successfully with polymer clay and achieving the desired results in your projects.
Shelf Life and Storage Conditions
Polymer clay maintains its workability and doesn’t dry out if it’s stored properly. Exposure to heat and sunlight can accelerate the curing process, making the clay unusable.
To keep your polymer clay fresh and pliable, store it in a cool, dark place. An airtight container or zip-lock bag is ideal to protect it from dust and prevent it from absorbing moisture, which could affect its consistency.
If you live in a particularly warm climate, consider storing your clay in the refrigerator. However, avoid freezing, as this can make the clay brittle.
Remember, the key to extending the shelf life of polymer clay is proper storage—cool, dark, and airtight.
Preventing Polymer Clay From Drying Out
To preserve the malleability of polymer clay, there are several effective measures you can take:
- Wrap clay tightly in plastic wrap, ensuring there are no exposed areas. Plastic bags that can be sealed are also suitable.
- Store wrapped clay in a cool, dark location, away from direct sunlight and heat sources. A drawer or a cabinet can make an ideal storage spot.
- For prolonged storage, consider placing your wrapped clay in an airtight container. This extra step keeps out dust and moisture, further preventing dryness.
- If you’re pausing your work for a short period, lay a damp cloth over the clay to keep it workable. Remember not to let water come in direct contact with the clay to avoid partial curing.
By following these simple steps, you’ll ensure your polymer clay remains ready-to-use whenever creativity strikes.
Proper Baking to Prevent Dryness
To maintain the optimal condition of polymer clay, baking it correctly is essential. Failure to do so may result in brittleness or an improperly cured product. Here are some pointers for proper baking:
1. Follow the Manufacturer’s Instructions: Every brand of polymer clay has its recommended baking temperature and time. Typically, curing occurs at temperatures between 215-275°F (102-135°C) for 15 to 30 minutes per 1/4 inch (6mm) of thickness.
2. Use an Oven Thermometer: Oven temperatures can fluctuate. An independent oven thermometer ensures the accuracy of baking conditions.
3. Preheat Your Oven: Allow your oven to reach the correct temperature before placing your project inside. This helps to avoid uneven baking.
4. Place on a Baking Surface: Use parchment paper or a ceramic tile to provide a flat baking surface and distribute heat evenly.
5. Tent with Aluminum Foil: This protects the clay from temperature spikes and prevents the surface from browning or burning.
6. Gradual Cooling: Once baked, let the clay cool slowly inside the oven or in a protected area. Quick changes in temperature can lead to cracks.
By following these steps, you’ll ensure your polymer clay project stays durable and free from dryness after baking.
Differences Between Polymer and Air-Dry Clays
Polymer clays and air-dry clays cater to different crafting needs due to their distinct properties:
- Composition: Polymer clay is made from polyvinyl chloride (PVC), plasticizers, and pigments, requiring heat to set. Air-dry clay consists of natural clays and binders, hardening when exposed to air.
- Curing Method: Polymer clay solidifies when baked in an oven, while air-dry clay hardens as it loses moisture over time, without the need for heat.
- Durability: After baking, polymer clay becomes strong and waterproof. Air-dry clay, although sturdy when dry, can be more fragile and is not waterproof.
- Workability: Both can be shaped and molded; however, polymer clay can be worked on for extended periods as it doesn’t dry until baked. Air-dry clay requires more haste due to its drying upon contact with air.
- Safety: Polymer clay must be handled with care and baked following proper instructions to avoid releasing harmful fumes. Air-dry clay is typically non-toxic and safe for children’s projects.
Recap
