Learn how to craft your own polymer clay with this easy-to-follow guide, perfect for both beginners and craft enthusiasts looking to expand their creative toolkit.
Key takeaways:
- Homemade polymer clay requires common household items.
- The recipe for homemade polymer clay involves a mixture of ingredients.
- There are various coloring techniques to personalize your polymer clay.
- Polymer clay can be cured through baking, boiling, or using a heat gun.
- Follow safety precautions such as wearing gloves and ensuring proper ventilation.
Materials Required for Homemade Polymer Clay
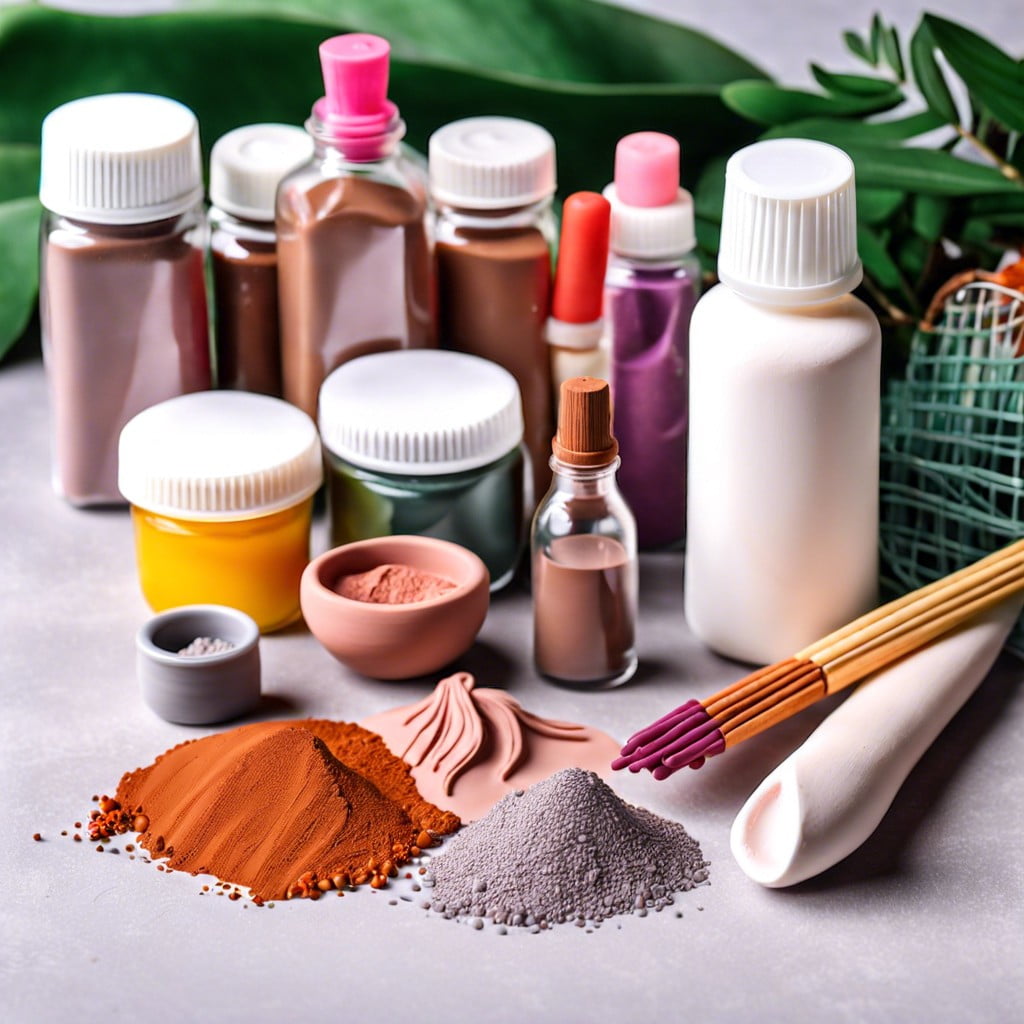
To embark on your polymer clay-making journey, a simple gathering of household items and readily available ingredients will suffice. Roll up your sleeves and prepare to get your hands a little sticky, as we dive into the essentials for your crafting kit.
First, snag some white glue – it’s the secret sauce that binds everything together. Opt for the PVA (polyvinyl acetate) kind, as it has the right consistency and drying properties. Next, cornstarch is your thickening champ. It gives the clay body, so it doesn’t just slump like a lazy cat in a sunbeam.
You’ll also need lemon juice or vinegar, which act as preservation agents, keeping your clay in tip-top shape for longer. Mineral oil or baby oil is your clay’s best friend, giving it that pliability without the icky stickiness.
Last but not least, you’ll want a dash of hand lotion to keep things smooth and to prevent cracking, much like it does for your skin after a long day in the garden. A few drops will do the trick. With these items in hand, you’re ready to mix up some homemade polymer clay magic!
Recipe for Unbreakable Polymer Clay
Crafting durable homemade polymer clay is like baking a cake; you need the right mix for a strong result. Begin with a base of white glue for flexibility and PVA for binding. Add cornstarch to the mix; it’s the secret ingredient that gives the clay its structure. Stir in lemon juice—not just for zest, but for its acidic properties that prevent mold.
Next, a touch of baby oil works wonders. It keeps your clay supple and prevents cracking when cured. Finally, incorporate a dollop of lotion. Think of it as a spa treatment for your clay, ensuring it stays resilient when worked into various shapes.
Cook the mixture over low heat, stirring until it transforms into a dough-like consistency. It’s a magical moment akin to witnessing a caterpillar become a butterfly. Once cool, knead it on a smooth surface until it’s pliable enough to be shaped by your creative desires. The effort pays off with a polymer clay that’s sturdy enough to withstand enthusiastic handling but still easy to mold—an artisan’s dream!
Coloring Techniques for Homemade Polymer Clay
Jazzing up your homemade polymer clay with color can be as simple as a sprinkle or as bold as a brushstroke. Think of your clay as a blank canvas, and let the color magic begin!
- Pre-Colored Clays: You can start off with pre-tinted clay base if you’ve got specific hues in mind. Mixing these can give you a spectrum to play with.
- Incorporating Pigments: For those who enjoy a bit of DIY, acrylic paints or powdered pigments can be kneaded into the clay. Just a dab of paint goes a long way, so start small – you can always add more if you’re craving more saturation.
- Natural Colorants: If you’re leaning towards a natural vibe, try mixing in spices like turmeric for a sunny yellow or activated charcoal for a deep, earthy black. Spice up your clay and watch as it takes on subtle, rich tones.
- Mica Powders: Looking for a little sparkle? Mica powders are your ticket to shimmer town. Gently fold them in for a metallic sheen that catches the light with every turn.
- Pre-Curing Techniques: Experiment with gradations by adding color to just bits of your clay. Create marbled effects or deliberate patterns before you set your creation with heat.
Remember, it’s all about trial and error. Have fun mixing and matching until you find that perfect shade that makes your heart sing. Who needs a pot of gold when you’ve got a rainbow of polymer clay!
Curing Methods for DIY Polymer Clay
Once you’ve shaped your homemade polymer clay into its final form, it’s time to harden it through curing. The most commonly used method is baking, which is done in your regular kitchen oven. Just preheat the oven to the recommended temperature—usually between 230-275°F (110-135°C), although this can vary with the recipe. Place your creations on a baking sheet lined with parchment paper for even heat distribution and to avoid sticking.
The optimal baking time depends on the size and thickness of the item. A good rule of thumb is to allot 15 minutes curing time for every 1/4 inch of thickness. Keep an eye on your oven like a hawk on the prowl to prevent scorching your masterpiece.
Boiling is another curing option, especially if you’re out of oven space. Drop your pieces into a pot of water, bring it to a gentle boil, and let them simmer for about 20 minutes. The water should only be a bubbling brook, not a raging torrent, to keep the shapes intact.
For those with a knack for innovations, there’s also the option of using a heat gun. Directed at the clay piece, it can cure the clay, especially for thin items. But handle with care, as a heat gun is to polymer clay what a dragon is to a castle—potentially disastrous if not controlled properly.
Remember, proper curing is the magic spell that turns your squishy creation into a solid, durable work of art. Check your DIY clay’s instructions for any specific advice, and always stay nearby to monitor the process because nobody wants a kitchen meltdown!
Safety Precautions When Making Polymer Clay
It goes without saying, playing it safe is the name of the game when you’re whipping up a batch of polymer clay. Gloves are your best pals here—they keep your hands clean and protect your skin from any irritants.
Let’s chat about ventilation. When you’re baking your creations, crack a window or kick on an exhaust fan. Fumes can be a crafty little nuisance, so fresh air is a must.
Now, onto thermometers—they aren’t just for checking if your turkey’s done. Use one to check your oven’s temperature. Overheated clay can release pesky fumes, and nobody wants their dragon sculpture to turn into a charred lizard.
Lastly, give alcohol wipes a high five for their cleaning prowess. They’re aces at tidying up after you’ve shaped and molded to your heart’s content. Just remember to give your working area and tools a good once-over to maintain a clean crafting zone.
Keep these points in mind and you’ll be crafting the safe way, folks. Happy claying!
Related Reading
 Polymer Siding: A Durable Ally for Your Home
 Protein Polymer Example: Unlocking Nature’s Building Blocks
 Polymer Lipids: Revolutionizing Building Materials
 Polymer-Gel: The Secret Sauce for Durable Buildings
 Creative Polymer Solutions for Innovative Construction
Recap