This article explains what polymer clay is made of, clarifying its composition and common uses.
Key takeaways:
- Polymer clay is made of polyvinyl chloride (PVC), plasticizers, colors, and fillers.
- Take safety precautions when working with polymer clay to avoid fumes and ingestion.
- Conditioning polymer clay makes it easier to shape and eliminates air bubbles.
- Bake polymer clay at the correct temperature and for the appropriate time.
- Acrylic paint is a great choice for painting polymer clay; thin coats and proper drying are key.
Composition of Polymer Clay
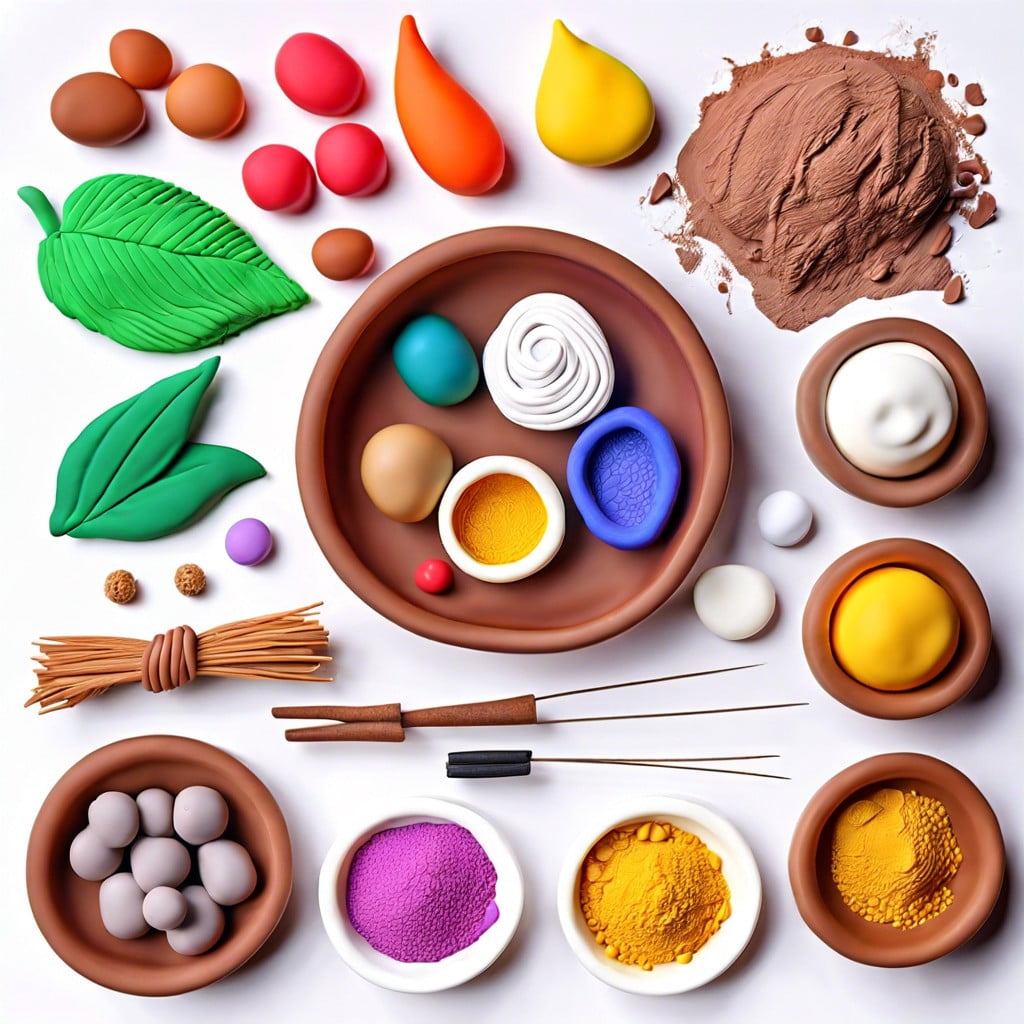
Polymer clay is primarily made of polyvinyl chloride (PVC), a versatile plastic. The PVC in polymer clay is mixed with plasticizers, which make it malleable and easy to shape at room temperature. Unlike earthen clays that need high temperatures to harden, polymer clay stays workable until it is baked in a home oven.
Additionally, polymer clay contains colors and fillers to enhance its working properties and aesthetic appeal. The fillers help to give the clay body and reduce its cost, while the pigments allow artists to achieve a wide spectrum of colors. This mixture results in a clay that is both pliable and durable, suitable for crafting intricate designs.
Health and Safety Concerns
Working with polymer clay is generally safe, but it’s always wise to take precautions, especially when it involves baking the clay, which can release fumes if not handled correctly. Always bake your creations in a well-ventilated area and follow the manufacturer’s recommended temperature settings. Overheating can not only degrade the quality of your artwork but also increase the release of potentially harmful fumes.
It’s a good idea to keep your crafting area clean to avoid ingesting any particles. Although polymer clay is non-toxic, it’s not intended for ingestion. Habitually wash your hands after handling the clay, particularly before eating or touching your face.
For those with sensitive skin, wearing gloves might be a smart move to prevent any possible irritation from prolonged contact with the clay. Also, keep the workspace out of reach of pets and young children to avoid accidental ingestion or exposure.
What Is “Conditioning” in Polymer Clay
Conditioning polymer clay is a crucial step to prepare it for use, ensuring it’s supple and easy to shape. This process involves kneading the clay to increase its pliability and to eliminate any air bubbles that might cause imperfections during shaping or baking.
To start, you can simply press and fold the clay with your hands. For larger volumes or stiffer clays, using a pasta machine can speed up the process. Just pass the clay through the machine several times until it achieves a uniform texture.
Temperature plays a role too. If the clay is too stiff, warming it slightly can make it easier to manipulate. You might gently heat it with a hair dryer or by placing it near a warm surface for a few minutes.
Remember, the objective here is to make the clay easy to work with, preventing any potential issues during your project execution. Using well-conditioned clay results in smoother, more professional-looking finished products.
How to Bake Polymer Clay
Baking polymer clay transforms it from a pliable material into a hardened, durable form. Here’s how to do it right:
Set your oven’s temperature according to the clay manufacturer’s instructions, usually between 215°F and 275°F. Using an oven thermometer can help avoid overheating, which may cause burning or discoloration.
Place your clay piece on a baking surface like parchment paper or a ceramic tile to avoid sticking or getting shiny spots from direct contact with a metal tray.
Bake for at least 15 minutes per 1/4 inch of thickness. Thicker pieces need more time to cure thoroughly, but be careful not to overbake as this can make the clay brittle.
Once baked, let the clay cool slowly in the oven with the door slightly open to prevent thermal shock, which can lead to cracking.
Remember, practice makes perfect. Don’t worry if your first piece isn’t exactly as envisioned; every oven is slightly different, and adjustments may be necessary. Happy baking!
Painting Polymer Clay
Once you’ve baked your polymer clay creation, it’s like a blank canvas ready for a splash of color. Acrylic paint is a popular choice due to its compatibility and quick-drying properties. Here are a few points to guide you through the painting process:
– **Test First:** Before applying paint to your final piece, practice on a small, unseen area or a scrap piece to ensure the paint adheres well and the colors appear as expected.
– **Thin Coats Are Key:** Apply paint in several thin layers rather than one thick layer. This prevents clumping and preserves the intricate details of your sculpture.
– **Drying Time:** Allow the paint to dry completely between layers to avoid smudging. Rushing this process can ruin your detailed work.
– **Sealing:** After the paint has dried, apply a sealer to protect your artwork. A water-based varnish will do the trick and give your creation a professional finish.
This approach helps maintain the integrity of your design while ensuring the colors pop just the way you envisioned.
Related Reading
 Polymer Siding: A Durable Ally for Your Home
 Protein Polymer Example: Unlocking Nature’s Building Blocks
 Polymer Lipids: Revolutionizing Building Materials
 Polymer-Gel: The Secret Sauce for Durable Buildings
 Creative Polymer Solutions for Innovative Construction
Recap