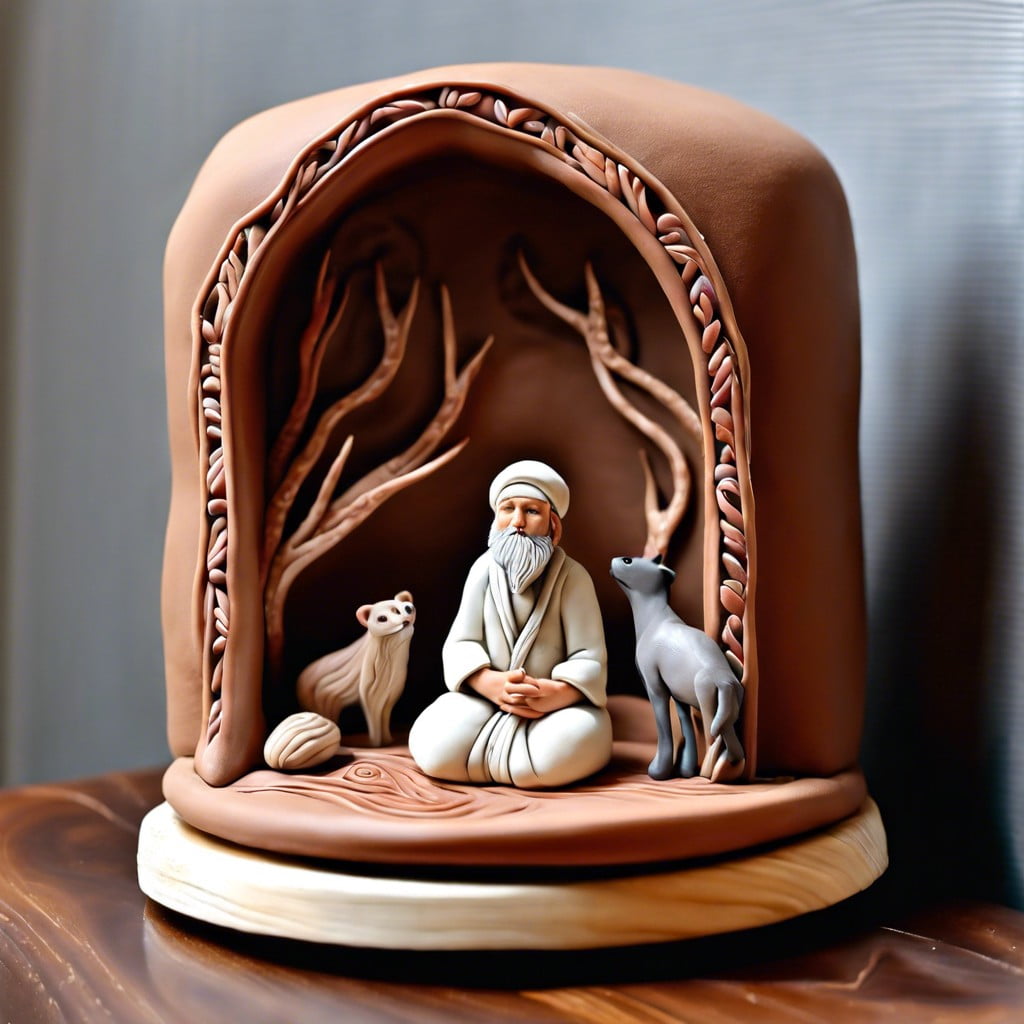
In this how-to guide, you’ll discover the proper time frame for baking polymer clay to perfection.
Key takeaways:
- Baking transforms polymer clay into a hardened, durable form.
- Bake for 15-30 minutes per quarter inch of thickness.
- Perform a touch test and look for absence of discoloration.
- Use ceramic tiles, glass, or metal baking sheets as a stable surface.
- Follow baking instructions and avoid opening the oven door often.
Why Do You Need to Bake Polymer Clay?

Baking transforms polymer clay from a pliable substance into a hardened, durable form. Thank the wonders of science; it’s the heat from your oven that starts a process called polymerization, where all those tiny molecules in the clay start holding hands and forming a solid structure. Think of it like a party where everyone’s mingling and then suddenly forms a conga line that just doesn’t quit.
If you skipped the oven step, your masterpiece would remain as vulnerable as a sandcastle at high tide. So to keep your creation from crumbling under pressure, a trip to the oven is essential. Get it right, and your art will last longer than fruitcake at Christmas.
How Long Does It Take to Bake Polymer Clay?
Cracking the code on perfect baking times can be as simple as checking the label on your polymer clay package. Typically, manufacturers recommend baking for 15 to 30 minutes per quarter inch of thickness. This is a golden rule, but remember, ovens can have personality quirks. Some run hot, some cool, so consider that your oven might need a friendly getting-to-know-you session.
Think of baking polymer clay like cooking a mean roast—you wouldn’t just chuck it in and hope for the best. Experiment with a test piece to get the lay of the land. Adjust the time slightly if needed. A hint for the wise: use an oven thermometer to double-check the temperature. Trust me, your clay’s future might depend on it.
Now, don’t go setting your timer and kicking back with a magazine just yet. Keep an eagle eye on that oven. More complex pieces might need a little longer, while thin or delicate items call for less. If your instincts tell you something’s off, don’t second guess them—better safe than sorry with your creation!
How Do You Know When Your Polymer Clay Project Is Done Baking?
Ensuring your polymer clay creation is fully baked can be likened to making the perfect chocolate chip cookie—you want it just right. It’s a visual and tactile check. Once the timer dings, perform a simple touch test. The surface should be firm and not leave a mark when gently pressed. However, avoid a full-on poke test; let’s not turn our art into a fingerprint collection.
Next, look for the absence of a darkened color than when you first popped it into the oven. If there’s any discoloring, that might be a signature of overbaking. Sight and touch are your pals here; the clay won’t actually harden until it’s cooled down.
Remember, don’t judge a book by its cover—or in this case, clay by its firmness right out of the oven. Give it time to chill out, literally. It gains its final strength and solidity once it cools down and takes a breather. If after cooling, your piece feels solid and robust, you’ve nailed it. If it’s flexible or bends, it might need a little more time in the warmth of the oven. Just like Goldilocks, you’re looking for that ‘just right’ finish.
Choose The Right Surface for Baking
Picking a suitable baking surface is crucial to the success of your polymer clay creation. Consider using ceramic tiles, glass, or metal baking sheets as they provide a stable and heat-resistant base for your clay. These materials also deliver a consistent heat distribution, which helps in preventing any unwanted scorching.
Avoid using any materials that can melt or warp at high temperatures, such as plastic. If you’re using a ceramic tile, place it on a cold oven rack before heating to avoid thermal shock which could crack the surface. Remember that parchment paper or cardstock can be used under your clay item for easier removal after baking but be aware that they can affect the bottom finish of your piece.
Ultimately, your choice will impact the quality of your baked piece — better safe than sorry, so pick a surface that will support your clay through the baking process without causing any mishaps.
The Best Way to Bake Polymer Clay
Have you ever had a cake flop for ignoring the recipe? The same holds true for polymer clay – you’ve got to follow the baking instructions to a T. Here’s how you can nail it every time:
First, preheat your oven. This step is crucial because an uneven temperature can lead to cracks or weak spots.
Next, make sure your oven is actually as hot as it claims. An oven thermometer can be your best friend here, as built-in gauges might be off by a few degrees.
When placing your clay in the oven, opt for a ceramic tile or a piece of parchment paper on a baking sheet. It helps distribute heat evenly and prevents the dreaded burnt bottom.
Don’t be tempted to crank up the heat or cut baking time short. Stick to the recommended temperature and time settings. Patience, young grasshopper, is key.
Occasionally peek through your oven window but avoid opening the door often. You wouldn’t want uneven temperatures to sabotage your masterpiece, would you?
Remember, thicker pieces need more time, while thinner ones cook faster. If your project is a bit of a chunky monkey, consider tenting it with aluminum foil to prevent scorching.
These pointers when baked into your routine will help your polymer clay creations come out perfectly. Happy crafting!
Recap


