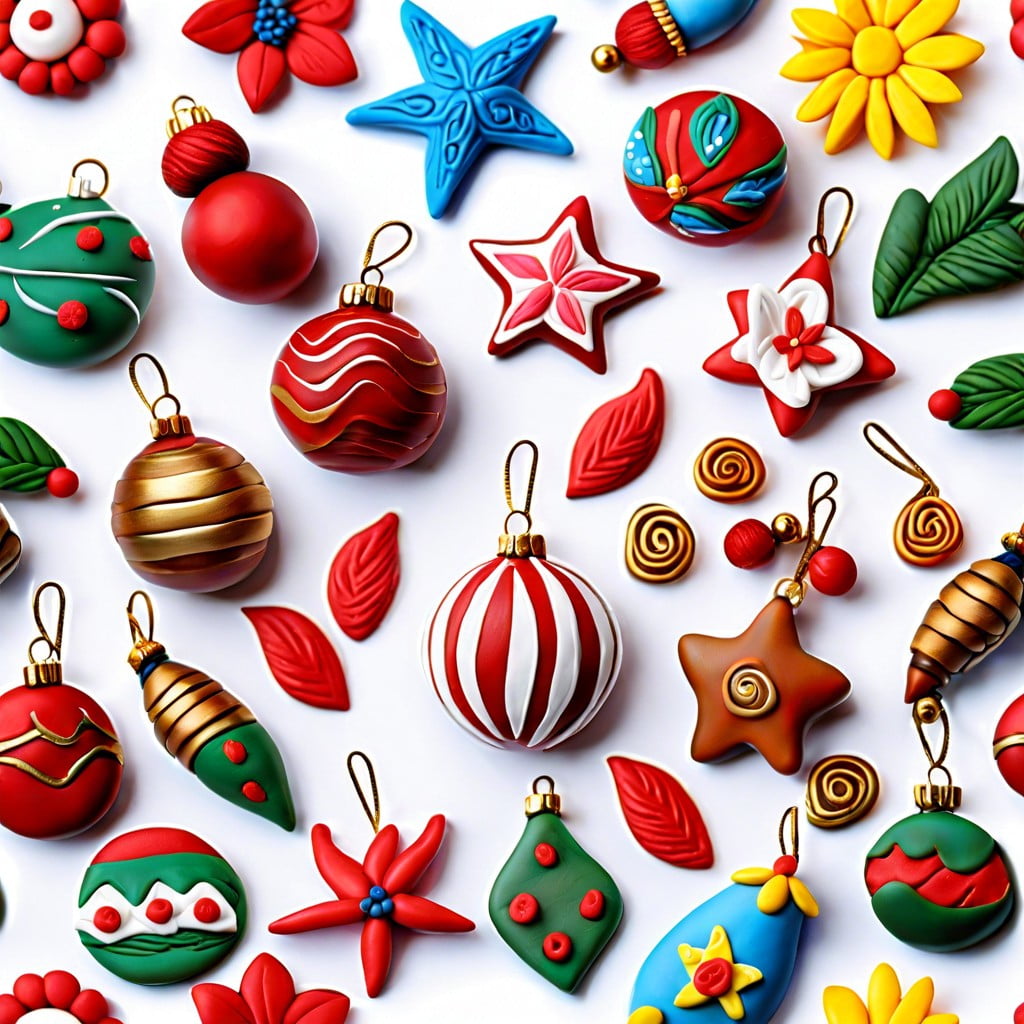
Learn how to create your own unique polymer clay ornaments with this step-by-step guide tailored for both beginners and skilled crafters.
Key takeaways:
- Polymer clay is a versatile material made from PVC and pigments.
- Different types of polymer clay have specific characteristics for ornaments.
- Follow a step-by-step guide to make polymer clay ornaments at home.
- Use innovative techniques like embossing and silk screening for unique designs.
- Prioritize safety when working with polymer clay for a pleasant experience.
Understanding Polymer Clay
Polymer clay is a versatile art material primarily made from polyvinyl chloride (PVC), plasticizer, and pigments. It remains soft until it is baked in a home oven at a low temperature, at which point it hardens into a durable form. This quality makes it suitable for crafting intricate ornaments.
Unlike earthen clay, it doesn’t dry out when exposed to air, granting artists the flexibility to work on a piece over time. Its pliability allows for blending colors to achieve various shades and effects. The finished items can resemble a range of textures, from transparent glass-like finishes to that of natural stone.
With its array of colors and the ability to retain fine details, polymer clay is a popular choice for creating custom jewelry, decorations, and miniature art pieces.
Types of Polymer Clay for Ornaments
Polymer clay comes in various formulations, each with specific characteristics suitable for different project needs.
- Standard Polymer Clay: Ideal for beginners, it is soft, easy to work with, and comes in a vast range of colors.
- Professional Polymer Clay: This type has a firmer texture, favored by experienced crafters for its durability and strength after baking.
- Liquid Polymer Clay: Used for intricate details or as a “glue” between clay pieces, it’s versatile for adding a glossy finish to your creations.
- Specialty Polymer Clays: Some clays contain glitter, are translucent, or glow in the dark, perfect for adding unique touches to your ornaments.
The choice of clay will impact the final look and feel of your ornament. It’s essential to consider the end-use – whether the ornament will hang on a Christmas tree or grace a sunlit window. Remember that colors can be mixed to create custom shades and effects, allowing for personalization and creativity.
Step-by-Step Guide to Making Polymer Clay Ornaments
Begin by choosing your polymer clay. Opt for colors and effects that match your design vision. Preheat your oven according to the clay manufacturer’s instructions to ensure even baking.
Condition the clay by kneading it until it’s pliable. This makes it easier to mold and blend. You can use a pasta machine or a rolling pin reserved for crafting to roll out the clay to your desired thickness.
Use cookie cutters, a blade, or freehand techniques to shape your ornament. To add texture or patterns, employ tools, stamps, or found objects before baking.
Make a hole for hanging your ornament using a toothpick or a straw. Ensure the hole is big enough for a ribbon or hook but far enough from the edge to avoid breakage.
Place your creation on a parchment-lined baking sheet and bake according to the clay package’s instructions. Different brands and thicknesses may require adjusted baking times.
After baking, allow your ornament to cool completely. This can take several minutes and ensures the material sets properly.
For a professional finish, sand any rough edges with fine-grit sandpaper, then apply acrylic paint or glaze if desired. These additional decorations should be compatible with polymer clay to prevent reactions.
Finally, add a ribbon, string, or hook through the hole of your ornament, and it’s ready to be displayed.
Innovative Decorating Techniques for Polymer Clay Ornaments
Embossing and Texturing: Transform the surface of your polymer clay with rubber stamps, textured rollers, or even household items like lace and leaves. Press the object onto the clay to create an imprinted design, adding depth and interest to your ornament.
Mica Powders and Metallic Leaf: Brush mica powders onto the clay before baking for a shimmery effect, or apply metallic leaf after baking for a touch of luxury. These materials catch the light beautifully, highlighting the intricate details of your design.
Silk Screening: Apply a thin layer of paint through a silk screen onto the clay surface. This method allows for intricate, multi-colored patterns and can mimic the look of hand-painted art.
Transfers and Decals: Use image transfer techniques to add photographs, drawings, or any other printed design onto the surface of your clay. This can personalize ornaments or give them a professional, graphic look.
Caning: Create detailed patterns known as canes by layering different colors of clay and slicing them to reveal the design within. These slices can be applied to the surface of ornaments for complex, colorful decorations.
Using Inclusions: Embed small objects such as glitters, beads, or fibers into the clay before baking to add texture and visual interest to your ornaments. These inclusions can create a sense of depth and uniqueness to each piece.
After baking, these decorating techniques can be enhanced with varnishes and glazes, giving your final product durability, a high gloss, or a matte finish depending on the desired aesthetic. Remember, the possibilities are endless with a bit of creativity and experimentation.
Safety Tips for Working With Polymer Clay
When handling polymer clay, it’s crucial to prioritize safety to ensure a pleasant crafting experience. Always work in a well-ventilated area to avoid inhaling any fumes, particularly during the baking process. Use dedicated tools and equipment for clay work, keeping them separate from kitchen utensils to avoid cross-contamination with food.
Be mindful of the baking instructions, as different clays have specific temperature and time requirements—overheating can not only damage your project but also release potentially harmful gases. To prevent burns, use an oven thermometer for accuracy and oven mitts when handling hot items. Finally, wash your hands thoroughly after use and store the clay in a secure location, out of the reach of children and pets.
By adhering to these simple tips, you’ll create your ornaments safely and enjoyably.
Related Reading
 Polymer Clay Flowers: Crafting Delicate Blooms for Any Occasion
 Polymer Clay Christmas Ornaments: Craft Your Own Festive Decor
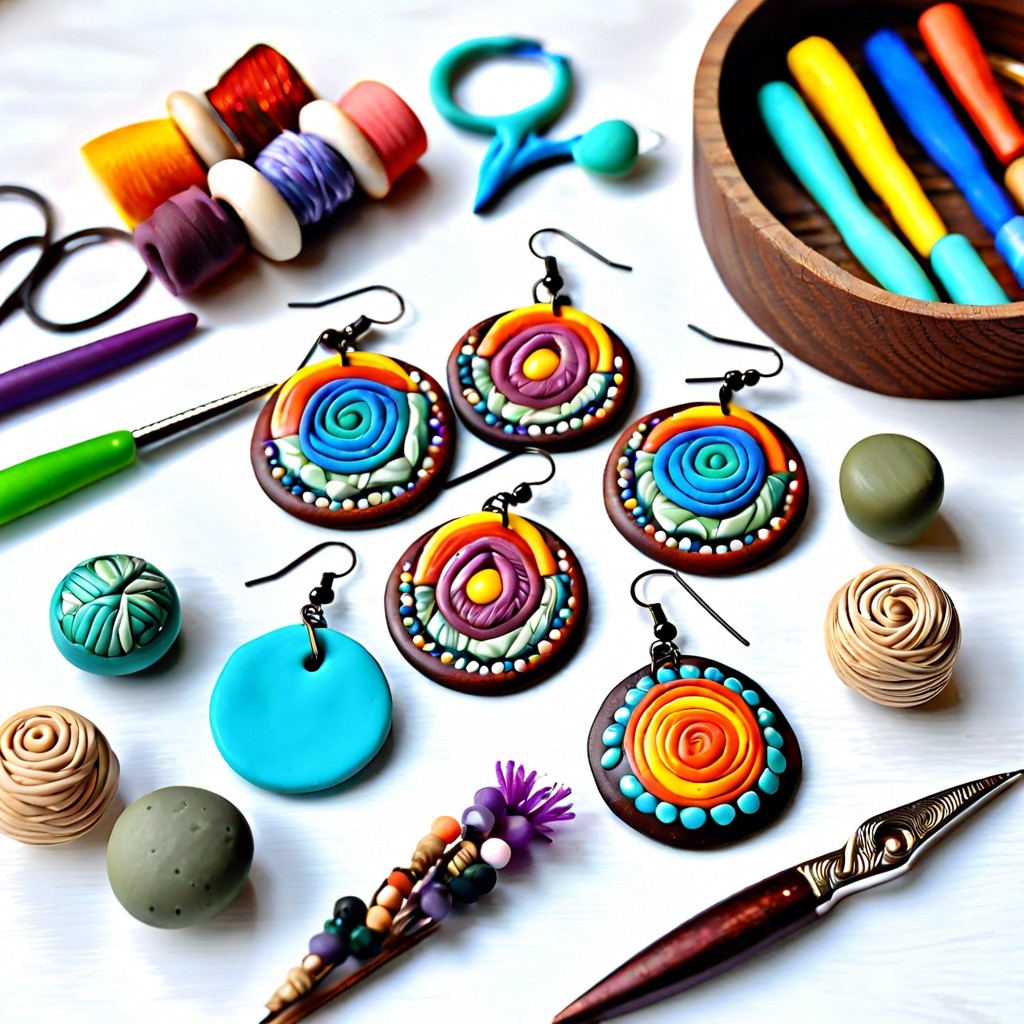 Polymer Clay Earring: Creating Fashion Statements with Your Own Hands
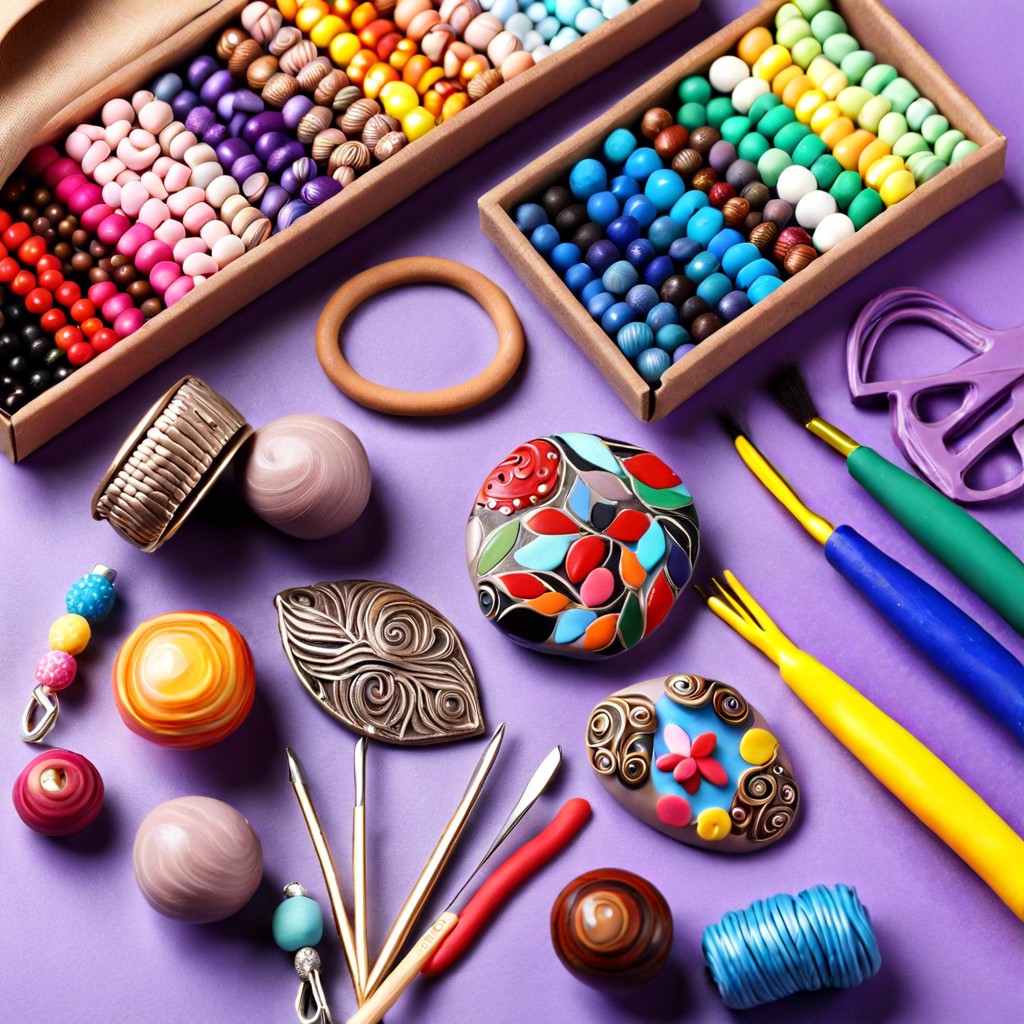 How to Make Polymer Clay Beads for Stunning DIY Jewelry
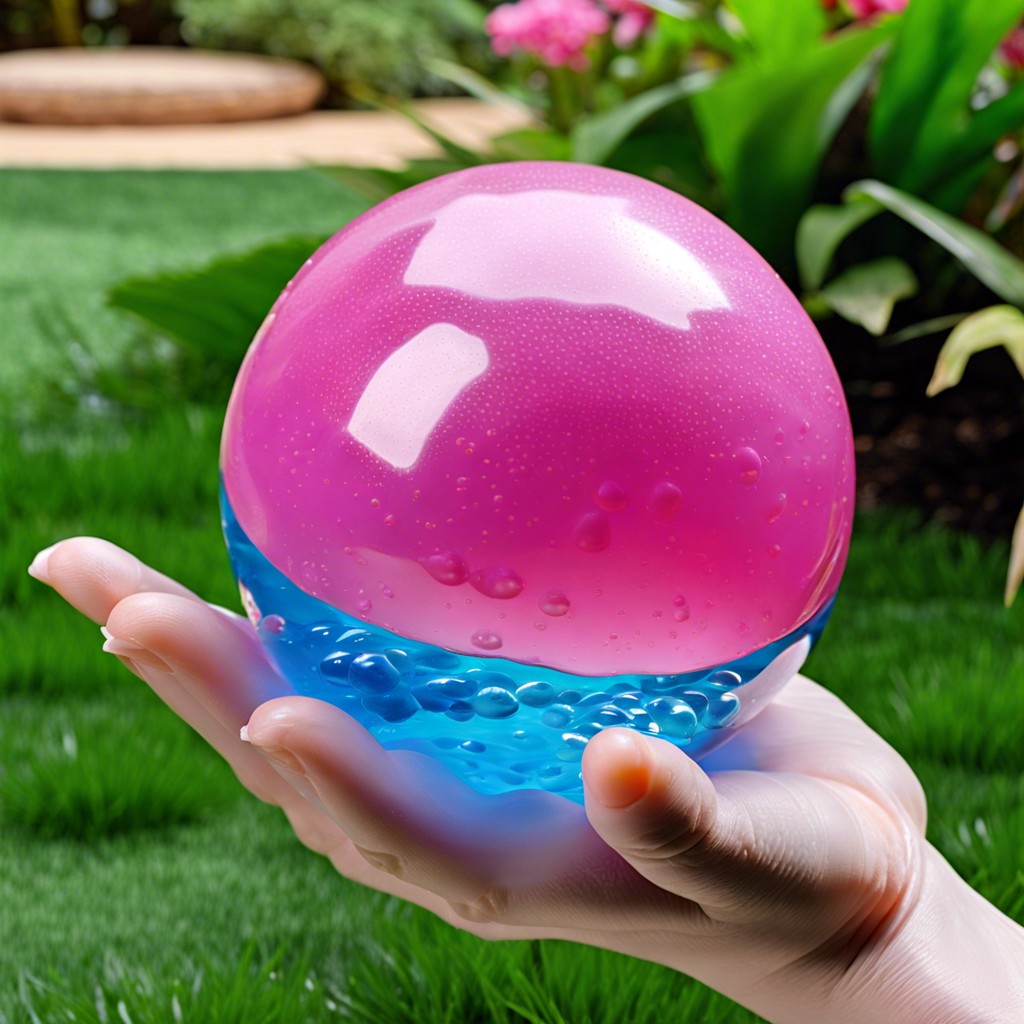 Water Balz Jumbo Polymer Ball: The Ultimate Guide to Fun and Utility
Recap