Learn how to add vibrant colors to polymer clay with these easy-to-follow techniques.
Key takeaways:
- Choosing appropriate coloring methods: Incorporate pigments, liquid dyes, or powders for different effects.
- Preparing clay for coloring: Condition clay, use a clean work surface, and roll clay evenly.
- Techniques for surface coloration: Use mica powders, alcohol inks, acrylic paints, or chalk pastels.
- Sealing clay to preserve the finish: Apply a sealant that matches the project’s needs in thin, even layers.
- Troubleshooting common coloring issues: Consider the type and brand of coloring agent, knead clay thoroughly, and perform test bakes.
What You Will Learn
Selecting Appropriate Coloring Methods for Polymer Clay

When you dive into coloring polymer clay, think of it as dressing up your creation in its best outfit. The right choice can make all the difference. You can use various methods, each allowing you to customize even further.
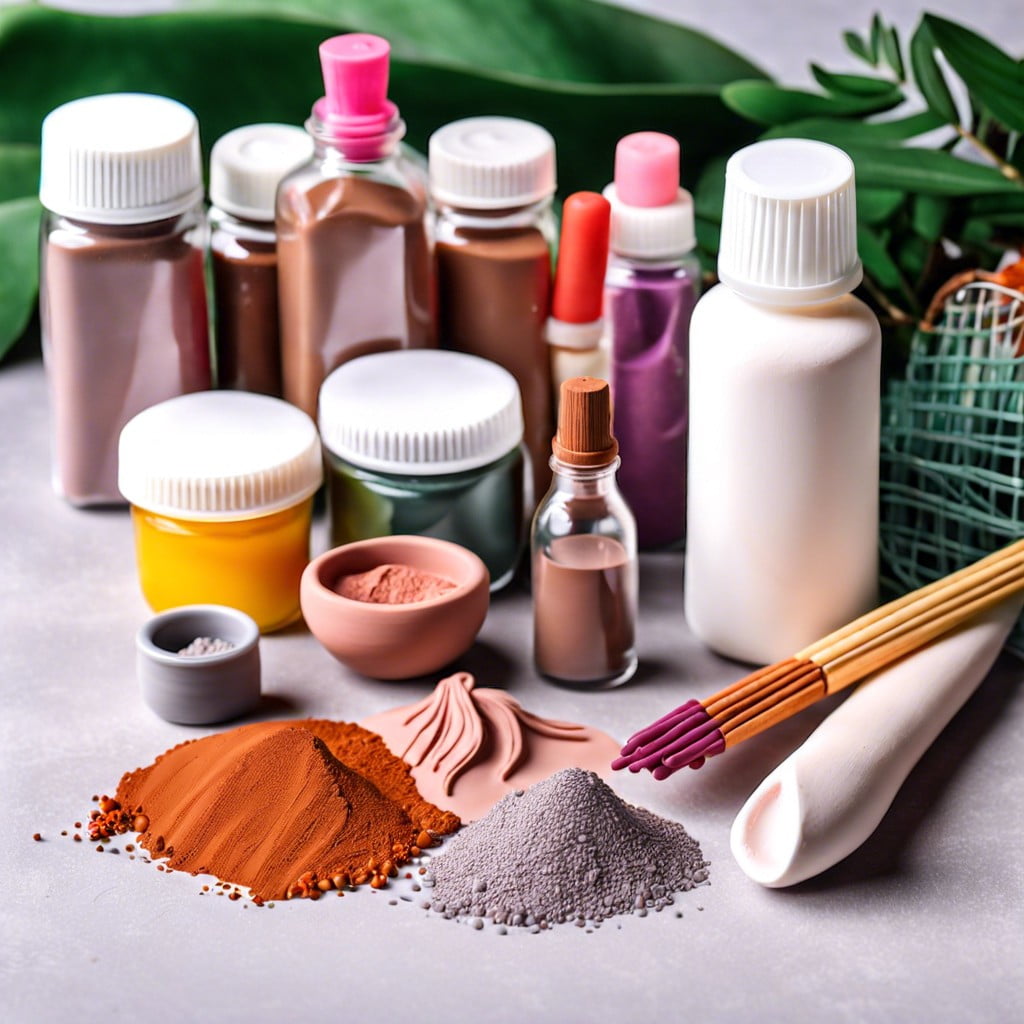
Incorporate pigments directly into the clay before molding; this ensures uniformity and depth. Liquid dyes provide a vibrant finish, ideal for achieving bright, standout pieces. Powders, such as mica or chalk pastels, offer a shimmering or soft matte texture, perfect for adding a subtle flair.
Consider also surface treatments post-baking, such as acrylic paints or alcohol inks. These are fantastic for detailed accents or layered color effects that really pop.
Choosing your method depends on your desired result. Seamless integration for daily objects? In-mixed pigments work great. A splash of color for decorative pieces? Paints and inks will do the trick. Evaluate your project, and let your creativity lead the way.
Preparing Polymer Clay for Coloring
Before diving into the coloring process, ensure your polymer clay is in optimal condition for the best results. Start by conditioning the clay, which makes it pliable and easier to work with. Simply knead it in your hands until it’s soft and smooth; this eliminates any potential cracks and ensures the color adheres well.
Always use a clean work surface and tools to prevent unintentional color transfers or contamination. Dust and lint are the enemies of pristine polymer clay. Wiping your workspace with a damp cloth can catch any stray particles that might ruin your project.
For those using techniques that require thin sheets of clay, such as applying pastels or chalk, rolling your clay evenly is crucial. A pasta machine or a rolling pin can help achieve uniform thickness, aiding in consistent color application.
Lastly, if you plan on mixing custom colors directly into the clay, do so before shaping your final piece. This approach guarantees the pigment is well integrated throughout the clay, providing a uniform color once baked.
Techniques for Applying Surface Coloration
Applying color directly to the surface of polymer clay opens a world of vibrant possibilities. Here are a few popular techniques:
**1. Mica Powders:**
Dust these shimmering powders onto un-baked clay for a metallic or pearlescent effect. A soft brush helps apply the powder evenly.
**2. Alcohol Inks:**
These inks are great for creating deep, translucent colors with a watercolor-like finish. Apply with a dropper or brush and allow it to spread for artistic patterns.
**3. Acrylic Paints:**
After baking your clay piece, acrylics can be used for detailed painting or solid coverage. Ensure the clay is cool and dry before application.
**4. Chalk Pastels:**
Scrape a little powder off the chalk and use a brush to apply it to raw clay for soft, blendable color that’s perfect for realistic effects.
By experimenting with these methods, you can achieve striking results that make your creations pop. Learning what works best with your project style is part of the fun!
Sealing Colored Polymer Clay to Preserve the Finish
To keep your beautifully colored polymer clay looking vibrant and fresh, applying a sealant is key. Choose a sealant that matches your project’s needs. For items that will handle a lot of wear, like jewelry, a varnish or resin provides a hard, protective coating. Alternatively, for decorative pieces that won’t be handled much, a simple acrylic spray might suffice.
Application is crucial; make sure the colored clay is completely cured and cool before sealing. Apply the sealant in thin, even layers, allowing it to dry thoroughly between coats. This approach avoids smudging the colors and ensures a uniform finish.
Be aware of ventilation while you work, especially when using aerosol sprays or solvent-based sealants, as these can release harmful fumes. Working in a well-ventilated area or outdoors can safeguard your health.
Finally, test the sealant on a small, inconspicuous area of your clay creation first. This step helps you spot any reactions between the sealant and the clay or the added colors, ensuring that your masterpiece remains as intended without unwanted surprises.
Troubleshooting Common Coloring Issues
Even the most careful artists can run into a few hiccups while coloring polymer clay. Here are a few tips to help you troubleshoot common issues:
If the color starts to fade when baking, consider the type and brand of coloring agent you’re using. Some pigments are not heat-stable and might not withstand the baking temperatures required for polymer clay.
Streaking can occur if the color isn’t thoroughly mixed with the clay. To avoid this, knead the clay more extensively to ensure even distribution of the pigment.
Sometimes, the final color might turn out differently than expected after baking. This can happen due to the interaction between the colorant and the clay composition. Performing a small test bake with a sample piece can help predict the outcome before you commit to baking a larger project.
If the surface color wipes off easily, sealing might be necessary. Use a compatible polymer clay sealant to protect your work and keep the colors vibrant over time.
Related reading:


