In this article, you will learn about Fimo polymer clay, its characteristics, uses in crafting, and how it compares to other polymer clays.
Key takeaways:
- FIMO polymer clay is made of PVC and additives.
- FIMO offers durability, versatility, and vibrant colors for crafting.
- FIMO stands out among other polymer clays due to its characteristics.
- Tips for working with FIMO include conditioning, using sharp blades, and following baking instructions.
- Store unused FIMO clay properly to maintain its workability.
Brief History of FIMO Modelling Clay
FIMO clay has its roots in Germany where it was initially created by Sophie Rehbinder-Kruse in the late 1930s. The name “FIMO” stands for “FIfi’s MOdeling compound,” with “Fifi” being the nickname of Sophie’s daughter.
However, it wasn’t until the 1950s that FIMO was commercialized by Eberhard Faber, marking its transition from homemade recipe to a widely available craft material.
Over the decades, FIMO has evolved, leading to a variety of formulas suited for different applications, from jewelry making to intricate sculpting.
Today, it’s recognized as a standard among polymer clays, known for its quality, versatility, and the vibrant color options it offers to artists and hobbyists.
What Is FIMO Actually Made Of? Production and Composition of the Material
FIMO polymer clay is a pliable material that becomes hard when baked, a characteristic derived from its primary component, polyvinyl chloride (PVC). PVC is a plastic with an exceptional ability to be molded and shaped. When combined with plasticizers, the normally rigid PVC transforms into the flexible substance we know as FIMO clay.
To enhance its workability and color range, FIMO incorporates various additives:
- Pigments: Provide the vibrant array of colors FIMO is known for.
- Fillers: Adjust the clay’s strength and transparency.
- Plasticizers: Keep the clay malleable before curing.
- Stabilizers: Maintain the clay’s integrity during the baking process.
FIMO undergoes a curing process, where baking at specific temperatures activates a chemical change. This change causes the material to solidify, preserving the user’s design permanently. It’s important to follow the manufacturer’s instructions during this stage to ensure the best results.
The composition of FIMO not only allows for detailed modeling but also ensures the finished product is durable and long-lasting, suitable for creating a wide variety of items from jewelry to decorative pieces.
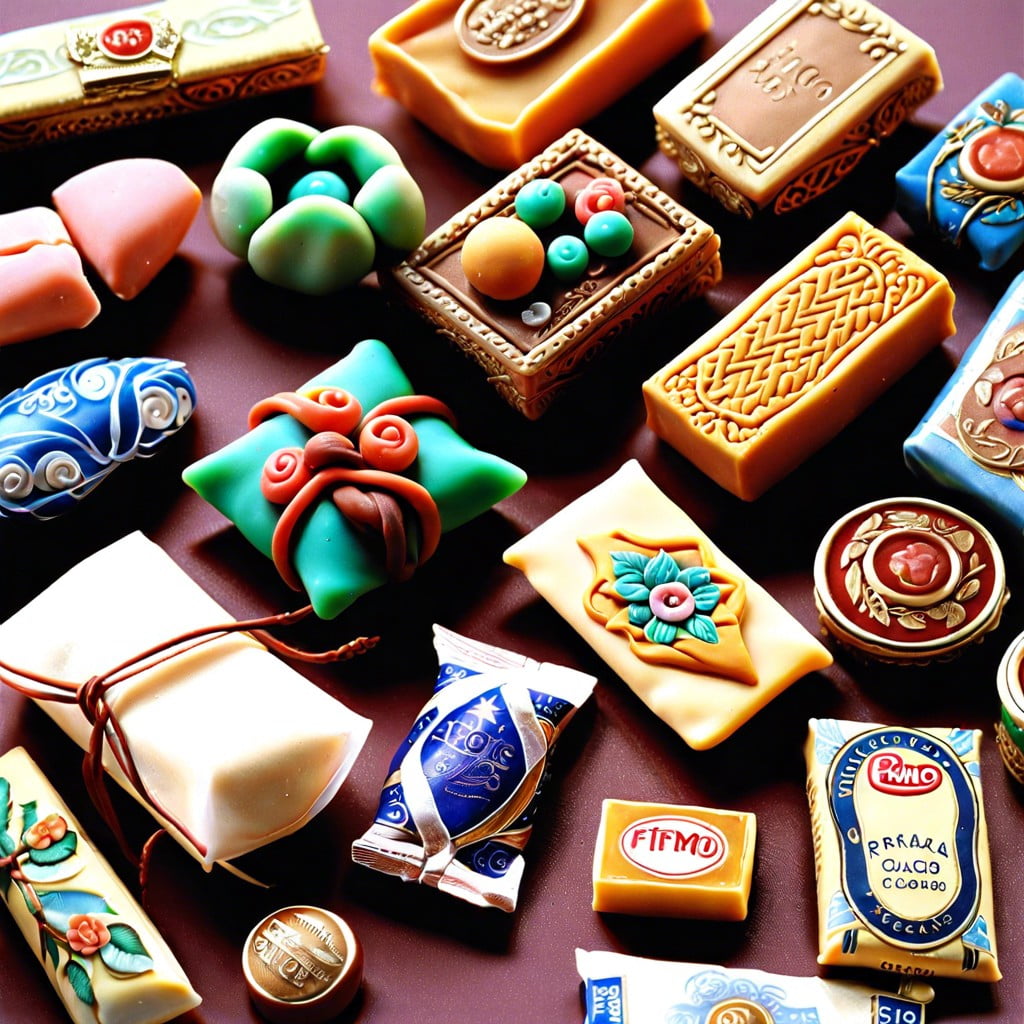
Uses and Valuable Characteristics of FIMO
FIMO’s durability once cured allows it to transform into a wide range of objects, from intricate jewelry pieces to detailed figurines. Its ability to hold fine details makes it a favorite for artists who specialize in miniature crafts. Unlike some other types of clay, FIMO does not air dry; it requires baking in a conventional oven to harden, which means artists can take their time perfecting their designs.
Additionally, its versatility is enhanced through the variety of finishes it can take on. FIMO can be sanded, carved, or even painted after curing, granting creators immense control over the final appearance. With its plethora of colors, including options that mimic the look of glass, metal, or stone, FIMO offers a spectrum of creative possibilities.
Furthermore, FIMO provides a safe platform for creativity. It is non-toxic and conforms to ASTM D-4236, making it a suitable choice even for children’s projects when used under adult supervision. It also has an extended shelf-life, which is ideal for both casual crafters who use it sporadically and for professional artists who depend on its consistent quality.
This polymer clay remains pliable and workable right up until it is baked, meaning that it can be reused and reshaped numerous times. This feature reduces waste and makes it an economical choice for experimenting with new designs.
Comparing FIMO With Other Polymer Clays
FIMO stands out in the polymer clay family due to its distinct characteristics. While brands like Sculpey and Kato also offer similar medium for artists and crafters, there are specific features that set FIMO apart.
Firstly, FIMO comes in a wide range of colors and finishes, including effects like glitter or glow-in-the-dark that may not be as diverse in other brands. Its consistency is generally firmer than Sculpey, which can be preferable for detailed sculpting where maintaining shape is key.
Secondly, FIMO clay typically requires baking at a slightly higher temperature than Sculpey but tends to be less brittle once cured, especially the FIMO Professional line. This makes it a reliable choice for items that need durability, like jewelry or home décor.
Kato polyclay, recognized for its strength and vivid colors, has a firmer texture that is often favored by professional artists. However, FIMO’s smooth consistency is great for blending colors and is more easily conditioned, which is particularly helpful for beginners.
Lastly, curing times and temperatures vary across brands. Ideally, FIMO bakes at 110°C (230°F) for 30 minutes, compared to Sculpey which may bake at slightly lower temperatures. Adhering to FIMO’s specific curing instructions ensures optimal results, minimizing the risk of over-baking or brittleness.
Understanding these differences can help crafters choose the ideal polymer clay for their projects, ensuring optimal workability and final product quality.
Tips for Working With FIMO Polymer Clay
Condition the clay before use by kneading it to improve elasticity, making it easier to shape and combine colors. For tougher pieces, a dedicated pasta machine can be particularly effective.
Work on a smooth, clean surface to prevent the clay from picking up debris. Acrylic or glass work surfaces are preferable as they are non-porous and easy to clean.
Always use dedicated polymer clay tools or ensure that household items are not used for food after being in contact with the clay due to the chemical nature of the material.
To achieve clean cuts and reduce distortion, use sharp blades and reduce hand pressure when slicing.
For intricate designs, utilize caning techniques—creating logs or cylinders with patterns that run through them, which can be sliced to reveal consistent cross-sections.
To prevent fingerprints and marks, wear gloves or lightly sand the clay after baking.
Bake according to the package instructions as each brand and even color may require different temperatures and times. Use an oven thermometer to ensure accuracy, avoiding under or over-baking which can lead to brittleness or burning.
After baking, let the clay cool slowly to reduce the potential for thermal shock which can cause cracking.
To enhance durability and appearance, apply a polymer clay sealant after the piece is completely cooled. For added gloss or matte effects, specific finishes can be applied.
Remember to store unused clay properly, wrapped in wax paper and kept away from direct sunlight and heat sources to maintain its workability for future projects.
Related Reading
 Polymer Siding: A Durable Ally for Your Home
 Protein Polymer Example: Unlocking Nature’s Building Blocks
 Polymer Lipids: Revolutionizing Building Materials
 Polymer-Gel: The Secret Sauce for Durable Buildings
 Creative Polymer Solutions for Innovative Construction
Recap