Discover why polymer clay holds the power to transform your ordinary construction project into a masterpiece because of its incredible versatility and easy-bake properties.
Baking polymer clay is both an art and a science, requiring attention to detail for impeccable results.
Whether you’re a hobbyist or a professional sculptor, knowing the intricacies of how to properly bake your creations is crucial.
In this guide, we’ll navigate you through setting up an efficient workspace, understanding different brands and their specific baking recommendations, selecting the best oven type, choosing the ideal baking surface, and determining the precise temperature for a perfect cure.
By following these thorough yet straightforward instructions, you’ll ensure your polymer clay projects come out strong and beautifully finished every time.
Key takeaways:
- Preparing Your Workspace: Clean and organized space, gather tools.
- Understand Polymer Clay Brands and Baking Instructions: Read packaging, note consistency, take notes.
- Types of Ovens Suitable for Baking: Conventional, toaster, dedicated clay ovens.
- Choosing the Right Baking Surface: Ceramic tile, glass dish, metal tray, parchment paper.
- Best Temperature to Bake Polymer Clay: Follow clay brand’s instructions, consistency is key.
Preparing Your Workspace
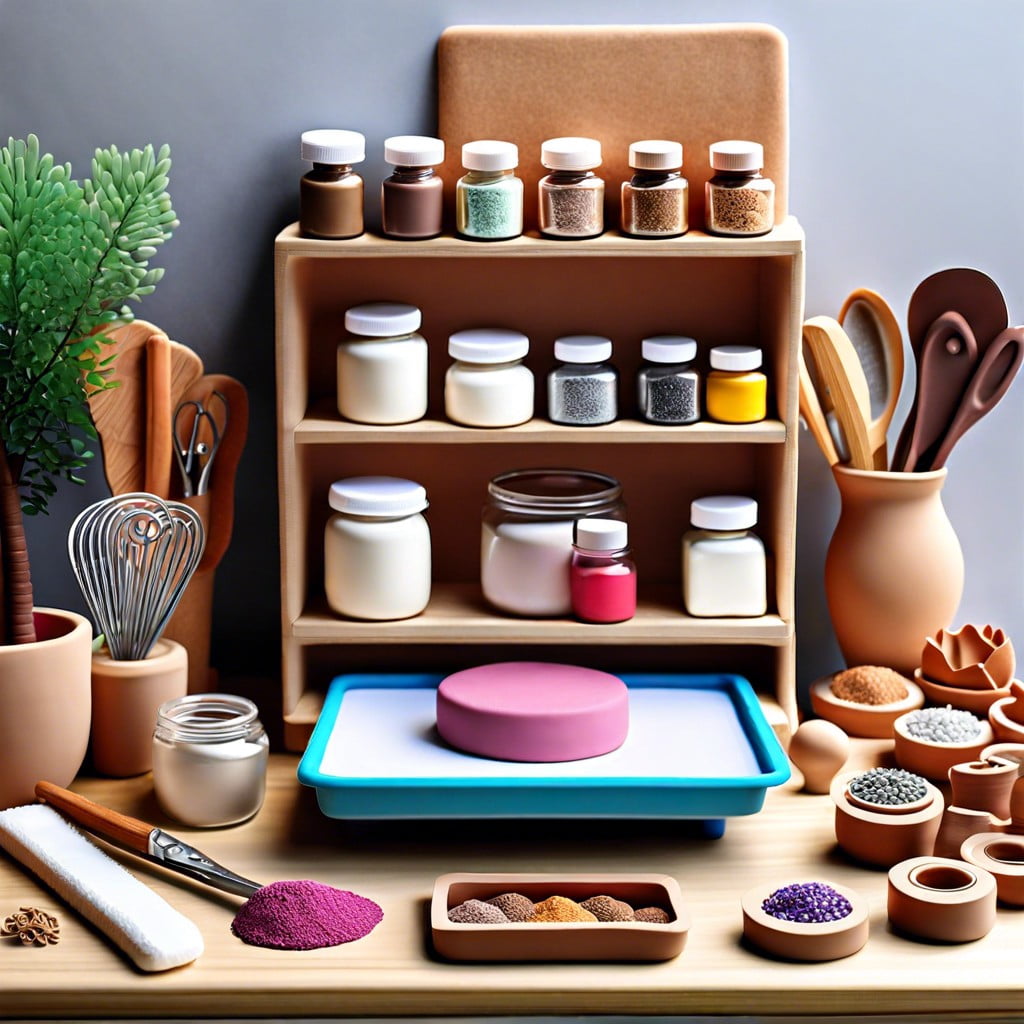
Before diving into your polymer clay project, ensure a clean and organized space. Start with a flat surface, like a kitchen counter or a dedicated craft table, and cover it with parchment paper or a silicone mat for easy cleanup.
Gather all the tools you’ll need — a roller, cookie cutters, a knife, and sculpting tools — so they’re within reach.
Keep a small oven dedicated for clay if possible, as using kitchen appliances can be risky due to the potential release of fumes from the clay during baking. Good ventilation is crucial, so open a window or use an exhaust fan to keep the air fresh.
Storing your raw materials within arm’s reach in labeled containers will streamline your creative process, making it both enjoyable and efficient.
Understanding Polymer Clay Brands and Their Baking Instructions
Different brands of polymer clay have their unique formulations, leading to varying baking instructions. It’s essential to:
1. Read the Package: Specific temperature and time instructions are provided on the clay packaging. Follow these guidelines carefully to ensure proper curing.
2. Understand the Brands: Common brands like Sculpey, Fimo, and Kato will have different baking requirements. For instance, Sculpey III may bake at a lower temperature than Fimo Professional.
3. Consistency Matters: Using various brands in one project? Note the baking times and temperatures for each. If they differ, find a middle ground that won’t burn the lowest temperature clay or under-bake the highest.
4. Take Notes: Whenever you’re trying out a new brand, keep a record of the baking conditions and results. This will be a handy reference for future projects.
By paying attention to these points, you ensure your polymer clay is cured correctly, maintaining durability and color integrity in your finished project.
Types of Ovens Suitable for Baking Polymer Clay
Conventional ovens, whether electric or gas, are often used for baking polymer clay and can yield excellent results. Ensure that the oven can maintain a stable temperature and has good overall heat distribution to avoid hotspots that could burn your clay.
Toaster ovens are a popular, space-saving choice. They heat up quickly and are ideal for smaller projects. However, it’s essential to monitor the temperature closely as they can fluctuate and may require pre-testing before use.
Dedicated clay ovens, specifically designed for crafting, provide an alternative. They are compact and keep polymer projects separate from food preparation areas, addressing any safety concerns about cross-contamination.
Regardless of the oven type, avoid using microwave ovens as they cannot reach and maintain the temperatures required to properly cure polymer clay and may ruin your piece or create a hazardous situation.
Choosing the Right Baking Surface
Selecting an appropriate surface to bake your polymer clay creations on is crucial to prevent distortion and burning. Here are some options:
- Ceramic Tile: Provides a smooth, heat-resistant surface. It helps to distribute the heat evenly and can be used to sandwich the clay, ensuring flat pieces don’t warp.
- Oven-Proof Glass Dish: Like ceramic tile, glass offers even heating and can be used to bake small sculptures or beads. Place parchment paper on the dish to prevent sticking.
- Metal Baking Tray: Common and accessible, metal trays are viable, especially when covered with parchment paper to minimize direct contact and prevent shiny spots on the clay.
- Parchment Paper or Cardstock: These materials give a soft bottom to your pieces, which can be ideal for certain designs. They allow for easy removal post-baking.
- Aluminum Foil: Not recommended as it can reflect heat and cause uneven baking, but if used, crumble and then straighten it to create a textured surface for better heat distribution.
Always avoid direct contact with the oven rack, as this can lead to overheating and misshaping of your project. No matter the surface chosen, ensure it lies flat in the oven to promote uniform baking.
Best Temperature to Bake Polymer Clay
The ideal baking temperature for polymer clay can vary between 215-300 degrees Fahrenheit, depending on the brand. Always refer to the manufacturer’s instructions for the specific temperature recommended for the product you’re using.
Here are some helpful points to ensure optimal results:
- Premo, Fimo, and Sculpey are popular brands, each with a suggested baking range typical to that brand. Premo and Fimo usually bake at around 275°F, while Sculpey may vary from 275°F to as low as 215°F.
Consistency is key. Use an oven thermometer to verify that your oven’s temperature matches the setting. Oven dials can be inaccurate, so trust the thermometer over the dial.
Adjust for variations. If using a toaster oven or an older kitchen oven, be aware that temperature spikes can occur. In these cases, setting the temperature slightly lower and baking longer can provide a more even cure.
Remember that the size of your creation can influence the time needed to bake thoroughly. However, the temperature should remain consistent according to the clay’s instructions.
Thin or delicate pieces may require a tent of aluminum foil to prevent darkening or burning at the prescribed temperature.
Following these guidelines will help you achieve a solid, properly cured polymer creation.
How Long to Bake Polymer Clay
The duration of baking polymer clay is pivotal for achieving the perfect cure. Here are key points to consider:
- Follow the manufacturer’s instructions: Each brand suggests a specific baking time, usually indicated on the packaging.
- Factor in thickness: A general guideline is to bake for 15 minutes for every 1/4 inch of thickness.
- Consistent curing: Ensure the entire piece is baked thoroughly; underbaked clay will be weak and prone to breaking.
- Multiple pieces timing: If baking several items or one large piece, you may need to extend the baking time slightly.
- Test bake: A small test piece can help you gauge the correct time for your particular oven and thickness of your project.
Remember, it’s better to bake longer at the right temperature than to increase the heat, which could cause discoloration or burning.
Position in the Oven
For even baking, center your polymer clay piece on the oven rack, ensuring there’s adequate space around it. This allows for proper heat circulation, crucial for a uniform cure. Positioning clay projects on the middle rack tends to yield the best results.
If you’re baking multiple pieces or using a tray, make sure they’re not touching—inconsistent shapes could require varying distances to heat thoroughly. It’s also wise to rotate the tray partway through baking, to compensate for any hot spots in the oven. Avoid placing your creations too close to the oven walls or elements, as this could cause uneven heating or scorching.
With these simple steps, you can ensure your polymer clay is perfectly baked from every angle.
Protecting Your Work From the Heat
To shield your polymer clay creations from direct heat, which can lead to scorching or bubbling, cover them loosely with a tent of aluminum foil. Another method involves placing a ceramic tile on top of your clay pieces to serve as a heat sink, evenly distributing the heat and protecting from spikes in temperature.
For sculptures with pronounced details, a baking blanket made of fiberfill or batting can gently cradle your piece, buffering it against thermal shock and potential distortion.
When using translucent or light-colored clays, parchment paper is a useful barrier to prevent the clay from browning. Avoid wax paper, as it can melt or emit fumes at the temperatures required to bake polymer clay.
It’s important to ensure your tent or cover is not in direct contact with the element or walls of your oven, as this can cause hot spots and damage both your project and your oven. Always monitor the oven during the baking process to catch any issues early.
Maintaining a Constant Temperature
Ensuring that the temperature remains steady during the curing process is critical for achieving a successful bake. Sudden changes or spikes can lead to cracks, deformities, or even burning of your polymer clay creations.
Here are some pointers to help you maintain a constant temperature:
- Preheat your oven: Allow your oven to reach the desired temperature before placing your polymer clay inside. Preheating minimizes temperature fluctuations that occur when cold items are introduced.
- Use an oven thermometer: An oven’s internal thermostat isn’t always accurate. A separate oven thermometer can give you a true reading, empowering you to make necessary adjustments.
- Avoid opening the oven door: Keep the oven door closed throughout the baking process to prevent heat from escaping, which can cause the temperature to drop and then spike.
- Place polymer clay in the oven’s center: The middle of the oven typically experiences the most even heat distribution, away from the stronger direct heat near the top and bottom elements.
- Consider tenting with aluminum foil: If you notice that the top of your creations darken too quickly, a foil tent can shield them from direct heat and help distribute it evenly.
- Oven cycling: Understand that most ovens cycle on and off to maintain temperature. Avoid altering the thermostat while baking, as this can interfere with the oven’s cycling and lead to temperature fluctuations.
By being attentive to these factors, you’re more likely to ensure a consistent and optimal baking environment for your polymer clay projects.
Using an Oven Thermometer
An oven thermometer is crucial for ensuring an accurate baking temperature. Most oven dials are not entirely precise, so using a separate thermometer can help you maintain the exact temperature required for your polymer clay:
- Confirm the accuracy: Place the thermometer in your oven before preheating to check the starting temperature and observe any fluctuations.
- Find the hot spots: Ovens often have areas that are slightly warmer or cooler. Use your thermometer to test different zones so you can find the best spot for even baking.
- Precise adjustments: If your thermometer reveals that your oven runs hot or cold, adjust the setting accordingly to hit the target temperature for your specific clay brand.
- Check regularly: Temperatures can shift during baking. Monitor the thermometer throughout the process to ensure a constant temperature is maintained.
- Safety first: Always handle the thermometer with care when hot to prevent burns, and keep it away from children and pets.
How to Prevent Browning of Your Clay Projects
To thwart your polymer clay from taking on an unwanted tan during baking, consider these points:
- 1. Tenting: Shield your creations by tenting them with aluminum foil. This reflects heat and prevents direct infrared radiation, which can cause browning.
- 2. Baking times: Stick to recommended baking times. Overbaking can lead to darkening of your clay.
- 3. Oven temperature: Verify oven temperatures with an external oven thermometer. Oven dials are often inaccurate.
- 4. Parchment paper: A sheet of parchment paper between your clay and the baking surface can act as a protective barrier against hot spots.
- 5. Baking on cornstarch: For delicate pieces, baking on a bed of cornstarch can insulate against too much heat.
- 6. Reducing agents: Some artists use baking soda or a thin layer of liquid polymer clay on surfaces to minimize the risk of browning.
Remember, keeping an eagle eye on the temperature and baking time will save your projects from getting scorched.
Bury Your Beads Technique
The “Bury Your Beads” technique is a method to protect the surface of your polymer clay creations from darkening or burning during baking. By enveloping your items in a bed of cornstarch or baking soda, the powdery substances act as a thermal buffer. They distribute the heat more evenly and help to maintain a steady temperature around your pieces.
Here’s how to apply this method:
- 1. Fill a baking pan with a layer of cornstarch or baking soda, about one inch deep.
- 2. Gently place your beads or small items into the powder, making sure they are completely covered and do not touch each other.
- 3. Proceed to bake your clay as per the manufacturer’s instructions, factoring in that the powder might slightly increase the required baking time.
- 4. After baking, once cooled, simply brush off the excess powder from your pieces.
Remember that this method is particularly useful for delicate or intricately patterned items that might be prone to scorching at the recommended temperatures, ensuring a smooth and flawless finish.
Experimenting With Time and Temperature
To fine-tune the results of your polymer clay creations, consider conducting small trials to identify the optimal baking conditions for the specific brand and thickness you’re working with.
– Start by conditioning a small amount of clay and shaping it into several thin and thick test pieces.
– Record the brand, thickness, oven temperature, and baking time for each test piece.
– Increment the time and temperature in small steps to observe variations in the clay’s final hardness and color.
– Keep an oven thermometer handy to ensure the oven’s internal temperature matches what you set it to.
– Note any discoloration or brittleness, indicating that the clay is either overbaked or that the temperature was too high.
– After baking, let the pieces cool and then test their strength – bend or press them to assess their flexibility and resilience.
– Compile your results to create a personalized baking chart for future reference.
This tailored approach optimizes the baking process to produce the best quality for each unique project.
Preventing Plaques and Cracks
To avoid plaques, those unsightly white spots that can appear after baking, ensure that you condition your clay thoroughly before use. Knead it until it’s soft and smooth, which helps to remove air trapped within. Air can expand during the heating process, leading to these blemishes.
Minimize cracks by securing thin or protruding parts of your creation to a supporting structure or armature. Uniform thickness throughout your piece is essential to prevent differential thermal expansion, a common culprit for cracking.
Ramp the temperature slowly if your oven has the capability. A gentle increase in temperature allows the entire piece to heat more uniformly, thus reducing stress.
Keep in mind that very thick pieces may crack if not properly cured. For such projects, consider an initial, partial bake to set the outside, followed by a second, full bake to ensure the inside is thoroughly cured.
High Altitude Baking of Polymer Clay
At higher altitudes, the decreased air pressure can affect how polymer clay bakes. Here are some key points to ensure your baking success:
- Monitor Baking Times: You may need to extend the baking time slightly, as heat transfer is less efficient.
- Check Oven Temperature: Use an oven thermometer to verify the actual temperature inside your oven is consistent with recommended settings.
- Oven Variability: If you’re using a convection oven, the fan can help to distribute the heat more evenly, which is particularly beneficial in high-altitude conditions.
- Tent Your Creations: To protect your polymer clay from the potential of uneven heat and browning, cover your creations with a tent of aluminum foil.
- Trial Batches: Make a test bake of a small piece of clay to find the optimal baking time and temperature for your specific altitude, oven, and clay brand.
- Post-Baking: Allow polymer pieces to cool slowly in the oven with the door ajar to minimize the risk of thermal shock, which can be more prominent at high altitudes.
Remember, patience is key—take your time to find just the right baking process to match your unique high-altitude conditions.
Alternative Methods of Curing Polymer Clay
While oven-baking is the standard method for curing polymer clay, alternative methods can offer flexibility or suit specific situations.
- Boiling: Submerge your creation in boiling water for a recommended time based on thickness. This can work well for small items and doesn’t require an oven.
- Heat Guns: With careful use, a heat gun can effectively cure thinner pieces. Keep the gun moving to prevent scorching.
- Solar Curing: In certain clays with UV-reactive properties, direct sunlight can serve as a curing method. This process is gradual and not suitable for all polymer clays.
Remember, these methods might not provide results identical to traditional oven baking and could affect the strength and finish of your pieces. The manufacturer’s instructions and your project’s specifics will guide your choice. Always prioritize safety and use protective gear when handling hot items or tools.
How to Know When Polymer Clay Is Done Baking
Understanding when polymer clay is fully cured is key to the success of your project. The clay will not change in appearance significantly when done; it won’t turn to a golden brown like cookies do. Instead, check the solidity: properly baked clay should be hard and durable. Flex a thin piece slightly; it should bend without snapping. For thicker pieces, gently pressing the surface should not leave an impression.
To be certain of thorough curing, follow the recommended baking times provided by the clay manufacturer. If unsure, it’s typically better to err on the side of slight over-baking rather than under-baking, as under-baked clay can be brittle and weak. Remember, each brand has its own baking characteristics, so times and temperatures can vary.
Conduct a post-bake test: Allow your piece to cool first, as polymer clay continues to harden while cooling. If necessary, you can return the piece to the oven for more baking, but be mindful to prevent overbaking which may cause discoloration or brittleness.
In summary, assess the hardness of your piece, respect the brand’s instructions, and use the cooling period as part of your testing process. These steps will guide you toward ensuring your polymer clay creations are perfectly baked every time.
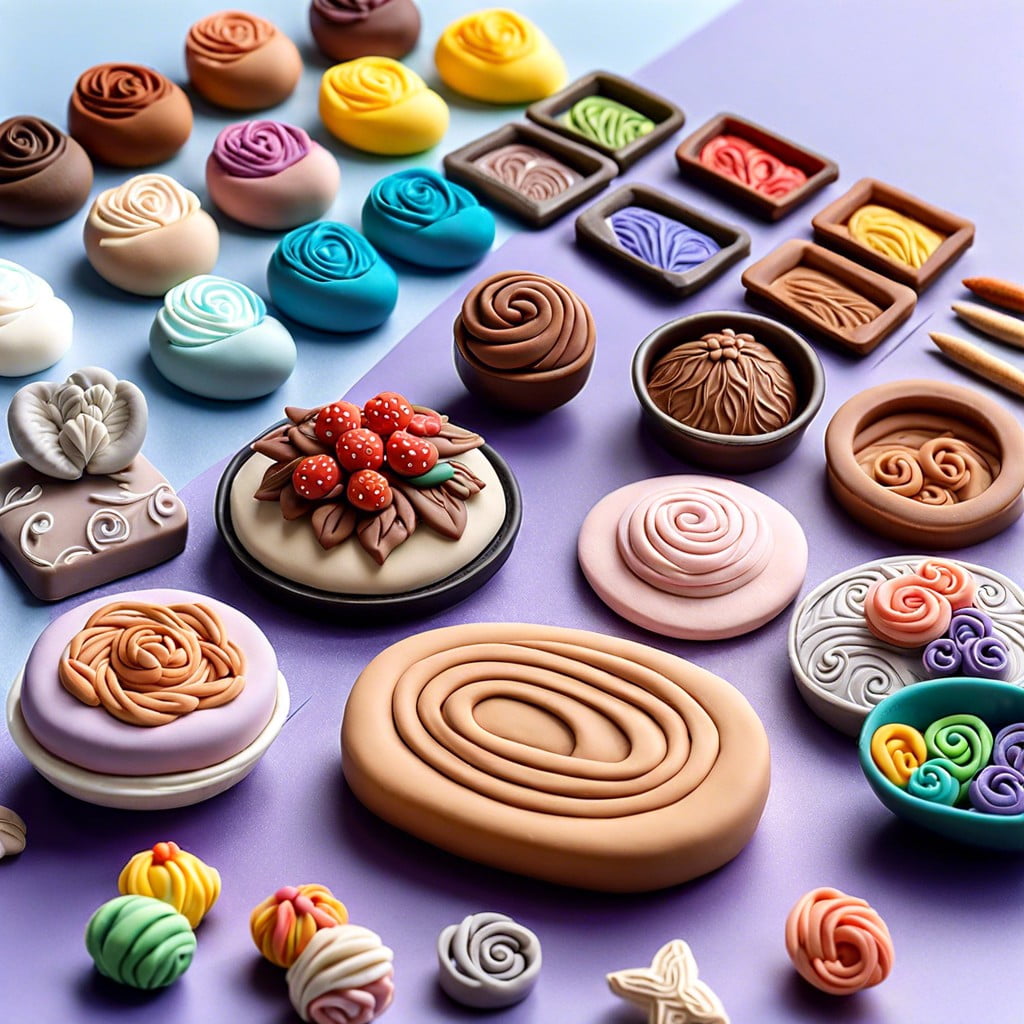
How to Bake Special Shapes
Special shapes in polymer clay art, such as thin or protruding parts, require extra attention during the baking process to maintain their form and prevent drooping or burning.
Here are some key points to consider:
- Support Structures: Use polyfill stuffing, paper, or a bed of cornstarch to provide a cushion that holds delicate shapes in place while they bake.
- Tenting with Foil: Create a loose aluminum foil tent over your project to shield it from direct heat and avoid browning.
- Baking in Stages: For complex pieces, bake in multiple stages. Begin with the most stable parts, and then add and bake the delicate details later.
- Reducing Temperature: If parts of your design are very thin, consider lowering the oven temperature slightly and increasing the baking time to prevent overheating.
- Monitoring: Keep a close eye on special shapes during baking, as they may respond to heat differently than bulkier sections of your project.
By taking these precautions, you can ensure that your unique creations are well-preserved through the baking process.
Tips for Storing Polymer Clay After Baking
Once your polymer clay creations are properly baked, ensuring their longevity is just as crucial as the curing process. Remember, the right storage can prevent damage and preserve the vibrancy of your pieces.
Here are some handy tips for keeping your polymer clay items in top condition:
- Cool Before Storage: Allow your baked creations to cool completely before storing them. Warm pieces are more pliable and can warp or get dented if handled too soon.
- Avoid Direct Sunlight: Store your projects away from direct sunlight to prevent the colors from fading over time.
- Maintain a Stable Environment: Store in a temperature-controlled environment, avoiding places prone to drastic temperature changes which could cause clay to become brittle.
- Gentle Handling: Wrap individual pieces in tissue paper or bubble wrap to protect delicate parts and surfaces from scratches.
- Use an Airtight Container: To prevent dust accumulation and other environmental exposure, use airtight containers for storage.
- Separate by Color: If you have raw, unbaked clay in addition to baked pieces, store them separately to avoid color transfer from the unbaked clay.
- Organize by Fragility: Consider the fragility of your baked items and store those with delicate details or protruding parts in a separate container to avoid accidental breakage.
FAQ
Can you bake polymer clay in a regular oven?
Yes, polymer clay can indeed be baked in a regular home oven, provided that periodic cleaning and good ventilation are in implemented to ensure safe usage.
Can I bake polymer clay on parchment paper?
Yes, you can bake polymer clay on parchment paper to maintain a consistent sheen from top to bottom during the curing process.
What temperature is recommended for baking polymer clay in a regular oven?
The recommended temperature for baking polymer clay in a regular oven is usually between 230 and 275 degrees Fahrenheit (110 and 135 degrees Celsius).
For how long should polymer clay be baked in an oven?
Polymer clay should be baked in an oven for approximately 15-30 minutes at 275°F (135°C) per 1/4 inch (6mm) thickness.
How does the thickness of the polymer clay piece affect the baking time?
The thickness of the polymer clay piece directly impacts the baking time where thicker pieces require more time to bake thoroughly.
Related Reading
 Polymer Siding: A Durable Ally for Your Home
 Protein Polymer Example: Unlocking Nature’s Building Blocks
 Polymer Lipids: Revolutionizing Building Materials
 Polymer-Gel: The Secret Sauce for Durable Buildings
 Creative Polymer Solutions for Innovative Construction
Recap