Bake polymer clay perfectly every time because this article will endow you with thorough knowledge about the correct process, ensuring your creations come out of the oven in their optimal form.
If you’re looking to bring your polymer clay creations to life through baking, mastering the correct temperature and timing is essential.
Ensuring your oven is accurately preheated, using an oven thermometer for verification, and positioning your piece for optimal heating will lead to flawless results.
Within this guide, you’ll find the key steps to perfectly bake polymer clay, including how to maintain an ideal temperature and the recommended duration to keep your creations in the oven.
By following these guidelines, along with the specific instructions provided by the clay manufacturer, you’ll be well on your way to crafting durable, beautifully finished pieces.
Key takeaways:
- Preheat the oven to the correct temperature.
- Use an oven thermometer to verify the temperature.
- Place clay creation in the middle of the oven for even heating.
- Turn on the oven light to monitor without opening the door.
- Follow manufacturer’s instructions for baking times and temperatures.
How Long Should I Bake Polymer Clay?
The baking time for polymer clay can vary depending on several factors such as the thickness of the piece, the brand of clay, and the specific product line. Typically, you should bake the clay for at least 15 minutes for every quarter inch of thickness. For example, a half-inch thick piece should be baked for a minimum of 30 minutes.
It’s essential to follow the manufacturer’s instructions, as some clays may require different baking times or temperatures. Remember, under-baking will leave your clay brittle, while over-baking may cause burning or discoloration. To ensure optimal results:
- Preheat the oven to the correct temperature before placing your item inside.
- Use an oven thermometer to verify the oven reaches the desired temperature.
- Place your clay creation in the middle of the oven to ensure even heating.
- Turn on the oven light to keep an eye on your piece without opening the door.
Proper baking solidifies your work, ensuring durability and long-lasting enjoyment.
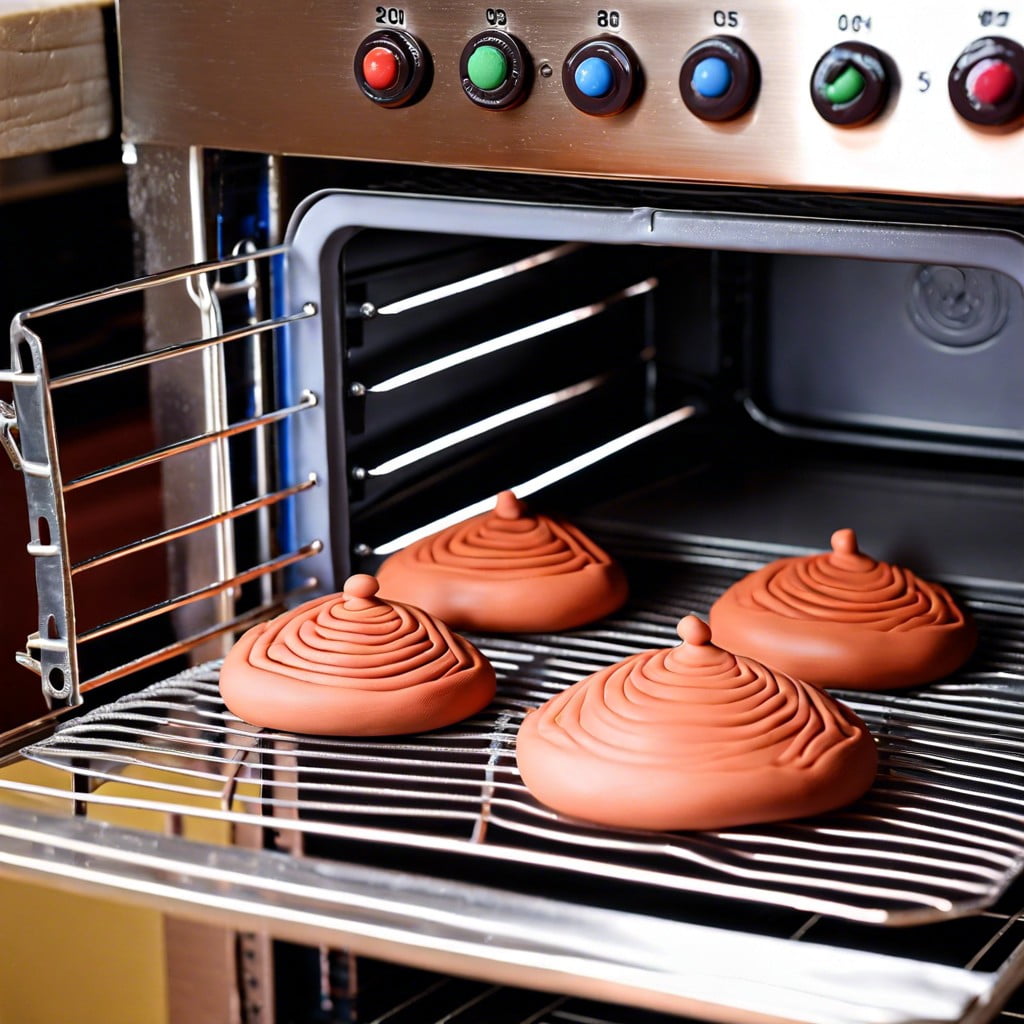
Position in the Oven
Ensure that your polymer clay creation is placed in the center of the oven to promote even heating. Avoid placing it too close to the top or bottom heating elements to prevent scorching. Circulating air around the piece is essential, so maintain some distance between it and the oven walls. Using an oven thermometer to measure the temperature around your clay can provide insight into any potential hot spots that may exist within your oven. Adjust the position of your piece accordingly if you detect any temperature variations to achieve the best baking results.
Protecting Your Work From the Heat
To shield your polymer clay creations from direct heat, which can cause scorching or bubbling, consider these practical steps:
- Tent with aluminum foil: Loosely draping your piece with aluminum foil creates a protective barrier and helps distribute heat more evenly.
- Use ceramic tiles: Placing your work on a ceramic tile can help moderate the temperature and prevent the bottom from overheating.
- Avoid using plastic or meltable materials as a base for your clay item; they can warp or release harmful fumes when heated.
- For thinner or delicate pieces, a layer of polyester batting underneath the clay can provide insulation, minimizing the risk of heat spikes affecting your design.
- If you notice that parts of your project are still vulnerable, try covering them with a little piece of foil to deflect excessive heat.
- To prevent the heat from being too intense, position your creation in the center of the oven, away from the heating elements.
Applying these simple heat protection methods will go a long way in ensuring your polymer clay bakes to perfection.
Maintaining a Constant Temperature
Ensuring your oven stays at a steady temperature is crucial for the successful curing of polymer clay. Oven thermometers play a vital role in monitoring the heat as built-in oven gauges can often be inaccurate. Opening the oven door frequently may cause fluctuations; hence, it’s best to peak through the oven window if possible.
To assist in maintaining a consistent environment, you can also place tiles or ceramic baking stones inside the oven. These materials absorb heat and help regulate the temperature during the baking process. Another tip is to preheat the oven for a good length of time before placing your piece inside. This practice gives the oven a chance to stabilize at the desired temperature.
If you notice your oven is prone to temperature spikes or drops, you might consider purchasing an external oven controller. These devices offer finer control over the oven’s temperature settings. Remember that a stable temperature is the key to a strong, well-cured polymer project.
Support and Protective Material
Ensuring that polymer clay items retain their shape during the baking process is crucial. For this, you can rest your pieces on a bed of cornstarch or baking soda, which provides gentle support and prevents flat items from warping. Fiberglass insulation material can also serve as a good base. If you’re working with delicate or complex designs, consider creating a custom support system out of aluminum foil that closely mirrors the contours of your creation.
To shield your polymer clay from temperature spikes and uneven heat, tenting the item loosely with aluminum foil works wonders. This makeshift cover helps regulate the temperature around the clay, reducing the chances of scorching. However, ensure there’s enough room for heat circulation to avoid trapping moisture. An oven thermometer is a wise investment to help you monitor the internal oven temperature independently of the oven’s own gauge, ensuring consistent baking conditions.
How to Prevent Browning of Your Clay Projects
To keep your polymer clay creations from browning during the baking process, follow these tips:
- Tenting: Cover your pieces with aluminum foil or a baking tent to shield them from direct heat.
- Oven Thermometer: Use this tool to ensure your oven does not exceed the recommended temperature as most clays brown at higher temperatures.
- Baking Time: Avoid over-baking. Stick to the recommended time specified for the thickness of your piece.
- Premature Browning: If you notice browning before the end of the baking cycle, the temperature is likely too high. Adjust it accordingly.
- Location in the Oven: Place your creations in the center of the oven to ensure even heat distribution. Avoid placing them too close to the heating elements.
- Proper Conditioning: Thoroughly condition your clay before baking as incomplete conditioning can lead to uneven heating.
Experiment With Time and Temperature
When experimenting with time and temperature, it’s essential to understand that different polymer clays have unique baking requirements. To find the perfect balance:
- Start by following the recommended guidelines on the clay packaging, as a baseline.
- Use an oven thermometer to ensure your oven’s actual temperature aligns with the setting. Ovens can be calibrated differently and may not be accurate.
- Adjust in small increments. If the clay isn’t curing properly, increase the baking time in 5-minute intervals, or slightly raise the temperature, but never exceed the maximum temperature stated by the manufacturer.
- Keep a baking log. Document the clay type, oven temperature, and baking duration for each piece. This record will help you replicate successful results and learn from any mishaps.
- Pay attention to the thickness of your pieces. Thicker projects may require longer baking times to cure completely, while thin, delicate pieces are prone to burning if left too long.
- Perform the bend test after cooling. Gently bending a thin slice of the cooled clay can indicate if it has been properly cured; it should flex slightly but not snap.
Remember, achieving optimal results may take a few trials, but this process will help fine-tune your technique for consistent success with your polymer clay projects.
Can You Bake Polymer Clay More Than Once?
Absolutely, polymer clay can be baked multiple times. This is particularly handy for complex projects that require adding intricate details in stages. Just ensure each layer is properly cured before adding the next.
Remember:
- Subsequent bakes should be at the same temperature as the initial bake, but the time may vary.
- The previously baked layers won’t be harmed by additional baking, as long as the temperature is correct.
- Additional bakes can, in fact, strengthen your piece.
- Always let the clay cool down completely between bakes to avoid thermal shock.
- Cover your piece to prevent any discoloration from overbaking during these additional rounds in the oven.
This flexibility allows for creativity without the worry of finishing your entire project in one go.
Polymer Clay Baking Instructions By Brand
Different brands of polymer clay have specific baking instructions, primarily due to variations in their composition. It’s important to consult the packaging for the recommended temperature and time, as these can vary significantly between brands.
Here are a few pointers for some popular brands:
- Sculpey: Generally bakes at 275°F (135°C) for about 15 minutes per 1/4 inch of thickness.
- Fimo: Typically, Fimo clay should be baked at 230°F (110°C) for 30 minutes for every 1/4 inch of thickness.
- Kato Polyclay: Often requires a slightly higher temperature of around 300°F (149°C) for 10 minutes per 1/4 inch of thickness.
- Premo! Sculpey: Similar to Sculpey, it bakes at 275°F (135°C), with recommended times varying by the project’s thickness.
Consistently check the specifics for each brand, as they may release new formulas over time. It’s also advisable to use an oven thermometer to ensure the accuracy of your oven’s temperature settings, as some ovens can be off by a few degrees. This small step can make a big difference in successfully baking your polymer clay creations.
Types of Ovens
When choosing an oven for curing polymer clay, three main options exist: conventional ovens, toaster ovens, and crafting ovens designed specifically for polymer clay.
- Conventional ovens: Due to their large capacity, they are ideal for baking multiple pieces at once. The temperature settings tend to be more accurate, ensuring an even bake. However, using your kitchen oven may require extra care to prevent any clay residue from contaminating food.
- Toaster ovens: They heat up quickly and use less energy. Their compact size is suitable for small batches or pieces. Nonetheless, they can have hotspots and fluctuating temperatures, so monitoring and using an oven thermometer is essential.
- Crafting ovens: These specialty ovens provide consistent temperatures and are made exclusively for polymer clay and similar craft materials. They reduce the risk of overheating but are an additional expense and have limited space.
In each case, positioning your piece correctly and preheating the oven are critical steps to success. Always verify the temperature with an oven thermometer, regardless of the oven type, to prevent mishaps.
Best Temperature to Bake Polymer Clay
To achieve the best results when baking polymer clay, it’s crucial to adhere to the recommended temperature range typically between 265°F (129°C) and 275°F (135°C). Here’s why temperature matters:
- Chemical Reaction: Polymer clay hardens through a process called polymerization. This reaction requires a specific heat range to properly solidify the material without burning it.
- Brand Specifics: Each brand has its own formulation, and thus, its own recommended baking temperatures provided on the packaging. Always refer to these guidelines first.
- Consistent Heat: Ovens can fluctuate in temperature. Use an oven thermometer to ensure the temperature is consistent during the entire baking period.
- Type of Project: Thinner pieces may require a lower temperature to prevent warping, while thicker pieces might need slightly higher temperatures to ensure they cure all the way through.
Remember, precise temperature control is key to a successful bake. Oven types and calibrations vary, so monitoring with an oven thermometer can prevent mishaps.
Types of Baking Surfaces
Choosing the appropriate baking surface is crucial for successfully curing polymer clay:
1. Ceramic Tile: Provides an even heat and can help give a smooth bottom to your pieces.
2. Parchment Paper: Prevents sticking and makes transferring your project easy.
3. Glass: Like ceramic, glass distributes heat well, perfect for delicate pieces.
4. Metal Tray: It heats up quickly but watch for hot spots that could cause uneven baking.
5. Oven-proof Glass or Ceramic Dish: Good for supporting three-dimensional objects.
Always avoid materials that could melt or release toxins at high temperatures, such as plastic. Whatever surface you choose, make sure it remains flat during baking to prevent warping your creation.
How to Bake Special Shapes
When baking polymer clay items with unique shapes, it’s crucial to consider their structural integrity. Delicate features such as thin or protruding parts may require additional support during baking to prevent warping or drooping. One method is to create a supporting form from aluminum foil or use a bed of cornstarch to nest the piece in, ensuring it retains its shape while being baked.
For hollow or curved designs, consider placing a heat-resistant core inside the clay before baking to help maintain the shape. This could be as simple as a properly sized foil ball for a hollow bead or a custom-shaped armature for more complex sculptures.
Be mindful of thicker areas, as they may need a longer baking time to cure properly compared to thinner parts. To avoid uneven curing, you can partly bake the piece first, focusing on the thickest sections, then add the thinner details and complete the baking process. This progressive baking method helps in achieving an even cure without burning thinner parts.
Always monitor the baking process, especially with special shapes, because unexpected changes including slumping or bubbling can occur. If you notice such issues, you can pause the baking, make necessary adjustments, and continue the curing process after reinforcing the structure or correcting the shape.
FAQ
How long to bake polymer clay in oven?
To bake polymer clay in the oven, preheat to 275 degrees F (135 C) and then bake for 15 minutes for every quarter inch of thickness.
Can you overbake polymer clay?
Overbaking polymer clay can result in discoloration and burning, primarily due to a too-high oven temperature rather than prolonged bake times.
Is polymer clay supposed to be hard after baking?
After baking, polymer clay becomes flexible, not hard.
What temperature is ideal for baking polymer clay in an oven?
The ideal temperature for baking polymer clay in an oven is approximately 275°F (135°C).
How does the thickness of polymer clay affect the baking time?
The thickness of polymer clay directly influences the baking time; thicker pieces require longer baking duration to ensure they are properly cured.
Are there any safety precautions to consider while baking polymer clay?
Yes, it’s important to bake polymer clay in a well-ventilated room and never overheat it, as it can release potentially harmful fumes.
Related Reading
 Polymer Siding: A Durable Ally for Your Home
 Protein Polymer Example: Unlocking Nature’s Building Blocks
 Polymer Lipids: Revolutionizing Building Materials
 Polymer-Gel: The Secret Sauce for Durable Buildings
 Creative Polymer Solutions for Innovative Construction
Recap