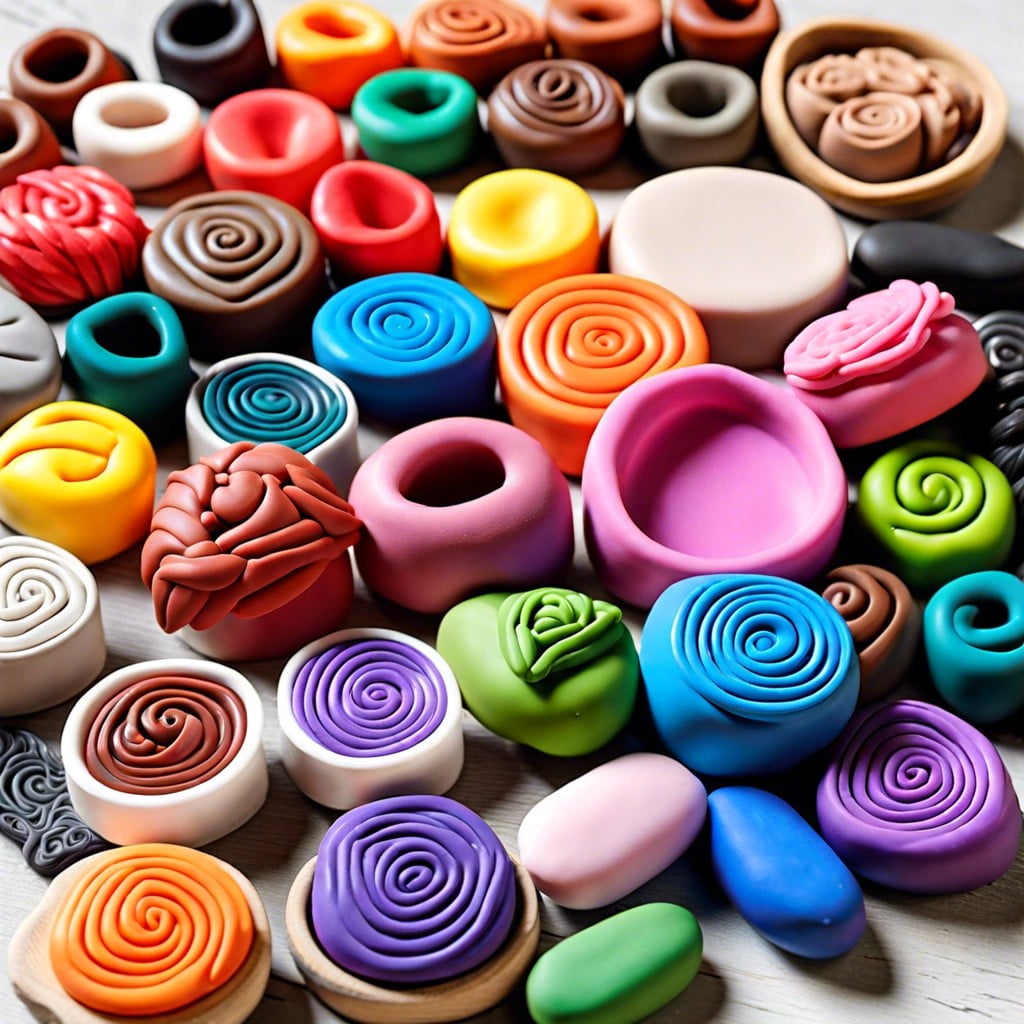
Learn how to craft with polymer clay, from conditioning to curing, to create your own handmade art and jewelry.
Key takeaways:
- Different brands of polymer clay have unique properties and should be chosen based on the project’s requirements.
- Gather a selection of tools for shaping, detailing, and finishing your polymer clay creations.
- Learn how to blend colors to create stunning gradients in your polymer clay projects.
- Follow proper baking guidelines, including preheating the oven, using a baking sheet, and tenting if necessary.
- Wet and dry sanding can help achieve a smooth and polished finish on your polymer clay creations.
Selecting the Right Brand of Polymer Clay

Each brand of polymer clay has its unique properties, and your choice will influence the ease of handling and the final result of your project. Some brands are softer and more pliable, ideal for beginners who may find them easier to manipulate. These tend to be excellent for projects that require blending or detailed shaping.
Conversely, firmer clays hold their shape better, making them suitable for sculpting fine details. These may require a bit more conditioning – the process of kneading the clay to make it malleable – but the extra effort can pay off in the intricacies of your finished piece.
Consider the intended end-use of your creation as well. If the item will be subjected to stress or handling, like jewelry or keychains, you’ll want a clay known for its strength after baking. Look for brands with high tensile strength for these applications.
The finishing you intend for your project is also important. Some polymers are designed to give a translucent finish, while others provide a vibrant palette of colors that remain true after curing. If you’re planning on painting your creation post-baking, ensure the brand you select can be easily painted.
Lastly, remember that the temperature at which different polymer clays cure can vary. Always read and follow the manufacturer’s instructions to avoid any mishaps in the baking process.
Gathering Necessary Tools for Shaping and Detailing
Having a set of dedicated tools can significantly enhance your experience with polymer clay. Start with a smooth work surface, like a ceramic tile or glass mat, to ensure easy cleanup and prevent sticking. A good rolling pin or a brayer helps to flatten the clay to an even thickness.
For shaping, an array of dotting tools and rubber-tipped shapers will allow for precision in molding and adding fine details. These can be complemented with small cookie cutters to achieve consistent shapes. Sculpting tools, both metal and plastic, assist in carving and adding texture to your designs.
A blade or a craft knife is essential for making clean cuts. For intricate work, consider using a needle or toothpick to create small holes or patterns. To join pieces securely, a liquid polymer clay or a clay-specific adhesive is recommended.
Lastly, the process is not complete without smooth finishing. A set of fine-grit sandpaper helps to refine edges and surfaces before baking. Keep a small bowl of water handy to dip your fingers in and smooth out fingerprints or minor imperfections as you sculpt.
Remember, while specialized tools are available, everyday household items like pasta machines for flattening sheets and plastic wrap for creating rounded edges can also serve as makeshift tools for polymer clay work.
Creating Gradients or Blending Techniques
Gradients add depth and beauty to your polymer clay creations, allowing you to transition smoothly between colors. To achieve a stunning gradient, follow these steps:
Start with two or more colors of clay that you want to blend. Roll each color into a sheet using a pasta machine or rolling pin, keeping them of equal thickness for consistency.
Place your sheets of clay side by side, slightly overlapping the edges. Use a roller to gently press the edges together, creating a bond.
Fold the clay sheet from one end to the other, aligning the colors on top of each other.
Roll the clay sheet through the pasta machine or use a rolling pin to flatten it out again. Repeat this folding and rolling process several times until the colors merge and create a smooth gradient.
Trim any uneven edges to tidy up your gradient sheet before shaping it into your desired project.
Remember, patience is key when blending colors. Take your time to ensure a seamless transition. Different color combinations can produce unique and exciting results, so don’t be afraid to experiment.
Baking Guidelines for Different Polymer Clay Projects
Proper baking is crucial to ensure your polymer clay project hardens and maintains its shape. First, always check the manufacturer’s instructions for temperature and baking time, as these can vary widely amongst different clays. Typically, temperatures range from 215-300°F (102-149°C), and baking times can be from 15 minutes to an hour depending on the thickness of the piece.
Preheat your oven to prevent temperature spikes that could cause the clay to burn or bubble. Use an oven thermometer to verify the accuracy of your oven’s settings.
For uniform baking, place your project on a baking sheet lined with parchment paper or on a ceramic tile. This setup prevents the bottom from browning too much.
To prevent scorching or uneven baking, tent your project with aluminum foil or enclose it in an oven-proof container.
For thicker pieces, consider baking in multiple short sessions, allowing the clay to cool down in between, to reduce the risk of cracking.
Lastly, always let your creations cool down gradually after baking. Removing them too quickly from a hot environment might lead to thermal shock, which can cause cracking or warping.
Wet and Dry Sanding to Smooth Surfaces
After baking, the surfaces of your polymer clay creations may have a rough texture or minor imperfections. Sanding is an essential step to achieve a smooth, high-quality finish. Starting with wet sanding can help minimize dust and give you greater control. Dip the sandpaper in water and gently rub the surface of the clay in a circular motion. This process should be done with a finer grit sandpaper and plenty of patience to avoid gouging the piece.
As the surface becomes smoother, switch to dry sanding to buff out any remaining scratches. With dry sandpaper, use light, consistent pressure to perfect the piece. Both techniques, wet and dry, should be done progressively, starting with lower grits and moving to higher grits for the best finish. Between stages, rinse off the item to remove any grit particles that could scratch the surface. Remember, patience and gentle handling are key to a beautifully finished polymer clay project.
Recap


