Discover the simple ways polymer clay can transform into stunning, unique jewelry pieces.
Key takeaways:
- Choose the right polymer clay for your jewelry needs.
- Essential tools for working with polymer clay jewelry.
- Basic techniques for shaping and designing clay jewelry.
- Key points for baking polymer clay to ensure success.
- Finish and seal your polymer clay jewelry for a professional look.
Best Types of Polymer Clay for Jewelry
When it comes to polymer clay for jewelry, not all brands are created equal. Some are soft and easy to mold, while others harden like concrete (well, almost).
Sculpey Premo is a popular choice. It’s soft enough for detailed work but firm enough to hold intricate shapes. Plus, it bakes to a durable finish. Perfect for making those statement pieces that scream “look at me!”
Fimo Professional is another hit. It’s firmer than Premo, which makes it ideal for more detailed designs and canes (those elaborate, multi-colored patterns). If you’re into precision and fine details, this might be your BFF.
Kato Polyclay is known for its super strength. It’s great for items that need to be extra durable, like chunky rings and sturdy pendants. It does require a bit more muscle to condition, but hey, consider it a mini-workout.
Lastly, Sculpey Soufflé is lightweight with a suede-like finish after baking. Perfect if you’re after a more delicate, velvety touch. It’s also less brittle, so your masterpiece isn’t likely to snap in half.
Now, go find your favorite and get claying!
Tools Needed for Polymer Clay Jewelry
Getting started with polymer clay jewelry is like equipping yourself for a mini-adventure. Here are the essentials you’ll need:
A dedicated work surface. Trust me, you don’t want your dinner table to look like a rainbow exploded on it.
Clay blade or a tissue blade. Think of it as your trusty Excalibur for slicing and dicing clay with precision.
Rolling pin or acrylic roller. Dough’s best friend is now clay’s buddy too. Smooth out those lumps like a pro.
Cookie cutters. Not just for cookies! Shapes galore for your jewelry fun.
Clay tools and needles. These are your wands for adding fine details or poking tiny holes for jump rings.
Sandpaper. No, you’re not building a bookshelf, but fine grit sandpaper can give your pieces a polished finish.
Oven thermometer. Baking mishaps are real. Keep an eye on that temperature, so you don’t end up with a burnt masterpiece.
Lastly, don’t forget to have a good supply of wet wipes or a crafty towel. Clay can be clingy, and nobody wants rainbow fingerprints everywhere.
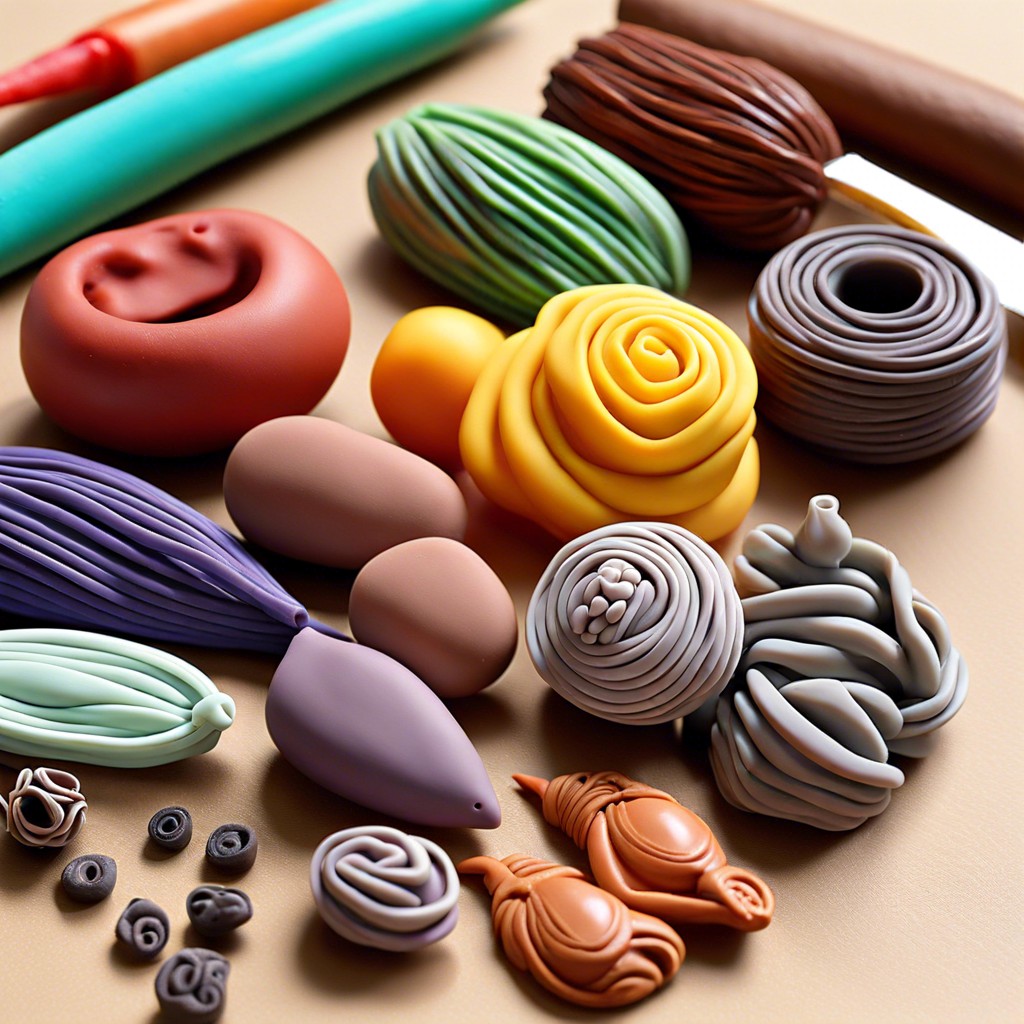
Basic Techniques for Shaping Clay
Start with conditioning your clay. This means kneading it until it feels warm and pliable in your hands. Think of it as giving your clay a nice massage to wake it up.
Once conditioned, roll it out flat like a pancake using a rolling pin. If pancakes and rolling pins are making you hungry, sorry! Aim for even thickness. Use playing cards stacked on either side of the clay to help you.
Cutting shapes comes next. Cookie cutters work wonders here. Want to get fancy? Use a blade or craft knife to carve out custom shapes. Just be careful not to lose a finger while you’re at it.
For texture, try pressing different items into the clay. Leaves, lace, or even textured wallpaper scraps can create amazing designs.
To blend clay colors, roll each color into a snake, twist them together, and then roll them again. Voilà! Psychedelic swirls and patterns without the need for a tie-dye T-shirt.
Lastly, if you need to join pieces of clay, just press them together gently. Use a drop of liquid clay as “glue” if needed. No messy adhesive tape involved.
Remember, it’s about having fun and experimenting. Even Picasso started with basic shapes.
Baking Polymer Clay
Imagine this: you’ve meticulously crafted your polymer clay masterpiece. Now it’s time to transform that soft, squishy material into a solid, durable piece of jewelry. Here are the key points to ensure success:
- Temperature Matters: Different brands of polymer clay have different baking temperatures. Usually, it’s around 265°F to 275°F (130°C). Always check the package instructions. Your polymer clay is not a fan of improvisation.
- Time is Ticking: Bake time typically ranges from 15 to 30 minutes per 1/4 inch of thickness. Your clay creation might be thinner or thicker, so adjust the time accordingly.
- Even Heat Distribution: A ceramic tile in your oven helps distribute heat evenly. This prevents the dreaded “crispy edges” and “raw middle” scenario. Your jewelry deserves better than half-baked.
- Protect Your Goods: To avoid burning, cover your clay pieces with a tent of aluminum foil or pop them inside a covered baking dish. It’s like a mini spa day for your clay—a little steamy, a lot effective.
- Cool Down: Let it cool completely before handling. This helps the clay set and strengthens your jewelry. Plus, you won’t burn your fingers, which is always a bonus.
Sealing and Finishing Polymer Clay Jewelry
After your polymer clay masterpiece emerges triumphantly from the oven, it’s time to give it that professional touch. Finishing and sealing not only enhance the appearance but also protect your jewelry from wear and tear.
First off, sanding is key. Use a range of sandpaper grits, starting with a coarser grit and moving to a finer one. This will smooth out any rough edges and flaws.
Next, buffing gives your piece a glossy shine. You can use a buffing wheel or a piece of old denim. Yes, denim – not just for jeans!
Finally, sealing the deal with the right glaze is essential. Look for a water-based polyurethane or a specialized polymer clay varnish. Apply thin coats and let each one dry thoroughly. This ensures a durable finish.
Remember, patience is your friend. Each step may seem small, but together they create stunning, durable jewelry. And, of course, you now have an excuse to tell people you own sandpaper in six different grits. So fancy!
Related Reading
 Polymer Siding: A Durable Ally for Your Home
 Protein Polymer Example: Unlocking Nature’s Building Blocks
 Polymer Lipids: Revolutionizing Building Materials
 Polymer-Gel: The Secret Sauce for Durable Buildings
 Creative Polymer Solutions for Innovative Construction
Recap