Discover the versatile world of polymer clay oven because it revolutionizes the art of crafting by simplifying the process of molding and hardening unique creations.
Creating masterpieces with polymer clay transforms from a pliable hobby into lasting art when heat is applied. Baking is the crucial step that metamorphoses your sculpted visions into durable and tangible forms.
Whether you’re looking to craft jewelry or decorative objects, understanding the baking process is key—involving precise timing, suitable temperatures, and proper surfaces to ensure your creation maintains its intended beauty and structure.
If you’ve sculpted a unique piece and are now ready to give it life beyond the worktable, this guide will provide you with the essential tips for successfully baking polymer clay to perfection.
With details on how baking enhances strength, allows for post-bake modifications, and the specifics on timing and surfaces, you’re about to ensure your art lasts a lifetime.
Key takeaways:
- Baking polymer clay hardens it and gives it a permanent shape.
- Baking increases the strength and durability of polymer clay.
- After baking, polymer clay can be sanded, drilled, carved, or painted.
- Baking time depends on the thickness of the clay.
- Use a suitable baking surface to prevent damage to your clay.
Why Do You Need to Bake Polymer Clay?
Curing Process: Baking polymer clay causes a chemical change that hardens the material, transforming it from a pliable state to a solid one.
Permanent Shape: Once hardened, polymer clay maintains its shaped form, allowing for the creation of durable items suitable for jewelry, home decor, or models.
Strength and Durability: The baking process significantly increases the clay’s resilience against breaking and allows it to withstand handling and wear.
Finishing Possibilities: After baking, the clay can be sanded, drilled, carved, or painted, providing endless possibilities for finishing and personalization.
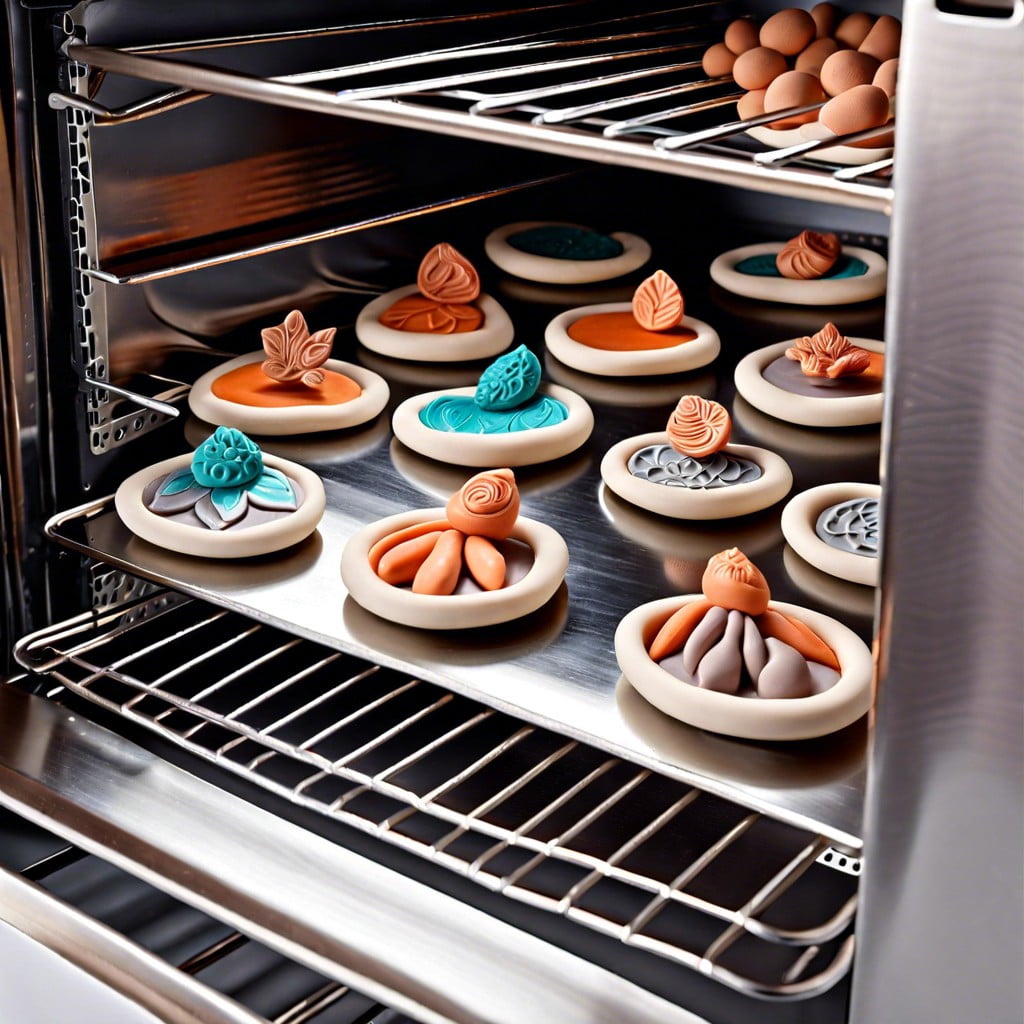
How to Bake Polymer Clay
Preheat your oven according to the clay manufacturer’s instructions to ensure an even and accurate baking temperature. Place your sculpted polymer clay on a baking surface like parchment paper or a ceramic tile. Avoid using any materials that might melt or release toxins at high temperatures.
Ensure the oven is fully preheated before inserting your clay piece to avoid incomplete curing. Bake for the recommended duration, typically based on the thickness of the piece – thinner pieces require less time, while thicker ones need more. Remember that the size and design of the piece can affect the baking time, so adjust accordingly.
Use an oven thermometer to confirm the temperature stays consistent throughout the baking process, as fluctuating temperatures can cause the clay to burn or remain uncured. Keep a vigilant eye on the clay as it bakes and use aluminum foil to cover parts that may be prone to darkening.
Once the baking is complete, let the piece cool down slowly to room temperature to prevent any thermal shock that could lead to cracking.
How Long to Bake Polymer Clay
Determining the correct baking time is crucial for the success of your polymer clay project. Generally, manufacturers recommend baking polymer clay for 15 minutes for every 1/4 inch of thickness at a temperature around 275°F (135°C). However, each brand may have its specific guidelines, so it’s best to consult the packaging instructions.
Baking durations can vary:
- Thin, flat pieces may need just 15 minutes.
- Thicker pieces, like sculptures, might require 30 minutes or more.
- Multiple baking cycles can be used for advanced techniques, such as adding layers or details.
Using an oven thermometer ensures the oven reaches the exact temperature, preventing under or over-baking. Remember, under-baked clay will be brittle, and over-baked ones can burn, so monitoring the time and temperature closely is essential for a durable, well-cured final product.
How to Know When Polymer Clay Is Done Baking
Judging the doneness of polymer clay can be subtle, as it does not change appearance like food does when baking. To ensure your creation is fully cured:
- Test for flexibility: Thinner pieces should be slightly bendable when cool. If the clay is brittle or snaps easily, it may need more baking time.
- Tap it: A finished piece will emit a solid, resonating sound when tapped lightly. An uncured piece sounds dull.
- Use the recommended time and temperature as a baseline. Start by baking according to the package instructions and adjust if necessary based on your oven’s actual temperature and the size of your piece.
- Check visually: While color changes are not a reliable sign of doneness, translucent clays should appear clearer and colored clays more vibrant.
- Let it cool first: Polymer clay continues to harden as it cools, so the true test of its finished state is after it has cooled down.
Always remember that underbaked clay can lead to breakage, and overbaked clay can become discolored or burnt. Use an oven thermometer to verify your oven’s temperature for accuracy and consistency.
Choosing the Right Surface for Baking Polymer Clay
Selecting an appropriate baking surface is vital to avoid damaging your polymer clay project. Here are a few options you might consider:
- Ceramic tile: Provides a smooth, heat-resistant surface that distributes heat evenly.
- Oven-proof glass dish: Another even heat distributor, just make sure it’s free of scratches that could transfer to your piece.
- Metal baking tray: If using a metal tray, cover it with parchment paper to prevent shiny spots on the bottom of your clay.
- Cardboard: Can be used for flat pieces; however, it may not be the best choice for heavier items as it lacks sturdiness.
When using any of these surfaces, ensure that your polymer clay piece isn’t hanging over the edge, as this can cause distortion due to gravity when the clay softens before it hardens.
Following Package Instructions for Baking
Every brand and type of polymer clay has its own unique formulation which dictates optimal baking temperatures and times. Adhering to the manufacturer’s guidelines ensures that your creation will cure properly without burning or remaining underbaked, which could result in brittleness.
- Check the packaging for the recommended temperature; most clays bake between 265°F and 275°F (129°C and 135°C).
Note the advised baking time, commonly between 15 to 30 minutes per 1/4 inch (6 mm) of thickness.
Understand that some projects may require multiple baking sessions, especially if adding layers or complex details.
Remember, actual oven temperatures can vary, so using an oven thermometer to verify the true temperature can help avoid mishaps. Always put safety first – bake in a well-ventilated area and never leave your baking clay unattended.
Considering Clay Thickness When Baking
The thickness of your polymer clay creation plays a critical role in determining the ideal baking time. Thicker pieces require a longer bake to cure completely, while thinner pieces can be sufficiently baked in less time.
Here are key points to consider:
- Uniform Baking: Ensure even thickness throughout your piece to promote uniform baking.
- Temperature Adjustment: Avoid increasing the oven temperature to speed up the process for thicker pieces as this can cause burning or cracking.
- Extended Time: It’s generally safe to bake a thick item for a longer duration at the correct temperature.
- Support for Thinner Parts: Use a bed of cornstarch or a fiberfill beneath thin or delicate areas to support them during baking.
- Testing for Doneness: After cooling, if the thickest area of your creation can be dented with a fingernail, it may need additional baking time.
Remember, patience is key to ensuring a thoroughly cured piece without the risk of underbaking or overheating.
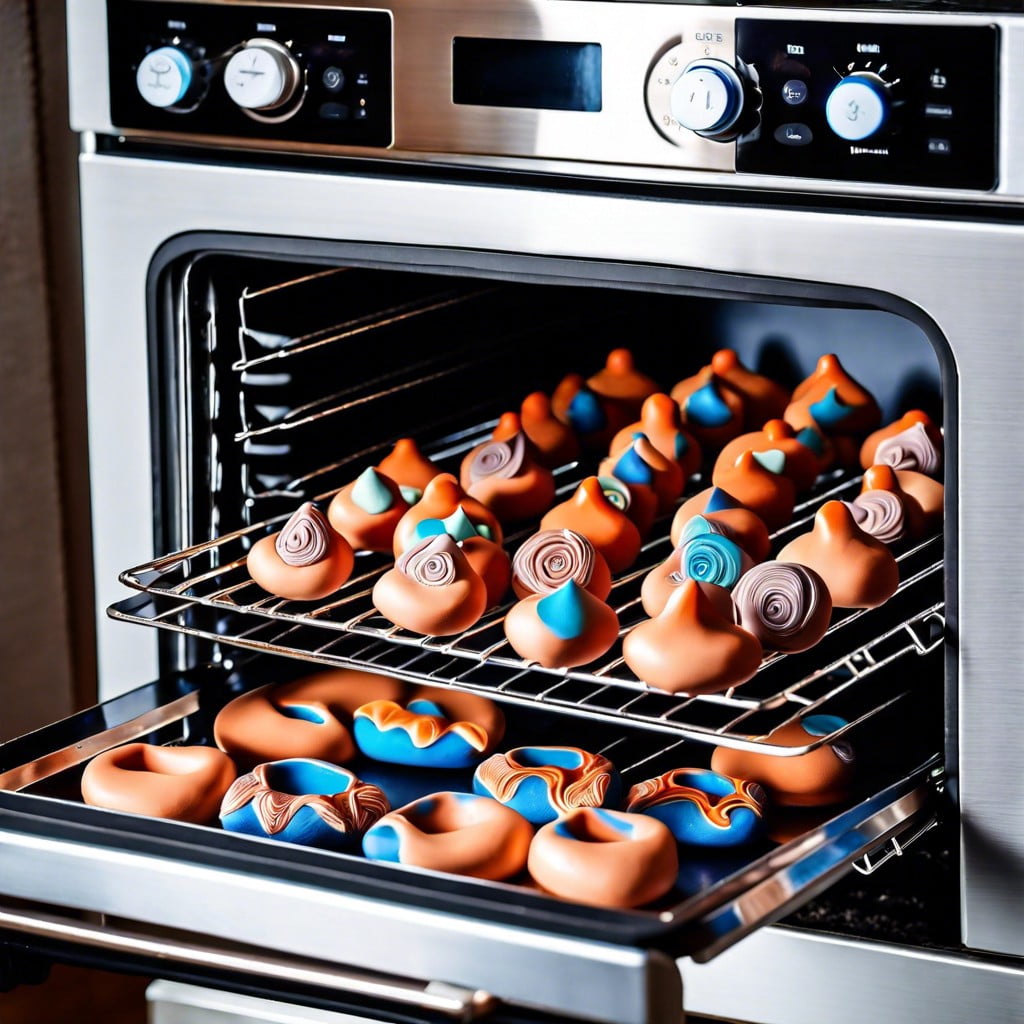
Baking Clay in Your Home Oven
Using your home oven for baking polymer clay is a convenient option. Before you start, ensure the oven is preheated to the correct temperature, as an inconsistent temperature can lead to underbaked or burnt clay. Place the clay on a baking tray lined with parchment paper to avoid direct contact with metal surfaces and potential scorching.
It’s helpful to place an oven thermometer inside to monitor the temperature throughout the baking process. This step is essential since the actual temperature can vary from what’s displayed on the oven’s dial.
Keep the oven door closed to maintain a stable environment, only opening it briefly if necessary to check your work using oven mitts to prevent burns. Baking times will vary depending on the thickness of your clay piece, but you can typically expect to bake for about 15 minutes per 1/4 inch of thickness.
During baking, maintain a well-ventilated room, as some polymer clays can emit fumes at high temperatures. Lastly, once baking is finished, allow the clay to cool completely inside the oven to prevent any sudden temperature changes that could cause cracking.
Using a Dedicated Polymer Clay Oven
Investing in a dedicated polymer clay oven is beneficial for enthusiasts who frequently work with polymer clay. Here are key points to consider:
- Temperature control is more precise, promoting an even cure without over-baking.
- There’s reduced risk of contaminating food, as no food should be cooked in a polymer clay-used oven.
- These ovens are usually compact, saving space and allowing for easy setup in a work area.
- They often feature built-in timers, removing the guesswork from baking durations.
- Some models offer convection heating, which can improve heat distribution and reduce the chances of scorching.
Choosing this option means creating a safer, more controlled environment specifically for your polymer clay projects.
Additional Tips for Polymer Clay Baking
To enhance your polymer clay baking experience and achieve the best results, consider these extra tidbits of advice:
- Preheat the oven before you begin to ensure an even baking temperature.
- Use an oven thermometer to verify the accuracy of your oven’s temperature settings and adjust accordingly.
- Place a tent of aluminum foil over your creations to prevent scorching, especially for intricate designs or lighter colors.
- Rotate your baking tray halfway through the baking time to promote uniform heating and reduce the risk of undercooked spots.
- If working with larger pieces, it’s beneficial to gradually ramp up the temperature and extend the baking time for thorough curing without cracking.
- Allow your finished pieces to cool inside the oven gradually to minimize thermal shock, which can lead to cracking or warping.
- Consider post-baking treatments such as sanding or glazing to refine the appearance and texture of your polymer clay projects.
Shop Reliable Polymer Clay Brands
Purchasing quality materials is crucial for successful projects. Renowned brands often provide clear instructions regarding the baking process, which helps in achieving the best possible results. Trusted manufacturers also ensure consistent composition and behavior of the polymer clay during baking, minimizing the risk of burning, bubbling, or discoloration.
Some popular and reliable brands include Sculpey, FIMO, and Kato Polyclay, each offering various formulas to cater to different needs – from professional artists to hobbyists. Keep in mind, brand-specific guidelines and temperatures may vary, so always refer to the packaging for optimal baking conditions.
FAQ
Can you bake polymer clay in regular oven?
Yes, polymer clay can be safely baked in a regular home oven, just ensure to clean the oven periodically and use proper ventilation.
What can I use instead of oven for polymer clay?
Instead of an oven for polymer clay, you can utilize a heat gun, hair dryer, or heat-embossing tool set to the required temperature on a nonstick surface such as a ceramic tile or block of wood.
Why did my polymer clay melt in the oven?
Your polymer clay "melted" in the oven because it was actually plasticine modeling clay, a common misidentification, which reacts to heat differently.
How long should polymer clay be baked in a regular oven?
Polymer clay should be baked for about 15 to 30 minutes at 275°F (135°C) in a regular oven.
What safety precautions should be taken when baking polymer clay in an oven at home?
Ensure to bake polymer clay in a well-ventilated area, set the oven at the correct temperature to avoid overheating, and avoid skin contact or inhalation of fumes by using protective gloves and masks.
Can polymer clay be reused after it has been baked?
No, polymer clay cannot be reused after it has been baked as the baking process permanently hardens the clay.
Related Reading
 Polymer Siding: A Durable Ally for Your Home
 Protein Polymer Example: Unlocking Nature’s Building Blocks
 Polymer Lipids: Revolutionizing Building Materials
 Polymer-Gel: The Secret Sauce for Durable Buildings
 Creative Polymer Solutions for Innovative Construction
Recap