Dive into the world of polymer sand because its innovative use in construction is revolutionizing the industry.
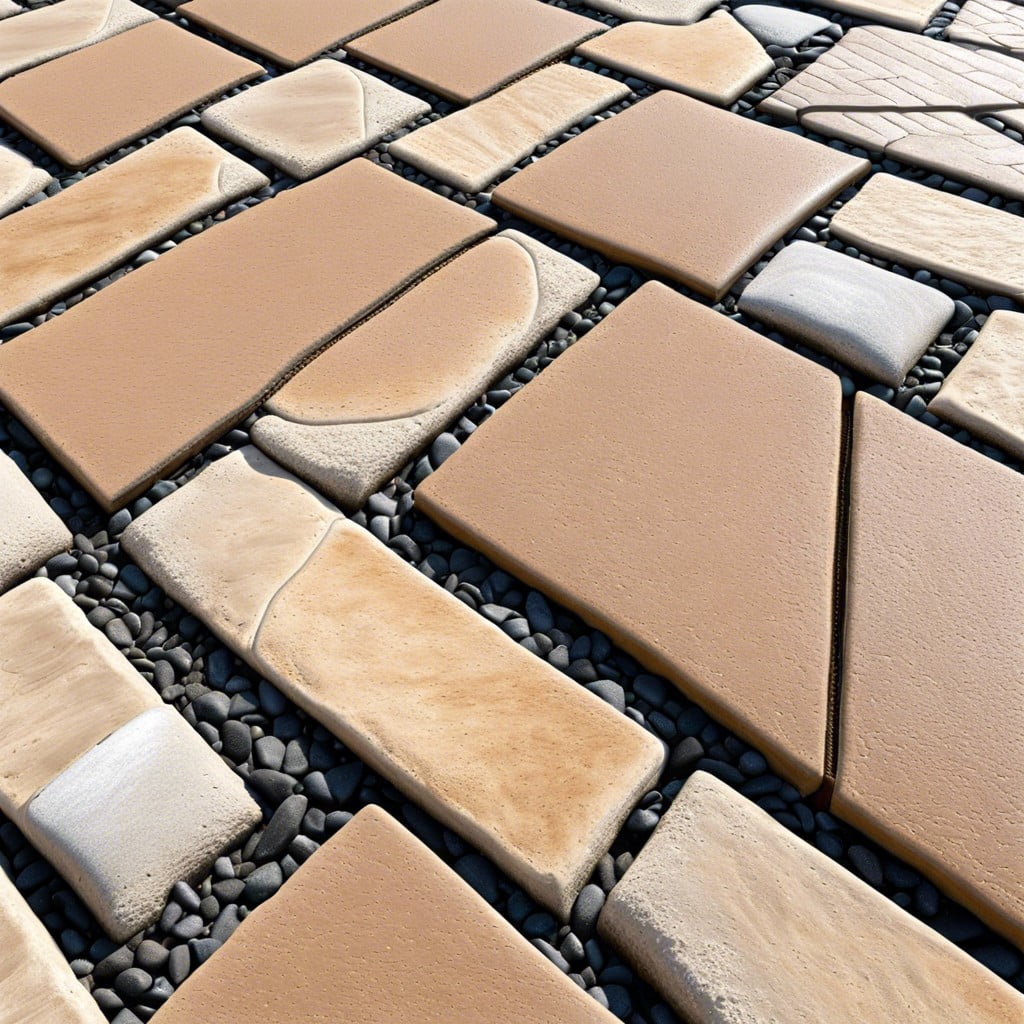
Polymer sand is a cutting-edge solution for homeowners and builders looking to enhance the durability and aesthetic appeal of paver installations. As an advanced infill material, polymer sand binds paver joints tightly to battle erosion and cracking, while its unique composition keeps weeds and pests at bay, ensuring your walkways and patios remain pristine.
Not only does it offer a variety of colors to suit any design palette, but its installation is also a breeze, requiring simple tools and just a few steps. Delve into the specifics of polymer sand in this article, where you’ll find a comprehensive guide on how to maximize its benefits for a long-lasting and visually stunning paver surface.
Key takeaways:
- Polymer sand offers durability, flexibility, weed & pest repellent, aesthetic finish, and water permeability.
- Polymer sand enhances paver joints, preventing erosion and cracking.
- It deters weeds and ants from infiltrating the paver joints.
- Available in various colors, it complements different paver colors.
- Installation is quick and easy, requiring basic tools and minimal time.
What Is Polymeric Sand?
Polymeric sand is a fine sand combined with additives, typically silica, that, when mixed with water, form a binding agent. This binding agent helps lock pavers together, offering several advantages over traditional sand:
- Durability: The polymers increase the sand’s resilience, making the joints resistant to erosion due to weather conditions such as heavy rain or wind.
- Flexibility: Unlike mortar, it remains somewhat flexible after setting, allowing for slight movement without causing cracks.
- Weed and Pest Repellent: It deters the growth of weeds between pavers and prevents ants and other insects from burrowing through.
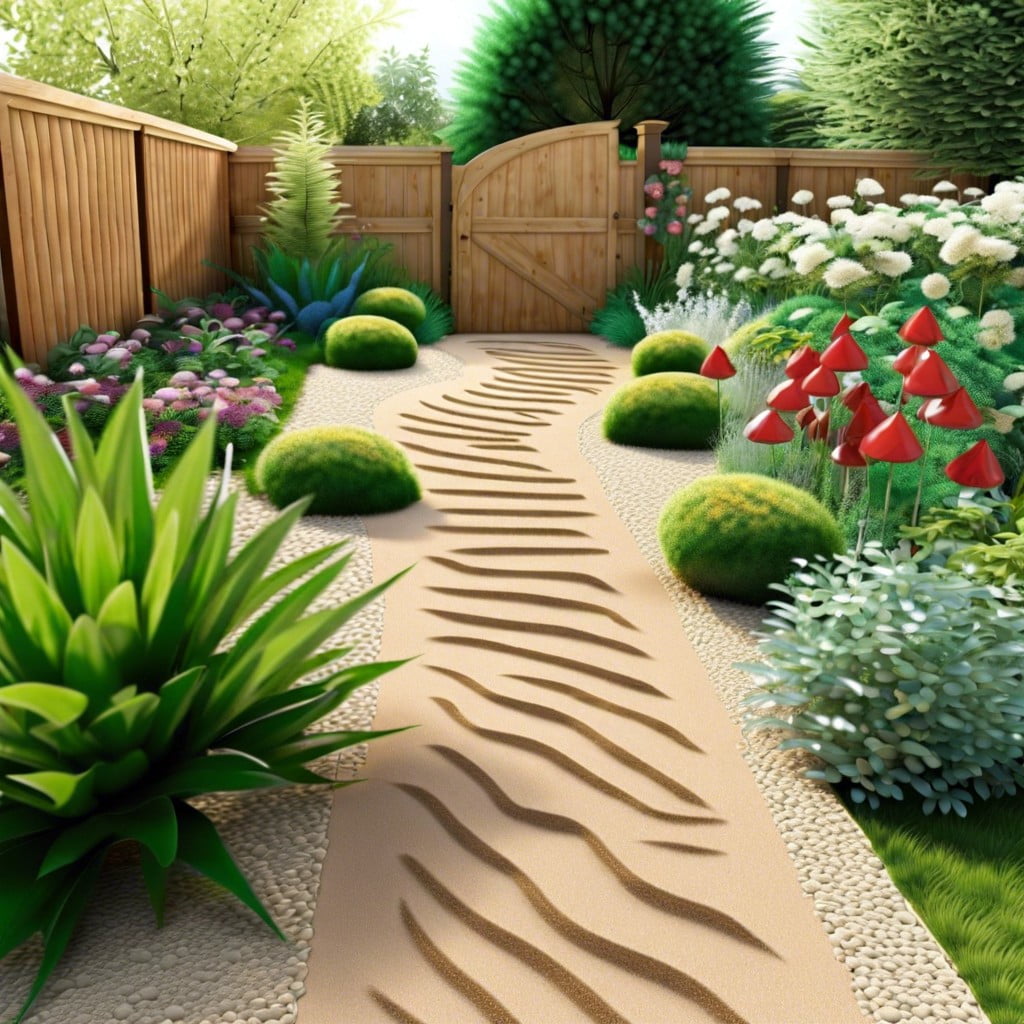
- Aesthetic Finish: Available in various colors, it complements different paver colors, enhancing the overall look of your pathway, driveway, or patio.
- Water Permeability: Once set, it becomes water-permeable, allowing for proper drainage while maintaining the strength of the joint.
Increased Durability
Polymer sand, by its very nature, enhances the strength and longevity of paver joints. This fortified material resists erosion and prevents washouts caused by heavy rain, wind, or pressure washing. Unlike regular sand, it binds tightly, creating a solid grout-like matrix once set. This resilience curtails the need for frequent maintenance, saving time and effort over the long run. Additionally, the flexibility inherent in its polymer composition allows for minor ground movement, which helps prevent cracking—a common issue with conventional mortars. These properties together ensure that paved surfaces remain intact and attractive for years to come.
No More Weeds or Ant Infestations!
Polymeric sand acts as an effective deterrent for the growth of weeds and the presence of ants. By creating a firm bond when set, it leaves little to no room for unwanted plant life to establish roots in the spaces between pavers. Here’s why it’s so effective:
- Joint Stabilization: Once hardened, the sand stabilizes paver joints, making it nearly impossible for weeds to penetrate.
- Pore Space Elimination: Weeds need space to grow. The tight seal formed by the sand blocks these spaces where seeds would typically lodge and germinate.
- Ant Repellent: The solidified joint also discourages ant colonies from burrowing through, as they can’t easily break through the hardened sand to create their nests.
- Permeability: Despite being a strong barrier to pests and weeds, it still allows water to permeate and prevent puddling or erosion, maintaining the health of the surrounding area.
This level of protection ensures that your paving stones remain clean and intact, reducing the need for maintenance and the application of chemicals to control unwanted growth.
Rich and Varied Colors
Polymeric sand comes in a palette of shades to complement any paving stone or slab. From subtle hues that blend with your outdoor decor to contrasting tones that enhance the look of your patterns, there is a color to match every design vision.
Choosing a sand color similar to the pavers creates a harmonious appearance, while a contrasting sand color emphasizes the shape and design of the paving stones, adding visual interest to your pathway or patio.
Additionally, the colorants in polymeric sand are UV stable, preventing them from fading significantly over time, ensuring a long-lasting aesthetic appeal for your hardscape projects.
Quick & Easy Installation
Installing polymeric sand is a straightforward process, which can be accomplished with a few simple steps:
1. Start with a dry surface: Ensure the pavers are completely dry to prevent the sand from prematurely setting.
2. Sweep in the sand: Distribute the sand across the pavers and use a broom to sweep it into the joints, filling them completely.
3. Compact the joints: This helps the sand settle and ensures the spaces are packed tightly, minimizing future shifting.
4. Remove excess sand: Use a leaf blower on a low setting to blow away any remaining sand off the surface of the pavers to avoid hazing.
5. Activate with water: A gentle spray of water activates the binding agent, turning the sand into a solid, weed-deterrent surface once dried.
This process doesn’t require specialized tools and can typically be completed within a day, greatly reducing installation time compared to traditional methods.
Why Choose Techniseal Polymeric Sands?
Opting for Techniseal polymeric sand is a smart move for those seeking top-tier paver joint stabilization. Key features include:
- Superior interlock: Techniseal sand forms a strong, cohesive bond, stabilizing pavers underfoot.
- Adverse weather resistance: It stands up to rain, wind, and freezing temperatures, ensuring joints remain intact.
- Proprietary formula: With advanced tech, the product promises a long-lasting, resilient finish.
- Minimized hazing potential: Effortlessly clear with its haze-free formula, leaving behind a clean aesthetic.
- Environmentally friendly: The eco-conscious blend safeguards surrounding vegetation and aquatic ecosystems.
- Tailored options: Matching or complementing your pavers is a breeze with the variety of hues available.
Selecting Techniseal means committing to a quality outcome for your hardscaping project.
Common Mistakes When Using Polymeric Sand
Avoiding water contact with pavers or joints before applying polymeric sand is crucial, as dampness can prematurely activate the polymers, leading to a weak bond. Conversely, applying too little water during activation can result in an incomplete curing process, while too much can wash the polymers away, both compromising the sand’s integrity.
Excess sand left on the paver surface after filling the joints can also become a problem. When activated by water, it can harden on the pavers, leaving a difficult-to-remove haze. Ensuring all excess sand is swept off before watering is essential for a clean, professional finish.
Finally, proper water drainage must be considered before laying polymeric sand. If water pools on the joint areas, it can destabilize the sand, affecting its longevity and performance. Ensuring an adequate drainage slope will prevent these issues and promote a more durable surface.
Damp Pavers or Joints
Ensuring your pavers and joints are completely dry before applying polymeric sand is crucial for a successful bond. The presence of moisture can prematurely activate the polymer, causing it to stick to the paver surface and not just the joints where it’s needed. This premature activation could lead to a weak jointing, reducing the sand’s effectiveness in stabilizing the pavers.
To avoid this, always work on a sunny day with low humidity. If your pavers were recently washed or it has rained, allow sufficient time for them to dry out thoroughly. The joints, in particular, should be free of any moisture as they are the critical point where the polymeric sand must properly adhere and set.
A good practice is to test the pavers by sweeping a small amount of polymeric sand into the joints and observing if the sand begins to clump or stick to the pavers. If it does, this indicates the presence of moisture, and you should halt your work, remove the test sand and allow more time for drying. Only once the surface is completely dry should you proceed with the full application.
Under-Watering or Over-Watering
Ensuring the right amount of water is crucial when activating the binders in polymeric sand. Applying too little water may lead to inadequate setting and bonding, ultimately affecting the sand’s ability to solidify and do its job. Conversely, over-watering can wash away the polymers, resulting in a weak joint that’s susceptible to erosion over time.
Here are some key points to help ensure proper watering:
- Follow the manufacturer’s instructions for the specific amount of water required. These guidelines are tailored to their product’s composition.
- Use a gentle spray to evenly disperse water over the sand, allowing it to seep into the joints without disturbing the sand’s placement.
- After initial watering, observe the sand and joints. If necessary, apply a bit more water to ensure all the sand is saturated but not flooded.
- Note the weather conditions. On hotter days, the sand may require more water due to rapid evaporation, whereas on cooler or overcast days, less water may be needed.
- Avoid pooling water on the surface which indicates over-watering. If this occurs, stop watering immediately and allow the excess water to drain.
Proper hydration will ensure your polymeric sand sets correctly, solidifying the joints and making your pavers both beautiful and durable.
Not Thoroughly Removing Excess Sand
After applying polymeric sand between the pavers, removing any excess from the surface is crucial before the activation process. Residual sand left on the pavers can cause a hazy residue. This happens when water activates stray grains, binding them to the surface of the pavers instead of solely in the joints where sealing occurs.
Here’s how to do it right:
- Sweep off the excess: Use a broom to gently sweep the sand into the joints, tilting it at a 30-degree angle for more efficiency.
- Use a leaf blower: Set the blower to a low power setting and hold it at a shallow angle to blow away fine particles without disturbing the sand in the joints.
- Final check: Conduct a close inspection of the pavers for any remaining sand. Often, overlooked spots can be hiding near paver edges or corners.
The goal is to leave the joints filled to just below the paver surface while ensuring the pavers themselves are completely clear. This preparation is key to achieving a polished look and preventing potential discoloration or bonding issues.
Poor Drainage
Ensuring proper drainage is critical when using polymeric sand. Without it, water can pool on the surface or within the joints, compromising the integrity of the installation.
Here are some points to help understand and prevent drainage issues:
- Slope is Key: A slight incline away from structures directs water runoff and prevents pooling.
- Joint Depth Matters: Deeper joints allow for better water flow, avoiding sand erosion or washouts.
- Paver Permeability: Consider permeable pavers to facilitate water seepage into the ground beneath.
- Drainage Pathways: Create pathways or spaces between pavers for excess water to escape.
- Cross-check Levels: After laying pavers, always double-check that there’s a subtle slope for drainage.
- Observe and Adjust: Monitor how water behaves during rainfall and adjust as necessary.
Good drainage contributes to the longevity of your paved area, ensuring your polymeric sand does its job effectively.
Benefits of Polymeric Sand
Polymeric sand enhances paver joints by bonding them firmly together, reducing the chance of erosion caused by water, wind, and ice. This binding feature also means that it’s less likely for weeds to take root or for ants to establish their colonies between the pavers, maintaining a clean and neat appearance over time.
The sand’s flexibility allows for slight movement without causing cracking, accommodating the natural shifting that can occur with temperature changes or heavy traffic. Moreover, its composition resists fading, keeping the colors consistent and vibrant even with sun exposure.
In terms of maintenance, polymer sand creates a strong yet flexible joint that resists the penetration of water, thereby reducing the chances of freeze-thaw damage. It also ensures that pavers remain in place, minimizing the risk of creating tripping hazards and reducing the need for frequent readjustments or repairs.
This product offers a smooth finish, enhancing the overall look of the paths, patios, and driveways. The benefits extend to its ease of application, allowing for a streamlined installation process that saves time and effort.
Polymeric Sand Vs. Regular Sand for Pavers
When comparing polymeric and regular sand, the key differences lie in their composition and performance after installation. Polymeric sand contains fine grains of sand mixed with a polymer binder, which when activated with water, hardens and locks the pavers in place. This contrasts with regular sand, which is simply crushed rock or silica without any additives.
One of the primary advantages of polymeric sand is its ability to resist washing away during heavy rains due to its binding properties, providing a long-lasting solution. In contrast, regular sand can be more easily eroded by water and weather conditions.
Moreover, polymeric sand’s solidified joints deter weed growth and prevent ants from burrowing through, whereas regular sand can act as a fertile bed for weeds and does not impede insects.
Lastly, polymeric sand offers aesthetic benefits by coming in various colors to match or contrast with the pavers, while regular sand is limited in color options, often only offering the natural color of the sand material used.
Installation Instructions
Begin by ensuring a solid base for the pavers which involves proper compaction and leveling of the base material. This foundational work is vital for long-term stability.
After laying down the pavers, evenly distribute the polymeric sand over the surface. Careful application ensures the sand fills the joints between each paver, without leaving excess on top.
Use a push broom to sweep the polymeric sand into all the joints, making multiple passes and applying additional sand as needed to fill the joints completely. A hand brush can help with tight spaces.
The surface of the pavers should then be cleared of all remaining sand to prevent a hazy residue after activation. A leaf blower, set on low and held at a height, works well to remove excess sand without disturbing the filled joints.
Watering activates the binding agents in polymeric sand. Gentle watering using a hose with a shower or mist setting ensures the sand settles and the polymers activate. Avoid flooding the pavers; the water should be applied in a controlled and gradual manner.
Follow manufacturer recommendations for drying times after installation. Premature foot traffic or heavy rain can disrupt the curing process, so it is important to plan the installation around the weather forecast.
Proper installation extends the life of your pavers and helps maintain their pristine appearance. If you’re unsure about any step, consider consulting a professional.
Preparing the Base
Before applying polymeric sand, ensuring a solid and level base is crucial. Here’s how to create the ideal foundation for your pavers:
1. Excavate to the Proper Depth: Dig down to allow for the thickness of the paver plus the base material. Generally, this means excavating around 7 inches: 4 to 6 inches for the base layer and 1 inch for the bedding layer.
2. Lay the Sub-Base: Use crushed stone or gravel as a sub-base and compact it thoroughly. Aim for a uniform depth to provide stable support across the entire surface.
3. Ensure Good Drainage: Slope the base slightly to facilitate water runoff. A slope of about 1 inch for every 4 feet works well to prevent water pooling.
4. Install Edge Restraints: Essential for maintaining the shape and stability of your paver design, edge restraints should be placed around the perimeter.
5. Apply the Bedding Layer: Spread a layer of coarse, concrete sand evenly over the sub-base. This layer should be around 1 inch thick, and it will act as a bed for the pavers to lie on.
6. Level and Compact: The bedding layer needs to be smooth and level. Use a long, straight board to screed the surface and a plate compactor for even compaction.
Creating a well-prepared base sets the stage for a firm, lasting installation, ensuring that the pavers and polymeric sand perform optimally.
Spreading the Polymeric Sand
Once your paver surface is clean and dry, it’s time to apply the sand. Carefully open the bag and pour the polymeric sand directly onto the pavers. Using a push broom, guide the sand into the joints between each paver. Ensure even distribution, filling the joints up to their full depth. This helps lock the pavers together and provides the necessary strength to your pathway or patio.
Technique matters here: Work in a diagonal pattern across the pavers to avoid pushing the sand out of the joints. Take your time to achieve a consistent fill, as this will ensure that the integrity of your surface is maintained.
Avoid overfilling the joints. A consistent level slightly lower than the top of the pavers will suffice. If sand remains on the surface of the pavers, a leaf blower can be used at a low setting to remove the excess. Be gentle to prevent disturbing the filled joints. Remember, the meticulous you are during this step, the smoother the following steps will be.
Clearing the Surface of the Pavers
Before watering in your polymeric sand, ensure that the surface of your pavers is completely clear. Remaining particles can cause a hazy residue when mixed with water. Here’s how to achieve a clean surface:
- Use a Broom: Gently sweep the sand into the joints, then switch to a hand broom or leaf blower to carefully remove the residual dust from the surface.
- Leaf Blower Angle: When using a leaf blower, keep it at a shallow angle to avoid blowing sand out of the joints. Use a light touch — the goal is to whisk away debris, not disrupt the freshly laid sand.
- Final Check: Do a final walkthrough to check for excess sand. Pay special attention to textures or depressions on the paver surface where grains might be hiding.
Following these points helps ensure the binding process will occur correctly without leaving any unsightly residue on the pavers.
Watering the Pavers
Activating the polymeric sand correctly is essential to ensure it solidifies and locks the pavers in place. To achieve this, a gentle and even application of water is key. Here are some points to consider during this process:
- Gentle Watering: Use a watering can with a fine rain shower or a spray nozzle attached to a hose, set to a gentle spray to avoid washing away the sand.
- Even Coverage: Start from the highest point moving to the lowest to ensure even distribution, slowly saturating the sand without causing it to erode.
- Patience Is Key: Allow the water to seep into the joints by pausing between watering sessions. This prevents hydrophobia, where the water repels off the dry sand underneath.
- Avoid Puddling: Ensure that you don’t overdo it; standing water on the surface of the pavers suggests over-watering which can lead to polymeric sand not setting properly.
Remember, following the manufacturer’s specific guidelines on water application is crucial for the best outcome.
When to Call a Professional
Deciding when to DIY and when to seek professional help is crucial for optimal results. If you’re considering a large and intricate paver project, it might be wise to consult a professional who can ensure a precise application. Consider making the call if you’re dealing with:
- Uneven or complex paver designs where the risk of improper sand distribution is higher.
- Areas subject to heavy load or constant traffic, as a professional can ascertain the correct sand depth and compaction to withstand such conditions.
- Projects that require significant leveling or slope-management, where an expert’s skills are necessary to prevent water pooling and ensure proper drainage.
- Tight timelines that demand swift completion; a professional team can work more efficiently to meet deadlines.
- Other hardscaping elements in play, like steps or walls, which might call for a delicate touch and experience in ensuring stability and aesthetic cohesion.
Purchasing Polymeric Sand
When selecting polymeric sand for your project, you’ll want to consider a few key factors to ensure optimal results. The size of your pavers’ joints will guide you to the appropriate product, as polymeric sand comes in various grain sizes to accommodate different spacing. Ensure you pick a sand that’s designed for the width of your joints.
Quality is another important consideration. Higher-quality sands contain polymers that offer enhanced bonding strength and longevity. This keeps your pavers firmly in place and reduces the need for frequent maintenance.
Additionally, take note of the weather conditions in your area. Some products are formulated to withstand extreme temperatures, whether scorching heat or freezing cold, providing resilience through seasonal changes.
Color is not just about aesthetics; the right shade of polymeric sand can complement your pavers and contribute to the overall appearance of your hardscape. Choose from a palette ranging from subtle neutrals to darker tones to create the desired look.
Lastly, while it might be tempting to choose a less expensive option, investing in a premium product can save you money in the long run due to its superior durability and reduced need for repairs or replacements.
Remember, purchasing from reputable dealers and manufacturers is a good practice to ensure you’re getting a genuine, high-quality product.
FAQ
What is polymer sand?
Polymer sand is a fine sand mixed with additives, usually silica, that forms a binding agent when exposed to water, fusing the sand particles together.
What is the downside to polymeric sand?
The primary downside of polymeric sand is that it might become vulnerable to washout if used in areas with insufficient drainage, due to recurring exposure to moisture and wetness.
Does water drain through polymeric sand?
No, most polymeric sands do not allow water to drain through them.
Can I put new polymeric sand over old polymeric sand?
Yes, it is possible to put new polymeric sand over old polymeric sand, provided that you first completely remove any old joint sand or old polymeric sand from the joints using a pressure washer.
What is the process of installing polymeric sand in paver joints?
The process of installing polymeric sand in paver joints involves sweeping the sand into the joints, compacting it, removing excess sand, and applying a water mist to activate the polymers that harden the sand.
What are the environmental impacts of using polymeric sand in construction?
The environmental impacts of using polymeric sand in construction include the potential release of volatile organic compounds (VOCs) during production and installation, and the reduced permeability of surfaces, which can contribute to water runoff and related issues.
How does weather affect the performance and durability of polymeric sand applications?
Weather, particularly rain and freezing temperatures, can diminish the performance and durability of polymeric sand applications by causing erosion or creating patches and cracks due to contraction and expansion.
Related Reading
 Polymer Siding: A Durable Ally for Your Home
 Protein Polymer Example: Unlocking Nature’s Building Blocks
 Polymer Lipids: Revolutionizing Building Materials
 Polymer-Gel: The Secret Sauce for Durable Buildings
 Creative Polymer Solutions for Innovative Construction
Recap