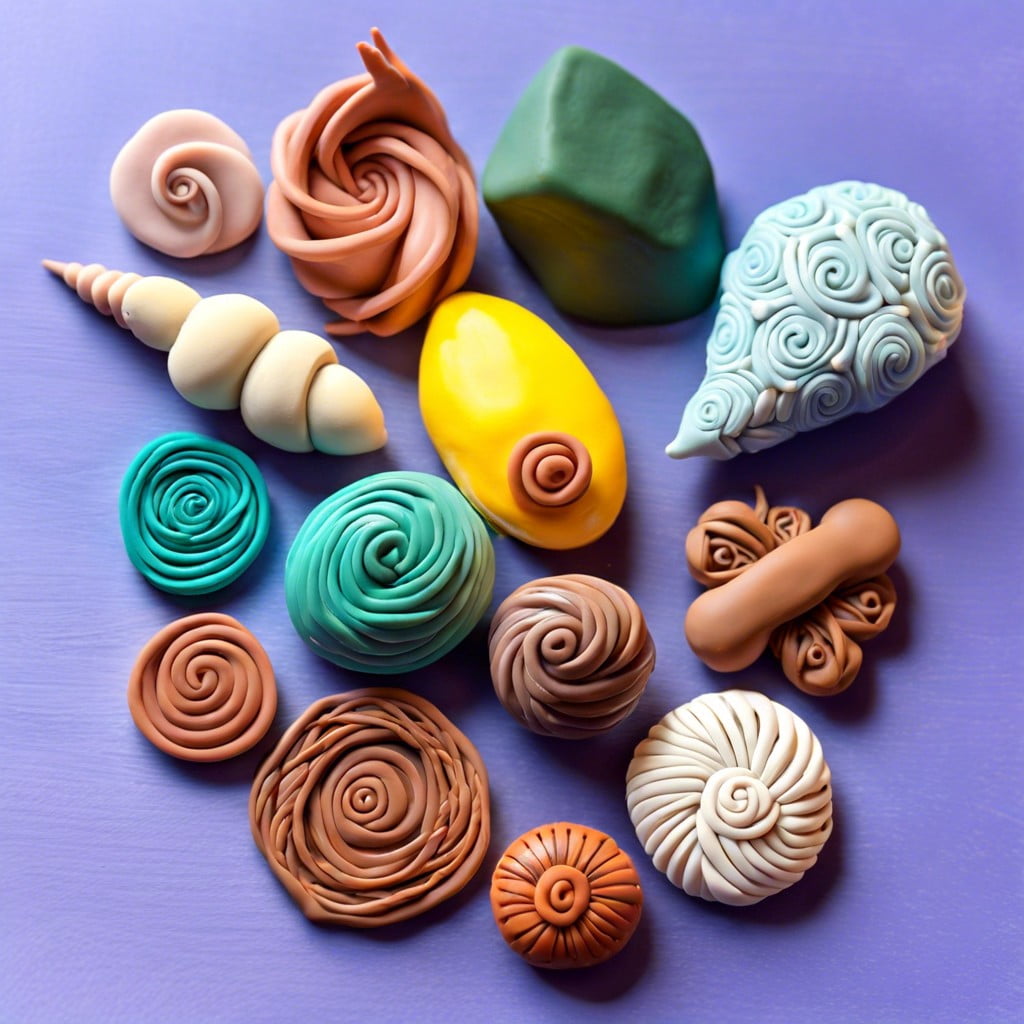
Learn how to create your own polymer clay sculptures with step-by-step guidance on materials, techniques, and finishing touches.
Key takeaways:
- Different types of polymer clay for sculpting:
- – Standard Polymer Clay
- – Liquid Polymer Clay
- – Professional-Grade Clays
- – Clays with Special Qualities
- Essential tools for polymer clay sculpting:
- – Rolling Tools
- – Cutting Instruments
- – Sculpting Tools
- – Work Surface
- – Baking Sheet and Oven
- Techniques for shaping polymer clay:
- – Pinching and rolling
- – Using clay knives and rubber-tipped shapers
- – Stamps and molds for textures
- – Layering different colors and pieces of clay
- Proper baking techniques for polymer clay:
- – Preheating the oven
- – Using a baking surface
- – Tenting with aluminum foil
- – Baking times based on thickness
- – Gradual cooling after baking
- Health and safety tips when working with polymer clay:
- – Work in a well-ventilated area
- – Use dedicated tools
- – Wear a dust mask when sanding
- – Wash hands thoroughly
- – Be mindful of baking temperature and times
Types of Polymer Clay for Sculpting

Polymer clay comes in various formulations, each tailored for different needs and preferences.
- Standard Polymer Clay: Known for its durability and ease of handling, it’s suitable for both beginners and advanced sculptors. Brands like Sculpey and Fimo offer a range of colors that can be mixed to create custom hues.
- Liquid Polymer Clay: More pliable and used as a glue, for image transfers, or to achieve watercolor-like effects when mixed with solid clay.
- Professional-Grade Clays: These clays are firmer, allowing for fine detail and are preferred by those making intricate sculptures or jewelry.
- Clays with Special Qualities: Some clays contain particles that create effects like metallic, glitter, or glow-in-the-dark finishes.
Each type of clay has its optimal baking conditions and post-baking characteristics. Choose based on the level of detail required and the desired finish of the sculpture.
Essential Tools for Polymer Clay Sculpting
Having the right tools can transform your polymer clay sculpting experience, making it more efficient and enjoyable. Here are some essentials:
- Rolling Tools: A smooth, cylindrical object like an acrylic roller or a pasta machine helps condition the clay and roll it into even sheets.
- Cutting Instruments: Blades and cutters offer precision when trimming or creating clean edges. X-Acto knives and tissue blades are popular choices.
- Sculpting Tools: A variety of tools, such as ball styluses, rubber-tip shapers, and dental tools, assist you in adding details and textures to your sculptures.
- Work Surface: An ideal surface, like a glass or marble board, is non-porous to prevent sticking and makes cleaning easy.
- Baking Sheet and Oven: As polymer clay needs to be cured, a dedicated baking sheet and a precise oven are required to properly solidify your creations.
Remember, maintaining a clean workspace and organizing your tools can greatly enhance your sculpting process.
Techniques for Shaping Polymer Clay
Molding polymer clay into your desired shape is an exciting process that relies on both your hands and a set of tools. Begin with conditioning the clay by kneading it until it’s supple and easy to work with, which prevents cracking and ensures a smooth finish.
Pinching and rolling are your primary hand-shaping methods. Pinch the clay to create indentations or to thin out certain areas. Rolling between your hands or on a flat surface can form smooth, even shapes like spheres or cylinders.
For precision and detail, utilize tools like clay knives for clean cuts, and rubber-tipped shapers to smooth surfaces or blend seams. Stamps and molds offer a quick way to imprint textures or achieve consistent shapes. Additionally, layering different colors and pieces of clay adds complexity to your sculpture.
When adding fine details, lightly press tools into the surface rather than dragging, which can distort the clay. For symmetrical designs, use a cutting blade to slice through a doubled-over piece of clay, ensuring both sides match.
Remember, patience is key. Take your time to refine your piece as you go, as the final result hinges on the care taken during this formative stage.
Proper Baking Techniques for Polymer Clay
Achieving the ideal finish for your polymer clay sculpture requires adhering to the correct baking procedures. Each type of polymer clay will come with its own baking instructions from the manufacturer, so it’s crucial to read and follow them closely. Here are some general guidelines to ensure a successful baking process:
- Preheat your oven according to the polymer clay’s packaging instructions, ensuring a precise oven temperature with the use of an oven thermometer.
- Place your sculpture on a baking surface like parchment paper or a ceramic tile to prevent it from sticking or getting shiny spots from direct contact with a metal tray.
- To avoid scorching, you can tent your sculpture with aluminum foil to protect it from direct heat.
- Baking times will vary based on the sculpture’s size and thickness. Typically, it’s recommended to bake for 15-30 minutes per quarter inch of thickness.
- After baking, let the sculpture cool down gradually inside the oven to minimize the risk of cracking due to thermal shock.
By following these pointers, you’ll help ensure your sculpture hardens evenly and maintains its integrity once cooled.
Health and Safety Tips When Working With Polymer Clay
Polymer clay is non-toxic, but it’s important to handle it with care. Always work in a well-ventilated area to avoid inhaling any particles or fumes, especially during baking, as the process can release odors. Use dedicated tools for sculpting that are not used for food preparation to prevent cross-contamination.
When sanding cured pieces, wear a dust mask to avoid breathing in fine particles. It is also advisable to wash your hands thoroughly after working with the clay and before touching your face or eating. To protect your skin, consider wearing gloves, especially if you have sensitive skin or are working with the clay for extended periods. Be mindful of the clay’s baking temperature and times to prevent burning, which can produce harmful fumes. Lastly, keep your work area clean and organized to reduce the risk of accidents.
Recap


