Learn how to create a unique polymer clay necklace with these straightforward, step-by-step instructions.
Key takeaways:
- A strong, flexible polymer clay is important for durability.
- Consider color options and desired finish for the necklace.
- Follow proper baking instructions for the clay to harden correctly.
- Assemble the necklace using jump rings and clasps.
- Important safety precautions when working with polymer clay.
Choosing the Right Polymer Clay
Selecting an appropriate polymer clay for your necklace is crucial, as it directly influences the durability, appearance, and ease of working with the material. Here are some key considerations:
1. Strength: Look for a polymer clay that is strong after baking, like Kato Polyclay or Fimo Professional, which are excellent for thin or delicate pieces.
2. Flexibility: Premo Sculpey retains flexibility, making it a good choice for pieces that might bend or for thinner designs that require a slight give.
3. Colors: Some brands offer vibrant colors that maintain their brightness after curing. Choose a brand with a wide color palette for more creative options.
4. Consistency: Test the clay for its softness or firmness; softer clays are easier to shape but may be more prone to fingerprints, while firmer clays offer crisp detail but require more conditioning.
5. Finish: Matte, satin, or glossy finishes can be achieved with different clays or varnishes applied post-baking. Decide on the desired finish before choosing your clay to either leverage its natural finish or prepare for post-baking treatment.
6. Curing Temperatures and Times: Check the recommended baking temperatures and times for the clay, as these can vary and impact the final strength of your necklace.
By considering these factors, you can choose a polymer clay that best suits your necklace design and intended use.
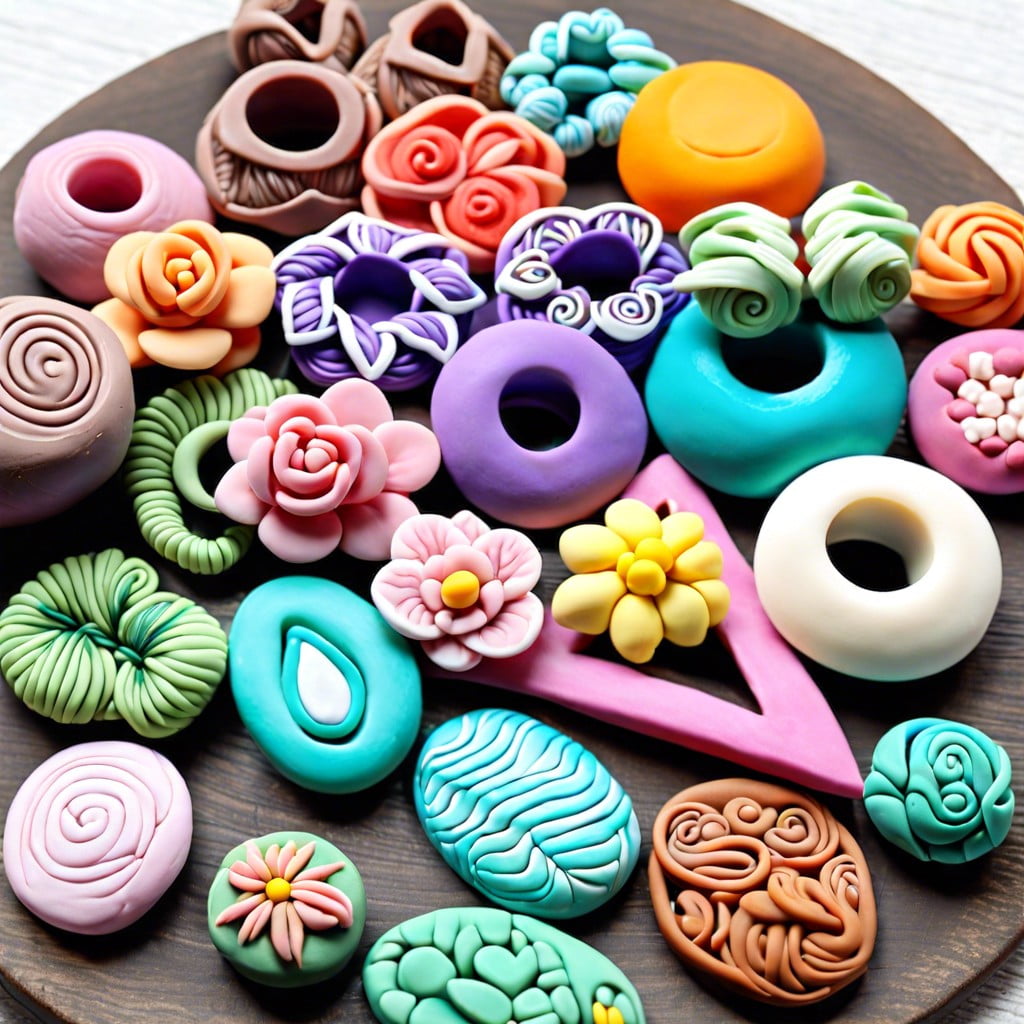
Creating the Necklace Design
Crafting your design begins with envisioning the end result. Sketch out ideas on paper to experiment with shapes and color combinations. Consider the size and weight of your pendant and beads, as they should be comfortable to wear. Inspirations can be drawn from nature, geometric patterns, or even abstract art.
Select colors that complement each other and think about the addition of textures or layers to add depth to your piece. Tools like cutters, stamps, and textured materials are invaluable for imprinting designs directly onto the clay. Remember, this stage is about creativity and personal expression, so let your imagination guide you.
Baking the Polymer Clay
To ensure your polymer clay pendant hardens properly, follow the manufacturer’s instructions for temperature and baking time—typically between 265°F and 275°F for 15 to 30 minutes, depending on the size and thickness of the piece. Use an oven thermometer to guarantee the oven reaches the correct temperature, which is crucial for preventing burning or underbaking.
Place your creation on parchment paper or a ceramic tile and put it in the center of the oven to ensure even heat distribution. Consider tenting the clay with aluminum foil to protect it from temperature spikes and to maintain a consistent environment.
After baking, allow the piece to cool completely before handling to avoid fingerprints and maintain its shape. Remember, the clay will fully harden only after it cools down, so avoid rushing this step for the best results.
Assembling the Necklace Components
Once your polymer clay pieces are baked and have completely cooled, assembling your necklace is the next step. Here’s what you need to do:
1. Gather materials such as jump rings, clasps, and a chain or cord.
2. Use pliers to open jump rings and attach them to the holes in your clay pieces.
3. Plan the arrangement of the polymer pieces on the chain or cord to achieve your desired design.
4. If using a chain, space out your clay pieces as preferred and use jump rings to secure them in place.
5. Attach a clasp to the ends of the chain or cord for easy wearing.
6. Knotting techniques may be needed if using a cord, ensuring the knots are tight and secure.
Each step adds functionality and style, transforming your clay creations into a wearable piece of art.
Safety Precautions When Working With Polymer Clay
Polymer clay is generally safe and easy to handle, but it’s important to keep a few guidelines in mind:
1. Ventilation: Work in a well-ventilated space, especially when baking clay, to avoid inhaling any fumes.
2. Temperature Accuracy: Use an oven thermometer to ensure your oven is at the correct temperature, preventing the release of hazardous compounds due to overheating.
3. Personal Protective Equipment: Consider wearing gloves when handling clay to prevent skin irritation and keep your hands clean, especially when using colors that may stain.
4. Cleanliness: Always wash your hands thoroughly after working with polymer clay and before eating or touching your face.
5. Dedicated Tools: Use designated kitchen tools for clay work that are not used for food preparation to avoid cross-contamination.
6. Curing Times: Follow the manufacturer’s recommended curing times to ensure the clay is completely polymerized, reducing potential risks associated with underbaked material.
7. Child Supervision: Children should be supervised when using polymer clay to ensure they use it safely and do not ingest it.
By adhering to these simple safety measures, you can enjoy crafting with polymer clay while maintaining a safe crafting environment.
Related Reading
 Polymer Clay Flowers: Crafting Delicate Blooms for Any Occasion
 Polymer Clay Christmas Ornaments: Craft Your Own Festive Decor
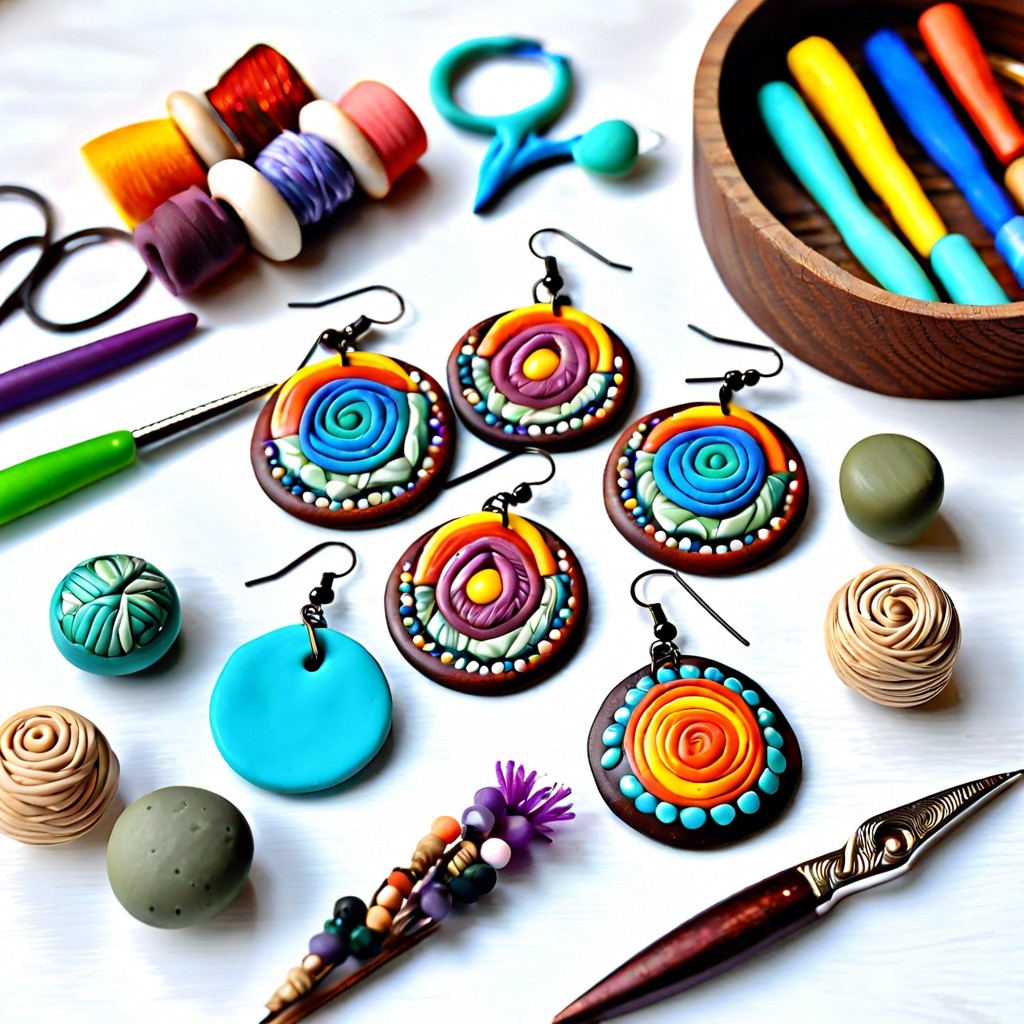 Polymer Clay Earring: Creating Fashion Statements with Your Own Hands
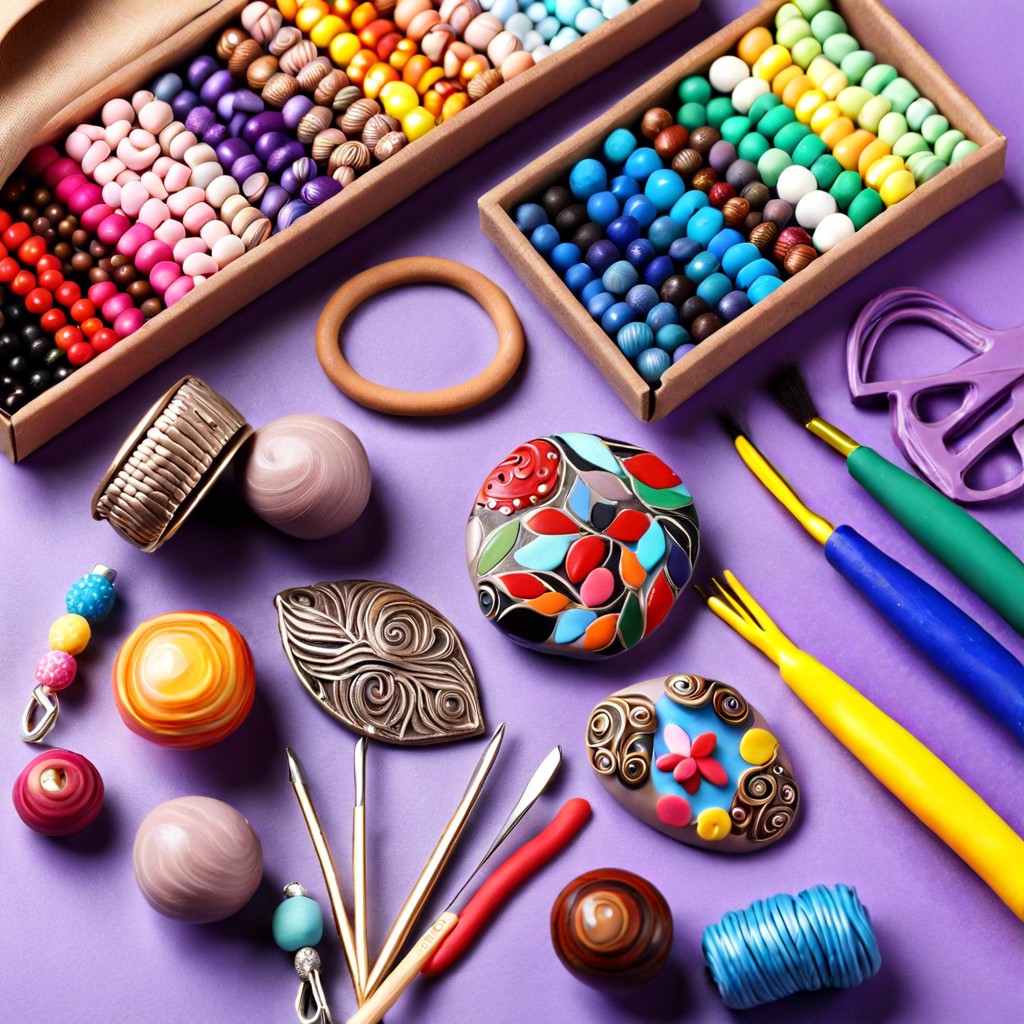 How to Make Polymer Clay Beads for Stunning DIY Jewelry
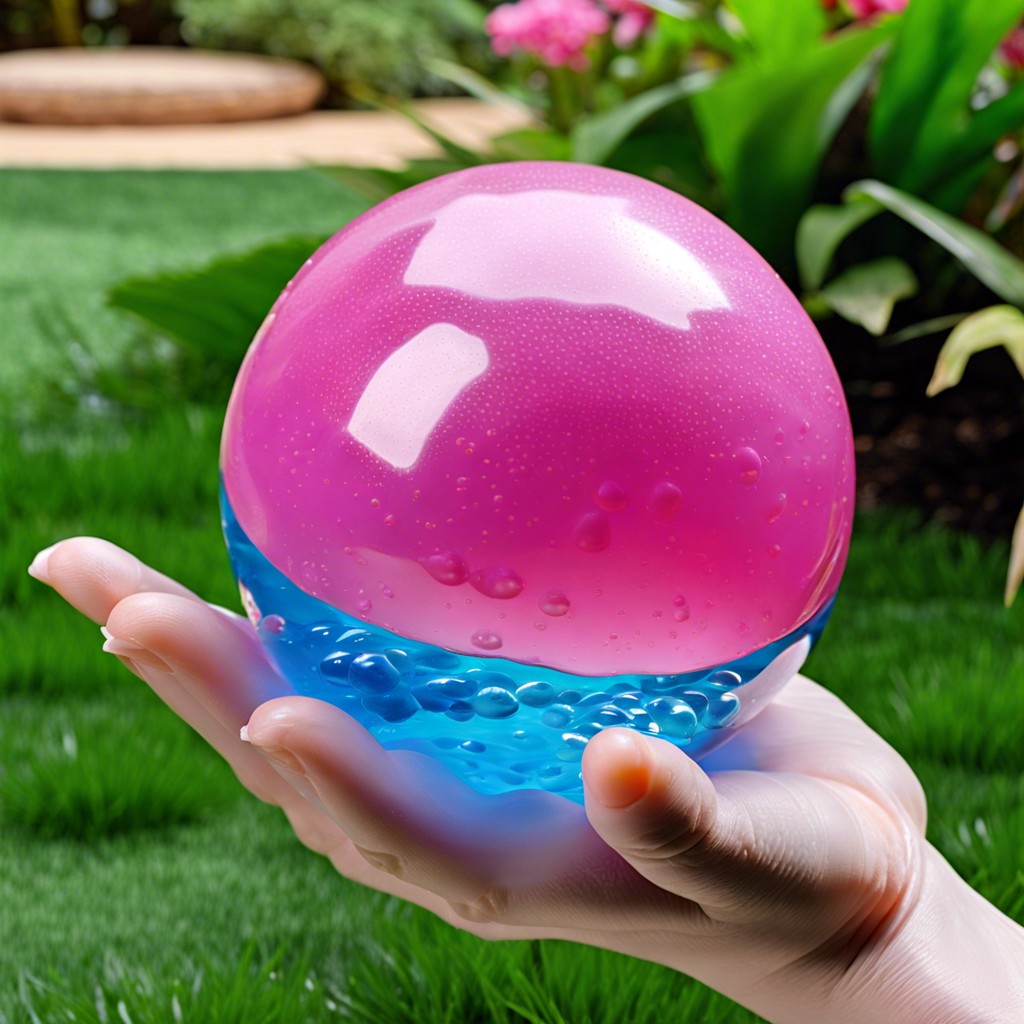 Water Balz Jumbo Polymer Ball: The Ultimate Guide to Fun and Utility
Recap