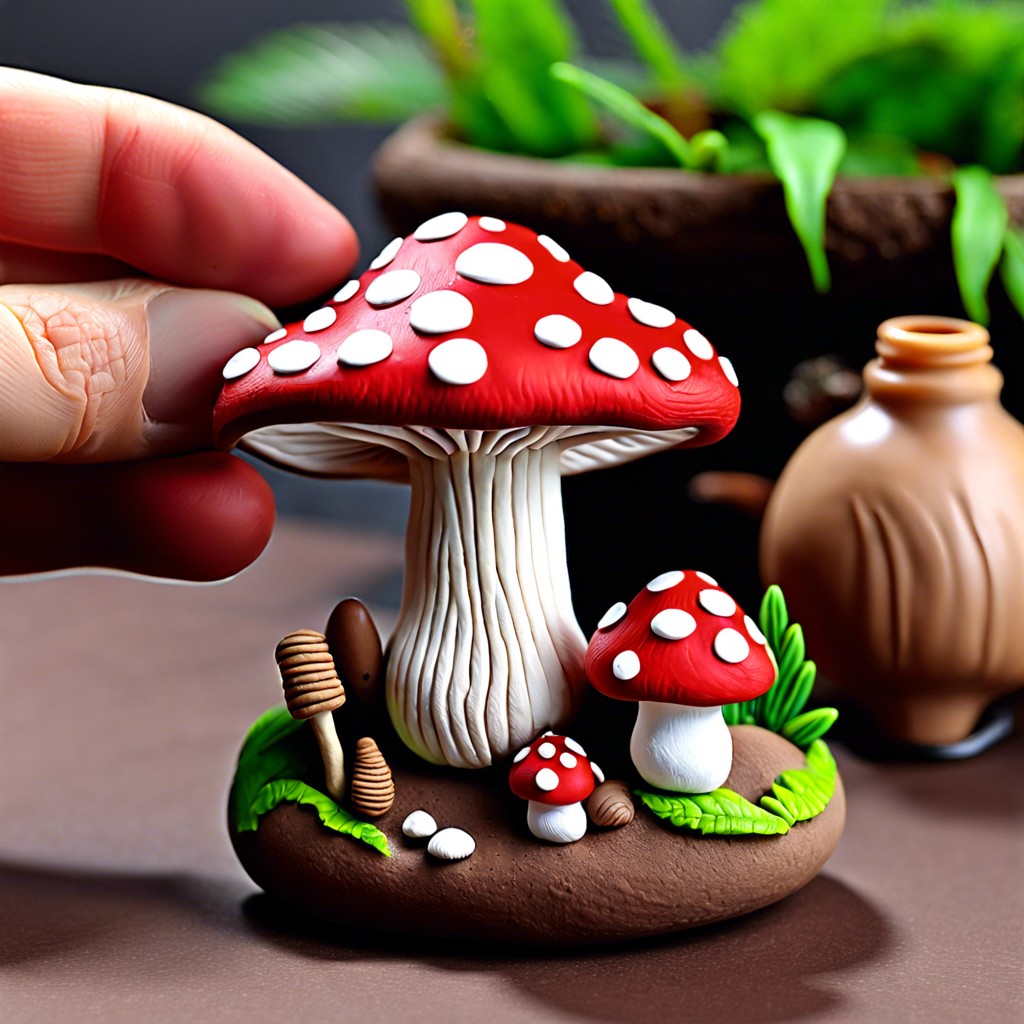
Learn how to easily craft a delightful polymer clay mushroom step-by-step, perfect for beginners and seasoned crafters alike.
Key takeaways:
- Polymer clay mushroom crafting is fun for all skill levels.
- Essential tools include clay, sculpting tools, paints, and an oven.
- Sculpt mushroom cap by shaping, texturing, and adding details.
- Create mushroom stem by rolling, texturing, and attaching to cap.
- Bake, paint, and seal your mushroom for a lasting masterpiece.
Materials and Tools Needed
You’ll need a few basic supplies to sculpt your polymer clay mushroom masterpiece. First, grab some polymer clay – it’s the star of the show. Choose colors for the cap, stem, and any funky details you want to add.
Next, get some sculpting tools. Toothpicks work if you’re on a budget, but fancy tools can make life easier. A flat surface for rolling out the clay is essential. A cutting tool or blade will help you slice and dice that clay like a chef.
Don’t forget about an oven, because polymer clay needs a good bake to set. A baking sheet lined with parchment paper will prevent sticking. Have some acrylic paints ready for after baking; they give your mushroom that final pop of color. Seal it with a clear varnish to keep it glossy and long-lasting.
Paper towels and wipes are handy for cleaning. Especially if you’re prone to colorful messes!
And for those who like to take their time, having music or snacks nearby can make the process a lot more enjoyable. Cheers to stress-free sculpting!
Shaping the Mushroom Cap
Start by grabbing a chunk of your polymer clay. Roll it into a ball with your hands.
Gently press down on one side to create a dome shape—this will be the mushroom cap.
Flatten the edges slightly, making them nice and thin. This helps give your mushroom a more natural, fairy-tale vibe.
Use a toothpick or sculpting tool to add texture. Lightly press to imitate gills on the underside of the cap.
If you want to add spots, roll tiny balls of clay and press them onto the top of the cap. Instant cuteness achieved.
Place the cap aside to start working on the stem. It’s now ready for the next phase.
Forming the Mushroom Stem
Making the mushroom stem is a bit like rolling out a piece of dough for the world’s tiniest pie – but easier and less messy.
Roll a small amount of polymer clay into a smooth sausage shape. It’s best if it’s tapered, thicker at one end and gradually becoming thinner. This gives the stem a realistic look.
Gently press the thicker end onto your work surface. This base will help your mushroom stand tall and proud – no slouching fungi here!
You can texture the stem using a toothpick or a sculpting tool, adding those charming little grooves and lines that make real mushrooms so fascinating.
Finally, carefully attach the stem to the cap. Make sure to blend the joint so it looks seamless, like your mushroom was plucked straight from a whimsical forest.
And there you have it, a mushroom stem ready for the oven!
Baking and Curing
Time to give your polymer clay mushroom a nice suntan—well, sort of. Baking your clay creation is crucial for it to hold its shape forever.
First, preheat your oven to the temperature specified on your clay package. Usually, that’s around 265°F to 275°F (130°C). You don’t want a mushroom melt-down, so stick to those guidelines.
Place your masterpiece on a baking sheet lined with parchment paper. Parchment paper is like a couch for your mushroom, preventing any unwanted sticking.
Bake your mushroom for about 15-30 minutes, depending on its thickness. Think of it like cooking a tiny pizza, but less delicious. The thicker the mushroom, the longer it needs.
After baking, let it cool completely. No touching! Clay fresh out of the oven can still be soft and fragile, much like handling a kitten. Patience is key.
Once it’s cool, you can admire your sturdy little mushroom. If it feels solid and not rubbery, congratulations! You’re now ready for the fun part—painting and detailing.
Painting and Detailing
Grab your paintbrushes, it’s art time! With your baked mushroom pieces ready, let’s add some personality.
Acrylic paints work like a charm for polymer clay. They come in a wide selection of colors, and they dry fast. Just make sure your mushrooms are completely cool before painting.
Start with a base coat. A light color like white or yellow makes a terrific starting point. Let it dry; don’t rush it. Patience is a virtue, my friend.
Next, add some spunk with details. Think of spots on the cap or subtle shading on the stem. A fine-tip brush is your best buddy for this part.
Feeling adventurous? Try dry brushing. Dip the bristles in paint, then wipe most of it off on a paper towel. Lightly brush over the surface for a magical, rustic look.
Finally, seal the deal with a glossy or matte finish. This keeps your work of art safe from wear and tear. It’s like the superhero cape to your clay mushroom.
Related Reading
 Polymer Clay Flowers: Crafting Delicate Blooms for Any Occasion
 Polymer Clay Christmas Ornaments: Craft Your Own Festive Decor
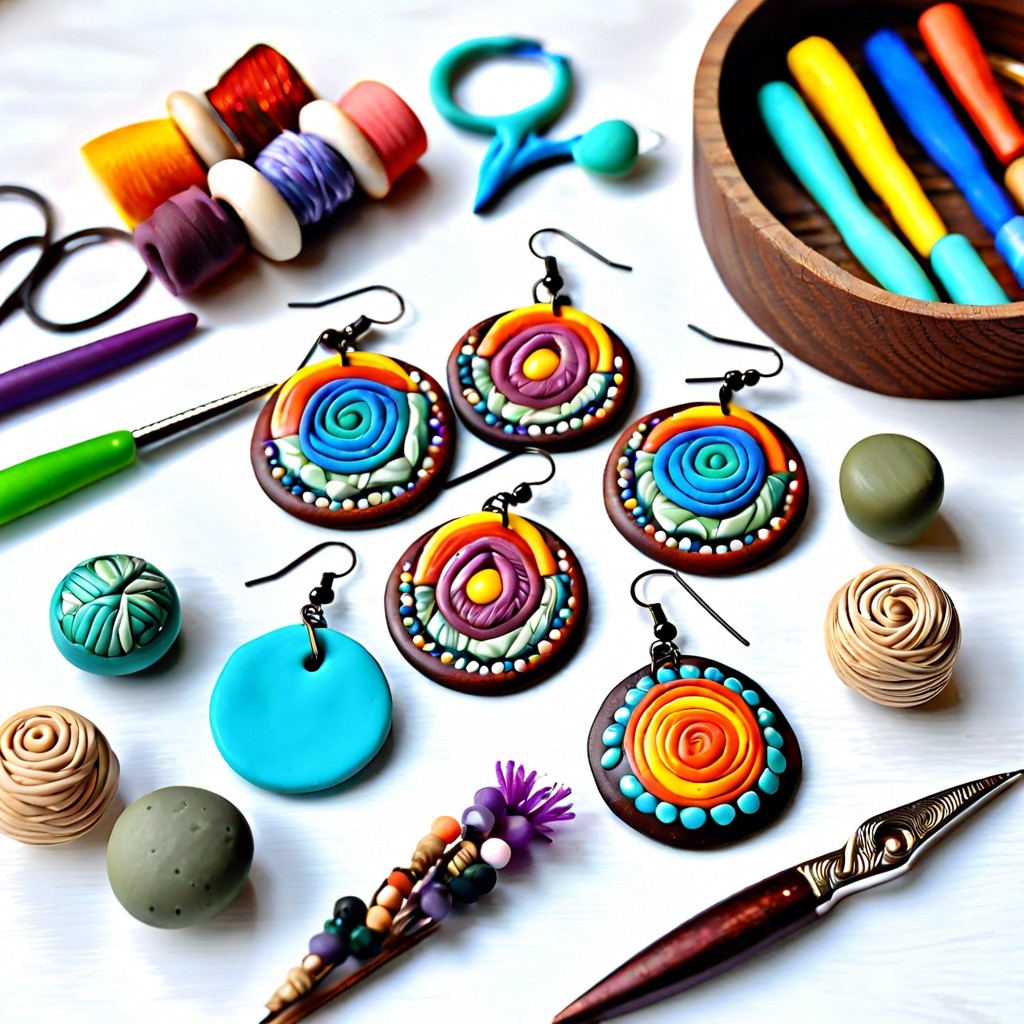 Polymer Clay Earring: Creating Fashion Statements with Your Own Hands
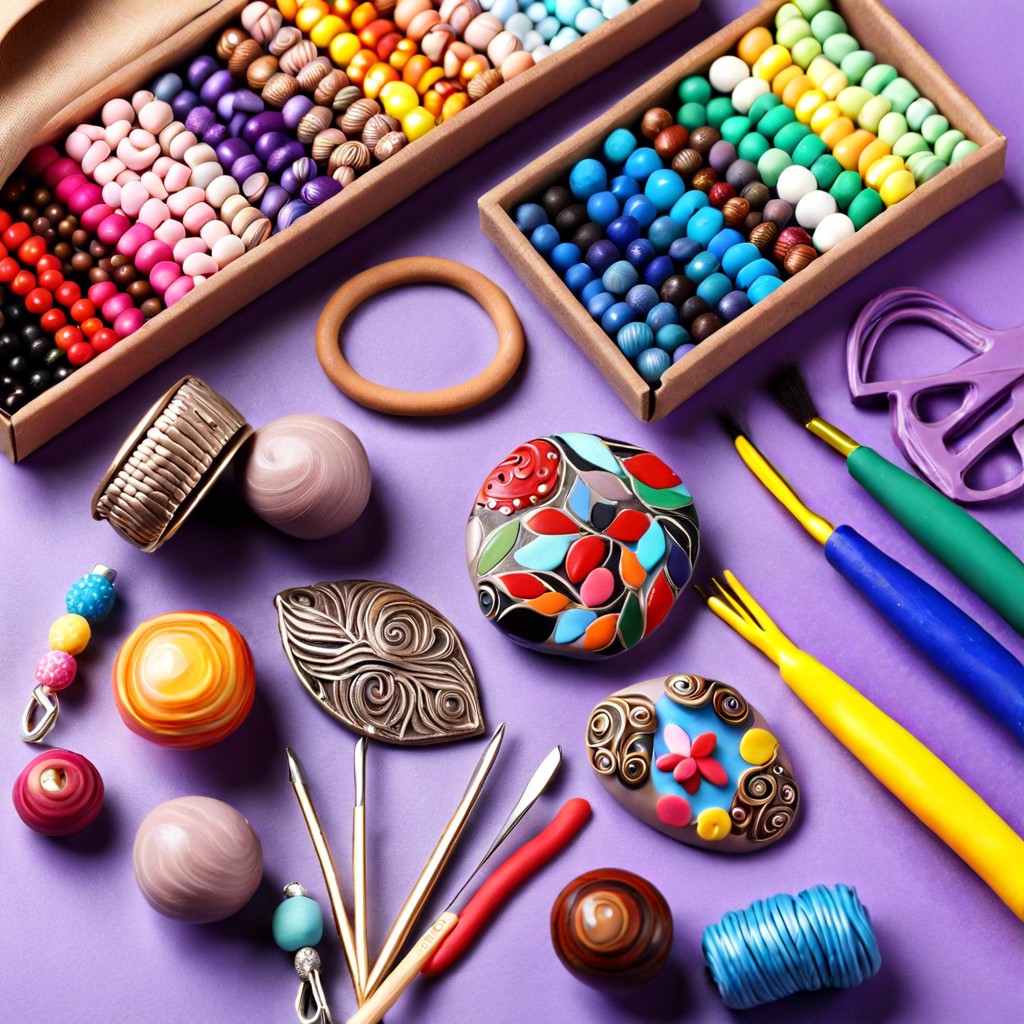 How to Make Polymer Clay Beads for Stunning DIY Jewelry
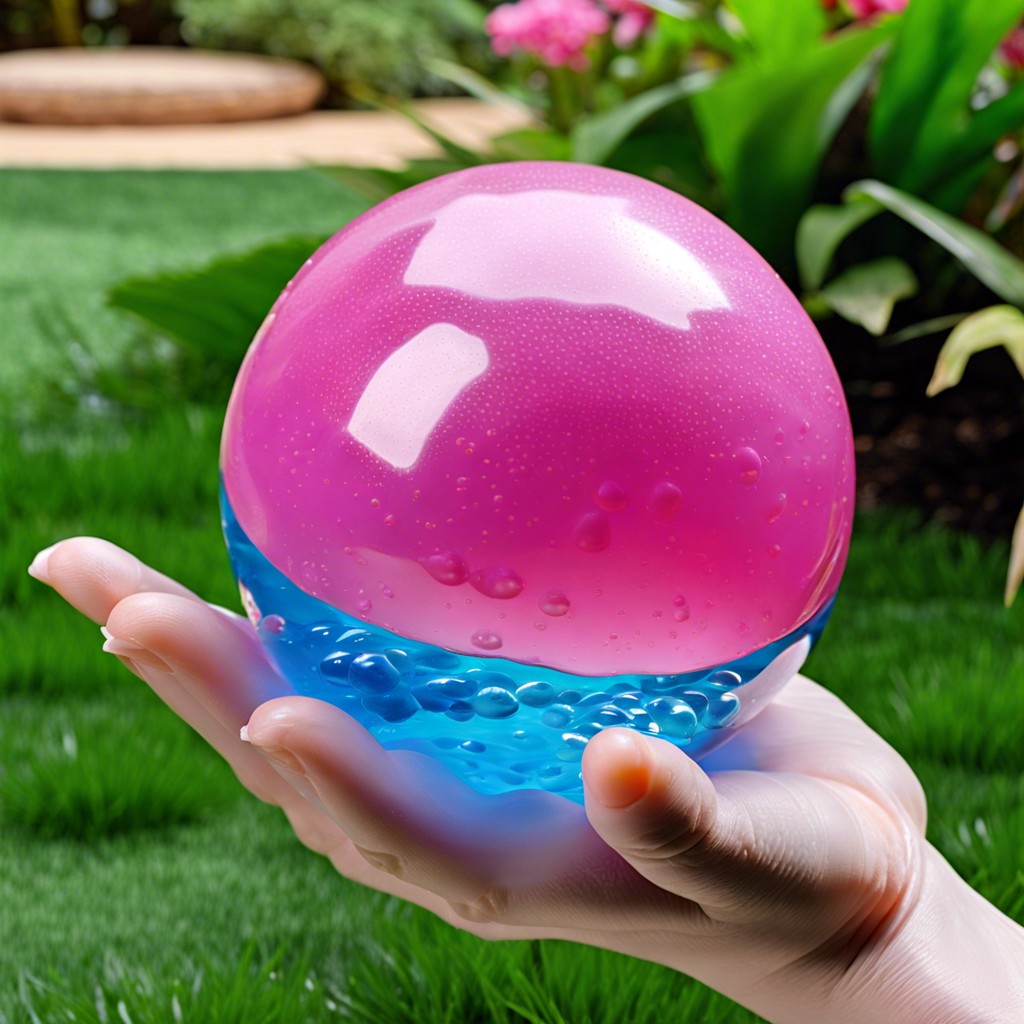 Water Balz Jumbo Polymer Ball: The Ultimate Guide to Fun and Utility
Recap