This guide will teach you how to craft beautiful polymer clay flowers step-by-step, with a sprinkle of creativity and just a pinch of humor.
Key takeaways:
- Gather colorful polymer clay and sculpting tools.
- Condition clay for pliability and smoothness.
- Use molds for perfect flower shapes.
- Add leaves and details for personality.
- Experiment with colors and shapes freely.
What You Need When Making Polymer Clay Flowers

Gathering your supplies is like preparing for a baking marathon, minus the calories but with the fun of making your own garden!
First things first, you’ll need polymer clay. It’s available in every color imaginable, offering you the rainbow’s range. Seriously, it’s like having a mini candy store, but for crafting.
Next up, grab some sculpting tools. You know, the ones that make you feel like a professional artist. These help you mold and shape those delicate petals with precision, adding a touch of flair.
Arm yourself with a rolling pin. Though technically, it’s not for cookies here. This nifty tool flattens the clay, making it perfect for petal-making.
Need flower cutters? Of course, you do! They’re the cookie cutters of the clay world, giving perfect shapes every time.
Last but not least, pick up a baking sheet if you don’t want petal-shaped toast. Baking your flowers sets them just right!
Condition the Clay
Roll up your sleeves and get those fingers moving like they’re auditioning for a clay modeling contest. Clay conditioning is the warming-up phase for your polymer masterpiece, making sure it’s limber and pliable. Trust me, nobody wants a stiff flower.
Gently knead the clay in your hands. This might feel like giving a mini massage, but instead of essential oils, add a sprinkle of patience.
Run it through a pasta machine if you’ve got one lying around. Yes, the same machine that turns dough into delicate sheets of pasta can tame your clay into submission.
If it crumbles, it’s not the end of the world. Sprinkle a tiny bit of clay softener into the mix. Like adding milk to your morning cereal, but don’t eat it, unless you’re appeasing your dentist’s bank account.
Once it’s softer than a kitten’s fur and free of those craggy cracks, you’re ready to dive into the wonderful world of flower crafting.
Make Easy Polymer Clay Flowers
Start by picking a color. Heck, pick a few. This isn’t a crime scene; it’s art! Roll the clay into a little ball. This is it—a tiny planet in your crafty solar system.
Now, flatten the ball with your thumb. Congratulations, you’ve made a pancake—minus the syrup! Cut petals using a blade or a knife. Think pizza slices, but clay-style.
Take a petal and curl it gently. Not too much, we’re making art, not pasta! Layer the petals around each other. Voilà, you’ve got yourself a flower blooming with potential.
Optional: Add a tiny clay ball in the center for flair. Because who doesn’t like a little drama?
Mix and match colors for petals or do a single shade. Who’s stopping you, Picasso? With practice, you’ll be the florist of the polymer clay world in no time.
How to Use Flower Molds
Using molds for crafting clay flowers can make you feel like a magician pulling a bouquet out of thin air. Here are some fun points to get you molding like a pro:
– Dust the molds lightly with cornstarch. This is not for baking cookies, but it does prevent the clay from sticking like a clingy friend at a party.
– Roll the clay into a small ball or sausage shape before pressing it into the mold. Think of it as giving your clay a little spa treatment before the big moment.
– Gently press the clay into the mold. Firm but not forceful—like coaxing a stubborn cat off a warm laptop.
– Flex the mold to release your creation. Voilà! If only picking ripe fruit was this satisfying.
– Trim excess clay with a craft knife. It’s like giving your flower a neat haircut. Without the awkward small talk.
With these steps under your belt, you’ll be making clay blooms faster than you can say ‘floral fiesta’.
Add Leaves and Details
Leaves and details can transform a simple bloom into a botanical masterpiece. They’re like the eyebrows for your polymer clay flower—details that add personality and pizzazz.
First, shape your leaf by pinching and pulling a small bit of green clay. Think “leaf” instead of “blob.” Use a toothpick for veins, not a fork unless you’re making Frankenstein’s monstera.
For extra flair, add texture to petals using a needle or pin. A dash of realism never hurt anyone, unless you’re trying to fool a bee.
Adding tiny clay dots or lines can also enhance the floral elegance. Just remember, it’s art, not a pointillism test.
Mix and match colors subtly for depth and richness. But if your aim was neon pink foliage, proceed with wild abandon!
Related Reading
 Polymer Clay Christmas Ornaments: Craft Your Own Festive Decor
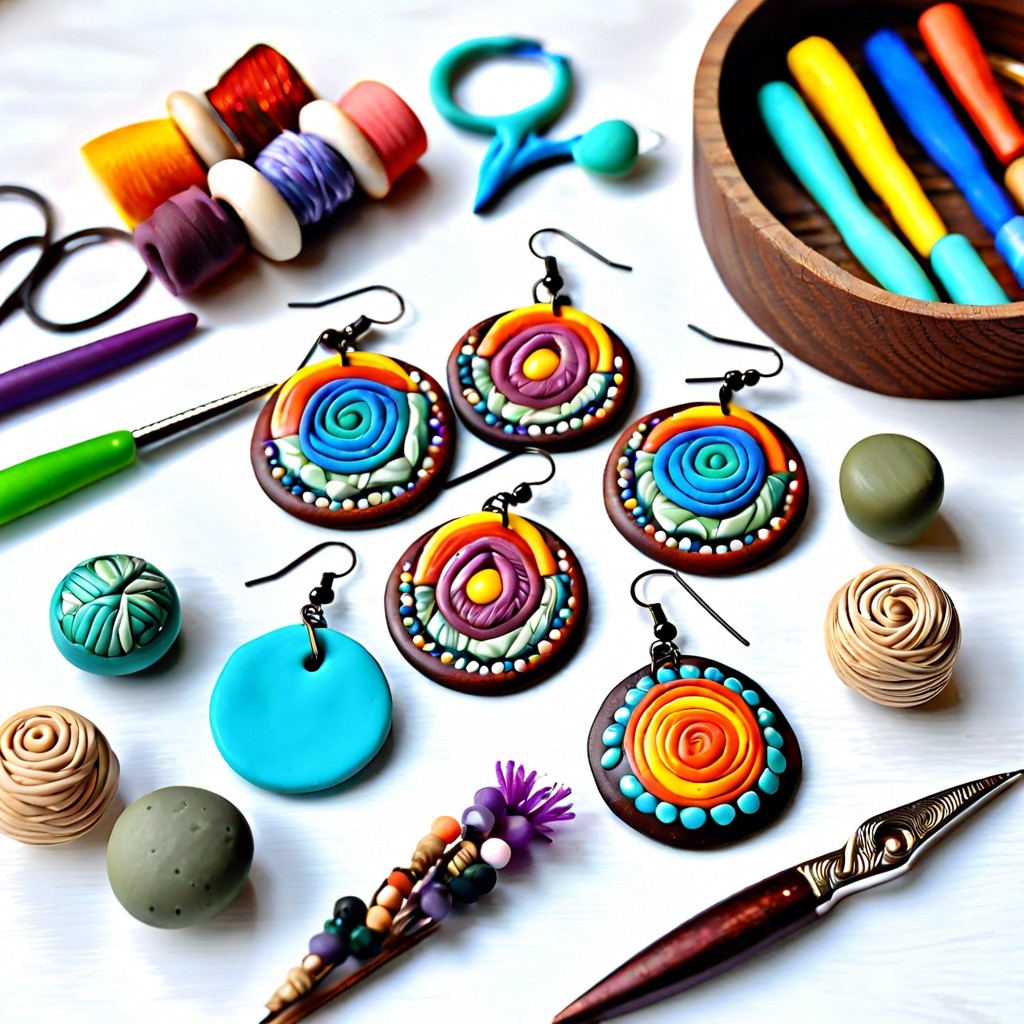 Polymer Clay Earring: Creating Fashion Statements with Your Own Hands
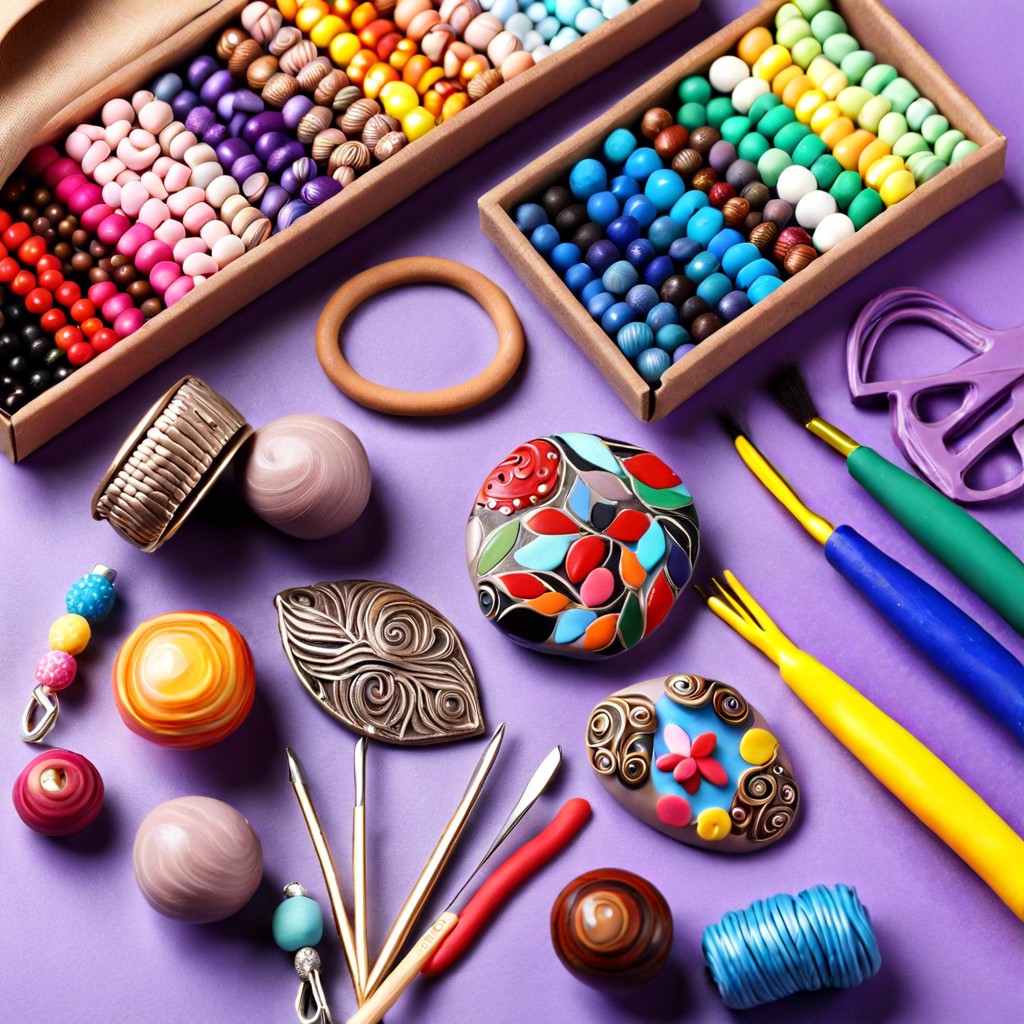 How to Make Polymer Clay Beads for Stunning DIY Jewelry
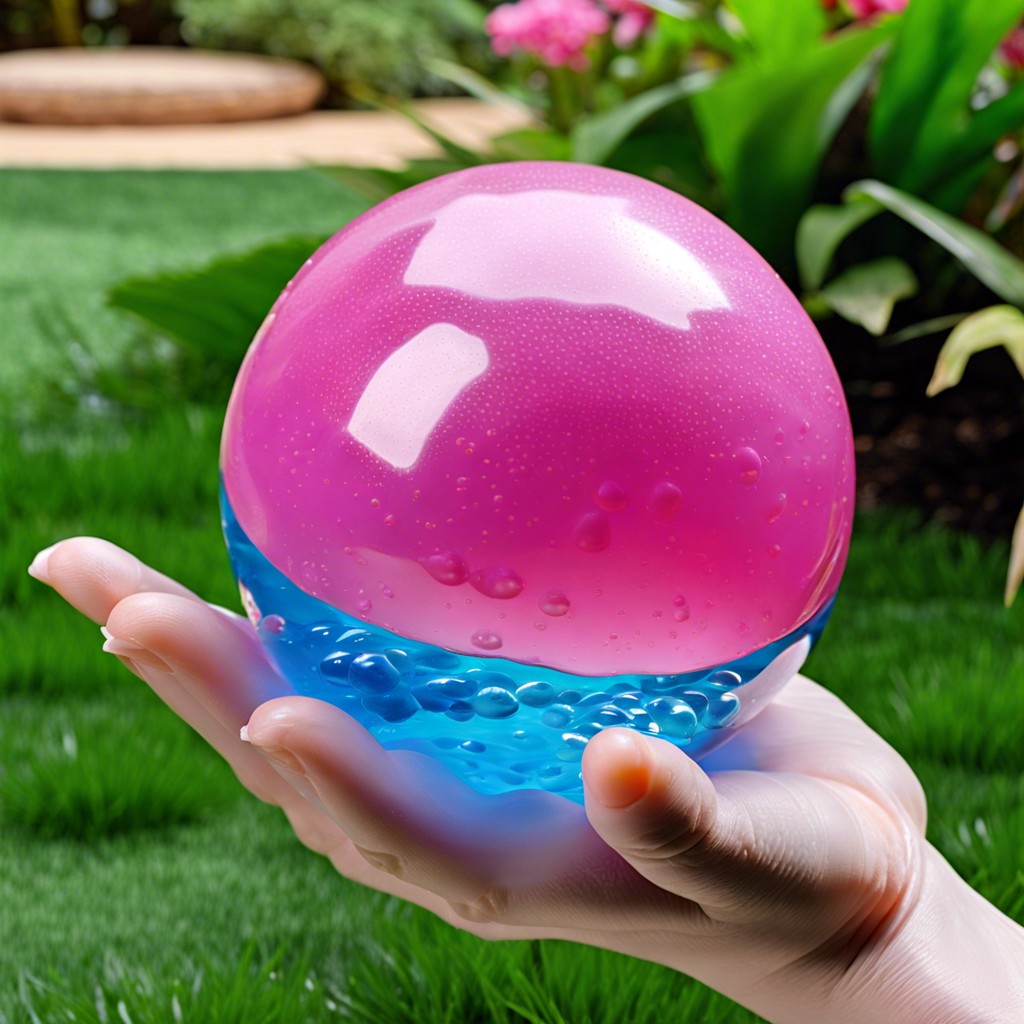 Water Balz Jumbo Polymer Ball: The Ultimate Guide to Fun and Utility
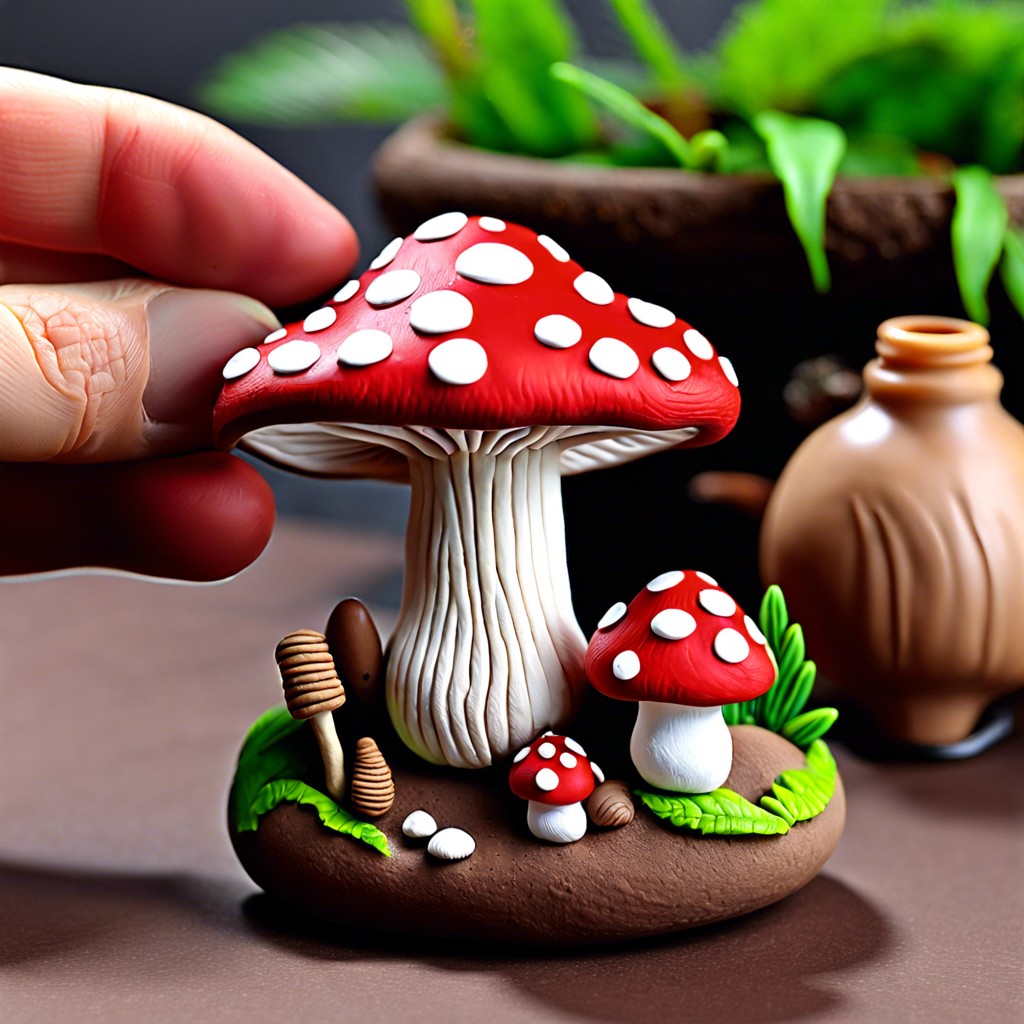 Polymer Clay Mushroom: Craft Your Own Fairy-Tale Decor
Recap