Learn how you can craft stunning polymer clay earrings that showcase your creativity and style with ease.
Key takeaways:
- Gather polymer clay, tools, and earring components.
- Shape clay using rolling pins and cookie cutters.
- Bake at 265°F to 275°F for optimal results.
- Add embellishments for unique styles and textures.
- Store carefully to maintain color and shape.
Materials Needed for Polymer Clay Earrings
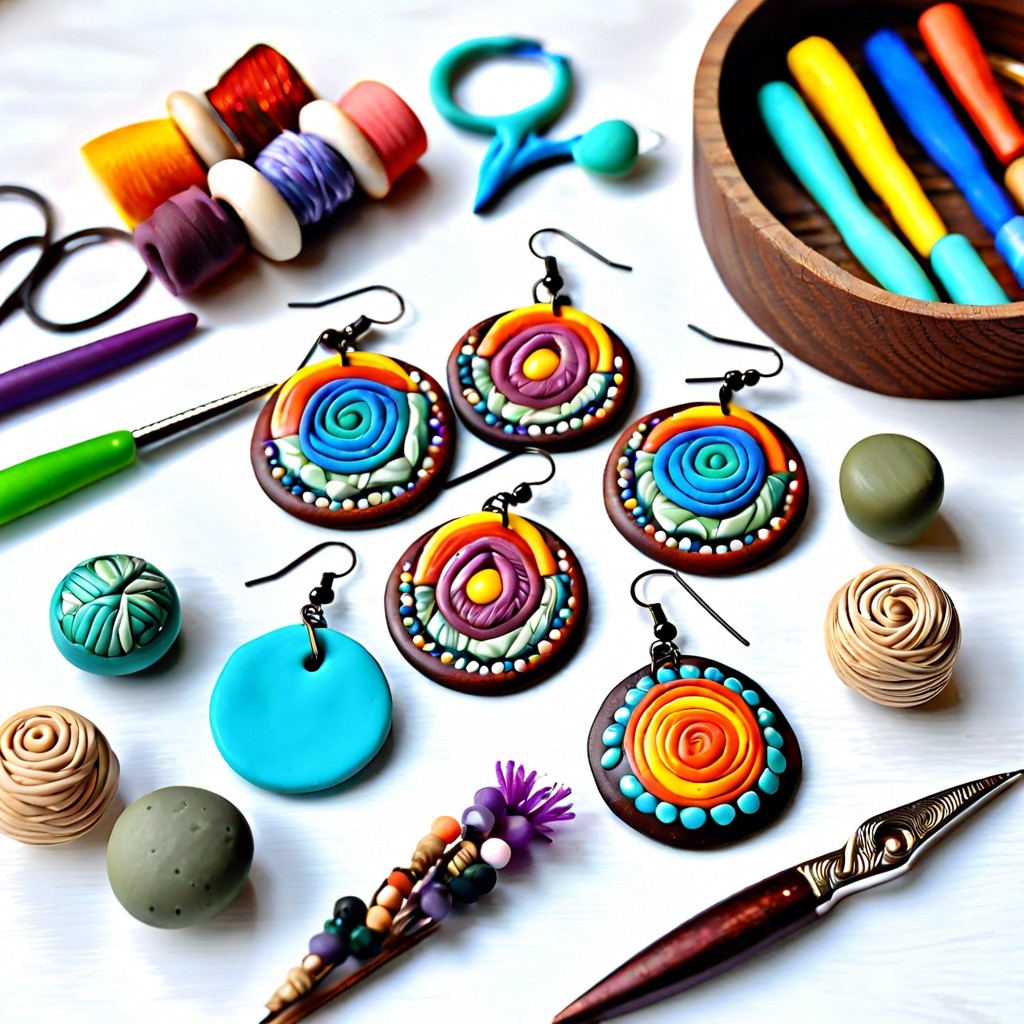
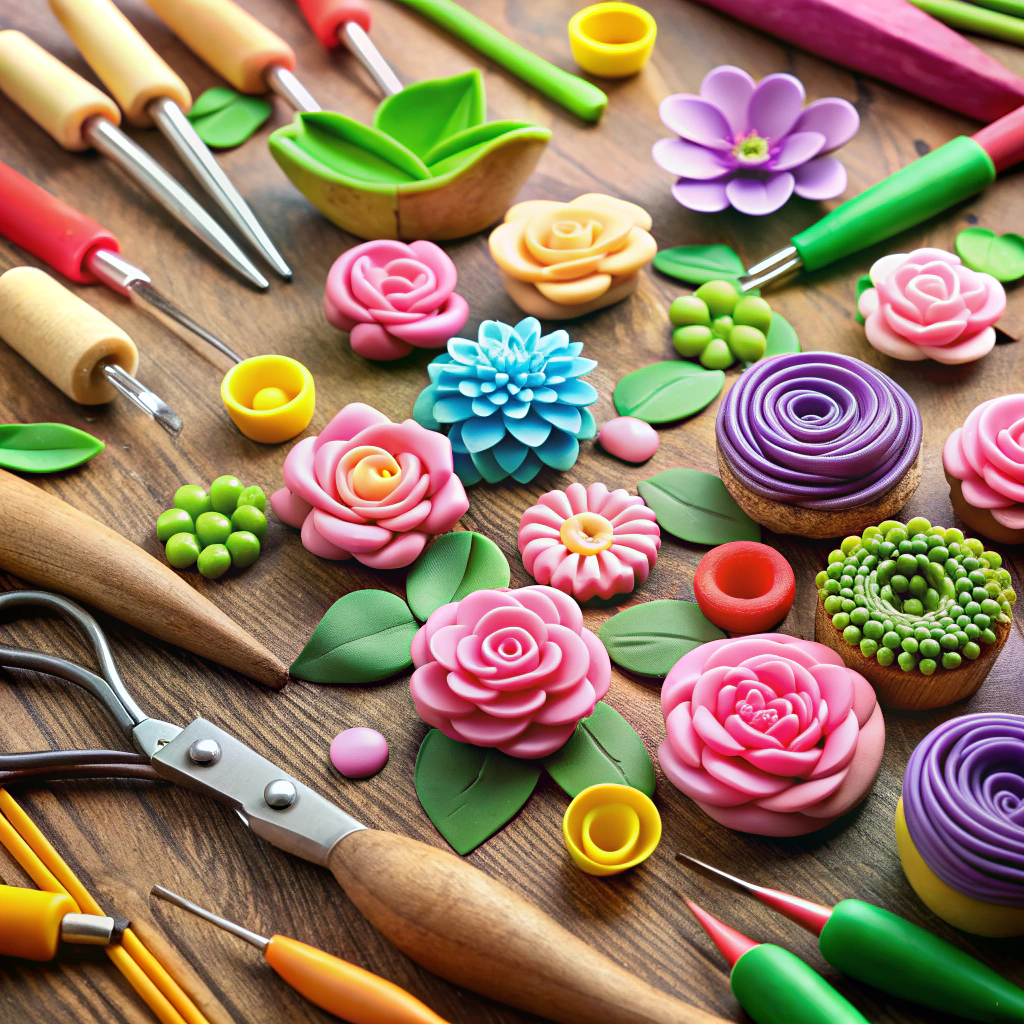
Before diving into your artistic journey, gather a few essentials. First on the list: polymer clay itself. This magical stuff comes in all sorts of lovely colors. Better than a rainbow, and way less wet. Brands like Sculpey and Fimo are popular choices, offering endless creative possibilities. Just make sure you don’t mistake them for colorful marshmallows; they’re not as tasty.
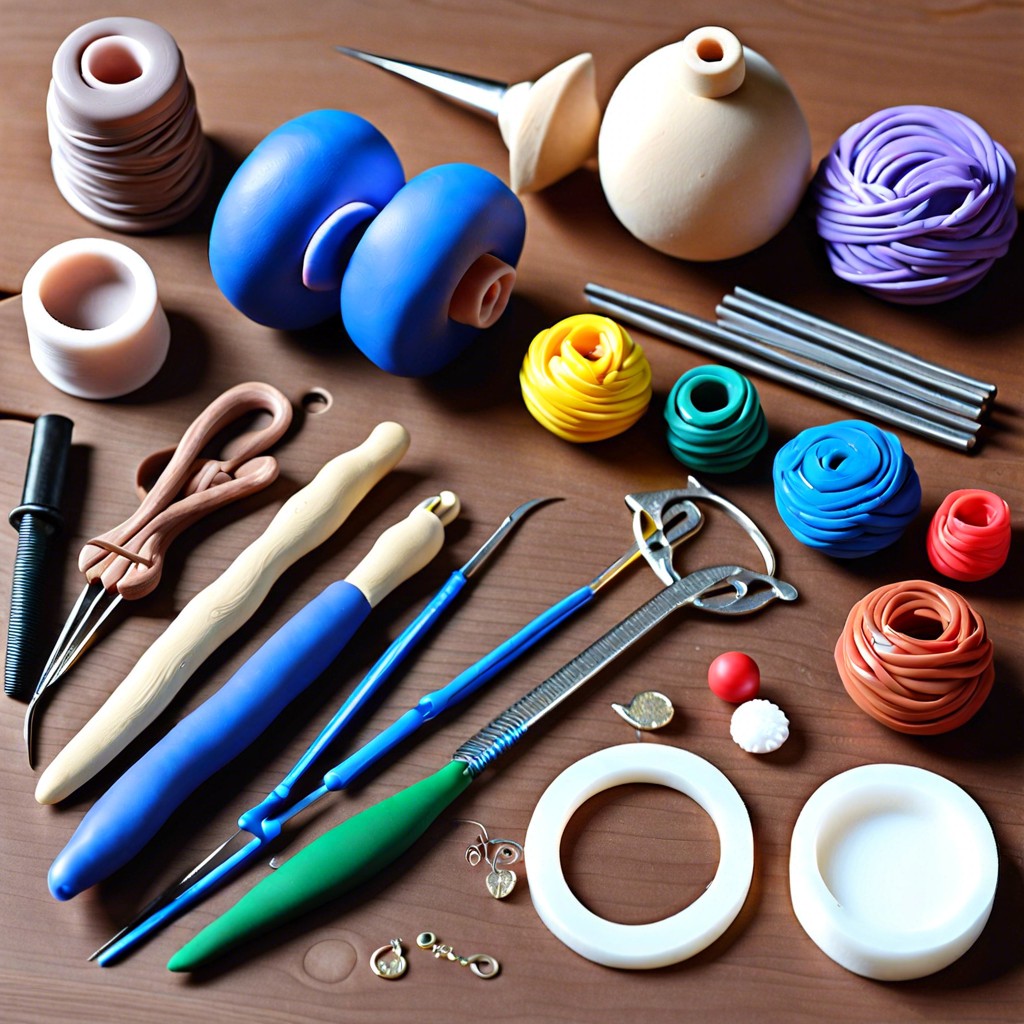
Next, you’ll need some basic tools. A rolling pin to flatten your creation, unless you’re aiming for the world record of the thickest earring. Then, a craft knife is crucial for cutting shapes with precision—no wonky ovals here, unless you’re going for the Picasso look.
Let’s not forget cookie cutters, though calling them “earring cutters” might sound more professional. They’ll help create consistent shapes. Find them in the baking aisle and save yourself a trip to the metaphysical store.
Lastly, grab some earring posts and backs—unless your design concept is a one-time use only experience. Clay itself is lightweight, but for extra comfort, pick posts made from materials like stainless steel or surgical steel. Your ears will thank you and not turn into tiny protest picket signs.
With these materials in your crafty toolkit, you’re well-equipped to start creating unique polymer clay earrings that even Picasso would envy!
Basic Techniques for Shaping and Cutting
One of the most satisfying parts of creating polymer clay earrings is molding the clay into delightful shapes. It’s like being a kid again, but with fewer sticky fingers and more finesse.
First up, roll it out. Use a rolling pin, or if you’re feeling fancy, an acrylic roller. Aim for an even thickness. Think of it as making clay pancakes without the syrup.
Cookie cutters aren’t just for holiday baking! Use them to produce consistent shapes. No cookie cutters? Grab a knife and freestyle it like a jazz musician. Just mind those fingers; they’re not part of the project.
Don’t forget to smooth out imperfections. Water and a gentle touch will do the trick. Think Bob Ross but instead of painting happy little trees, you’re sculpting chic little earrings.
For a textured look, try stamping or etching designs before the clay gets baked. Get creative with textures, like using lace, leaves, or even your grandma’s doily. She’s not using it for earrings, is she?
Remember to add holes for earring hooks before baking. It’s a real bummer to forget, and drilling post-bake could end with cracked dreams and a sad earring.
Baking and Curing the Clay Properly
Getting those homemade earrings to a solid state is where the magic—oops, the science—happens. Think of it as sending your clay to a spa for a mineral mud wrap. Cute, right?
First off, pre-heat that oven. Polymer clay doesn’t vibe well with microwaves. You’ll want a nice, stable temperature—usually around 265°F to 275°F (130°C) depending on your clay brand. Surprise your clay with anything hotter and you’ll end up with a smelly polymer barbecue.
Place the clay creation on a baking sheet covered with parchment paper. No one wants their masterpiece to share patterns with the baking sheet.
Spare a minute or 30 for baking time. Small pieces, like your lovely earrings, usually need about 15 to 30 minutes. Check the specific brand instructions, though; they’re like the clay commandments.
Lastly, let them cool down on their own terms. Rapid cooling can lead to cracking. Remember, patience is a virtue. An earring spa day can’t be rushed.
Adding Embellishments and Finishing Touches
Once your polymer clay creations have baked and cooled, it’s time to transform them from simple clay shapes into dazzling earrings that even Marie Kondo would be envious of.
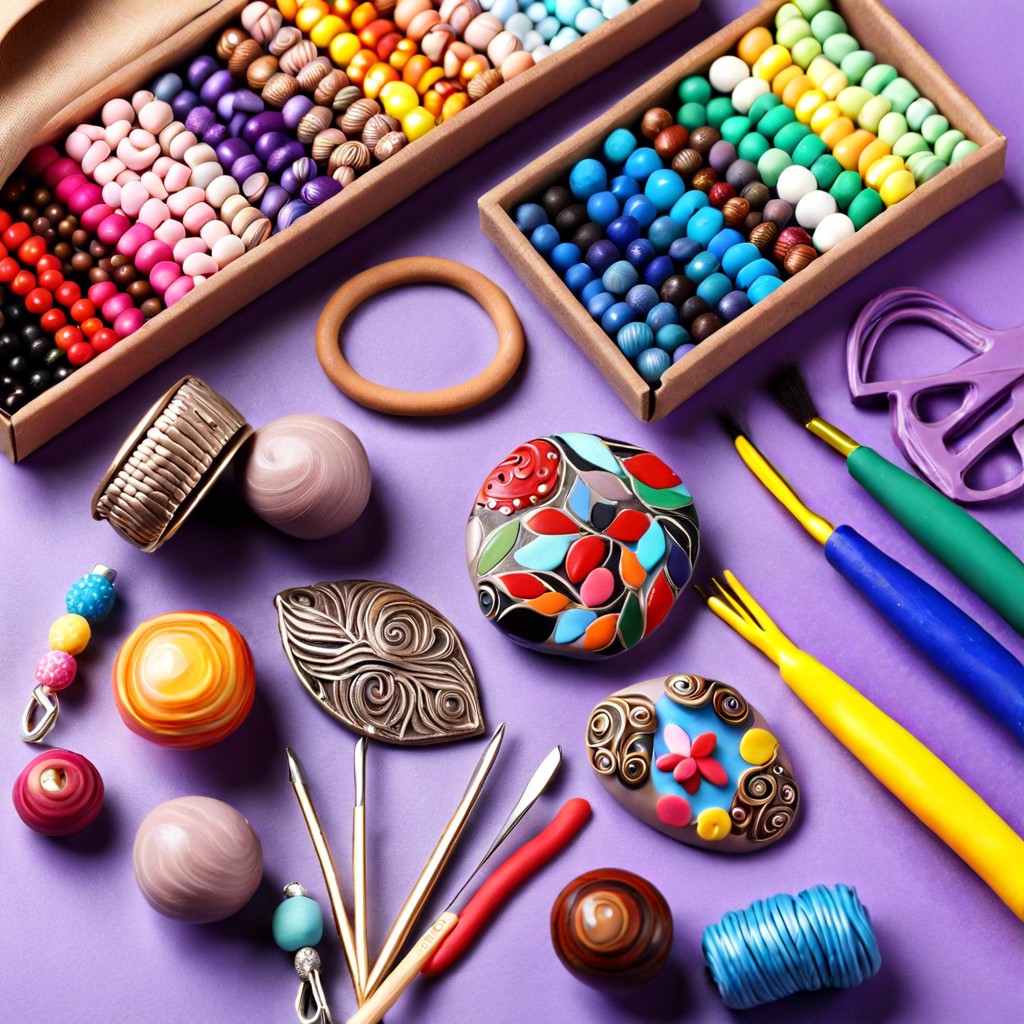
Consider adding metallic leaf for a touch of elegance. Apply it with a soft brush to create a textured effect that mimics the extravagance of ancient civilizations. Gold, silver, or copper can give your earrings a little bling without breaking the bank.
Try incorporating findings like jump rings and hooks. You can use pliers to attach these components, making sure your earring won’t mysteriously wander off mid-wear. Remember, if you need tiny hands to complete the task, you might want to seek alternative options.
Play with paints or glazes. Adding a glossy finish or subtle acrylic highlights can elevate the charm of those bohemian swirls or abstract creations. It’s your masterpiece; let it shine, just like you do when you remember where you parked your car.
Don’t forget the power of texture. Add-ons like tiny beads, crystals, or even feathers can give your earrings a unique flair that screams, “I’m fancy.” Just glue securely, unless you’re looking to start a treasure hunt for your embellishments.
For that extra oomph, varnish the finished product. This not only enhances the appearance but also protects them from the wear and tear of enthusiastic admirers who will certainly want a closer look.
Now, you’re all set to stagger the earring world with your adorned creations!
Tips for Long-lasting Wear and Maintenance
Store polymer clay earrings in a cool, dry place. Think of them as tiny sunbathers who prefer shade over sunburn. Direct sunlight can lead to discoloration, and no one likes faded fashion statements.
Clean them gently using a soft, damp cloth. Avoid harsh chemicals, unless you want your earrings to throw a hissy fit and dissolve.
Handle them carefully and avoid bending. Remember, they’re earrings, not acrobats!
For long-lasting color, paint with acrylic glaze or sealant. But keep it thin, or they might start feeling a bit claustrophobic with all the extra layers.
When not on display on ears, let them chill in a non-cramped jewelry box. They need their beauty sleep to stay fabulous.
Recap
