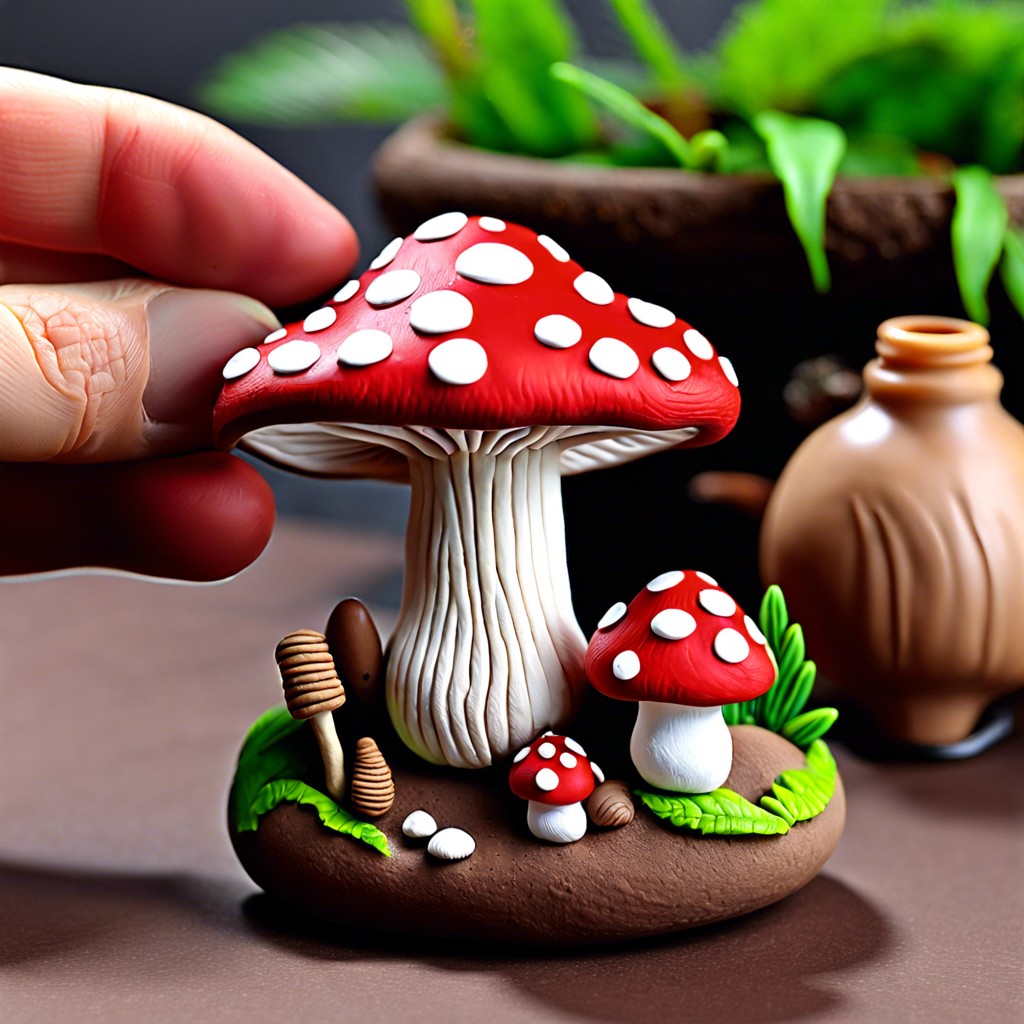
Learn how to make whimsical, colorful polymer clay Christmas ornaments that add a personal touch to your holiday celebrations.
Key takeaways:
- Use festive polymer clay colors for creativity.
- Employ cookie cutters for various shapes.
- Bake ornaments to harden, following package instructions.
- Decorate with paint, glitter, and embellishments.
- Store in a cool, dry place to preserve.
Tools and Materials for Polymer Clay Ornaments
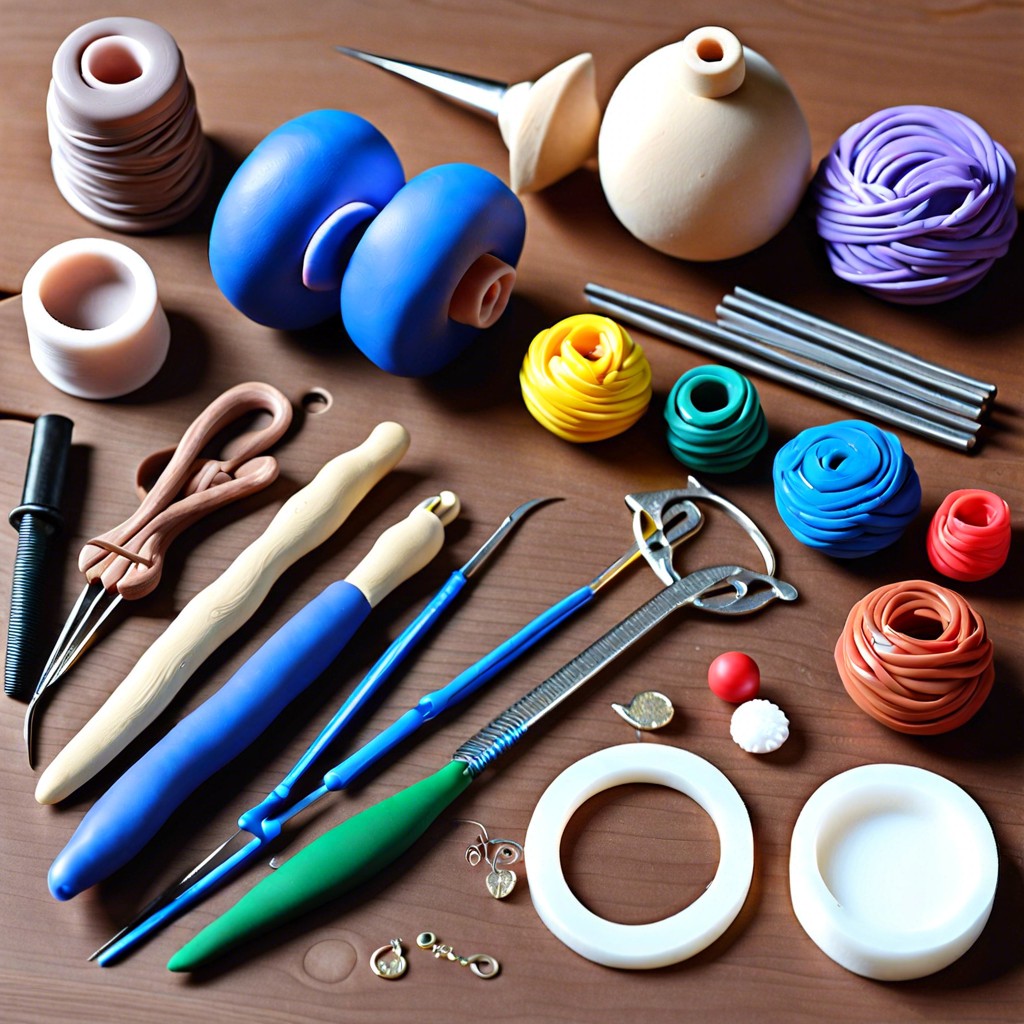
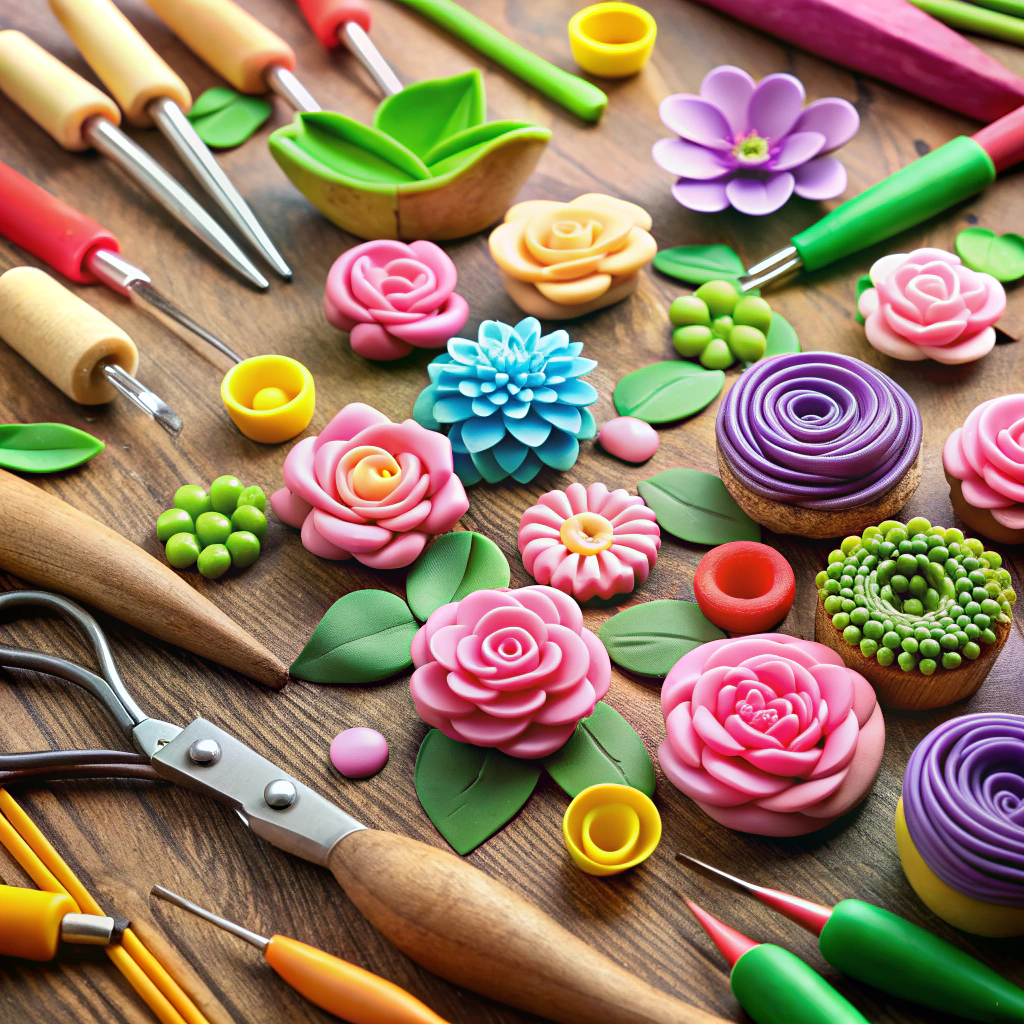
First off, grab yourself some polymer clay in festive colors. You’d think you were planning a clay Christmas rainbow. Red for Santa, green for trees, white for all that fake snow—who knew clay could be so merry?
You’ll need a work surface. Just make sure it’s not Grandma’s favorite holiday tablecloth unless you want to turn it into modern art.
A rolling pin isn’t just for making cookies. It’s perfect for rolling out clay—and possibly flattening any other holiday stress.
Pick up some cookie cutters. Treat your clay like dough and make stars, bells, and reindeer. You could even make your own shape if you’re feeling artistic. Flying reindeer-cat, anyone?
For those detailed bits, grab a set of clay sculpting tools. They’re like tiny magic wands for clay, minus the wizardry.
Lastly, a baking sheet lines up the clay ornaments for their trip to the oven. They need a bake to harden, not unlike us needing a nap after holiday dinner.
There, you’re set to start crafting Christmas cheer!
Step-by-Step Instructions
Roll out your polymer clay until it’s about an eighth of an inch thick. Imagine you’re rolling cookie dough, but this time, don’t eat it. Trust me, it’s not quite as tasty.
Cut shapes with cookie cutters. Stars, trees, or Santa’s beard outline, anything festive. Remember, endless possibilities mean a hundred opportunities to accidentally make something unrecognizable. Embrace the unique.
Use a toothpick to poke a hole at the top. You want your ornament to hang on the tree, not serve time in the storage bin of obscurity.
Bake according to package instructions. This isn’t an abstract art project; follow directions unless you desire ornaments that double as modernist blobs.
Let them cool completely. Nobody needs finger burns this close to Christmas—save the drama for wrapping that last-minute gift.
Sand edges if needed. Rough patches aren’t stylish unless you’re on a survival show, so smooth them out for polish and pizzazz.
Tips for Decorating and Finishing
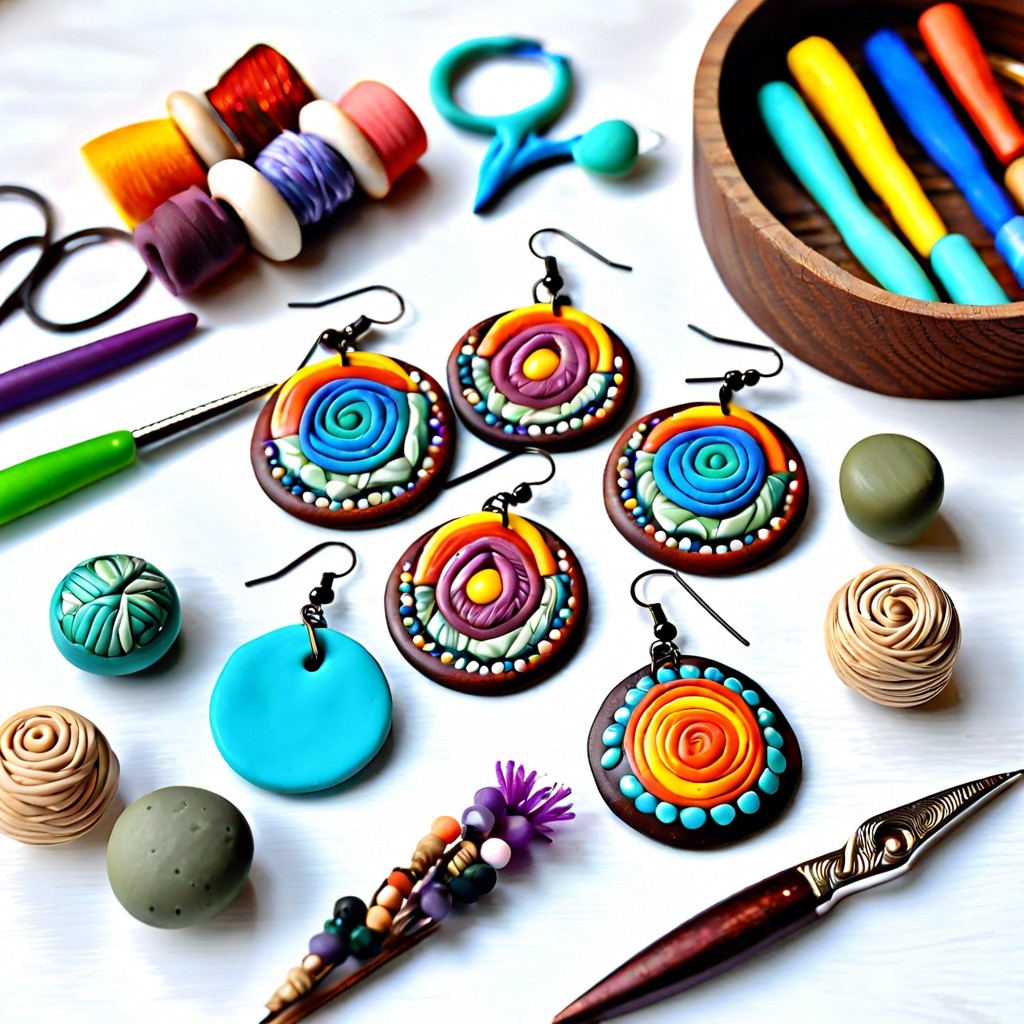
Let your creativity go wild! When it comes to decorating polymer clay Christmas ornaments, the possibilities are endless. Add texture with simple household items like toothbrushes or foil. Little did they know their bristles and crinkles had such artistic promise.
Consider adding acrylic paint once the clay is baked. Your Christmas tree will appreciate being showered in color, even if the ornaments look a little avant-garde. For that extra sparkle (because who doesn’t love bling?), toss in a bit of glitter before the clay bakes or adhere it with glue afterward. Just be ready to find glitter everywhere—all part of the holiday charm.
Add a touch of personality with embellishments like small beads or sequins. They’re the accessory your ornaments didn’t know they needed. Use a bit of varnish or gloss to give a polished finish. It’ll make your ornaments shine brighter than your neighbor’s holiday lights, and who doesn’t want that?
Ideas for Unique Christmas Designs
Unleash your inner artist and transform that squishy polymer clay into a marvel of Christmas cheer! Channel your inner Monet, but with less paint and more clay. Here are some ideas to start:
If you fancy a good chuckle, create Santa’s quirky elves. Remember, big ears mean wisdom— or at least, Christmas magic! Try your hand at crafting reindeer with exaggeratedly large noses, preferably red for Rudolph’s glow.
Why not create a collection of mini gingerbread houses, complete with wonky chimneys and mismatched candy cane fences? They’ll add character, darling!
Go full avant-garde with abstract Christmas trees. Think twisted spirals, colorful blobs, and unexpected angles. Who says trees need to be triangular?
For those who enjoy tradition with a twist, how about snowflakes that aren’t flake-shape? Stars, hearts, or even tiny boots— this is your snow story.
And don’t shy away from recreating your favorite holiday movie characters. A clay Buddy the Elf? Legendary, and just as cheerful.
Storage and Care for Longevity
To keep your polymer clay ornaments in tip-top shape season after season, follow these simple guidelines. Store them in a cool, dry space. Moisture is more like the Grinch to your ornaments, causing all kinds of mischief.
Wrap each ornament in soft tissue paper. They’ll be more comfortable than if they were squished together like passengers on a holiday flight.
Place them in a sturdy box where they won’t be squashed. After all, delicate, handmade charm deserves five-star service, even in storage.
Avoid leaving them in direct sunlight. Polymer hates getting a tan and might start looking a little too crispy for comfort.
If an ornament gets dusty, gently wipe it with a soft, damp cloth. Beware of soap or fierce cleaning solutions—no one likes an over-enthusiastic scrubber!
Handle them with care. They’re not made of glass, but they still appreciate a gentle touch. After all, these handmade treasures have feelings too!
Recap
