Because mokume gane can revolutionize your craftsmanship repertoire, follow this step-by-step tutorial to master the artistry of this intricate, mesmerizing Japanese metalworking technique.
Key takeaways:
- Each technique of mokume gane contributes to its unique look.
- Conditioning clay is crucial for pliability and avoiding cracks.
- Choosing complementary colors and consistent thickness is important.
- Layering, manipulating, and pattern creation are key steps.
- Follow safety precautions and finish with sanding and sealing.
Basic Supplies Needed for Mokume Gane
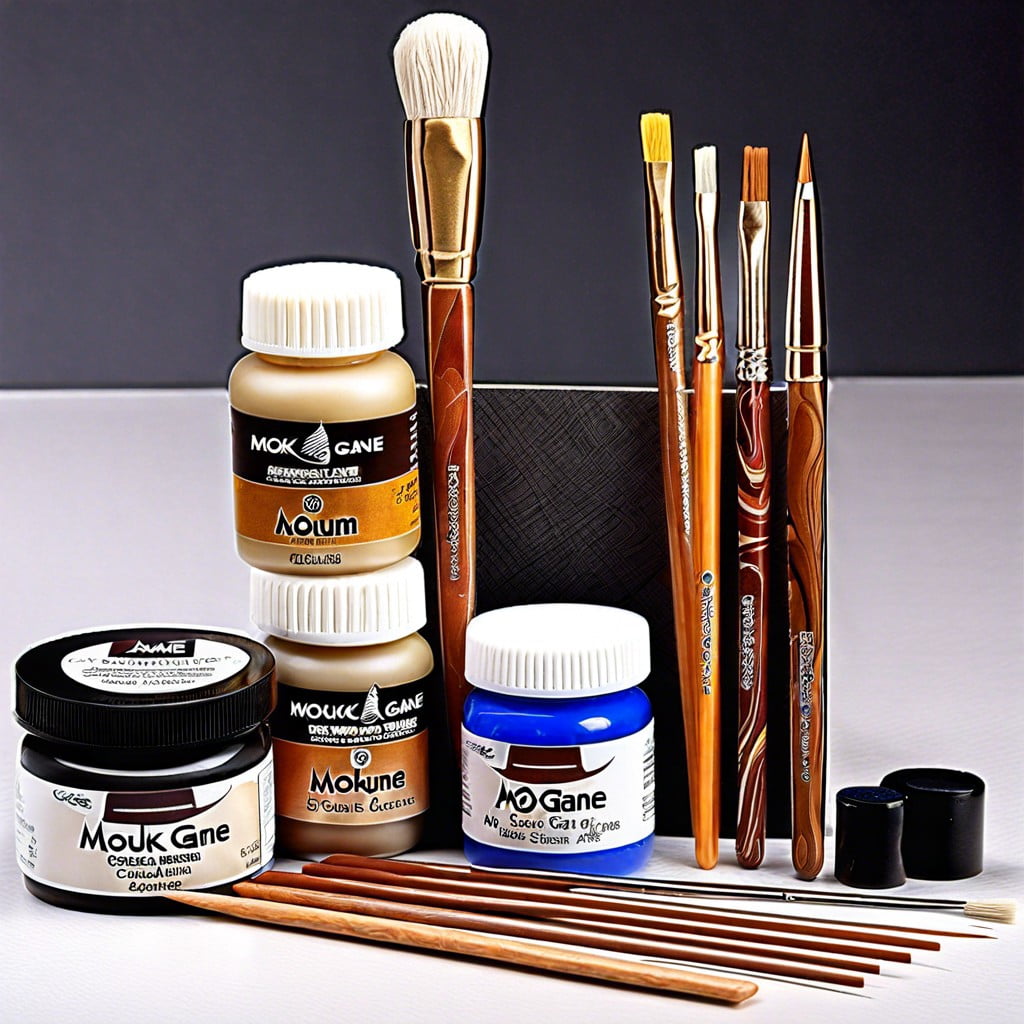
To embark on your Mokume Gane project, gather the following essentials:
- Polymer clay: Various colors depending on your desired palette.
- A pasta machine or acrylic roller: This is for conditioning and rolling out the clay.
- Tissue blades or craft knives: Essential for precise cutting and slicing of clay layers.
- A work surface: A smooth, flat area like a ceramic tile or glass cutting board.
- A release agent like a thin layer of water or armor-all: This prevents clay from sticking to your work surface.
- An oven: For curing the polymer clay according to manufacturer instructions.
- Sandpaper: For smoothing out the finished piece.
Selecting the right materials sets a solid foundation for your Mokume Gane technique, ensuring better results and a more enjoyable crafting experience.
Conditioning Polymer Clay
Conditioning polymer clay is essential to make it pliable and easier to manipulate. This process warms the clay, increasing its flexibility and strength, reducing the risk of cracking during shaping and curing.
To condition, start by kneading the clay with your hands. If it’s particularly firm, try a pasta machine or acrylic roller to help soften it. Notice a slight change in texture as it becomes smooth and workable.
Though it may seem tedious, properly conditioned clay will yield superior results in your Mokume Gane patterns. Remember, each brand of clay might have a different level of firmness, so adjust your conditioning time accordingly.
Once your clay is conditioned, you’re ready to move on to the next step: selecting and preparing your colors.
Selecting and Preparing Clay Colors
Choosing the right colors is essential for a visually appealing Mokume Gane piece. Opt for contrasting hues to highlight the layers, or pick harmonious shades for a subtle effect. Consider using a color wheel as a guide for selecting complementary colors.
When preparing the clay, ensure it’s soft and pliable to avoid cracks and bubbles. Knead each color thoroughly to achieve a uniform consistency. This step is crucial as it directly affects the ease of stacking and manipulating the layers later on.
If you’re aiming for a specific color scheme, you might want to mix custom colors. Do this before creating the stack. Use a pasta machine or a rolling pin to condition larger quantities of clay more efficiently.
Before moving on to stacking, roll the clay into sheets of equal thickness. Consistency in thickness is key to a uniform pattern. Using a clay machine can help ensure all your sheets are even, which will make the subsequent steps more manageable and lead to better final results.
Creating the Clay Stack
Begin by selecting the conditioned clay colors you plan to use. Arrange thin sheets of clay in an alternating color sequence to your preferred height; generally, 4 to 10 layers work well for good pattern depth.
Press each layer gently but firmly onto the previous one to ensure good adhesion, being careful to align them as perfectly as possible to avoid irregularities. Smooth out any air pockets between layers as they can disrupt the final pattern.
Remember, the thickness of each sheet and the order in which you stack them will influence the design of your Mokume Gane. Keep in mind that during the slicing phase, subtle shifts in the pattern will occur depending on how you manipulate the stack now.
Flattening and Thinning the Clay Stack
Once your clay stack is ready, it’s time to turn it into a canvas for your Mokume Gane pattern. Flattening the stack is crucial; you’ll be thinning out layers to create the translucency and depth characteristic of this technique. You can use an acrylic roller or a pasta machine for uniformity and ease.
Start by rolling over the stack gently. This bonds the layers without distorting colors. If using a pasta machine, begin on the widest setting and gradually work your way down. As the layers thin out, they begin to stretch — keep an eye on the edges to ensure they don’t split.
Proceed with even, steady pressure. Uneven pressure can cause certain areas to become too thin, which might lead to breakage or holes. Instead, aim for a continuous, smooth motion that uniformly compresses the stack.
If you notice any air pockets form, stop and gently press them out. Air trapped between layers can spoil your patterns and lead to weaknesses in the finished piece. After achieving the desired thickness, let the clay rest briefly before proceeding to the next step; this allows the material to cool and regain some firmness, making it easier to manipulate as you add textures and patterns.
Cutting and Layering Techniques
Once your clay stack is prepped and thinned, the real magic of mokume gane begins. Use sharp blades to slice through the stack at various angles to create depth and reveal the colors’ interactions. Experiment with straight, wavy, or curved cuts, then layer these slices to build intricate designs.
Alternatively, twist or compress sections of your stack before slicing for unique patterns. Remember that alternating between transparent and opaque layers can add luminosity to your piece. Employ stamps or other tools to imprint textures before the final layering.
Stay creative: the variety of your cuts and layer manipulation will directly influence the final mokume gane effect.
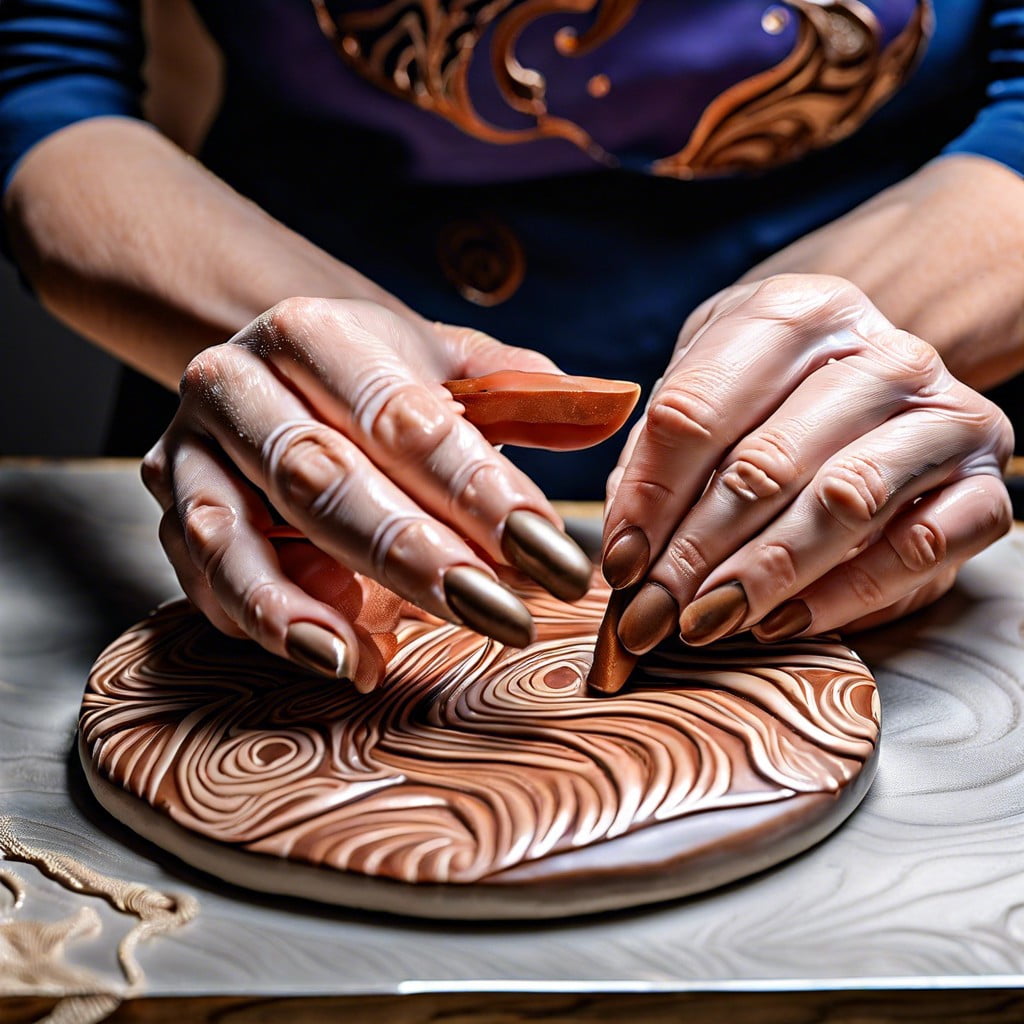
Pattern Creation Methods
After your mokume gane stack is assembled and free of air bubbles, it’s time to add personality to your piece through pattern creation. Texturing tools like needles or stamps are perfect for pressing into the layers, revealing complex designs as they move through different colors. Experiment with various pressures and depths to see the unique visuals each method produces.
Use a blade to make controlled slices at different angles for a wood-grain effect, or twist sections of the stack to achieve a swirling, marbled look. Marbling rods or even a simple pencil can also be twirled within the clay to create spirals and concentric rings.
Remember, irregularity is part of the charm; no two patterns are the same. Be bold and try overlapping techniques to forge even more intricate designs. Each impression adds to the one-of-a-kind nature of your mokume gane creation.
Sealing and Removing Air Bubbles
Ensuring a flawless finish in your mokume-gane work involves carefully sealing the stack and removing air bubbles. When pressing the layers together, do so gradually, and from multiple angles to minimize the risk of trapped air. Gently roll a brayer or acrylic roller over the clay, working from the center outwards, pushing out any bubbles.
If you spot an air bubble, use a needle or pin to pierce it and gently press down on the surrounding clay to seal the puncture. It is essential to perform a thorough check for bubbles after each manipulation, as any air trapped can expand during the curing process, distorting your pattern.
For larger projects or for added security, consider using a pasta machine to further compress your layers. Pass the stack through the machine on a medium setting, reducing thickness gradually. This method promotes uniform contact between layers and helps eliminate hidden air pockets, giving you a smooth, bubble-free surface for patterning.
Slicing the Mokume-gane Block
The art of slicing is where the magic in mokume-gane truly unfolds, revealing the intricate patterns you’ve created. Use a sharp tissue blade for precise cuts. Slice at an angle and with varying thickness to expose unique designs.
Thinner slices will result in more detailed patterns, ideal for jewelry or decorative surfaces. Adjust the angle and location of each slice to explore different cross-sections of your pattern. Keep slices even and smooth, which ensures that the subsequent steps of shaping or applying the sheets are trouble-free. Remember, patience and steady hands are key—take your time with each cut for the best results.
Incorporating Silver Leaf Into Mokume Gane
Silver leaf adds a metallic flair to mokume gane patterns, creating a striking contrast with the vivid hues of polymer clay. To integrate silver leaf effectively:
- Carefully place a sheet of silver leaf over a conditioned, flat layer of polymer clay, typically as one of the upper layers in your stack.
- Gently press the silver leaf onto the clay to ensure adhesion; a soft brush or fingertip can be effective for this.
- Avoid overhandling as silver leaf is delicate and can tear or crinkle, which, unless desired for effect, might disrupt the smooth surface.
- Once the leaf is in place, proceed with additional clay layers or start the pattern creation process if it’s your top layer.
- Keep in mind that silver leaf will not stretch with the clay, so patterns may incorporate interesting breaks in the metallic layer.
- Seal the final pattern with a layer of clear polymer or use a sealant after curing to protect the silver leaf’s luster.
Incorporating metal leaf requires a gentle touch and creative vision, allowing for layers of luminosity that enhance the complexity of your mokume gane masterpiece.
Safety and Health Precautions
Working with polymers such as the ones used in mokume gane requires attention to some safety measures to ensure a healthy crafting environment.
- Ventilation: Polymer clay should be cured in a well-ventilated area to avoid inhaling any fumes.
- Temperature: Use an oven thermometer to ensure your polymer clay is cured at the recommended temperature to prevent burning, which can release hazardous compounds.
- Protective Gear: Wear gloves to protect your skin from potential irritation and to prevent fingerprints on your creations. Consider a dust mask if sanding cured clay.
- Clean Workspace: Keep your work area clean of clay remnants to prevent ingestion or spreading of polymer particles. Clean your hands thoroughly after handling clay.
- Tool Safety: Use cutting and carving tools with care to prevent injury. Store sharp tools out of reach of children or pets.
- Proper Storage: Store uncured polymer clay in a cool, dry place away from pets and children to prevent accidental consumption.
Remember to read and follow the manufacturer’s safety recommendations for any specific products you are using.
Curing and Finishing the Mokume Gane Piece
After shaping your mokume gane creation, the next step is curing, which solidifies the polymer clay through baking. Follow the manufacturer’s instructions for temperature and time, which typically range from 275°F (135°C) to 300°F (150°C) for 15 to 30 minutes per 1/4 inch (6mm) thickness. Ensure even curing by using an oven thermometer, as inaccurate temperatures can cause burning or prevent proper hardening.
Once cured and cooled, finishing touches enhance the aesthetic appeal and durability of your piece. Sanding starts with coarse grits and progresses to fine, creating a smooth surface. For a higher gloss, buff the piece either by hand or with a rotary tool equipped with a buffing wheel.
To emphasize the layers and patterns, apply a thin layer of acrylic paint, wiping away the excess, which leaves the paint in the crevices. After the paint dries, apply a coat of polymer clay varnish to protect the surface and add shine. Always ensure that products used for finishing are compatible with polymer clay to prevent unwanted reactions.
Tips for Making Mokume Gane Easier
Employ a pasta machine to ensure uniformly thin layers of polymer clay, which can help achieve more consistent patterns. A pasta machine can greatly simplify the process of conditioning and rolling out your clay.
Use a tissue blade for slicing, as its sharpness and flexibility allow for clean, thin cuts. This precision is crucial for revealing intricate patterns without distorting the clay.
Work on a smooth surface, like glass or ceramic, to prevent the polymer clay from sticking. A non-stick surface makes it easier to handle and manipulate the stacked layers of clay.
Limit your color palette to three or four contrasting hues for clarity of design. Too many colors can muddy the pattern and make the mokume gane less distinct.
Keep a log of your layering sequence and the methods used for creating patterns. This record-keeping will assist in reproducing successful designs or troubleshooting ones that didn’t turn out as expected.
Chill the clay before cutting into it to firm up the stack and reduce distortion. Briefly placing the clay in the refrigerator or freezer makes it easier to slice without losing detail.
Start with simple patterns and techniques before moving to more complex ones. Mastery of basic mokume gane methods builds confidence and skills that are essential for tackling advanced designs.
Troubleshooting Common Mokume Gane Issues
If you’re experiencing uneven patterns, ensure that your clay stack is compressed equally from all sides before you start cutting. This helps in maintaining uniformity in the patterns you create.
When the layers seem to separate during slicing, it’s often a sign of insufficient bonding. Try warming the clay slightly with your hands or a hairdryer to make it more pliable before you slice.
Difficulty in cutting the stack neatly could be due to using a blade that isn’t sharp enough or the clay being too soft. You may chill the stack briefly in the fridge to firm it up, making slicing easier.
If air bubbles appear after sealing the layers, it’s crucial to press out as much air as possible when initially layering. Roll out the clay carefully and use a roller or brayer to smooth out any trapped air.
Should your mokume gane pieces break or crack after curing, review your curing temperature and time. It’s important to follow the recommended settings for the polymer clay you’re using to prevent such issues.
Remember, practice makes perfect, and minor imperfections can contribute to the uniqueness of your mokume gane creation.
An Overview of Mokume Gane Techniques
Mokume Gane, originally a metalworking technique, has been adapted beautifully to polymer clay. The adaptability of polymers allows artists to mimic the elegant, wood grain-like patterns traditionally found in metal.
Here’s a brief overview of the various techniques at play:
- Layering: Alternating colors of clay are stacked, creating the initial material for pattern formation.
- Manipulation: Artists apply pressure, twist, and distort the stack to create intricate designs.
- Pattern Creation: Using blades, needles, or stamps, intricate patterns are cut or impressed into the clay.
- Reduction: The layered block is compressed and stretched, further accentuating the designs.
- Slicing: Thin cross-sections are cut from the manipulated stack, revealing the unique patterns for application on different works.
Each of these techniques contributes to the distinctive look of Mokume Gane, resembling natural elements and landscapes within the polymer clay. The creative potential is vast, varying from subtle, delicate patterns to bold, striking designs that make each piece one-of-a-kind.
FAQ
Is mokume gane hard to make?
Yes, creating Mokume Gane can be challenging and time-consuming due to the intricate processes involved, however, the combination of traditional Japanese techniques with modern equipment can make the process more efficient.
What is the mokume gane technique?
The mokume gane technique is an ancient method that involves the fusion of diverse metals through the application of heat and pressure, requiring solderless fusing for the metal to be workable as solder is not robust enough and could shatter during forging.
How to make mokume gane patterns?
Making mokume gane patterns involves the punch or repousse method, where a relief is created on the sheet’s surface, then filed or sanded flat to reveal the pattern of the internal layers, using a pitch bowl and various punches.
What materials are used in mokume gane?
The materials used in mokume gane include soft metals and alloys such as gold, copper, silver, shakudō, shibuichi, and kuromido.
What are the common mistakes while creating mokume gane and how can they be avoided?
Common mistakes when creating mokume gane include improper fusion of layers, uneven slicing, and lack of pattern consistency, which could be avoided through controlled heating, precision in cutting, and patient layering, respectively.
Are there different types of mokume gane techniques?
Yes, there are different types of mokume gane techniques, including lamination, soldering, fusion, and sintering.
How has the mokume gane technique evolved historically and its significance in modern construction?
The Mokume Gane technique, developed in the 17th century Japan for ornamental decoration on samurai swords, remains largely unchanged in its application but has now found a unique utility in modern construction as an aesthetic enhancer for structures and a source of inspiration for many architects and designers due to its distinct, organic patterns.
Related Reading
 Polymer Clay Flowers: Crafting Delicate Blooms for Any Occasion
 Polymer Clay Christmas Ornaments: Craft Your Own Festive Decor
 Polymer Clay Earring: Creating Fashion Statements with Your Own Hands
 How to Make Polymer Clay Beads for Stunning DIY Jewelry
 Water Balz Jumbo Polymer Ball: The Ultimate Guide to Fun and Utility
Recap