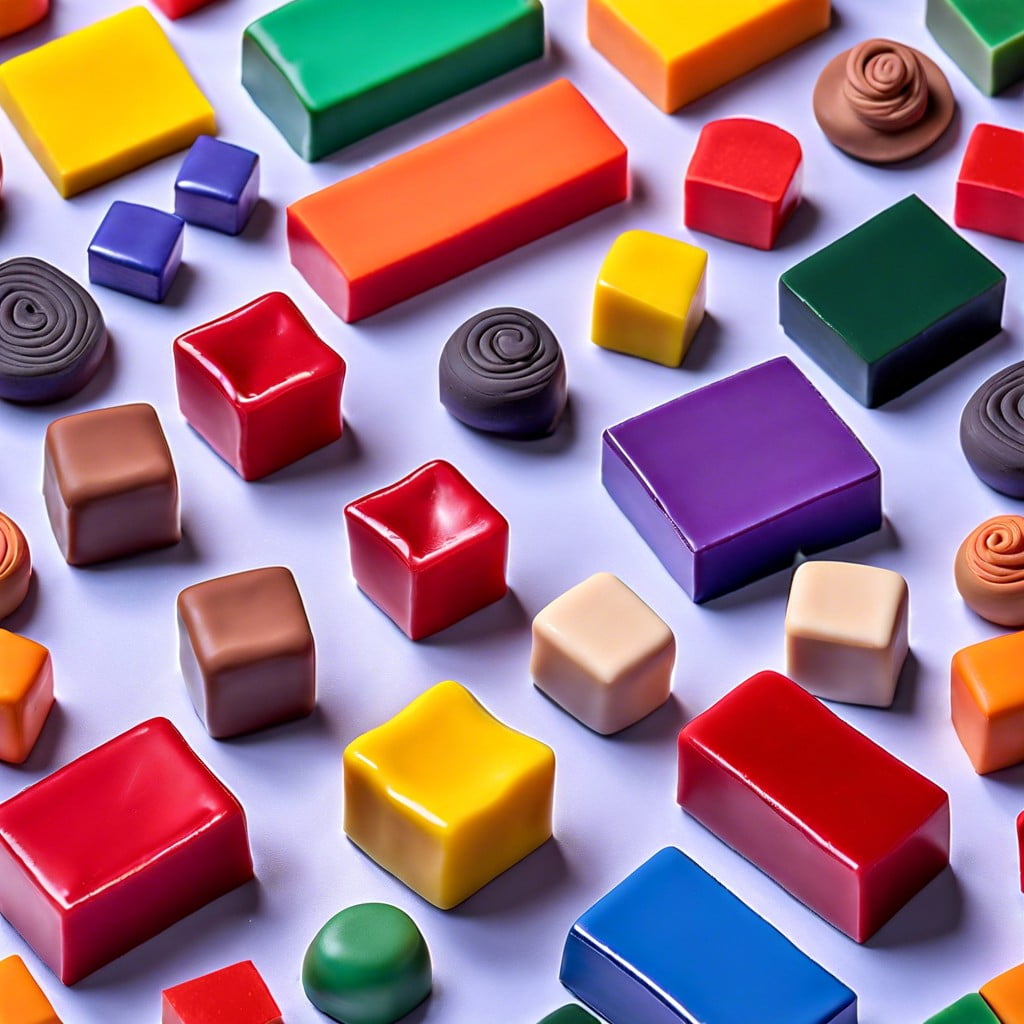
Learn how to properly cook polymer clay to achieve durable and beautifully finished crafts.
Key takeaways:
- Different brands and types of polymer clay have unique properties and baking requirements.
- Properly conditioning the clay before baking ensures better results.
- Baking temperature should be based on the manufacturer’s recommendations.
- Baking duration depends on the thickness of the clay.
- Use baking tips and tricks to maximize success.
Choosing the Right Polymer Clay

Different brands and types of polymer clay have unique properties and baking requirements. Light-bodied clays are typically easier to manipulate and may be ideal for beginners, while heavy-bodied clays can provide more structural strength for detailed sculpting. The color of the clay can influence its baking time and temperature—light colors may cure at lower temperatures, whereas dark or pigmented clays might require higher temperatures to fully harden without burning.
It’s important to consider the final use of your creation. For wearable art like jewelry, a flexible, durable clay is a good choice. For miniature models or sculptures that will be displayed, a firmer clay that holds detail well may be more appropriate.
Always double-check the manufacturer’s instructions. These will provide the most accurate baking temperatures and times for that specific clay, ensuring the best results while minimizing the risk of burning or underbaking. Remember, you can also mix different clays to achieve the desired qualities, but this may alter the baking guidelines, so approach mixed clays with a trial-and-error mindset to find the perfect balance.
Preparing Your Polymer Clay for Baking
Before placing your polymer clay in the oven, ensure it is properly conditioned. Conditioning the clay involves kneading it to improve pliability and to eliminate any air bubbles that could cause cracking or weakness once baked. For the best results, roll the clay into a sheet and fold it multiple times, or use a pasta machine if available. Flatten your creation to an even thickness, which promotes uniform baking. Once conditioned, you can shape or assemble your piece as desired.
Craft your design on a piece of parchment paper or a silicone baking mat that can go straight into the oven, minimizing the need for transferring the clay and reducing the risk of distorting its shape. If your creation includes multiple clay pieces, use compatible clay adhesives or slip-scoring techniques to join them securely.
Check for fingerprints or unwanted textures and smooth them out with your finger or a tool. If needed, you can lightly sand your creation after baking for a smoother finish.
Lastly, before baking, ensure that your oven has been correctly calibrated for temperature accuracy. This preparation will help result in a beautiful, perfectly cured polymer creation.
Best Temperature to Bake Polymer Clay
To ensure optimal results, it’s critical to bake your polymer clay at the manufacturer’s recommended temperature. Typically, this ranges from 215°F to 275°F (102°C to 135°C).
Here are some key points to consider:
- Check the packaging: Each brand and type of polymer clay may have a specific temperature setting. Always refer to the instructions on the package.
- Use an oven thermometer: Oven temperatures can fluctuate. An independent thermometer can confirm your oven is at the correct temperature.
- Preheat your oven: Make sure your oven has reached the desired temperature before you start baking your creation.
Understanding the importance of temperature accuracy will help you avoid burning or under-baking your clay, which can compromise its durability and color. Keep a watchful eye on these details to achieve the best finish for your polymer clay projects.
How Long to Bake Polymer Clay
The thickness of your creation largely determines the baking duration—with a general rule of thumb being 15 minutes for every 1/4 inch of thickness.
Always refer to the manufacturer’s recommendations, as different brands may require slightly varied times.
For even curing, don’t underbake, which can lead to brittleness, nor overbake, which may cause discoloration or burning.
Use an oven thermometer to verify your oven’s temperature accuracy, ensuring consistent results.
Remember, multiple small bakings can be safer than one long bake.
Monitor the oven during the process to avoid any mishaps, particularly for detailed or delicate pieces.
Polymer Clay Baking Tips and Tricks
Maximize your polymer clay projects’ success with these helpful baking tips and tricks:
1. Preheat Your Oven: Ensure your oven reaches the correct temperature before placing your polymer clay inside. An oven thermometer is a valuable tool to monitor accuracy.
2. Use an Oven Tray: Bake your clay on a ceramic tile or parchment paper atop an oven tray to provide a stable, heat-resistant surface.
3. Protect Your Pieces: To avoid scorching, tent your creations with aluminum foil. This reflects the heat and provides a more even temperature distribution.
4. Baking Time Matters: For thicker pieces, consider a longer baking time at a lower temperature to ensure thorough curing without burning.
5. Post-Baking Bath: To prevent any potential cracking, immerse your just-baked clay in ice water for a quick cool-down process known as ‘quenching.’
6. Testing for Doneness: If unsure whether your polymer clay is fully cured, press the surface slightly; it should be hard with no give. Remember, clay continues to harden as it cools.
Remember to always follow the specific instructions provided with your brand of polymer clay for the best results.
Recap


