Knowing how to condition polymer clay is crucial because it enhances the malleability, reduces cracking, and improves the final texture of your projects.
Key takeaways:
- Conditioning polymer clay improves malleability and reduces cracking.
- Proper conditioning ensures an even distribution of plasticizers for uniform strength and flexibility.
- Conditioning helps blend colors effectively for a cohesive aesthetic.
- Kneading by hand or using a pasta machine are effective conditioning techniques.
- Troubleshooting tips for common conditioning problems can help achieve desired results.
Why Conditioning Polymer Clay Is Essential
Conditioning polymer clay is a crucial step before molding or sculpting as it warms and softens the material, making it pliable and easy to work with.
Properly conditioned clay minimizes the potential for air bubbles, which can cause weak spots or breaks after baking. It also ensures an even distribution of plasticizers, providing uniform strength and flexibility throughout your creation.
This process significantly reduces the chances of your finished product cracking or breaking, ensuring longevity and durability. Additionally, it helps to blend colors effectively, creating a cohesive and vibrant aesthetic in your designs.
Preparing Your Workspace and Materials
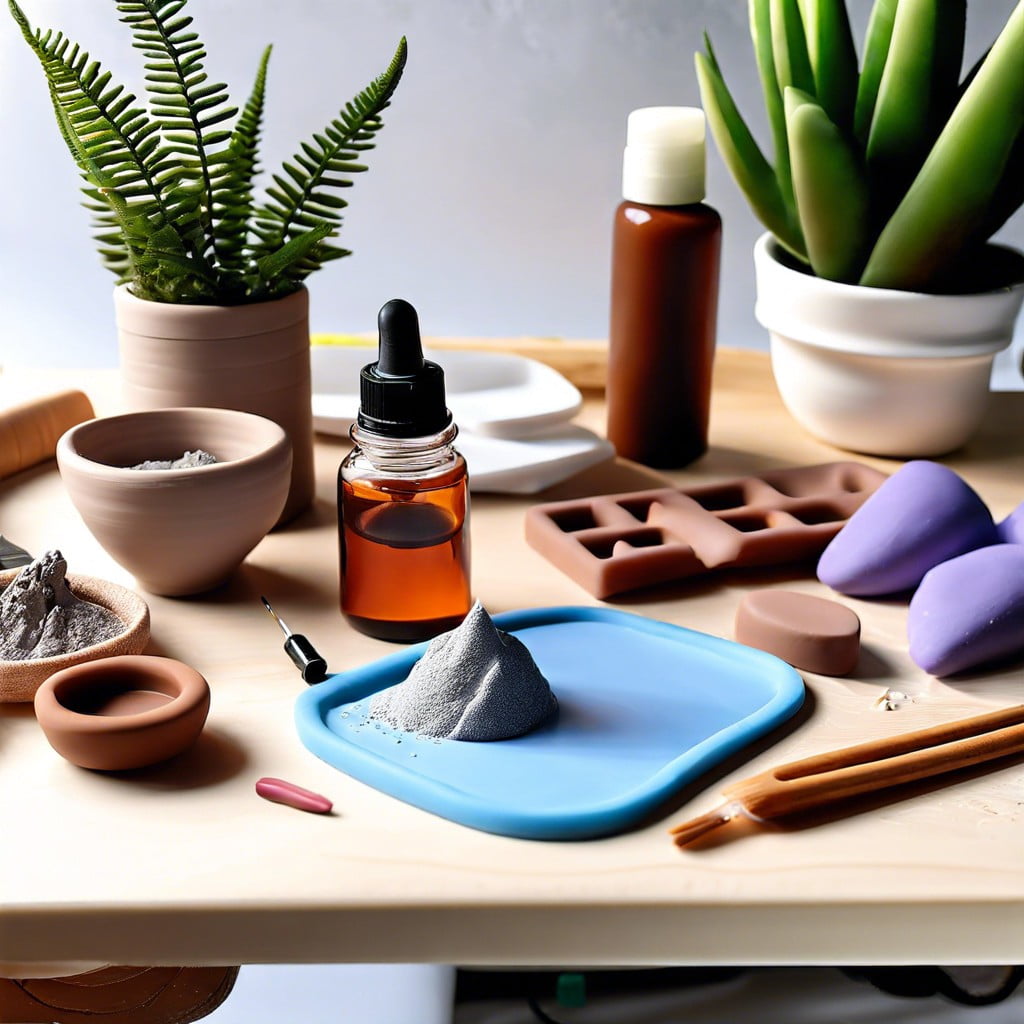
Before diving into the conditioning process, set yourself up for success. Begin by selecting a flat, clean surface, like a tile or a piece of glass, allowing for easy clean-up and preventing clay from sticking. Lay out your tools—acrylic rollers or pasta machines for the conditioning, blades for cutting, and any molds or stamps you plan to use.
Ensure your materials are at hand: the polymer clay of your choice, preferably fresh from its packaging to limit dirt contamination. If you’re using different colors, consider starting with the lightest shades to avoid color transfer from your hands or tools.
Keep baby wipes or a damp cloth nearby to clean your hands between colors, and have a small container ready for storing opened but unused clay. With your workspace and materials prepped, you’re poised to create with efficiency and ease.
The Importance of Clean Hands and Tools
Before diving into the conditioning process, ensure that your hands and tools are free of debris. Trapped particles can get embedded in the clay, leading to imperfections in your finished product. Here’s how to keep clean:
- Wash your hands thoroughly to remove oils, dirt, and any residue from previously used colors.
- Wipe down your work surface with a damp cloth, followed by a dry one to avoid moisture mixing into your clay.
- Clean your tools, such as rollers and blades, with rubbing alcohol or baby wipes to remove any lingering clay particles or colors.
- Use dedicated craft tools to prevent cross-contamination from kitchen utensils or other materials.
- Keep a separate set of tools for light and dark-colored clays to prevent color transfer.
Remember, the effort you put into maintaining cleanliness pays off in the quality of your creation.
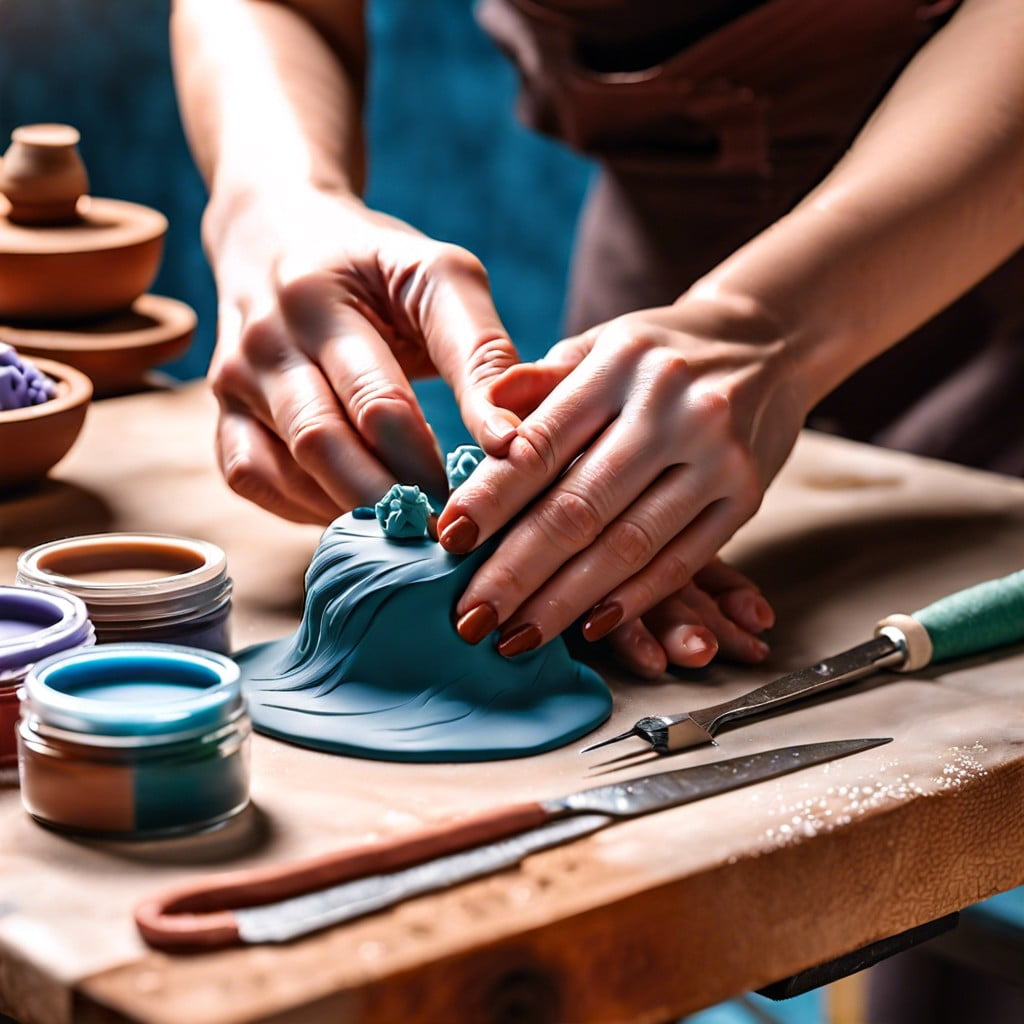
Kneading: The Basic Technique for Hand Conditioning
Kneading is a straightforward process much like working dough in baking. Squeeze and fold the clay repeatedly. This action warms it up, making it pliable. If the clay is particularly firm, flatten it with your palm and roll it with a brayer or rolling pin before kneading. As you work, you’ll feel the clay becoming more elastic and easier to shape.
Warming the clay before kneading can also help, especially when dealing with harder pieces. A gentle warmth from body heat or a short exposure to a warm environment can ease the process. Avoid overheating, as it can partially cure the clay.
Keep kneading until the clay is uniform in texture. This usually takes about 2-3 minutes, depending on the clay’s initial condition and your hand strength. You’ll know it’s ready when it no longer shows crumbles or cracks and can be rolled into a smooth ball or a thin sheet without tearing.
Using a Pasta Machine for Efficient Conditioning
If you’re conditioning larger amounts of polymer clay or seeking a more uniform consistency, a pasta machine can be a game-changer. Here’s how to put this handy tool to work:
- Begin by slicing your polymer clay into pieces that fit the width of the pasta machine. Flatten each piece slightly with your palms to help it pass through smoothly.
- Set the pasta machine to the widest setting. Feed the pieces through the rollers, folding the clay in half after each pass and inserting the fold side first. This ensures an even mix and removes air bubbles.
- Gradually decrease the machine’s setting to make the sheets thinner, passing the clay through several times. This enhances pliability and uniformity in the clay.
- Regularly clean the rollers with a dedicated piece of scrap clay to prevent color contamination and remove any residue.
- Continue this process until the clay is soft, supple, and doesn’t show any cracks when manipulated. It should also possess a consistent texture and color throughout.
- Always be mindful of the thickness settings for the final sheets. They should match the requirements of your project to maximize efficiency.
Remember, while a pasta machine can speed up conditioning, it should be used with care to avoid overworking the clay or straining the machine with too thick or hard pieces.
Tricks for Conditioning Stiff Polymer Clay
When facing stiff polymer clay, a few practical tricks can save time and effort. Gently warming the clay helps to soften it; you can achieve this by pressing the clay between your hands, sitting with it in a pocket, or briefly placing it near a warm surface—not too hot to avoid partial curing. For even easier manipulation, you can mix in a few drops of liquid clay or a specialized clay softener; just a little can significantly reduce stiffness.
Thinly slicing the clay before kneading also reduces the initial resistance. Once sliced, stack the pieces and start pressing and folding. A rubber mallet can be handy for tapping the slices into a more pliable state, preventing strain on your hands.
In situations where the clay seems too challenging to condition, a designated clay conditioning machine – often resembling a pasta machine – can drastically simplify the process. Pass the stiff clay through on a thicker setting first and gradually move to thinner settings as the material becomes more workable.
Remember, patience is key. Rushing can result in an unevenly conditioned product, so take your time to ensure the material is uniform and supple before starting your project.
Achieving a Smooth Surface in Your Designs
To achieve a smooth surface on your polymer clay creations, follow these practical steps:
- Start with Soft Clay: Ensure your clay is well-conditioned before you begin sculpting. Properly conditioned clay is easier to work with and less likely to show imperfections.
- Use Rolling Tools: Utilize acrylic rollers or brayers to evenly roll out your clay. Applying consistent pressure helps eliminate bumps and uneven thickness.
- Flat Surface: Work on a smooth, flat surface like glass or ceramic tile. Such surfaces help in preventing textures from transferring onto the clay.
- Remove Fingerprints: If fingerprints appear, gently smooth them out with your finger or use a rubber-tipped tool for fine details.
- Chill to Firm: Before final adjustments, place your clay in the refrigerator. Chilled clay is firmer, reducing deformation and making it easier to achieve a smooth finish.
- Final Thinning: If needed, gently sand the unbaked clay with fine-grit sandpaper to even out any remaining imperfections.
Remember, patience is key when aiming for a flawless finish on your polymer clay artwork.
Sanding Polymer Clay After Baking
After your polymer clay piece is baked and cooled, it’s time to refine its surface. Sanding helps to smooth out imperfections and prepare for further finishing touches like buffing or painting.
- Start with lower grit sandpaper (around 400) and gradually move to higher grits (up to 800 or 1000) for the best results.
- Sand under running water or in a bowl of water to reduce dust, which is not only messy but can be harmful if inhaled.
- Use a gentle, circular motion to avoid scratching the surface. Remember, patience is key for a uniform texture.
- Check your progress frequently. Dry the piece with a towel to see the actual smoothness and clearness of the surface.
- Once you achieve the desired smoothness, you can move on to buffing, which will increase the clay’s shine and give a professional finish.
Buffing for a Polished Finish
After your polymer clay crafts are baked and cooled, buffing is a wonderful way to enhance their luster without using chemicals. This is achieved simply with a piece of denim or muslin cloth. Firmly rub the surface with the cloth in a circular motion to gradually bring out a natural shine.
For a higher gloss, you can opt to use a motorized tool with a soft buffing wheel. Always wear eye protection when using motorized tools.
If you’re aiming for an ultra-glossy finish, sand your pieces with increasingly fine sandpapers before buffing. The smoother the surface, the more reflective it will be. Start with a coarse grit and progress to a very fine grit, such as 1500 or 2000. Always wet sand to minimize dust.
Buffing by hand will usually yield a satin finish, while using a motorized tool can produce a high shine. Be careful not to overheat the clay with motorized tools, which can cause it to become brittle. Patience is key; frequent checks on your progress will help to avoid over-buffing and maintain the desired finish.
Adding a Protective Sealant
After your polymer clay creation is baked and cooled, applying a protective sealant can enhance its durability and appearance. Sealants come in several finishes, including matte, satin, and gloss, allowing you to customize the look of your final piece.
- Choosing the Right Sealant: Consider the end-use of your creation. For items that will be handled often, like jewelry or keychains, a durable varnish is ideal.
- Application: Apply sealant with a soft brush in thin, even layers. Avoid over-applying as it can create drips or a cloudy finish.
- Drying Time: Allow sufficient drying time between coats. Check the sealant’s instructions for specific drying times as they can vary by brand and type.
- Testing: It’s a good idea to test your sealant on a scrap piece of baked clay first. This ensures it won’t react negatively with the clay or colors.
- Safety Note: Use sealants in well-ventilated areas and follow all safety precautions on the product labeling.
With a sealant, your polymer clay creation will not only have a beautiful finish but also be better protected against the elements and everyday wear and tear.
Proper Storage of Conditioned Clay
Once your polymer clay is properly conditioned, preserving its pliability for future use is crucial to avoid waste and extra work.
Wrap the clay tightly in plastic wrap to minimize exposure to air, which can dry it out.
For added protection, place the wrapped clay in an airtight container or a zip-top plastic bag, keeping it away from direct sunlight and heat sources as these can partially cure the clay, making it unusable.
If you’ve mixed colors or created blends that you want to keep, label them for ease of identification.
With these precautions, your clay will remain workable for your next creative session, enabling you to dive straight into your project.
Troubleshooting Common Conditioning Problems
Occasionally, you might encounter issues while conditioning polymer clay. Knowing how to resolve them ensures a smooth crafting experience.
1. Crumbly Clay: If your clay crumbles and doesn’t stick together, it’s likely too dry. Mix it with a small amount of polymer clay softener or liquid clay until the desired consistency is reached.
2. Too Sticky: On the flip side, excessively sticky clay can be difficult to manage. To combat this, let the clay sit at room temperature to firm up or mix it with a bit of a firmer clay.
3. Air Bubbles: Trapped air can lead to bubbles, which may cause problems during and after baking. To avoid this, roll the clay into a thin sheet and fold it, pressing out any air pockets. Repeat the process during conditioning until all air has been expelled.
4. Uneven Texture: If parts of your clay seem softer than others, it could be due to inconsistent kneading. Ensure that all sections of the clay are thoroughly worked through for an even texture.
5. Stains or Discolorations: Sometimes colors can transfer from hands or surfaces to your clay. Keep your workspace and tools clean, and wash your hands between handling different colors to prevent unwanted transfer.
By addressing these common issues, you can perfect the conditioning process and create pristine polymer clay projects.
Quick Tips for Better Conditioning Results
1. Warm it up: Soften harder blocks by warming them in your hands or briefly with a hairdryer set on low.
2. Slice it first: Cutting your clay into smaller pieces expedites the conditioning process.
3. Combine techniques: Mix hand kneading with pasta machine rolling for uniform consistency.
4. Apply leverage: Use a roller or acrylic rod to help flatten tougher clay before kneading.
5. Stay patient: Rushing can lead to unevenly conditioned clay, so take your time for best results.
6. Mix it right: Blend different colors or leftovers for unique shades and reduce waste.
7. Monitor clay conditions: Store partially conditioned clay in a zip-lock bag so it doesn’t dry out before the next session.
8. Recycle heat: Use the residual warmth from baking earlier pieces to condition new clay.
FAQ
Does polymer clay need to be conditioned?
Yes, polymer clay needs to be conditioned to improve its strength and longevity, even if it is initially soft.
How do I know when my polymer clay is conditioned?
Your polymer clay is properly conditioned when it is sufficiently soft and malleable, exhibiting no signs of cracking upon folding.
How do you condition hard polymer clay?
To condition hard polymer clay, pass it through a pasta machine or clay conditioning machine multiple times.
What are the tools necessary for effectively conditioning polymer clay?
The tools necessary for effectively conditioning polymer clay include a pasta machine or acrylic roller, a clay blade, and a work surface.
Can over-conditioning damage or affect the quality of polymer clay?
Over-conditioning can indeed soften polymer clay to the extent it becomes too sticky and difficult to handle, thereby affecting its quality.
Are there any conditioning techniques specific to different types of polymer clay?
Yes, different types of polymer clay require specific conditioning techniques such as warming, kneading, rolling, or use of a clay conditioning machine.
Related Reading
 Polymer Siding: A Durable Ally for Your Home
 Protein Polymer Example: Unlocking Nature’s Building Blocks
 Polymer Lipids: Revolutionizing Building Materials
 Polymer-Gel: The Secret Sauce for Durable Buildings
 Creative Polymer Solutions for Innovative Construction
Recap