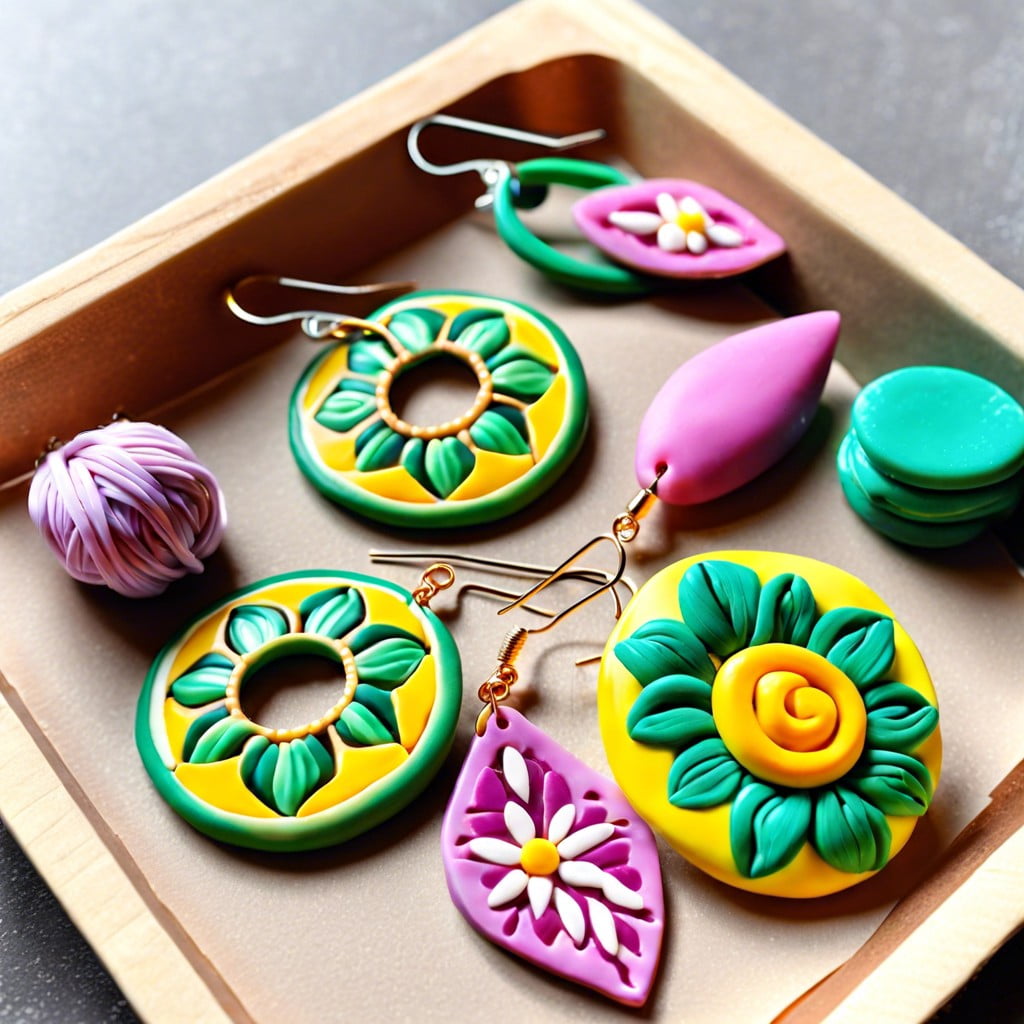
Because the baking duration is crucial to creating perfect polymer clay earrings, this guide will unravel the exact process, ensuring your artistic endeavor is a resounding success.
Key takeaways:
- Polymer clay earrings should be properly conditioned and free of air bubbles before baking.
- Follow the specific brand’s recommended temperature for baking polymer clay earrings.
- Generally, bake polymer clay earrings for 15 minutes per 1/4 inch of thickness.
- Understand your oven’s temperature variations and preheat it to the recommended temperature.
- Different brands of polymer clay have their own baking instructions, so consult the packaging for accurate guidance.
Preparing Polymer Clay Earrings for Baking

Before placing your polymer clay earrings in the oven, it’s essential to ensure they are ready for the heat:
1. Condition the Clay: Properly knead and roll your clay to eliminate air bubbles, which might expand in the oven and cause cracks.
2. Shape and Detail: Finalize the design of your earrings, adding textures or details. Remember, post-bake modifications are limited.
3. Cleaning: Gently wipe the surface of your clay with a soft cloth or alcohol wipe to remove fingerprints and dust.
4. Piercing Holes: If your design includes holes for jump rings or hooks, create them now using a needle or piercing tool.
5. Thickness Consistency: Check that the clay is of uniform thickness to ensure even baking.
6. Support for Delicate Parts: If your earrings have thin or protruding parts, provide a bed of cornstarch or polyester batting for support during baking.
7. Preheat Your Oven: Always have your oven preheated to the manufacturer’s recommended temperature for more consistent results.
By following these steps, your polymer clay earrings will be properly prepped for baking, reducing the risk of any baking mishaps.
Best Temperature to Bake Polymer Clay

Achieving the perfect bake for your polymer clay earrings starts with setting the right temperature on your oven. Most polymer clay brands recommend a baking temperature between 265-275°F (129-135°C). However, this can vary slightly depending on the specific brand of clay in use, so it’s always wise to consult the packaging for the manufacturer’s recommended temperature.
Using an oven thermometer can ensure accuracy, as built-in oven thermostats might not be reliable. Even slight deviations from the suggested temperature can lead to burning or under-curing. Maintaining a stable temperature throughout the baking process is crucial; fluctuations can weaken the final product.
Remember, polymer clay does not need a high temperature to cure; rather, it requires a consistent, moderate heat to solidify properly without discoloration or distortion. Setting the right temperature is key in preserving the integrity and color of your earrings.
How Long to Bake Polymer Clay
The baking time for polymer clay earrings can vary, but a general rule is to bake for 15 minutes for every 1/4 inch of thickness at the recommended temperature—usually between 265°F and 275°F. For most earring projects, which tend to be thin, a 30-minute baking period is adequate. However, it’s essential to:
- Check the Specific Brand Instructions: Each polymer clay brand has its own baking instructions based on its unique formulation, so refer to the packaging for the most accurate guidance.
- Monitor the Oven’s Actual Temperature: Use an oven thermometer to confirm the temperature, as oven dials can be inaccurate.
- Adjust for Thickness: If your earrings have multiple layers or thicker sections, increase the baking time accordingly, but do so in small increments to avoid burning.
- Keep an Eye on the Oven: Since every oven is different, frequent checking will prevent over-baking or under-baking.
Remember, slightly over-baking will strengthen your earrings, but too much can lead to discoloration or burning, so it’s about finding the right balance for your specific project and oven.
Know Your Oven
Understanding your oven’s characteristics can significantly affect the outcome of your polymer clay creations:
1. Temperature Variations: Ovens can run hotter or cooler than their settings indicate. An oven thermometer is a valuable tool for verifying the actual temperature inside your oven.
2. Hot Spots and Cold Zones: Most ovens have areas that heat differently. Identifying these spaces can help you position your polymer pieces for even baking.
3. Preheating: Crucial for consistency, preheating ensures your items are exposed to the correct temperature from the start.
4. Placement: Centering your tray on the middle rack promotes uniform heat circulation around your earrings.
5. Monitoring: Keep an eye on your pieces during baking. If your oven has a window, use it to check progress without opening the door, as this could cause temperature fluctuations.
By acquainting yourself with your oven, you’ll ensure that your polymer clay earrings are baked properly for durability and longevity.
Types of Ovens
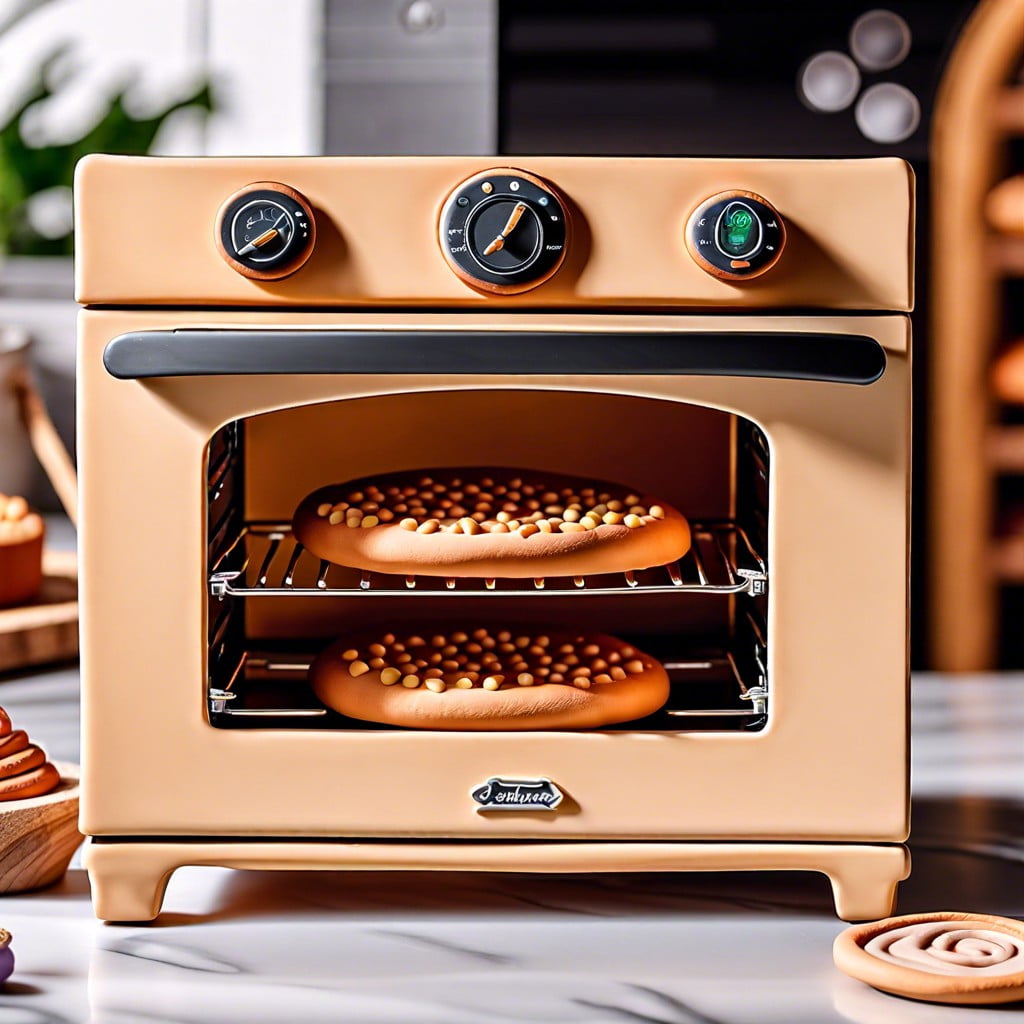
Conventional home ovens are the most commonly used for baking polymer clay, offering an accessible option for many crafters. Toaster ovens, while smaller, can be ideal for crafting due to their compact size and faster preheating times; however, they may heat less evenly.
Convection ovens with a fan-assisted mechanism are excellent for distributing heat, ensuring a consistent temperature throughout the baking process. Dedicated craft ovens, designed specifically for polymer projects, provide a controlled environment but come with a higher price tag.
Always use an oven thermometer to monitor the temperature, regardless of the oven type, to avoid scorching your creations.
Types of Baking Surfaces
Selecting the appropriate surface for baking polymer clay is crucial to prevent unwanted marks or heat-concentration issues. Here are some common options:
- Ceramic tiles: They provide a smooth, heat-resistant surface that distributes heat evenly.
- Parchment paper: Useful to prevent sticking, it allows for easy removal after baking.
- Glass or tempered glass: Like ceramic, glass offers even heat distribution but requires careful handling.
- Metal baking sheets: Although convenient, they can cause the bottom of your pieces to bake faster, so use with a parchment paper barrier.
Avoid using materials that can melt or emit toxic fumes when heated. Remember to follow the manufacturer’s instructions for the clay you are using and adjust your baking surface choice accordingly.
Package Recommendations
Always consult the packaging of your specific brand of polymer clay for the manufacturer’s recommended baking time and temperature. These guidelines are tailored to the polymer’s formulation and will ensure that your earrings cure properly. Different brands and even different colors within a brand can require unique settings due to their individual composition.
Take note of the maximum thickness of your earrings. The suggested times are based on a standard thickness and your pieces may require adjustments if they are particularly thick or thin.
Remember that these recommendations are starting points. Factors like your oven’s accuracy and the baking surface can influence the baking process, so it may take a little trial and error to find the perfect baking time for your creations. Keep a log of your baking times and temperatures for future reference – it will help streamline your process.
Fixing Underbaked Polymer Clay Projects
If your polymer clay earrings haven’t fully hardened after the initial bake, they may be underbaked. Fortunately, this issue can often be easily corrected. Continue by re-baking them for additional intervals of 15 minutes at the same temperature as the original bake. Always check your pieces between intervals for firmness.
For items that are only slightly underbaked, sometimes just an additional 15 minutes is sufficient. However, thicker pieces will require more time. It’s key to monitor the color of your earrings. If they begin to darken, they could be close to burning, and it’s time to remove them from the oven.
Underbaking is typically not a catastrophic mistake. Re-bake as necessary until your polymer clay projects feel sturdy and solid. Remember, it’s better to bake for a shorter period multiple times than to bake for too long initially and risk the outcome.
Polymer Clay Baking Instructions By Brand
Different brands of polymer clay often come with their own recommended baking times and temperatures, as their compositions vary. Sculpey, for example, suggests a baking time of 15 minutes per quarter inch of thickness at 275°F (135°C). Fimo advises baking at 230°F (110°C) anywhere from 30 minutes for thin pieces to several hours for thicker ones. Kato Polyclay recommends a higher temperature of 300°F (150°C) but usually for no more than 30 minutes. Premo! Sculpey, while produced by the same manufacturer as Sculpey, requires 30 minutes of baking at 275°F (135°C).
Remember, these are only starting points, and you should always properly condition the clay and perform a test bake to ensure accuracy. It’s also essential to use an oven thermometer to confirm your oven is reaching and maintaining the correct temperature, as the dial settings on ovens may not always be precise.
How to Bake Special Shapes
When baking polymer clay earrings with intricate or special shapes, consider these points for optimal results:
- Support Structures: Use materials like polyester batting, paper, or foil to support overhanging parts during baking. This helps maintain shape without distortion due to gravity.
- Even Heating: Ensure thinner parts are protected from overheating. Cover these with foil or tent the entire piece to prevent scorching.
- Baking in Stages: Complex pieces might benefit from baking in stages. Partially bake detailed elements first to harden them before adding to the main design and completing the final bake.
- Monitoring Closely: Keep an eye on your project throughout the baking process. Special shapes can have varying thicknesses that might require adjusting bake times.
By paying attention to the unique needs of each special shape, you can achieve a professional and durable finish for your earrings.
Can You Bake Polymer Clay More Than Once?
Absolutely, it is possible to bake polymer clay multiple times. This is handy when creating complex pieces that require additional detailing or when attaching new parts to an already baked base.
It’s important to keep a few things in mind:
- Additional baking will not harm the previously cured clay, as long as you don’t exceed the recommended temperature and baking time.
- Ensure each baking session adheres to the optimal time and temperature to avoid burning or discoloration.
- If you add raw clay to baked pieces, ensure that the new part is properly conditioned and adhered to the surface.
- When rebaking, cover the entire piece with parchment paper or tissue to prevent darkening or shininess from direct heat exposure on the already baked parts.
By following these guidelines, you can achieve layered or complex designs that may require multiple baking steps.
How Do You Know When Polymer Clay Is Done Baking?
Determining if polymer clay has fully baked can be a bit tricky, as there’s no visual sign like you would get from baking a cake. Here are key points to verify the doneness:
Consistency: Once cooled, the clay should be solid throughout. If the piece is still flexible or has a rubbery texture, it may need more time in the oven. However, some polymer clays remain slightly bendable after curing, depending on their composition and thickness.
Color: Check for any discoloration. If you notice darkening, this could be a sign of overbaking, which can lead to brittleness.
Cooling Test: Always allow your items to cool down after baking. Some clays achieve full strength only after cooling.
Tap Test: Gently tapping baked clay can help assess its state. A well-done piece will emit a solid sound, while underbaked clay produces a dull sound.
If in doubt, it’s usually safe to bake a piece for a bit longer at the correct temperature, as underbaking poses a greater risk than overbaking to the durability of your craft.
FAQ
Can you bake polymer clay too long?
Yes, you can bake polymer clay for too long and while it may change color or rarely burn, the long baking at a low temperature can leave it brittle.
How long does it take to make polymer clay earrings?
The process of making polymer clay earrings typically takes between 30 minutes to 1 hour, dependent on the thickness of the clay, when baked in a household oven set to 275 degrees Fahrenheit.
What’s the optimal temperature for baking polymer clay earrings?
The optimal temperature for baking polymer clay earrings is typically around 275°F (130°C).
How can you prevent polymer clay earrings from burning during baking?
To prevent polymer clay earrings from burning during baking, strictly adhere to the manufacturer’s recommended temperature and baking time, use an oven thermometer for accurate temperature monitoring, and consider tenting the clay with aluminum foil to protect it from overheating.
Are there specific techniques to ensure uniform baking of polymer clay earrings?
Yes, to ensure the uniform baking of polymer clay earrings, place them on a tile in the oven, preheat the oven to the recommended temperature, and bake for the suggested amount of time, while avoiding over-baking.
Recap


