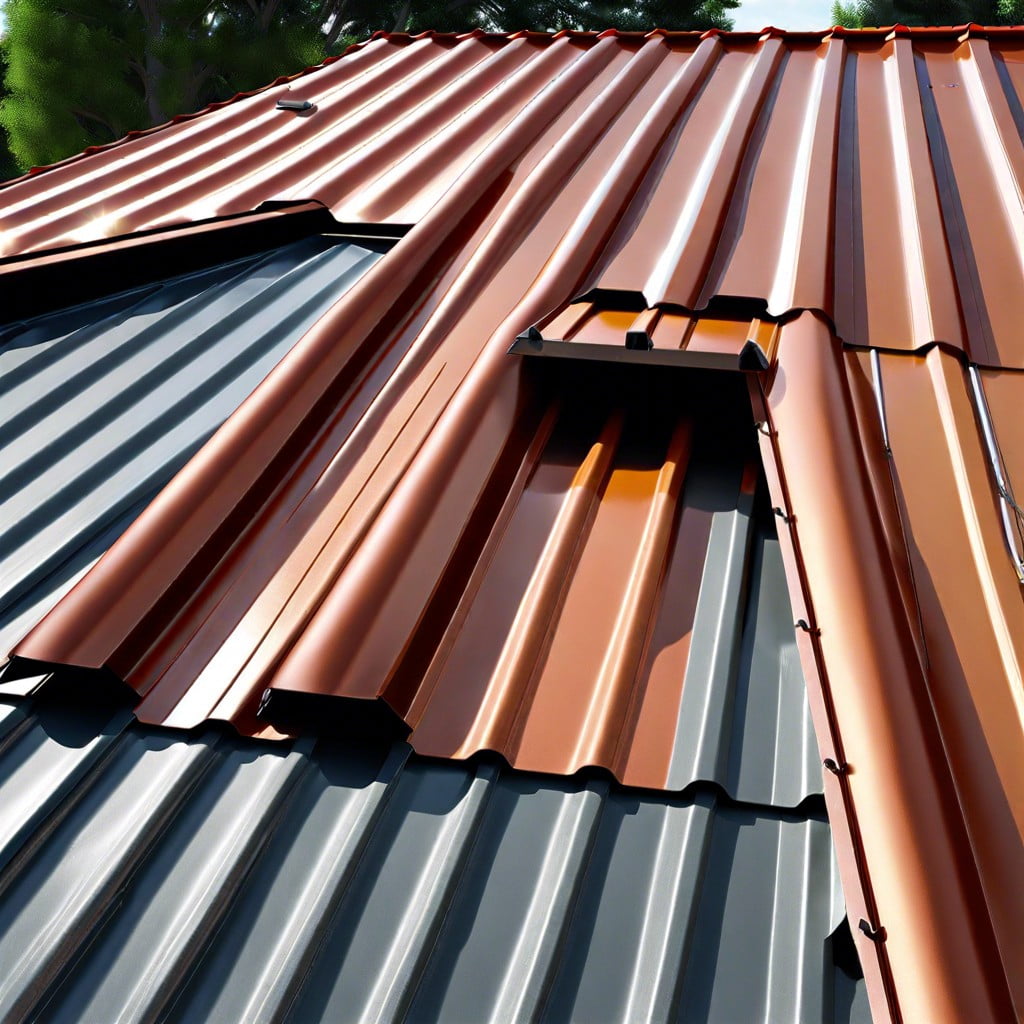
Learn the steps for correctly installing R-panel transition flashing to ensure a watertight seal for your metal building.
Key takeaways:
- Transition flashing ensures durability and protection against extreme weather.
- Proper installation prevents water leakage and enhances the building’s aesthetics.
- Measure accurately and use the right materials and tools for installation.
- Follow step-by-step guide for proper installation, including sealing and overlapping.
- Regular inspection and maintenance are essential for longevity and prevention of issues.
Understanding R Panel Transition Flashing

Transition flashing on R panels is a critical component in metal roofing systems that aids in directing water flow and preventing leaks at the point where two different roof slopes or pitches meet. Here are some key points explaining the role and importance of this feature:
– Designed for Durability: Made from high-quality metals, transition flashing is robust and can stand up to extreme weather conditions, ensuring the protection of roof joints over time.
– Seamless Integration: It perfectly complements the R panel profile, creating a continuous look while serving its protective function.
– Water Leakage Prevention: By bridging the gap between different roof areas, it prevents water from seeping through and causing damage to the structure.
– Aesthetic Appeal: While primarily functional, it is also crafted to enhance the visual appeal of the metal roofing, contributing to the overall aesthetic of the building.
Understanding the functionality of R panel transition flashing allows for a greater appreciation of its role in metal building construction and underscores the importance of proper installation and maintenance.
Installation Prerequisites for R Panel Flashing
Before proceeding with the installation of R panel transition flashing, ensuring you have the right materials and tools is imperative. Galvanized steel or aluminum is typically used for flashing to match the longevity and durability of the metal roofing system. Additionally, the flashing material should be compatible with the existing roof and wall materials to prevent galvanic corrosion.
Measure the area where the transition flashing will be installed. Accurate measurements are crucial to prevent gaps that could allow water penetration. For the installation process, you will require the following tools: a tape measure, metal snips, a drill with appropriate bits, sealant, fasteners, and gloves for safety.
The roof pitch also plays a vital role in the installation process. Transition flashing is designed to bridge roofs of differing pitches, so selecting the correct flashing profile that agrees with the pitches you’re working with is necessary for a watertight seal.
Verify that the installation surface is clean and free of debris. The presence of dirt or moisture can impede the proper adhesion of sealants and may affect the installation integrity. Preparing the surface properly ensures a solid foundation for the flashing.
Lastly, review the local building codes and manufacturer’s instructions. Compliance with these guidelines is essential for both safety and warranty purposes. Proper adherence to instructions ensures the flashing performs effectively to shield the building from water intrusion.
Step-by-Step Guide for Installing R Panel Transition Flashing
Begin by ensuring the roof panels are properly aligned and secured, leaving the appropriate space for the transition flashing. Measure the length of the transition area to determine the amount of flashing needed. Cut the transition flashing to the required length, always allowing a little extra for a secure fit.
Clean the area where the flashing will be placed. Any debris or dust can compromise the seal. Apply a bead of sealant along the area of the r panel where the transition flashing will sit. This enhances the flashing’s waterproof capabilities.
Position the transition flashing over the joint where the two differing roof pitches meet. The wider flange of the flashing should be placed over the higher pitch, overlapping the panel. This ensures water flows away from the transition area. Secure the flashing using self-drilling screws, spaced at intervals recommended by the manufacturer. Screws should penetrate both the flashing and the underlying panel to ensure a firm attachment.
Overlapping sections of flashing must be sealed to prevent water ingress. Apply a bead of sealant between the overlaps, smoothing it out to ensure complete coverage. Inspect the entire length of the installed flashing, checking for gaps or areas where water might penetrate. Make any necessary adjustments.
Finally, to protect against corrosion and weathering, it’s prudent to check that the screws and the flashing itself are made of compatible materials with the r panel to prevent galvanic corrosion. Once the flashing is securely in place, verify all sealant is smoothed out and no screws are missing. This step ensures the longevity of the installation and minimizes potential for leaks.
Common Mistakes to Avoid in R Panel Transition Flashing Installation
Incorrect sealing is a primary pitfall. Without proper sealants, such as butyl tape or silicone caulk, water infiltration can occur, leading to damage. Always ensure a tight seal at every joint and overlap.
Overlapping panels inappropriately also jeopardizes the integrity of the installation. Panels should overlap by at least one corrugation or according to manufacturer specifications for effective water shedding.
Neglecting the thermal movement of metal can cause future issues. Account for expansion and contraction by not fastening the flashing too tightly and allowing for movement.
Using incompatible materials can lead to galvanic corrosion. Ensure all components are made from or coated with compatible metals to prevent premature degradation.
Omitting closures is another error. Foam closures prevent insects, dust, and water from entering the structure. They must be installed at both eaves and ridges.
Finally, overlooking manufacturer instructions can lead to avoidable mistakes. Every product may have unique requirements, so adhering to the provided guidelines is crucial for a successful installation.
Maintenance Tips for R Panel Transition Flashing
Regular inspection is key to ensuring the longevity of transition flashing. Ideally, inspections should occur twice a year, focusing on areas where the R panel meets the flashing for signs of wear or separation.
Keep debris clear. Accumulated leaves, dirt, and other debris can trap moisture against the metal, potentially leading to corrosion. It’s important to keep these areas clean.
Check for sealant deterioration. Over time, the sealant used along the edges of transition flashing can shrink or crack. Replace the old sealant to prevent water intrusion.
Look out for rust. If any rust appears on the surface of the flashing, it should be addressed immediately. Rust can often be removed with a wire brush, and the affected area should be repainted with a metal primer and paint to prevent further corrosion.
Ensure fasteners are secure. Fasteners can loosen over time due to thermal expansion and contraction. Tighten any loose fasteners and replace those that are damaged or corroded.
Promptly repair small issues. Addressing small problems as soon as they are noticed can prevent larger, more expensive repairs later on. If a portion of the flashing is bent or damaged, replacing just that section may be possible.
For more extensive maintenance or repairs, consult a professional. While routine maintenance can be handled by individuals with some DIY experience, major repairs should be entrusted to professionals to ensure the integrity of the R panel roofing system.
Recap


