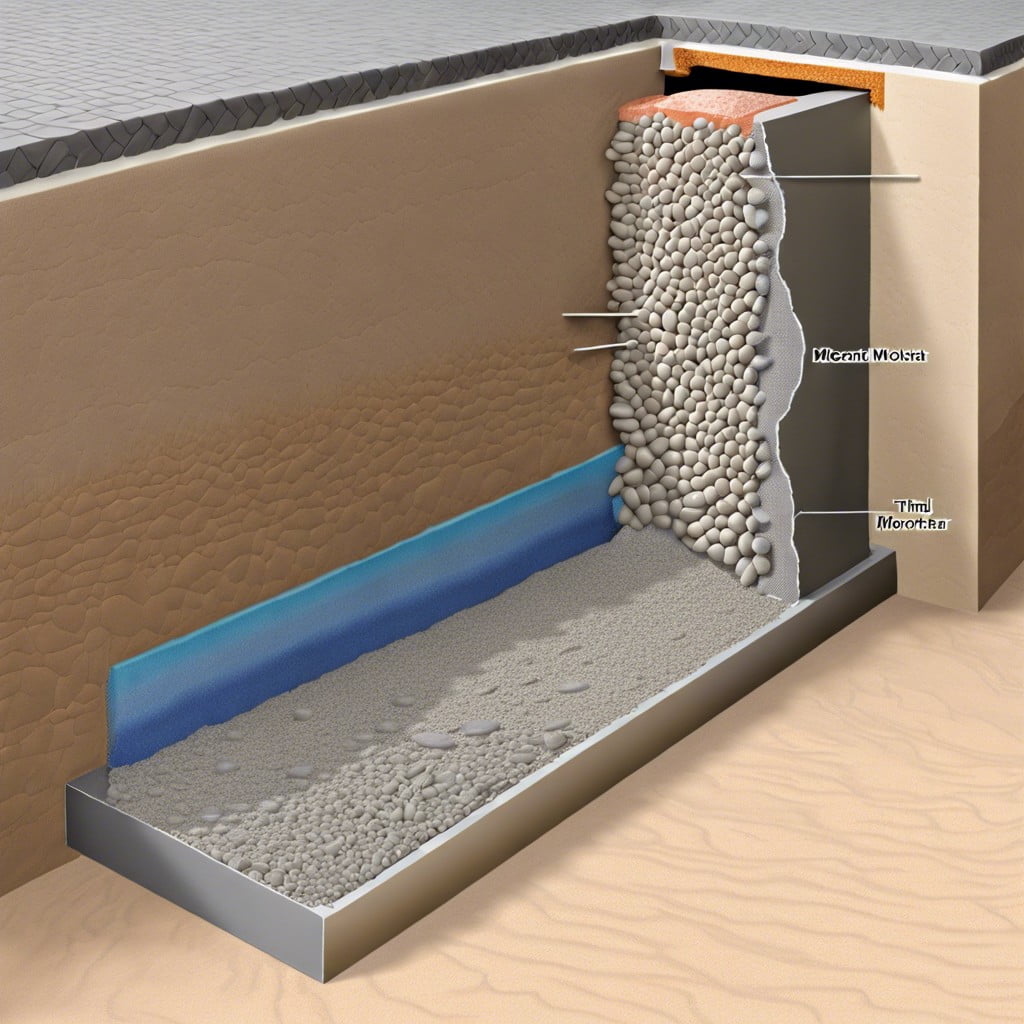
If you’re laying tiles and want them to stick like a stubborn burr to a hiker’s sock, polymer-modified thinset could be your ticket to a lasting bond – let’s discuss what it is and why it’s a game-changer in tiling projects.
Key takeaways:
- Polymer modified thinset is a versatile and resilient choice for tile installations.
- It enhances adhesion, making tiles less likely to slip.
- It provides flexibility, withstanding movement and preventing cracks.
- Polymer modified thinset protects against moisture damage.
- Regular maintenance, including prompt cleaning and addressing small repairs, ensures longevity.
What Is Polymer Modified Thinset?

Imagine the usual thinset mortar you see between tiles, but with a twist of magic—namely polymers. These are long chains of molecules that give the material superpowers like stickiness and endurance. When added to thinset, these polymers act like a gym instructor for the mortar, making it stronger and more flexible. It’s akin to adding eggs to a cake batter; they transform the mix into a cohesive, yummy delight that holds everything together better than before.
To break it down, regular thinset is a mix of cement, sand, and water—solid, but it can be brittle. Now, think of the polymer as a secret ingredient that turns the thinset into a more formidable adhesive. It enhances the grip, so when you’re installing tiles, they cling like a koala to a tree.
Furthermore, because of their molecular structure, these polymers can absorb movement and shocks. If your house settles or there’s a minor earthquake, polymer-modified thinset acts like a shock absorber, enabling the tiles to dance a little without popping loose or cracking.
So, in a nutshell, we’ve got an improved version of the classic mortar—a versatile and resilient choice for ensuring your tiles stay put with grace under pressure.
Benefits of Polymer Modified Thinset in Adhesion and Flexibility
Imagine your tiles being superheroes, and this thinset is their sidekick, providing them with extra powers to cling onto walls and floors like a determined koala. That’s the magic of polymers in the mix—they enhance the stickiness, helping tiles to fight gravity with a grip that makes them less likely to slip.
But wait, this thinset has another trick up its sleeve—flexibility. Gone are the days when tiny shifts in your house’s structure would spell disaster for your tile work. This hero withstands the subtle movement and doesn’t crack under pressure. It’s like having a yoga expert underneath your tiles, bending and stretching to keep everything in flawless shape.
Now, nobody likes a high-maintenance relationship, right? Well, with polymer modified thinset, you can kiss those worries goodbye. It’s like a reliable friend for your tiles, protecting them from moisture’s sneaky attempts to weaken their bond. This thinset has your back, come rain or shine.
Can you picture applying your tile and just knowing that the foundation beneath is ready to defend against wear and tear? That’s what you get with this trusty concoction. It’s a game-changer for areas that endure a lot of foot traffic or are frequent hosts to spills and splashes.
Comparing Modified Vs. Unmodified Thinset
When you’re wading through the sea of tile adhesives, you’ll encounter two main types: Modified thinset and unmodified thinset—think of them as cousins with different superpowers.
Modified thinset is like your tech-savvy friend who’s always up to date with the latest gadgets—it’s mixed with special polymers that help tiles stick like gum to a shoe and flex without breaking a sweat. These polymers are like the secret sauce that gives the thinset extra grab and reduces the risk of cracks, especially when you’re laying large format tiles or working on surfaces that see a lot of action.
On the flip side, unmodified thinset is the old-school type, free from these fancy polymers. It’s the straightforward choice for jobs where simplicity is key, such as working with moisture-sensitive stone or where a moisture vapor transmission rate is a concern. This plain-Jane mixture depends on a strong mechanical bond, making it suitable for simpler installations where flexibility and super sticky properties can take a back seat.
Choosing between the two boils down to your project’s needs—think slip-resistant modified thinset for your steamy bathroom floor or the uncomplicated unmodified for that classic subway tile backsplash. Remember, the right thinset isn’t just about sticking your tiles down; it’s about laying the foundation for a long-lasting surface that’ll have your back for years to come.
Tips for Applying Polymer Modified Thinset
Before you dive in, mix the polymer modified thinset with water until you hit a creamy, no-lump consistency—think peanut butter. Let it sit for about 10 minutes for what experts call “slaking,” then stir again briefly. This waiting time works wonders for a stronger bond.
When spreading the thinset, use a notched trowel at a consistent angle to get even ridges. These grooves are your tiny, but mighty army, ensuring a stronghold for your tiles. The size of the notch should match the tile size—the larger the tile, the bigger the notch.
“Back buttering” is another trick of the trade. Spread a thin layer on the back of the tile for an extra security blanket. This helps in gripping, especially for large format tiles or stone.
Time is of the essence, so only spread as much thinset as you can cover with tile in about 20 minutes. If the thinset is skinned over (not sticky when touched), it’s a no-go zone. Either re-notch it if it’s within time or scrape it and start fresh.
Give your tiles a little wiggle when placing them to form a vacuum seal that improves adhesion like a good handshake seals a deal. Remember to leave enough space for grout lines, using spacers to maintain consistency and avoid a wonky, misaligned look.
Lastly, keep a damp sponge and clean water on standby for cleaning off any excess thinset – it’s like the eraser in your toolbox, keeping your work neat as a new pin.
Maintenance of Polymer Modified Thinset Installations
Maintaining installations with polymer modified thinset is a breeze with these straightforward tips. Like a trusty car, these surfaces only need a bit of regular attention to stay in top shape. First, clean spills swiftly to prevent stains from setting in – think of it as dodging a tomato sauce catastrophe on a white shirt. Next, routine cleaning using non-abrasive cleaners keeps the area spick and span without scratching the surface. Avoid harsh chemicals that can break down the thinset’s integrity – because nobody wants their hard work dissolving like sugar in tea.
Cracks or chips can happen, so keep an eye out. Address these small blemishes promptly, as they act like open doors inviting moisture and dirt to a party in your tilework. Think of it as patching a small hole in your jeans before it becomes an unintended fashion statement. Lastly, maintaining the correct sealing on tiles can act like an umbrella in a rainstorm, keeping the moisture out and ensuring longevity. These simple acts of care can make your installation stay in prime condition for years to come, just as regularly watering a plant helps it flourish.
Recap


