Polymer grout, a modern twist on traditional grout, boasts enhanced durability and resistance, making it a go-to choice for construction projects.
Key takeaways:
- More flexible than traditional grout, less cracking.
- Stickier due to added polymers, better adhesion.
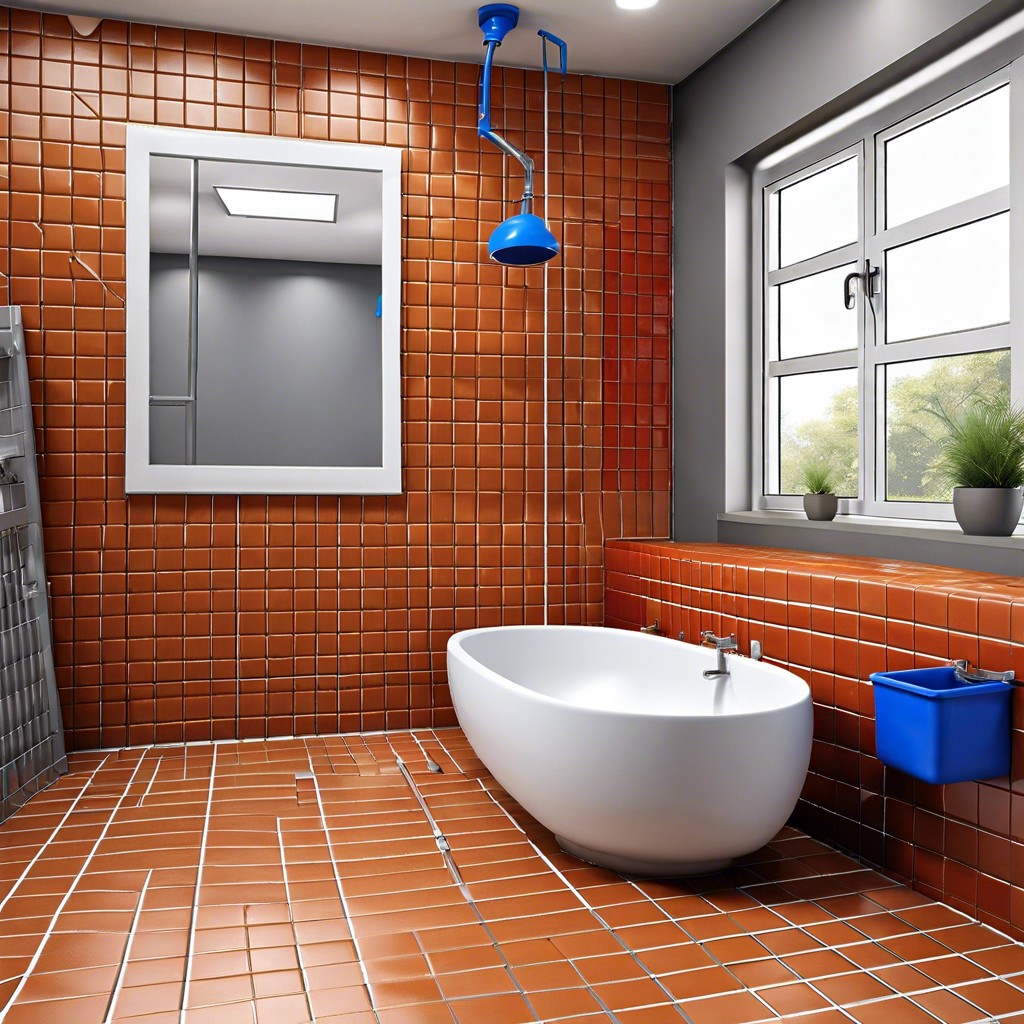
- Water-resistant, ideal for wet areas like bathrooms.
- Resists stains, grout lines stay cleaner.
- Various colors available to match decor perfectly.
Product Details
Polymer grout is like the superhero of the grout world. Traditional grout is cement-based, while polymer grout has added polymers or epoxy. These additions make it tougher, more flexible, and water-resistant.
Here’s a quick rundown of its superpowers:
It’s more flexible than traditional grout, which means less cracking.
The added polymers make it stickier, leading to better adhesion to surfaces.
Water resistance is top-notch, making it perfect for wet areas like bathrooms and kitchens.
It resists stains better, so your grout lines stay cleaner over time.
Various colors are available, so you can match your decor perfectly.
In short, polymer grout is durable, versatile, and a little bit fancy. If only it could do the dishes too!
Preparation
First things first, check the surface you’ll be working on. It should be clean and dry. Dust and moisture are enemies here—they’ll mess with your polymer grout’s performance faster than a raccoon can raid a garbage can.
Next, gather your gear. You’ll need a bucket, mixing paddle, and a margin trowel. And don’t overlook those gloves unless you fancy a polymer manicure.
Measure your polymer grout and water precisely. Follow the manufacturer’s instructions like you’re following a treasure map—one wrong turn, and it’s game over.
Add the polymer grout to the water, not the other way around. Think of it like cereal: you don’t pour milk into a box of cornflakes, right?
Mix thoroughly. You’re aiming for a smooth, lump-free consistency. It should be the Goldilocks of mixtures—not too runny, not too thick.
Let it sit for a few minutes to give those chemicals a chance to mingle and party. Then, give it one last stir before application.
Voila! You’re now ready to start grouting like a pro.
Application
Grab your gear and get ready for action. Applying polymer grout is a straightforward task if you know the right steps. First, ensure that the surface is clean and dry. Debris and moisture are like party crashers – they ruin everything.
Next, mix the polymer grout according to the manufacturer’s instructions. Think of it as following a recipe; you don’t want to end up with a lumpy mess.
Use a rubber grout float to apply the mixture. Push it into the joints with a firm hand because grouting isn’t the time to be dainty. Hold the float at a 45-degree angle to avoid air pockets.
Wipe off any excess grout with the float held nearly flat. Trust me, it’s easier now than later. After a bit of waiting – check the instructions for exact times – clean the joints using a damp sponge. Work in circular motions to smooth the grout lines, and rinse the sponge frequently. Remember, you’re aiming for perfection here, not Picasso.
Lastly, let it set until it’s firm enough to be admired but not so hard that you need a jackhammer to fix mistakes. Adjustments can be made before it fully hardens, so keep an eye on it. Voilà, you’re done! Move on to basking in your grouting glory.
Curing
Once the polymer grout is in place, the next big thing is letting it cure. Think of this as its beauty sleep. It needs time to reach its full strength.
First, ensure the area is kept dry. Water is not grout’s friend during curing.
Second, maintain a consistent temperature. Extremes can mess with the curing process. Avoid playing thermostat games.
Third, give it time. Most polymer grouts take 24 to 48 hours to fully cure, but always check the manufacturer’s instructions just to be sure.
Lastly, keep the area undisturbed. Pretend it’s a crime scene—no stepping on it, moving things, or dancing around.
Following these tips will make sure the polymer grout reaches its full potential.
Limitations
Finding the perfect solution can feel like hitting the jackpot, but polymer grout has its quirks. It’s a bit like that friend who’s fantastic in most situations but not when it’s snowing!
First, polymer grout can be more expensive than traditional grout. Yes, your wallet might feel a tiny pinch, but consider it an investment in durability.
Second, it needs more precise handling. Think of it as baking a soufflé, as opposed to whipping up some scrambled eggs. You’ve got to follow the instructions carefully to get the perfect finish.
Third, humidity can be its kryptonite. Polymer grout doesn’t cure well in cold or damp conditions, so if you’re in a swampy area, timing is everything.
Lastly, removing it once it’s set is no picnic. If you ever need to replace it, be prepared to bring out the big guns.
So while polymer grout can be a powerhouse, it does come with a few caveats. Forewarned is forearmed!
Related Reading
 Polymer Siding: A Durable Ally for Your Home
 Protein Polymer Example: Unlocking Nature’s Building Blocks
 Polymer Lipids: Revolutionizing Building Materials
 Polymer-Gel: The Secret Sauce for Durable Buildings
 Creative Polymer Solutions for Innovative Construction
Recap