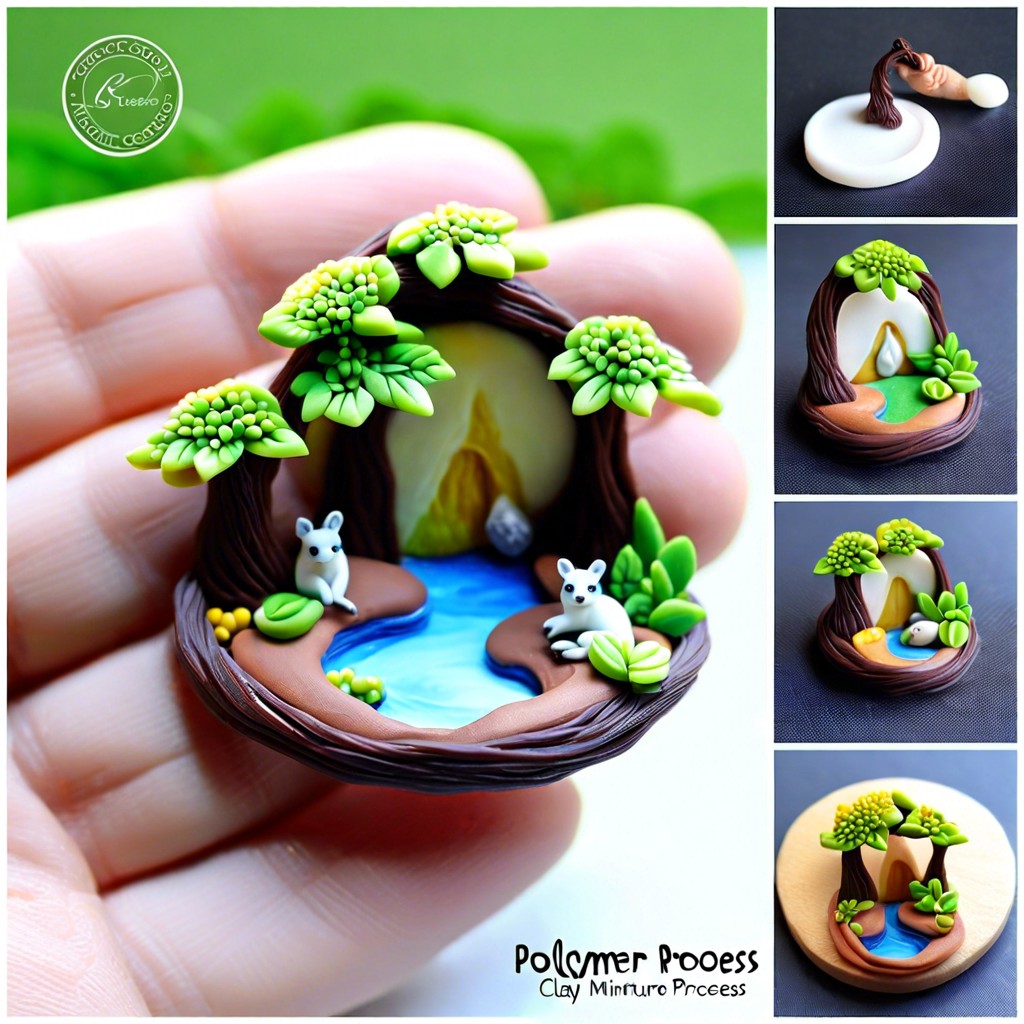
Discover how to craft charming polymer clay miniatures with simple techniques and a playful touch.
Key takeaways:
- Gather materials before starting your miniatures.
- Knead clay for better shaping.
- Use household items as sculpting tools.
- Bake according to manufacturer instructions.
- Store clay properly to maintain freshness.
Basic Steps

First off, gather all the necessary materials. Picture yourself as an artist preparing the canvas. Got your clay? Great! Now, knead it thoroughly. Think of it as a warm-up exercise for your hands.
Start shaping your masterpiece. It’s playtime for adults, so unleash your imagination! Whether it’s a tiny cat or a cute cupcake, just roll, pinch, and shape until it looks right. No pressure—perfection is overrated.
Add details with various sculpting tools, if you have them. Toothpicks and knitting needles work too. Who knew you had a multi-talented kitchen drawer? Keep your inner sculptor entertained and engaged.
Once you’re satisfied, set your miniatures aside. They need a rest before moving to the next phase—baking. Give them their beauty sleep. Rest is essential for masterpieces and humans alike!
Materials & Supplies
You’ll need some basic goodies to get the ball rolling on creating adorable polymer clay miniatures—tiny works of art that fit snugly in the palm of your hand.
First, grab some polymer clay. The world is your oyster with choices here. Fimo, Sculpey, Premo—sounds like an epic wizard lineup, right? Each brand has its superpowers: some are firmer, others are more pliable, but all are bakeable. And yes, bakeable is a word, at least in the world of polymer clay.
A rolling pin is essential for flattening clay, but here’s a twist: you can repurpose an old glass jar. Recycling at its finest, and your would-be jar-dwelling spider will appreciate the gesture.
Color is key! Be the Picasso of miniatures with vibrant pigments and pastels. Just like Grandma’s hair.
Remember, cutting tools are friends, not foes. Toothpicks, craft knives, and even the humble kitchen knife can aid your clay conquest, unless your kitchen knife was previously tasked with slaying dragons.
Lastly, let’s not forget storage. Heads up, using oven-bake clay comes with the existential dread of accidentally baking it before you’re ready. Store it in an airtight container, away from heat and light. Unless you want a premature creation that kind of resembles modern art.
There you have it, the basics to fuel your miniature-making journey.
Clay Cutting and Sculpting Tools
For crafting those delightful miniatures, you’ll need trusty cutting and sculpting tools. Think of them as your sculptor’s fairy godmothers. Choose wisely, and you’re halfway to miniature greatness.
Sharp blades are essential for precise cuts. Opt for craft knives with replaceable blades to keep them fresh and keen—as sharp as your wit during family game night.
Sculpting tools come in all shapes and sizes, similar to the mysterious contents of your junk drawer. Go for a basic set that includes a ball stylus, a needle tool, and a variety of shaping instruments.
To add texture or intricate designs, experiment with household items. Old toothbrushes, for example, can create unexpected patterns. Just make sure it’s retired from dental duties first!
Lastly, consider investing in a pasta machine—yes, the one meant for spaghetti. It can help you roll out perfectly even sheets of clay. Plus, it’s sure to spark some amusing kitchen confusion. Who knew art could be this comical?
Baking
Bake it till you make it! But not actually, because miniatures made of polymer clay can get a tad wonky if baked incorrectly. Here’s the skinny on baking those adorable creations:
First, preheat your oven to the temperature specified by the clay manufacturer. Different brands, different temps. Trying it in a toaster oven might be tempting, but resist! Uneven heat can leave you with a melted blob rather than a mini masterpiece.
Place your creations on a ceramic tile or an aluminum foil-covered baking tray. Parchment paper is fantastic too—it’s all about avoiding that dreaded shiny bottom effect. Flip occasionally? Only in gymnastics.
Mind the time. Twenty to thirty minutes per quarter-inch of thickness is the rule of thumb—or finger, if your thumb was used to shape the miniature. Extend cautiously if your piece is a bit thick, watching for golden results, not toasted marshmallow ones.
Avoid resizing during baking. Your oven is not a time machine, so ensure everything is perfect before it goes in. Once done, let it cool on a safe surface, allowing the masterpiece to harden to its durable, delightful form.
Clay Storage
Storing your polymer clay is like tucking in a tiny, delicate baby for its nap. You want it safe and ready for playtime—because who doesn’t love playtime with clay? Here are some key tips:
Keep it wrapped in plastic. Think of it as a polymer burrito, safe from lint and dust. Plastic wrap, resealable bags, or airtight containers will do the trick.
Avoid mixing up your colors. Bright blue accidentally cuddling with sunny yellow might result in a greenish disaster of cosmic proportions. Well, maybe not cosmic, but definitely perplexing.
Store in a cool, dry place. Humidity and heat can lead to premature baking or stickiness. Your clay prefers the cold, just like a polar bear or a popsicle.
Label your leftovers. Trust me, one day that mysterious blob might confuse you more than an abstract painting.
And finally, keep tools separate. It’s easier to find a rare unicorn than to carve precise details with a gunked-up tool. Plus, both should be kept away from the reach of curious kiddies with sticky fingers.
Recap


