Learn how to work with oven bake polymer clay to create stunning, durable projects right from your kitchen.
Key takeaways:
- Use conventional or toaster ovens for baking.
- Preheat oven and avoid temperature fluctuations.
- Condition clay properly to prevent cracking.
- Bake at 265°F to 275°F for best results.
- Finish with varnish or paint for added flair.
Choosing the Right Oven and Baking Surface
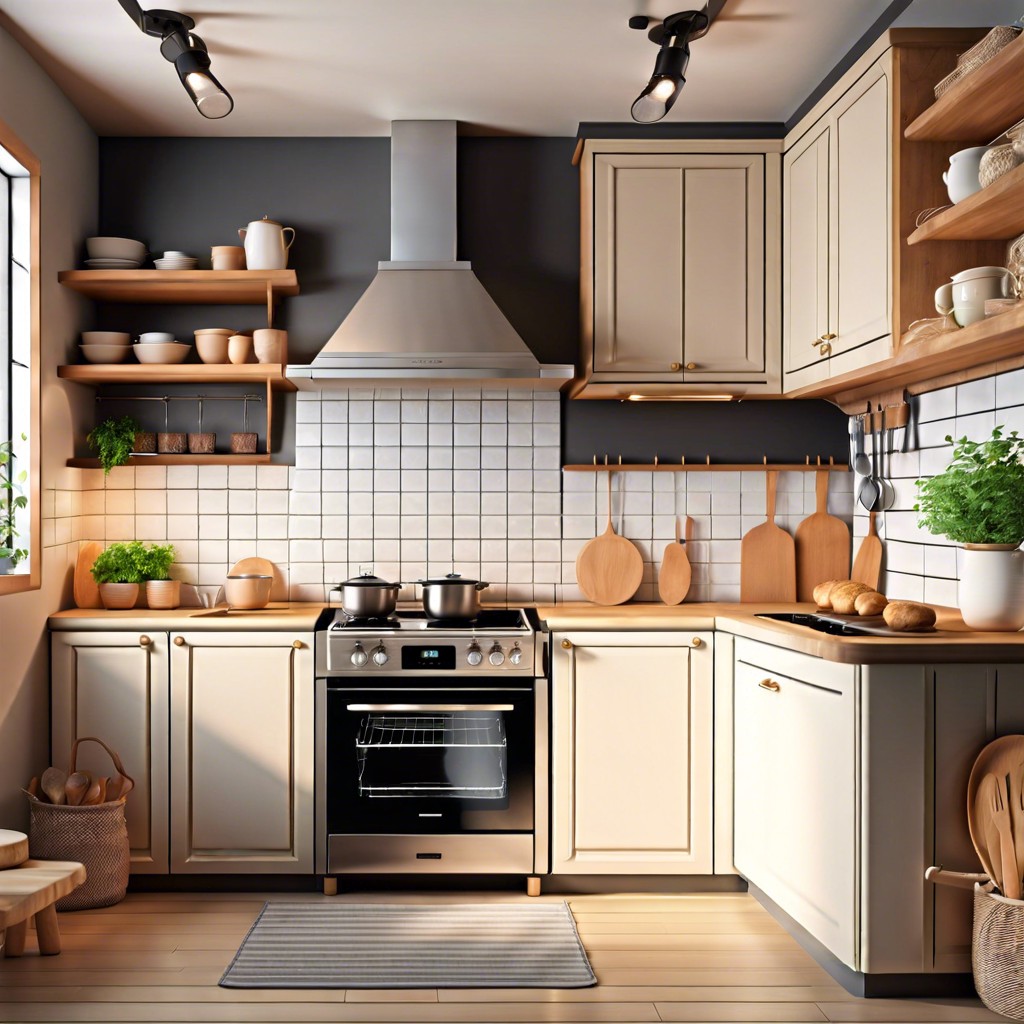
To bring your polymer clay creations to life without unintended charcoal look, it’s critical to use the right oven and baking surface. Regular household ovens are perfectly fine. Avoid microwave ovens, unless you want to create polymer popcorn, which is not recommended.
A conventional oven or a toaster oven will do the trick. Just make sure they are in good working condition with an accurately calibrated thermostat. Nobody wants to guess that baking time!
Place your clay masterpiece on a ceramic tile or glass plate. These surfaces distribute heat evenly, like a pizza stone for your crafty delights. Avoid aluminum foil to make sure that your creation doesn’t end up with a wrinkly surprise bottom.
Preheat the oven before inserting your piece. This prevents temperature fluctuations that can lead to cracks. Patience, dear artist, is key. With these steps, your polymer clay project will be as stunning as you envision it!
Preparing and Conditioning the Clay
Preparation is key. Think of it like kneading dough but with less flour and fewer judgmental onlookers in aprons. Before you know it, you’ll be well on your way to crafting masterpieces.
Start by tearing off a chunk of your polymer clay, just like Al Pacino in a crime thriller—be decisive.
Warm it up in your hands. This isn’t just a bonding moment; it’s essential. The warmth makes the clay pliable, like a cat stretching in the sun.
Conditioning is vital. Roll the clay into a ball, then flatten it. Roll, flatten, repeat. It’s the closest you’ll get to a clay-inspired workout. This process aligns the particles and prevents cracking disappointment later.
If the clay resists, play smooth with it. Use a pasta machine or even a rolling pin to assist in achieving that perfect texture without breaking a sweat.
Keep an eye out for those sneaky air bubbles. They love to spoil the party when baking begins. Make a few tiny pokes with a needle or toothpick to keep them at bay.
Finally, wrap unused clay tightly, or it’ll dry up faster than last season’s fashion trends. Use airtight containers or plastic wrap to prevent your investment from becoming a crumbly mess.
Ready your tools and creativity—it’s time to get crafting!
Setting the Correct Temperature and Time
Temperature is the secret sauce behind polymer clay’s magical transformation from squishy blob to art piece. But beware, setting it wrong might turn your masterpiece into a culinary crime scene. Usually, the ideal temperature hovers around 265°F to 275°F (that’s 129°C to 135°C for those on the Celsius team). Check the package though, because every brand thinks they’re special and might have different instructions.
Time is just as vital. Too short, and you’ll have a floppy mess that even your dog might reject. Too long, and you might end up with something resembling toxic waste. Typically, 15 to 30 minutes per 1/4 inch of thickness is the sweet spot. Think of it as giving your clay a spa treatment—neither too hot, nor too long, but just right! Keep an oven thermometer handy to monitor the real temperature in the oven. We trust gadgets more than oven dials—they like to fib.
If in doubt, test your clay. A tiny piece sacrificed to the baking gods can save your main project from impending doom.
Baking Techniques for Even Results
Let’s dive into the secrets of achieving a perfectly baked polymer masterpiece, shall we? Imagine the disappointment of crispy edges with a gooey center. A little patience goes a long way in avoiding this baking catastrophe.
Firstly, preheat your oven. Polymer clay is like a grumpy cat; it hates surprises. Let the oven warm up for about 15 minutes to ensure consistent heat distribution.
Use a dedicated baking tray or ceramic tile. These surfaces ooze stability and ensure an even-heated foundation. Treat yourself to parchment paper for extra non-stick bravado—no more sticky situations.
Tent your piece with aluminum foil to protect it from accidental over-browning. It’s like a tiny, shiny blanket for your clay.
Sporadically check the temperature with an oven thermometer. Ovens sometimes have a mind of their own, diverging from the dial setting like a rebellious teenager.
If your creation is a thicker marvel, lower the temperature slightly and lengthen the bake time. Think of it as a slow-and-steady marathon runner, rather than a short-distance sprinter.
Remember, cooling the clay properly post-bake is key, so don’t rush it. Happy baking!
Testing and Finishing Your Polymer Clay Project
Once your polymer clay masterpiece emerges from the oven, it’s time to make sure it’s perfectly baked. Gently tap it—like you’re checking if a watermelon is ripe—if it sounds solid, you’re golden. If it feels squishy, it needs more time in the oven.
Let it cool completely to avoid any fingerprint drama. Ever accidentally touch a freshly baked cake? Similar, but with clay.
To take your creation from basic to fabulous, consider adding a coat of varnish. Choose between matte, satin, or glossy finishes, depending on whether your clay wants to be the star of the show or keep things low-key.
Remember, sanding and buffing can eliminate any rough edges or fingerprint faux pas. Just don’t get carried away and turn your sculpture into a marble statue!
Lastly, if you want to add details or even blush your clay figure, some acrylic paint can do wonders—just don’t try to give your clay a full makeover unless you’re ready for a ‘clay-tastrophe’.
Related Reading
 Polymer Siding: A Durable Ally for Your Home
 Protein Polymer Example: Unlocking Nature’s Building Blocks
 Polymer Lipids: Revolutionizing Building Materials
 Polymer-Gel: The Secret Sauce for Durable Buildings
 Creative Polymer Solutions for Innovative Construction
Recap