Discover practical tips for keeping your polymer clay in perfect condition.
Key takeaways:
- Use airtight containers for moisture control.
- Store in a stable, moderate temperature.
- Keep clay covered to avoid dust contamination.
- Label and categorize for easy access.
- Separate clay from reactive materials and tools.
* Choose the Right Container

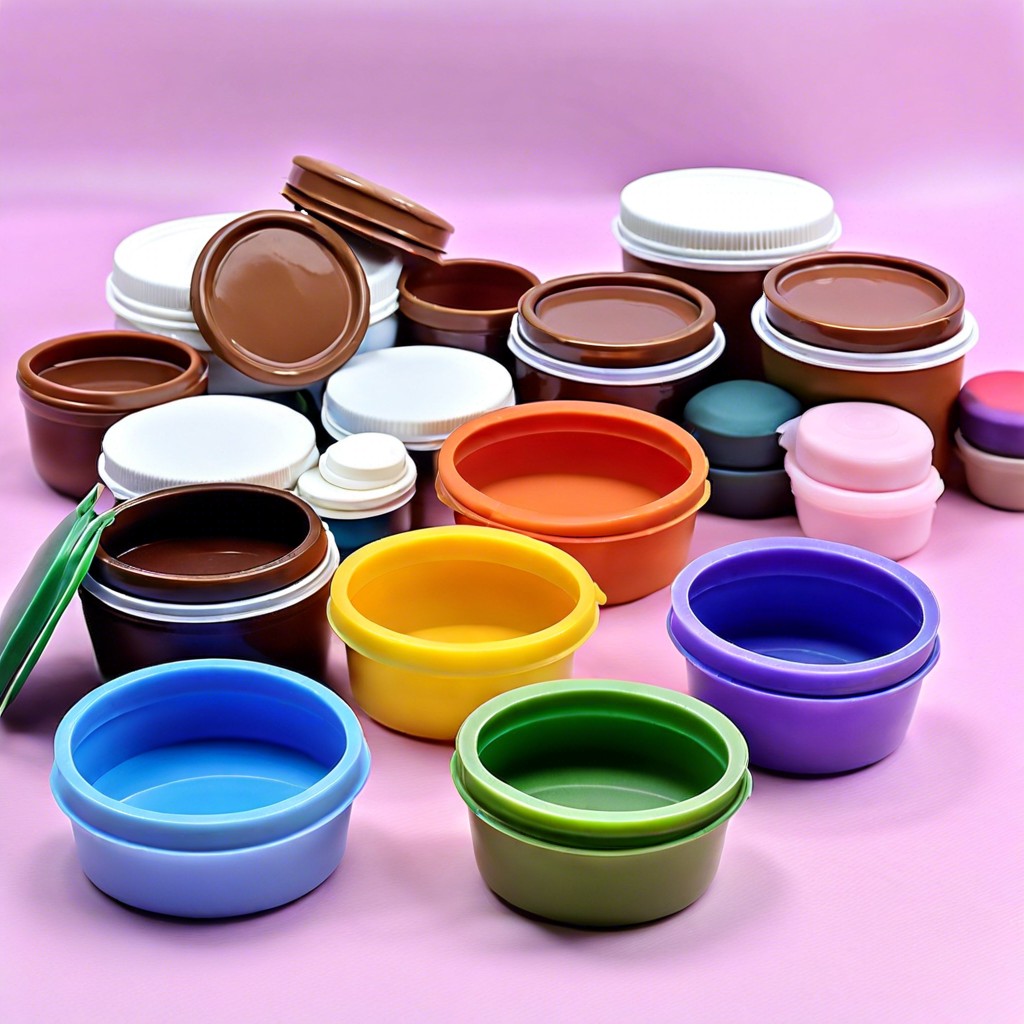
Plastic containers with airtight lids are your best friends. They keep the clay from drying out and becoming a sad, crumbly mess. Glass jars work in a pinch, but handle with care to avoid a shattering disaster.
Opt for clear containers. This way, you can see your beautiful rainbow of clay without popping every lid open. Transparency helps when you’re in a creative frenzy.
Dividers inside the containers can be nifty. They stop different colors from mingling and creating accidental abstract art.
Stackable containers save space. Unless you enjoy accidentally creating a game of polymer-clay Jenga every time you start a project.
* Control Temperature
Temperature control is key. Polymer clay hates extremes. Too hot or too cold, and it’s an absolute diva. Keep it in a room with stable, moderate temperatures — no freezing basements or sweltering attics.
Direct sunlight is a no-go. It’ll bake your clay like a sad little cookie, leaving you with a crumbly mess. Make sure the storage area is shaded or enclosed.
Need storage ideas? Closets work well. Cabinets, too. Basically, if it’s comfy for you, it’s likely a five-star spa for your polymer clay.
* Prevent Dust Contamination
Dust is the arch-nemesis of polymer clay. It sneaks in and settles on surfaces, ruining your smooth finish. So, how to keep it out?
Store your clay in airtight containers. This ensures that the only thing getting in is, well, nothing. When working with your clay, wipe your workspace and tools. A quick swipe with a damp cloth does wonders.
Consider using plastic wrap or wax paper before storing. Wrap your clay to create a dust barrier within the container. Think of it as a snuggly blanket for your clay.
Keep your storage area clean. Regularly dust and tidy the shelves or drawers where your clay resides.
Finally, if your clay looks like it’s been through a sandstorm, use a baby wipe or a piece of tape to gently remove any pesky particles. Bam, dust-be-gone!
Simple steps, big impact. Dust will have to find a new hobby.
* Label and Categorize
Ever tried hunting for the perfect shade of blue in a mountain of polymer clay? It’s a bit like searching for a needle in a haystack, but with more colorful frustration. Labeling to the rescue!
Grab some containers and sticky labels. Jot down color names, brands, and even baking temperatures if you’re feeling fancy.
Categorize by color families or project types. Blues with blues. Reds with reds. You get the picture.
Stack these neatly labeled beauties in a drawer or shelf, and watch your stress melt away like clay in an oven.
* Store Separately From Other Materials
Keeping polymer clay away from other materials is crucial. Some materials can react with the clay, leading to unwanted chemical chaos. Think of it like a bad roommate situation. Here are a few tips to avoid that drama:
Firstly, avoid storing clay near paints or solvents. These can leak and mess up your masterpieces in the making. Yikes!
Secondly, metals can be tricky. Some can discolor your clay or even corrode. A little separation goes a long way.
Finally, store clay tools separately too. This prevents any cross-contamination and keeps your clay in pristine condition. It’s like giving each material its own comfy apartment.
Recap


