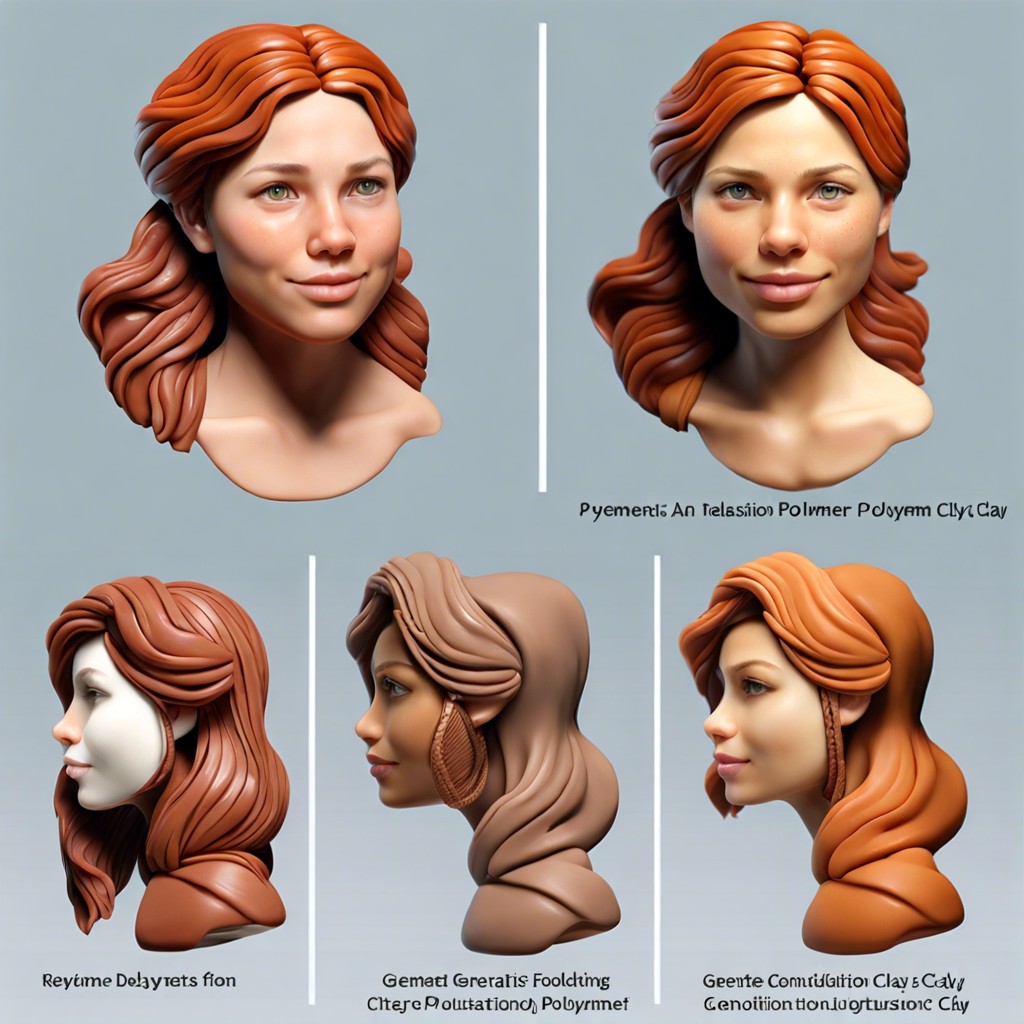
Learn how to smooth polymer clay with easy techniques that will make your creations look professional and polished.
Key takeaways:
- Condition your clay for a smooth and pliable texture.
- Use sandpaper to refine the surface and remove imperfections.
- Buff your piece for a professional sheen.
- Remove fingerprints and minor imperfections with isopropyl alcohol.
- Add a glaze or finish for a polished and vibrant look.
Condition Your Clay

To get started, make sure your clay is well-conditioned. This helps to make the clay soft, pliable, and free from air bubbles. Here are some key points to remember:
Warm it up. You can use your hands to knead the clay or even sit on it (yep, you read that right) to make it more manageable. Heat makes the clay softer.
Roll it out. Use a rolling pin or a dedicated clay roller to flatten and stretch the clay. This helps unify its texture.
Fold and repeat. Fold the clay over itself and roll it out again. Repeat this several times. It’s clay yoga.
Use a pasta machine. If you’re feeling extra fancy and have one handy, a pasta machine works wonders for conditioning polymer clay. Plus, it’s fun to feel like an Italian chef in your craft room.
Use Sandpaper
Start with a coarse grit sandpaper, around 400. This will help smooth out significant imperfections. Hold your clay piece firmly and gently rub the surface in circular motions. Remember, you’re sanding clay, not your kitchen table!
Next, switch to a medium grit, like 800. This step refines the surface. Keep the circular motions going; you’re doing great. It’s like polishing a prized apple.
Finally, use a fine grit sandpaper, say 1200. This should make your piece feel smoother than a baby panda’s belly. Rinse with water frequently to check your progress and to prevent clogging the sandpaper.
Patience is key. Don’t rush. Imagine you’re giving your clay a spa treatment. Burnished to perfection, your clay piece is now red-carpet ready.
Buff Your Piece
Once your polymer clay piece is sanded and free of rough spots, it’s time to bring out the sparkle. Buffing not only smooths the surface but also adds a professional sheen.
You can use a soft cloth or a piece of old denim. Think of it as giving your clay a mini spa treatment. Wrap the cloth around your finger and gently rub your piece in small, circular motions. Your muscle power will do the trick!
For larger projects, a dedicated buffing wheel might be your new best friend. These handy tools can speed up the process and give an even more polished look. Always make sure the wheel is clean before use to avoid unwanted scratches.
With patience and some elbow grease, your polymer clay will glow like it’s living its best life.
Use Isopropyl Alcohol
Want to remove tiny imperfections like a pro? Grab a bottle of isopropyl alcohol, some cotton swabs or a soft cloth, and let the magic begin!
Dab the cotton swab or cloth into the isopropyl alcohol. Gently swipe across the polymer clay surface. This will dissolve and smooth out pesky fingerprints and minor imperfections. Think of it as giving your clay a spa day.
Be mindful not to soak the clay though. Too much alcohol can weaken it, causing cracks or a gooey mess. Swipe gently and let it dry completely for a flawless finish.
Now you’re on your way to clay masterpiece perfection!
Add a Glaze or Finish
Imagine giving your polymer clay creation a polished look that makes people wonder if it’s plastic or pure magic. Yep, that’s what a glaze or finish can do!
First, ensure your piece is clean and free of dust. Applying a finish over dirt is like putting sprinkles on a mud pie. Not cool.
Next, choose your glaze. Glossy finishes add shine and make colors pop like a neon sign. Matte finishes, on the other hand, keep things classy and understated, like the James Bond of polymers.
Apply the glaze using a soft brush, going in smooth, even strokes. Think of it as painting a masterpiece, only smaller and less likely to end up in a museum.
Let it dry completely. Seriously, patience is key. Touching a wet glaze is like scooping up soup with a fork; frustrating and messy.
For the overachievers, consider a second coat. You’ve already come this far, why not add that extra sparkle?
Presto! You’ve turned your humble lump of clay into a showstopper.
Recap


