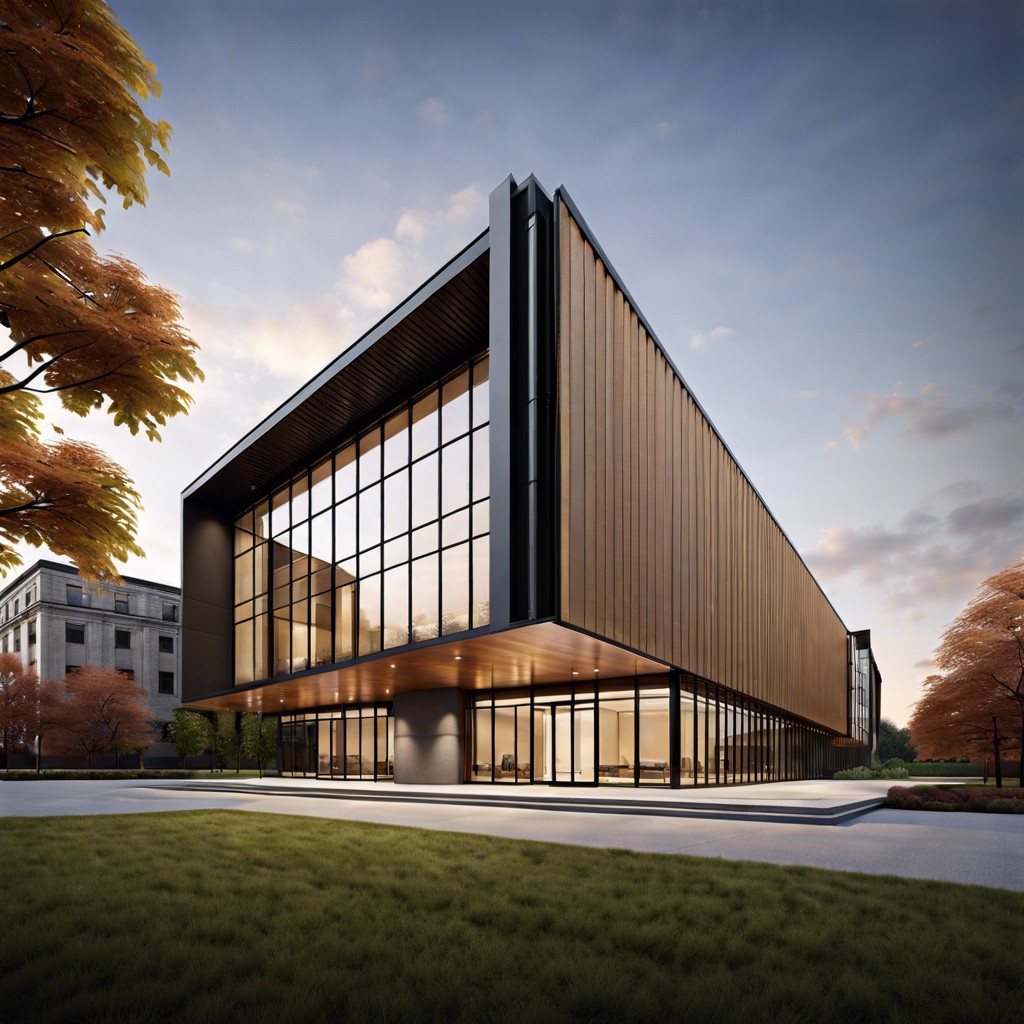
In this article, we will guide you through the process of installing wood siding on a metal building to enhance its aesthetic appeal and durability.
If you’re looking to add a rustic touch to your metal building, installing wood siding is an excellent option. This article will guide you through the process of attaching wood siding to a metal structure, covering everything from choosing the right type of wood and the necessary tools, to the actual installation process.
With step-by-step instructions and expert tips, you’ll have all the information you need to successfully complete this project. So, whether you’re a seasoned DIY enthusiast or a first-time builder, this guide will equip you with the knowledge to transform your metal building with a stylish wooden facade.
Key takeaways:
- Choose the right wood siding for your metal building
- Prepare the metal building properly before installation
- Install furring strips for a solid foundation
- Attach wood siding to furring strips with rust-resistant screws
- Maintain and preserve wood siding to extend its lifespan
Selection of Wood Siding for Metal Buildings
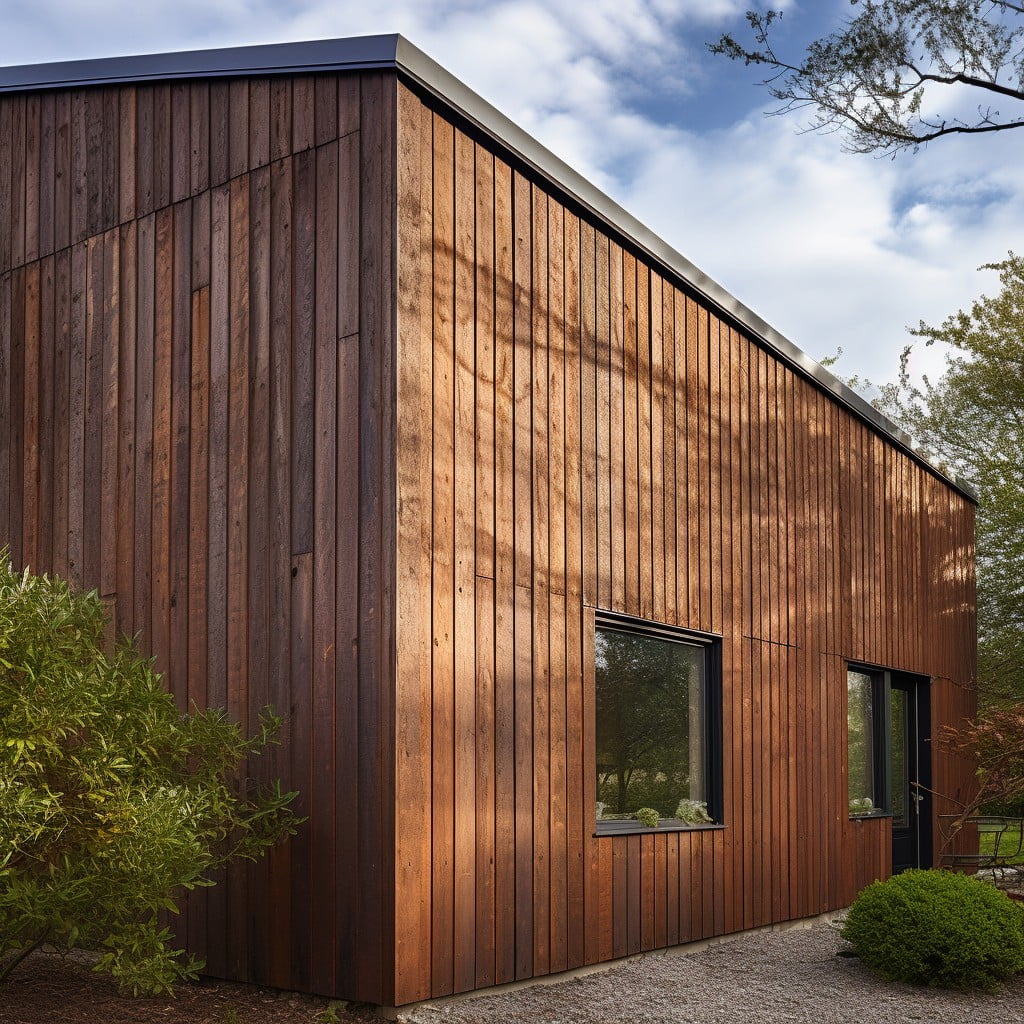
When choosing wood siding for your metal building, consider factors like durability, aesthetics, and maintenance requirements.
Hardwoods such as cedar or redwood are popular choices due to their inherent resistance to rot and insects, as well as their attractive grain patterns.
If budget is a concern, engineered wood or fiber cement may be suitable options.
These materials mimic the look of real wood but often come with better warranties and lower maintenance.
Additionally, check whether the wood has been treated for extra protection against weather and insects.
Pre-primed or pre-painted wood siding can save time during installation, but bear in mind that these options may limit your color choices.
Lastly, environmentally-conscious builders often lean towards sustainably sourced or reclaimed wood.
These options not only lend a unique look to your building, but make it environmentally friendly as well, reducing your carbon footprint.
Remember that irrespective of your choice, all wood siding will require regular maintenance to keep it looking its best and to ensure its longevity.
Preparation of Metal Building for Wood Siding Installation
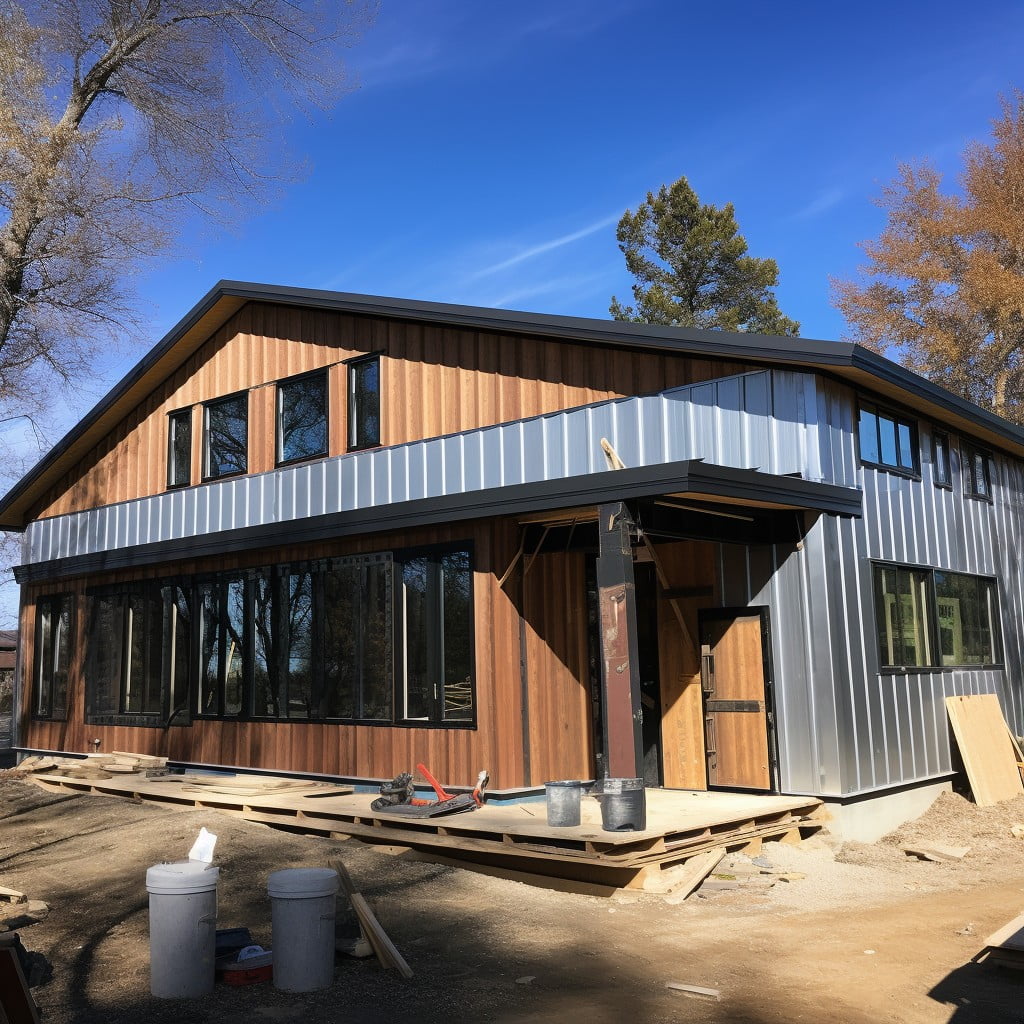
Before delving into the installation process, it’s vital to prepare the metal building properly. Start off by assessing the metal surface and ensuring it’s in good condition. Any rust should be removed using a wire brush, while dirt and old paint can be done away with by using a pressure washer. Once cleaned, allow the surface to dry completely.
Next, focus on the building’s flatness. The metal wall should be as flat as possible for the siding to sit correctly. In instances where you find bumps or dents, consider getting them professionally repaired.
A well-lit workspace is paramount. Ensure you have good lighting to detect any flaws or issues promptly. Safety considerations, such as using gloves and safety glasses during preparation, should not be overlooked.
The last stage is to determine the starting point for the siding. Traditionally, installation begins at the bottom and moves upwards. Hence, outlining the starting point helps in accurate installation. Measure the height and distance to ensure the first wood siding panel sits level. Marking these points with a chalk line may yield better results.
Remember, a well-prepared wall can significantly enhance the finish of the siding and its lifespan. So, invest ample time and effort into this critical phase.
Installing Furring Strips On Metal Building
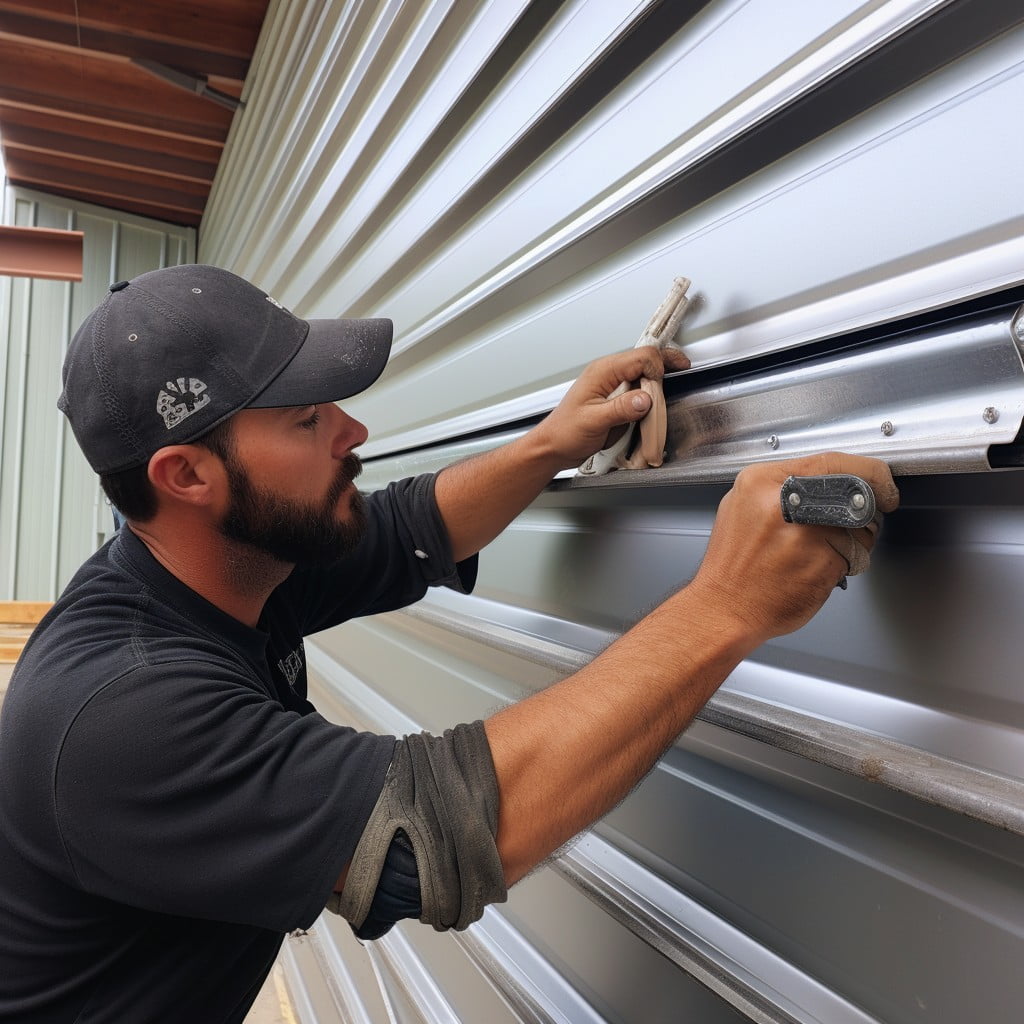
To provide a solid foundation for the wood siding, the first step involves attaching furring strips to the exterior of your metal building. These are long, thin strips of wood or metal that create a gap between the siding and the building, allowing for proper ventilation and drainage while keeping the siding from touching the metal directly.
1. Begin by marking the spots where furring strips will be attached. Usually, they should be every 16 to 24 inches on center across the building’s exterior.
2. Using a level, check the alignment of your markings to ensure that your wood siding will be straight once installed.
3. Secure the furring strips to the metal structure with appropriate fasteners, often self-drilling screws for metal buildings, leaving no point unsupported.
4. Cross-check the installation. All strips should be securely in place and aligned before moving on to the next step.
By having the furring strips correctly installed, you are creating a buffer zone that will maintain the integrity of your wood siding over time, increasing both the durability and aesthetic appeal of your construction project.
Attaching Wood Siding to Furring Strips
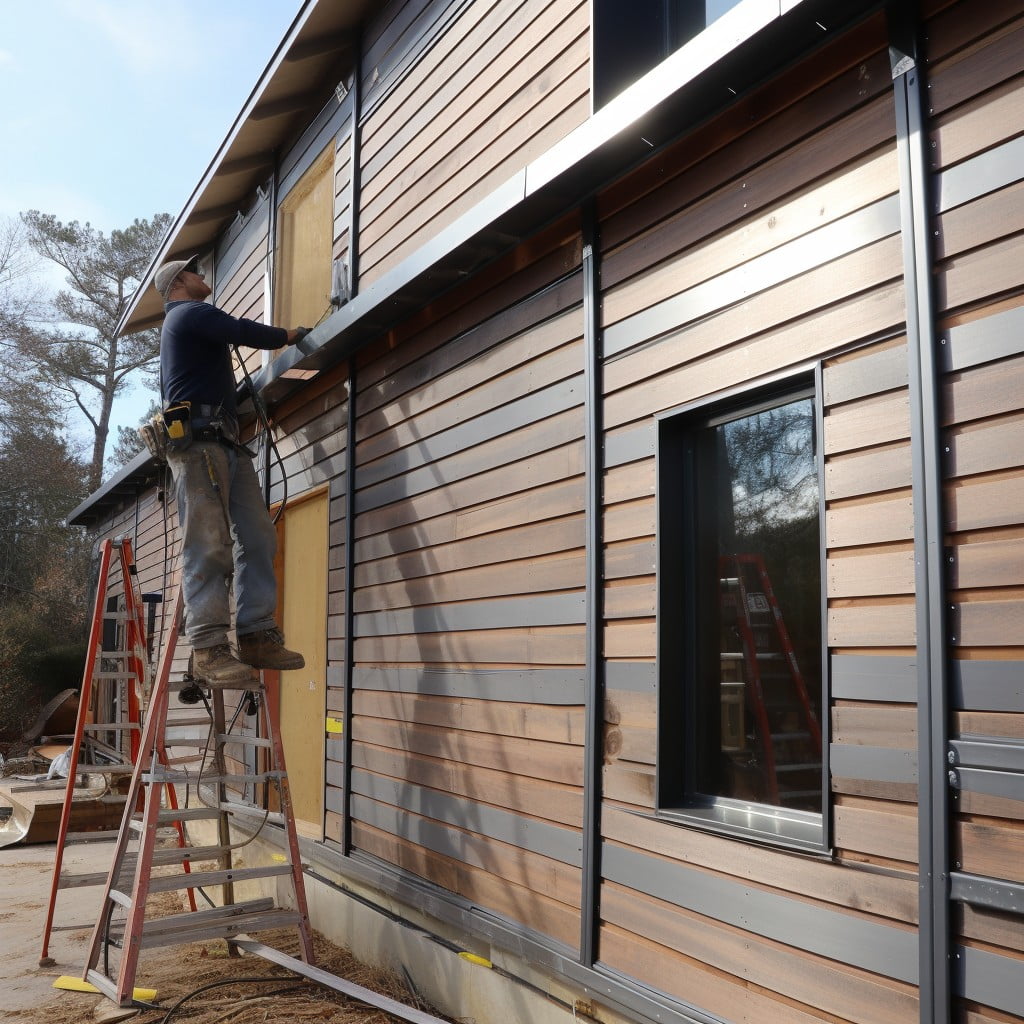
Begin by positioning the wood siding horizontally or vertically based on personal preference or desired aesthetic. It’s key to note that the first siding panel must be flawlessly level for subsequent panels to align accurately.
Carry out a dry run before commencing the actual installation. This helps to avoid costly errors or wastage. Once confident, proceed to attach the first wood siding panel using rust-resistant screws, ensuring they penetrate through the siding, furring strips, and into the exteriors of the metal building.
To achieve seamless overlaps, offset each row of panels by half its length compared to the preceding one. Also, secure the top of every panel just beneath the bottom edge of the upper panel. This technique keeps fasteners hidden, enhancing aesthetics.
Two critical aspects demand attention. First, in spacing the screws, follow the guideline of one screw for every 16 inches. Second, always pre-drill holes to prevent splitting the wood. Following these practices assures solid, secure attachment while also preserving the integrity of the wood siding.
Remember, while installing upper rows, overlap joints by at least an inch to provide optimum protection from moisture infiltration. Moreover, stagger the joints in each row to create a varied, organic look.
In the case of corners, use trim boards along the edges for a finished, polished appearance. With cautious attention to detail, and careful slide adjustments, the result will be a stunning, robust, and weather-resistant exterior.
Considerations for Insulated Foam Panels in Metal Buildings
Incorporating insulated foam panels into your project can positively impact the overall energy efficiency. These panels, placed between furring strips, create an effective thermal break, reducing the need for additional heating and cooling. They come in various thicknesses, providing flexibility in R-value selection.
However, they present some challenges. Firstly, their installation requires precision as uneven or inappropriate fitting can lead to gaps and consequent heat loss. Secondly, additional fire safety measures may be necessary as these panels are typically flammable. Lastly, ensure compatibility of your chosen wood siding with the foam insulation. Certain types of wood may react negatively to the foam, causing distortions or other structural issues.
Use of Reclaimed Wood Siding Over Furring
In the quest to merge aesthetics with sustainability, reclaimed wood provides an appealing option. When installing it over furring strips, there are a few points to keep in mind:
1. Ensure each piece of wood is dry and straight. This will prevent future warping and twisting.
2. Check guide lines constantly. They must be parallel and level to ensure a straight alignment.
3. Apply a space of about 8 inches between furring strips. This grants substantial support for the reclaimed wood.
4. Use corrosion-resistant screws to fasten siding. As steel could potentially galvanize the screws, rust resistance is crucial.
5. Apply a sealant or weather-resistant stain to the reclaimed wood.
Remember, each piece of reclaimed wood is unique, imparting character to your metal building.
Benefits of Wood Siding On Steel Buildings
Aesthetically, wood siding introduces a rustic or vintage charm to otherwise austere steel structures, offering a contrast that can blend in harmoniously with the surroundings. This versatility of design and style helps maintain visual interest.
Durability is another compelling reason to choose wood siding, particularly when treated and maintained properly. It can withstand harsh weather conditions, adding to the longevity of the structure.
Additionally, wood siding provides excellent insulation properties. It helps reduce heat loss during colder months and keeps the building cool in summer, contributing effectively to energy efficiency. Unlike metal, wood doesn’t readily conduct heat, promoting comfortable internal temperatures.
Finally, it’s worth noting the eco-friendliness of wood. As a renewable resource, wood siding’s production has a lower environmental impact than many other materials. Furthermore, various types of wood siding are available from sustainable sources or as reclaimed materials, providing a greener choice for building projects.
Maintenance of Wood Siding On Metal Buildings
Upkeep is critical to the longevity and appearance of your siding. Regular washing, ideally on a semi-annual basis, helps remove dirt and other debris, preventing potential damage. Use a power washer on a lower setting to avoid any harm to the wood.
Additionally, you should regularly inspect the siding for any signs of damage. Look for cracks, warps, or rotten areas. Addressing these issues early can prevent further damage.
Treatment of the wood should be done every 3-5 years to protect it from pests, rot, and harsh weather conditions. For the treatment, you can use a quality wood preservative, oil, or paint approved for external use.
Finally, monitor the screws or nails holding the siding in place. Over time, these could rust or come loose, adding another layer of necessary periodic inspection. By maintaining your wood siding efficiently, you will extend its lifespan and enhance the metal building’s overall aesthetic look.
Considerations of Wood Warping and Expansion
Managing the natural tendencies of wood to warp and expand is critical to maintaining the structural integrity and appearance of your building. Here’s how to tackle this head-on:
1. Source Quality Material: Always use high-quality, kiln-dried lumber which is less susceptible to changes in shape and size due to moisture content fluctuations.
2. Correct Installation Method: Place the siding vertically rather than horizontally. It allows for expansion and contraction with changes in temperature and humidity.
3. Sealing Process: Seal all sides of the siding using a high-quality water-repelling sealer. It not only ensures protection against moisture but also reduces the direct impact of UV rays.
4. Leave Space for Expansion: During siding installation, leave a small gap between boards. This allows for required expansion during hot, humid weather.
5. Consistent Maintenance: Regular inspection and maintenance can help prevent warping and extend the life of your wood siding.
These steps aid in warding off any potential structural threats from wood warping and expansion, allowing for the longevity of your structure.
Treatment and Preservation of Wood Siding On Metal Buildings
Prompt and regular maintenance is crucial to extend the lifespan and maintain the aesthetics of your wood siding. Here are some critical points to keep in mind:
1. Regular Cleaning: Dust, dirt, and mildew can accelerate deteriorating processes. Hence, a thorough clean with a soft brush and soapy water every six to twelve months is recommended.
2. Sealant Application: Every three to seven years, apply a fresh coat of sealant to protect the wood from moisture and UV rays. Water-based sealants are preferred for their durability and less harmful environmental impact.
3. Pest Control: Treat your siding with insecticides to deter wood-boring pests like termites and beetles.
4. Prompt Repairs: Keep an eye out for cracks or splits. Prompt repair can avoid further damage and costly replacements.
5. Annual Inspection: Hire a professional to perform an annual inspection to identify any potential issues early.
The investment in preservation aids in prolonging the durability of your wood siding, ensuring it remains an asset to your metal building structure.
FAQ
Can you put wood siding on a steel building?
Yes, you can put wood siding on a steel building, however, it's essential to have large roof overhangs to protect the wood from water damage.
Can you put wood siding over metal siding?
Yes, it is indeed possible to put wood siding over metal siding to create an appealing contrast and textured look.
How do you attach wood to metal building?
To attach wood to a metal building, utilize a #3 point, washer hex head, self-drilling screws spaced 1-1/4" from the stud edges and in an alternating pattern every 15"-18".
Can you put siding over a metal building?
Yes, it is possible to put siding over a metal building, specifically using durable, attractive wood veneers that would eventually require the application of clear finishes and semi-transparent stains for aesthetic maintenance.
What type of wood is best suited for siding a metal building?
Cedar wood is often considered the best type for siding a metal building due to its durability, natural resistance to decay, and aesthetic appeal.
What are the necessary steps in preparing a metal building for wood siding?
To prepare a metal building for wood siding, one must properly clean and dry the metal surface, install insulation and a moisture barrier, affix wooden furring strips using self-drilling screws, and then mount the wood siding onto these strips.
What specific tools and materials are required to attach wood siding to a metal structure?
To attach wood siding to a metal structure, specialized tools such as self-tapping screws, a power drill, a level, and a tape measure are required, along with the wood siding material itself.
Recap


