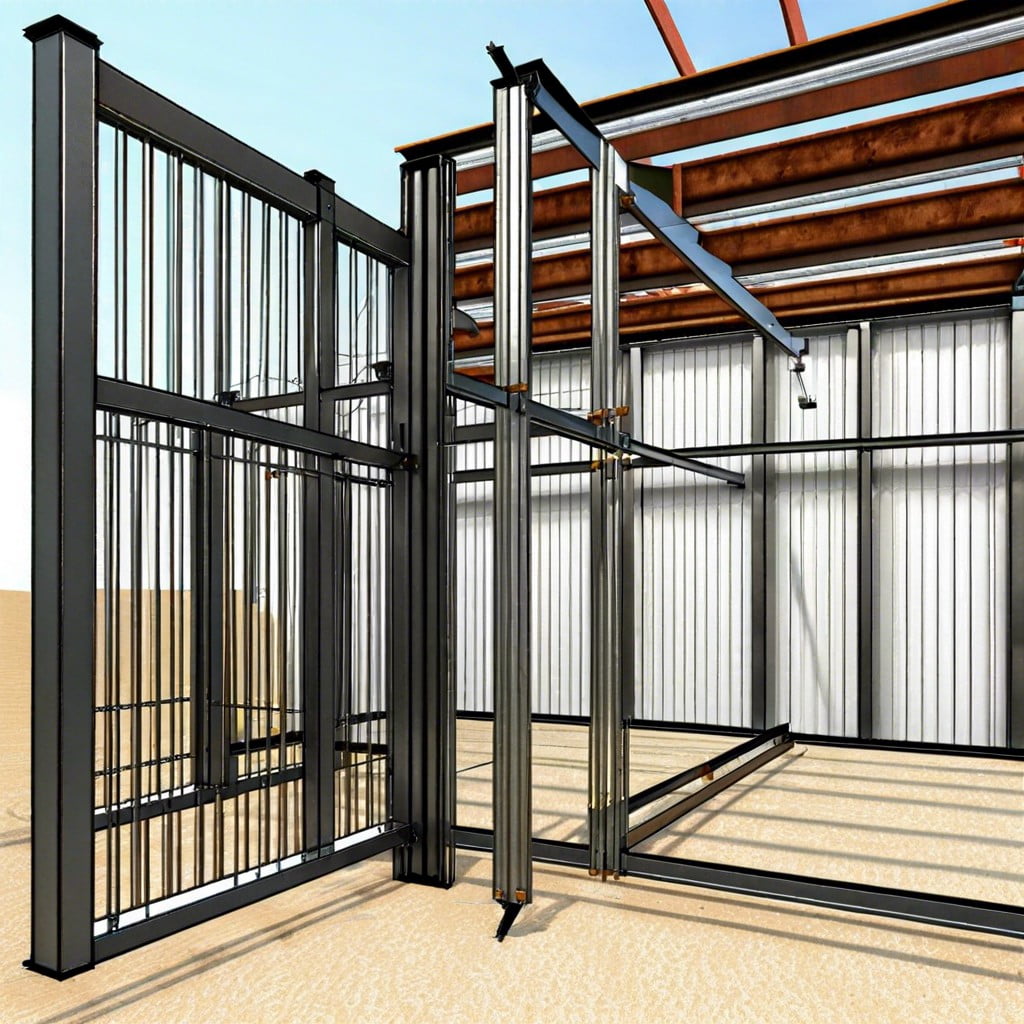
Discover a step-by-step guide on effectively mounting outside lights onto your metal building to enhance its aesthetic appeal and security.
Mounting outside lights on a metal building is a simple process that requires careful planning and the right tools. This article will guide you through the step-by-step process, covering everything from choosing the right lights, determining the best location, drilling into metal, to finally mounting and wiring your lights.
Whether you’re a seasoned DIY enthusiast or a novice, you’ll find this guide easy to follow. The details provided will ensure you complete the task safely and efficiently, leaving you with professionally mounted outdoor lights to illuminate your metal building.
Key takeaways:
- Choose the right lights for security and aesthetic appeal.
- Gather necessary tools like a drill and safety gear.
- Take safety precautions like turning off power and securing ladders.
- Mark spots, drill holes, install hardware, and wire lights.
- Test lights for functionality and maintain them regularly.
Choosing the Right Lights for Your Metal Building
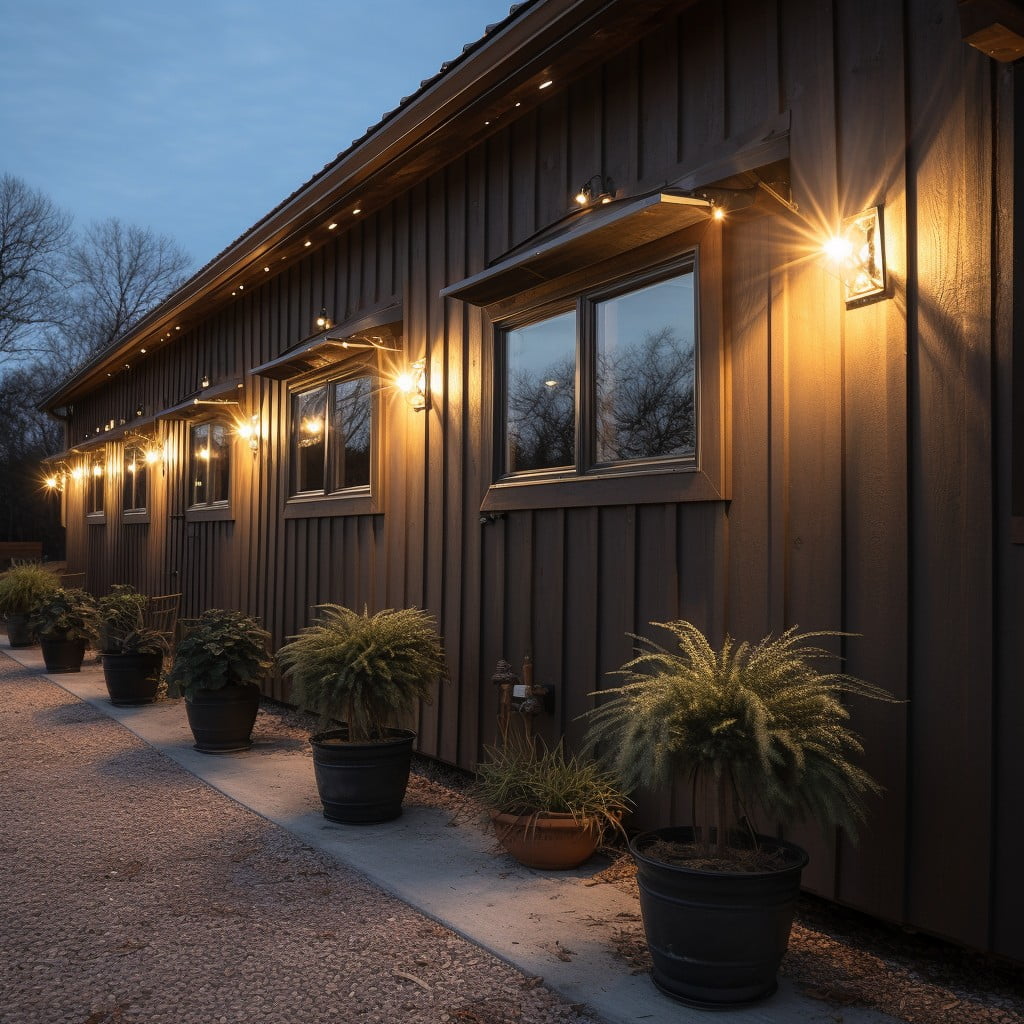
When it comes to choosing illuminations for exterior placements, several factors come into play. First, consider the purpose of the light. Security lights typically employ motion detectors, while accent lights add an aesthetic appeal to the building’s exterior. Opt for LED lights for energy efficiency and longevity, especially for large metal constructions.
The type of fixture is equally important. Durable, waterproof fixtures withstand varying weather conditions while providing consistent illumination. Choose a design that complements the architectural style of the building to enhance visual appeal.
Lastly, factor in the light intensity and color. A brighter light is practical for security, while softer, warmer tones create a welcoming atmosphere. These considerations ensure the fitting selection of outdoor lights contributes functionally and aesthetically to your metal building.
Listing the Necessary Tools for Mounting Outside Lights
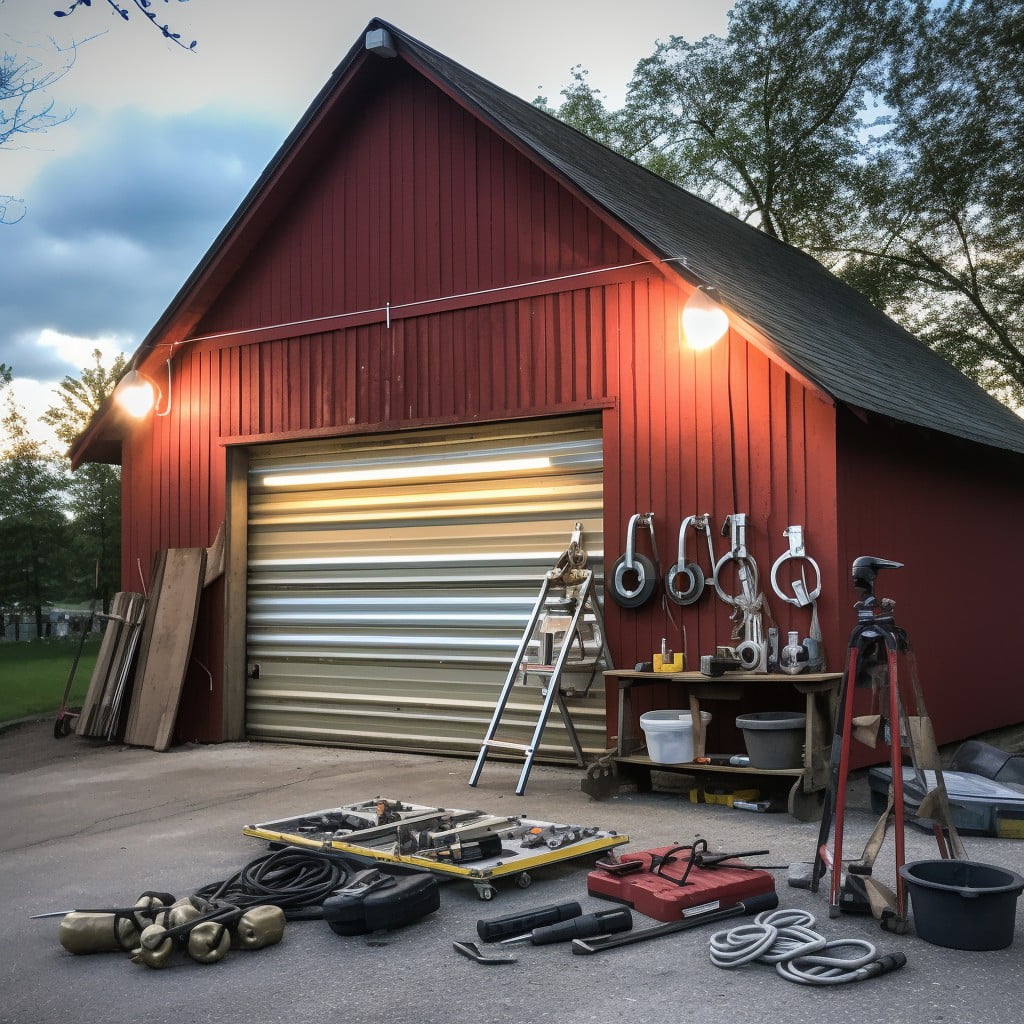
The first step towards a successful installation involves gathering the right tools. A cordless drill and a set of drill bits that can penetrate the metal siding are a must. You’ll require a silicone caulk or a similar sealing agent to protect against water infiltration. Wiring tools such as wire strippers and needle-nose pliers are needed for the electrical connections. Don’t forget a level to make sure your lights are aligned perfectly. Lastly, safety gear including gloves and safety glasses, are an indispensable part of your tool kit.
Safety Precautions During Installation
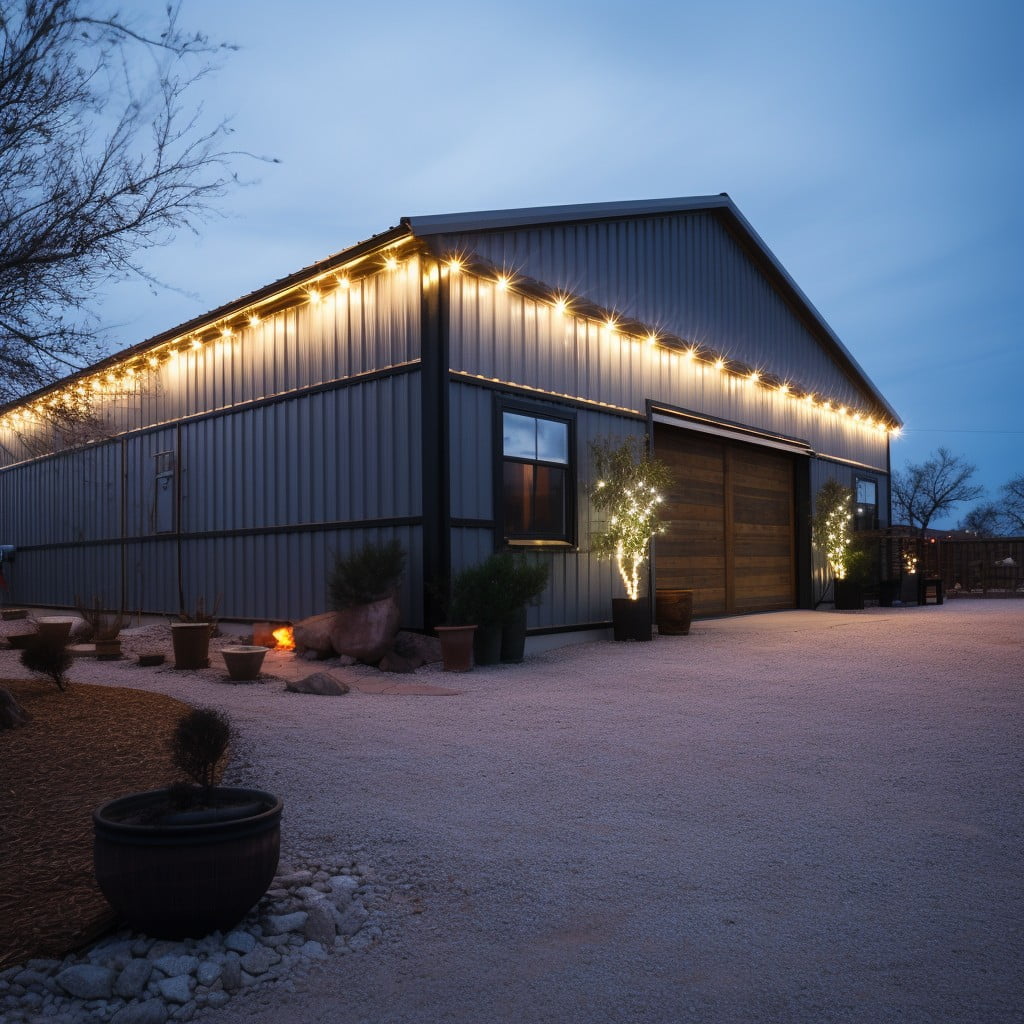
To maintain a secure environment, it’s pivotal to enforce some safety steps. Initially, always be sure to turn off the power at the main switch before starting any electrical work to avoid electrical shocks. Usage of protective gear such as safety glasses, gloves and sturdy shoes can prevent injuries.
When using ladders, ensure their stability before climbing them. They should firmly ground on a level surface to minimize any chances of accidents. Also, remember to never overreach when on a ladder to maintain your balance.
Another key factor is to prevent overloading the circuit. Correctly calculating the capacity of your existing circuits before installing additional lighting is paramount to avoid fire hazards.
Lastly, if unsure about completing the process yourself, seek professional help. A small misstep can lead to significant hazards, and sometimes, investing in professional service can assure long-term safety.
Process of Mounting Lights On a Metal Building
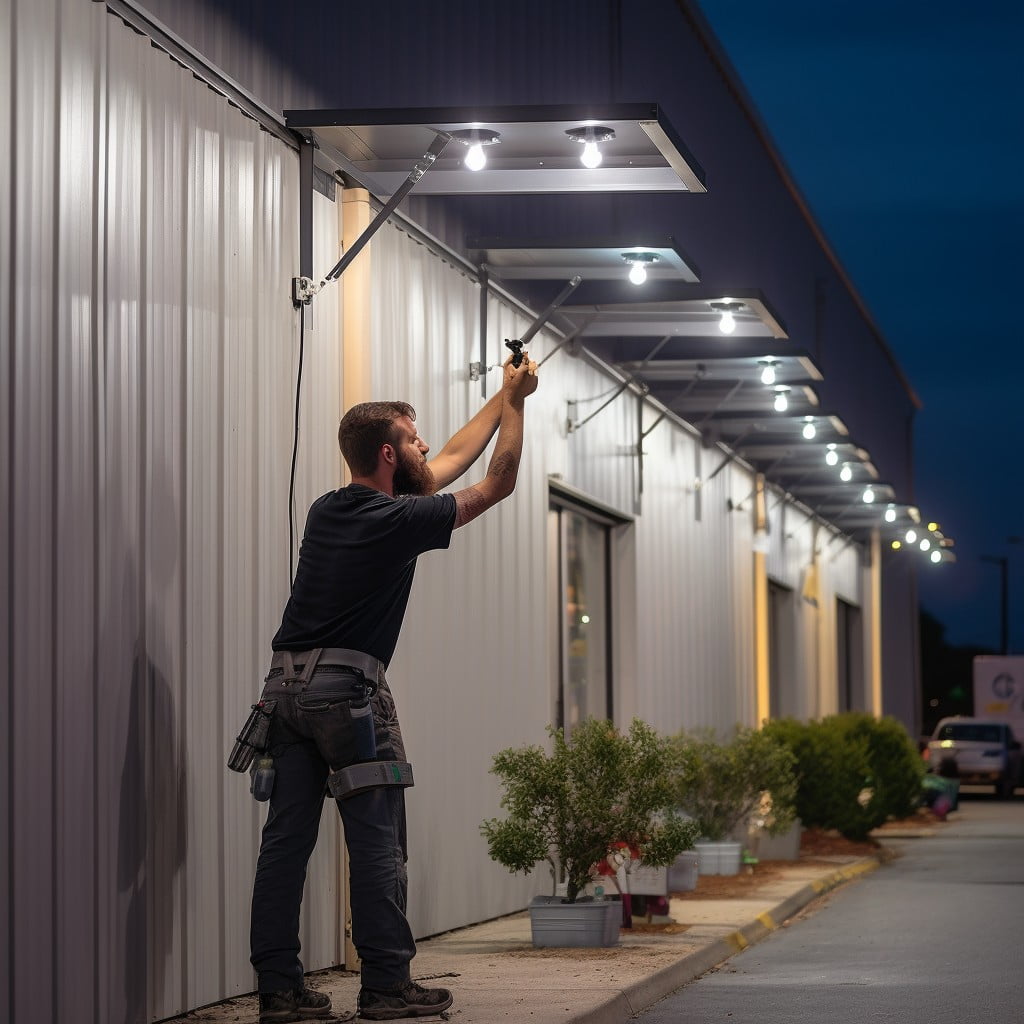
Begin by marking the desired spots for your lights; use a pencil for this step. A good practice is to position your outdoor lights high enough to cast a wider pool of light, typically six feet or higher.
Next, drilling pilot holes is crucial to prevent damaging your metal building. Check the light fixture for any particular drill bit size instructions. Using a drill, make holes at the marked spots.
Afterward, it’s time to install hardware to affix the light. The type of hardware required might differ based on the light fixture’s weight and size. Usually, it’s some form of a junction box or mounting bracket.
Now, it’s time for wiring. Make sure that the power source is turned off before you start. In general, the black wire connects to the black or gold screw on the fixture, while the white wire connects to the silver screw. The ground wire (green or copper) needs to connect to the green screw on your fixture. If the metal building has pre-existing, properly grounded wiring, utilising it would be more efficient.
Once the wiring is in place and secure, you can align your light fixture with the holes, screw it in place and secure it tight.
Remember, each lighting set comes with its own set of instructions which you should adhere to strictly. If you’re unsure about any steps in the process, it’s always safer to hire a professional electrician.
Testing the Installed Lights
Upon completion of the installation process, proper testing is integral to verify the functionality of your new outdoor lights. First, flip the electrical circuit breaker; your lights should power on. If equipped with a motion sensor, walk in front of the sensor to ensure correct detection. For solar-powered lights, you’ll need to verify operation after sunset or by mimicking nighttime conditions.
During this process, also assess the lighting patterns. The areas you wished to illuminate should be well-lit to ensure safety and visibility. If there are shadows or dark spots, you may need to re-angle your lights or install additional fixtures. Lastly, confirm each light is securely fastened—there should be no tremor when lightly shaken.
Remember, if any issues persist, consult with a licensed electrician to avoid damage to your new lights or potential safety hazards.
Maintenance Tips for Outside Lights On a Metal Building
To ensure long-lasting performance from your outdoor lights, regular maintenance is key. Start by cleaning the light fixtures. Dirt, dust or water spots can impair the amount of light coming through. Use a soft, moist cloth to gently wipe away any grime.
For metal fixtures, a mild soap solution can be used, but avoid harsh chemicals as they may damage the finish. Always remember to dry the fixtures well after cleaning to prevent water spots or rust from forming.
Checking for loosening or wear and tear is crucial. With time and weather exposure, mounting screws can become loose and need tightening. Also, routinely inspect the wiring. Any exposed or frayed wiring calls for immediate attention.
Furthermore, replace dimmed or flickering bulbs promptly to keep your building’s exterior well-lit. Opt for LED lights as they are energy-efficient and have a longer lifespan.
Finally, don’t overlook periodic checks on the light’s alignment. Make sure they continue to illuminate the desired areas, adjusting as needed. Regular maintenance contributes to the robustness of your lights and keeps your building looking its best.
Evaluating the Efficiency of the Mounted Outside Lights
Having established a dispersal pattern that optimizes functionality, monitor the actual performance of your newly installed exterior light fixtures. It’s essential to evaluate their efficiency from two angles: energy consumption and illumination quality.
Energy Consumption: Appliances with excessive energy usage can significantly inflate utility bills. In order to prevent this, opt for energy-efficient bulbs, such as LEDs, which have a long lifespan and lower energy requirement. Remember to compare the electrical usage before and after mounting the lights to quantify your energy savings.
Illumination Quality: Assess the brightness and coverage of the light fix. This is particularly important for security purposes and for creating a pleasant external environment. A well-designed lighting plan ensures that every corner of your property is well-lit, avoiding dark corners.
These crucial assessments should be carried out in different weather conditions and various times of the day. It’s also beneficial to obtain feedback from others, as they might notice areas where the lighting could be improved. Over time, as technology advances, consider updating your exterior lighting to maximize efficiency.
Finally, never overlook a periodic review of your lighting situation. It not only helps maintain an efficient lighting system but also identifies any potential issues that might require solution.
FAQ
How do you hang lights on a metal shed?
To hang lights on a metal shed, it is advisable to use magnetic lights or magnetic clips to ensure quick setup, easy removal, and to avoid causing any damage or puncturing the roof.
How do you hang lights in a metal building?
To hang lights in a metal building, you can use magnetic clips which provide a quick and easy method by simply attaching the clip to the light and placing them where desired.
How do you attach things to a metal building?
To attach items to a metal building, utilize galvanized nuts, bolts, and washers – ensuring their length and diameter are appropriate for the items being hung – and accurately measure and mark spots on the wall for attachment.
Do you need a mounting block for exterior lights?
Yes, a mounting block is needed for installing exterior lights on a house with vinyl siding to offer a flat, level surface for the fixture.
What are the recommended tools for installing lights on a metal building exterior?
For installing lights on a metal building exterior, recommended tools typically include a drill, a set of drill bits, screwdrivers, wire strippers, connectors, electrical tape, a voltage tester and a ladder.
Are there specific types of lights suitable for metal building exteriors?
LED floodlights, wall sconces, and outdoor pendant lights are typically suitable for illuminating the exteriors of metal buildings.
What safety precautions should one take when hanging lights on a metal structure?
When hanging lights on a metal structure, one should turn off the electricity, use a sturdy ladder, have a spotter, wear non-conductive gloves, and ensure the lights are compatible with outdoor use on metallic surfaces.
Recap
