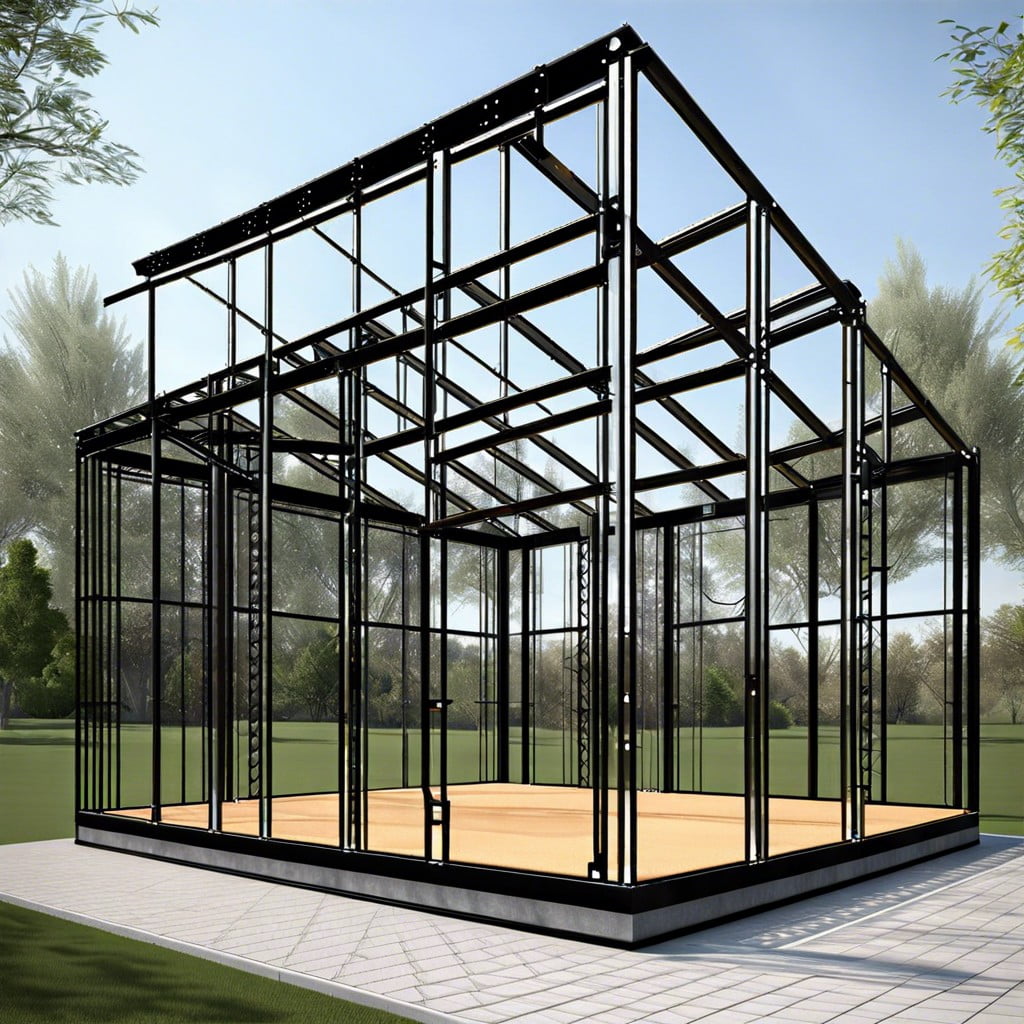
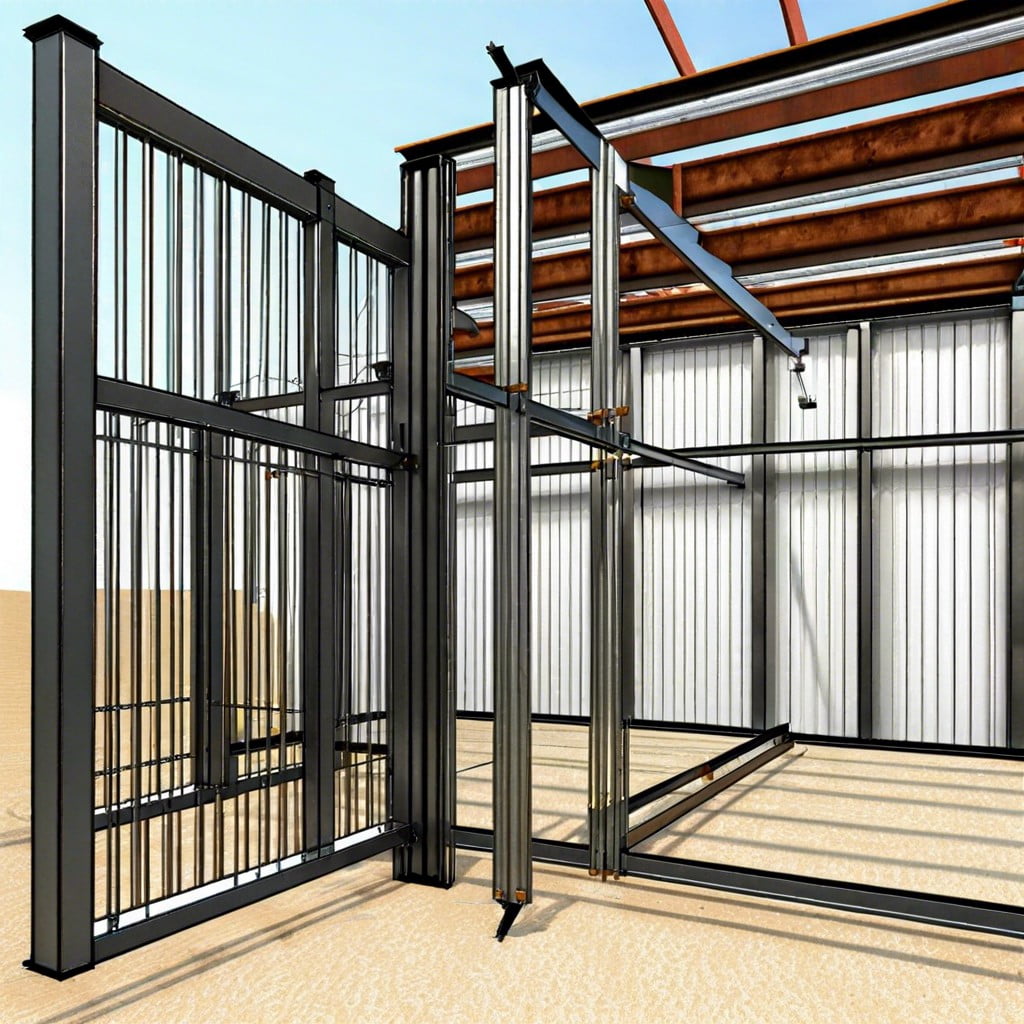
In this article, we will walk through the steps of flashing a window in a metal building properly to ensure optimal weatherproofing and insulation.
Flashing a window in a metal building is a critical step to ensure the structure’s durability and weather resistance. This process involves installing a protective layer around the window to prevent water leakage, which can lead to structural damage over time.
The task may seem daunting, but with the right tools and a systematic approach, it can be accomplished successfully. In this article, you’ll find a comprehensive guide that covers every detail of the process, from the materials needed to the exact steps to follow.
Whether you’re an experienced builder or a beginner, this article will serve as a valuable resource to help you accomplish this task effectively and efficiently.
Key takeaways:
- Types of windows suitable for metal buildings: fixed, single-hung, double-hung, casement, slider, skylights.
- Steps to install a window in a metal building: secure opening, install sill pan, set window unit, fasten window, apply flashing tape, secure head flashing.
- Flashing process for windows in steel siding: flashing preparation, sill pan installation, bottom flashing, window installation, side flashing, top flashing.
- Avoid common mistakes: follow manufacturer instructions, install flashing shingle-style, avoid contracting or stretching flashing, seal intersection points, repair damaged framing.
- Maintaining and troubleshooting window flashing: clean regularly, inspect seals, examine flashing hardware, get professional checks.
Types of Windows Suitable for Metal Buildings
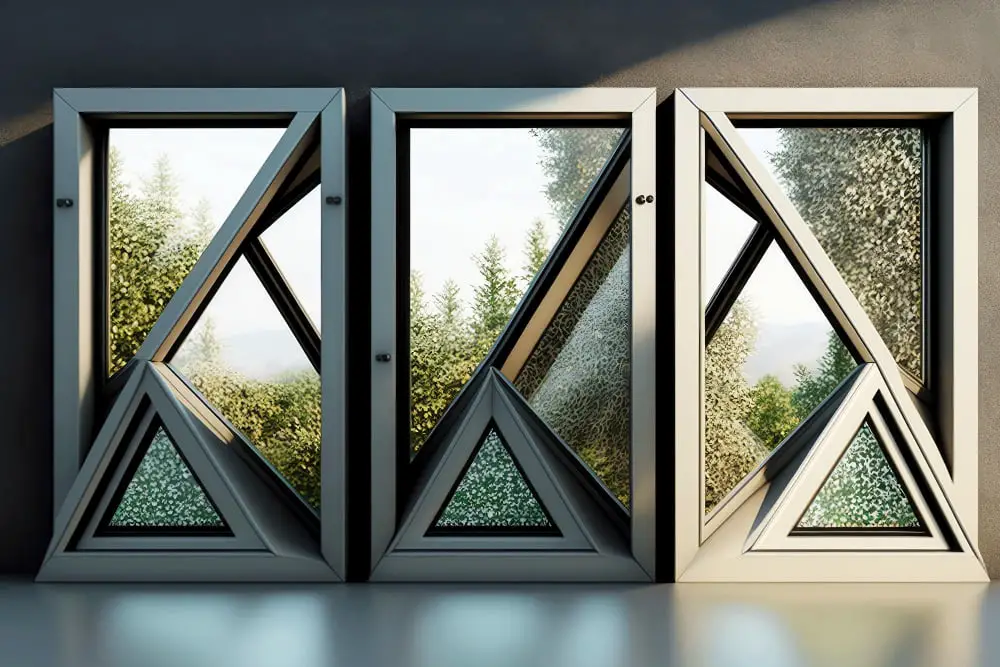
Selecting the ideal window type for your metal building is crucial for both aesthetic appeal and functionality.
1. Fixed windows: They do not open and are primarily for adding light and an aesthetic element to the building.
2. Single-hung windows: These windows feature two sashes, only one of which (typically the bottom one) moves upwards and downwards.
3. Double-hung windows: Both sashes in these windows can move, providing better ventilation.
4. Casement windows: Typically hinged at the side, these windows open outwards from the turn of a crank, ensuring excellent ventilation.
5. Slider windows: These windows open horizontally, offering an unobstructed view of the outside and ease of operation.
6. Skylights: These windows are located in the roof of a metal building, allowing for natural light to pour in from above.
Remember, selecting the right window involves balancing considerations regarding design, ventilation, energy efficiency, security, and maintenance.
Steps to Install a Window in a Metal Building
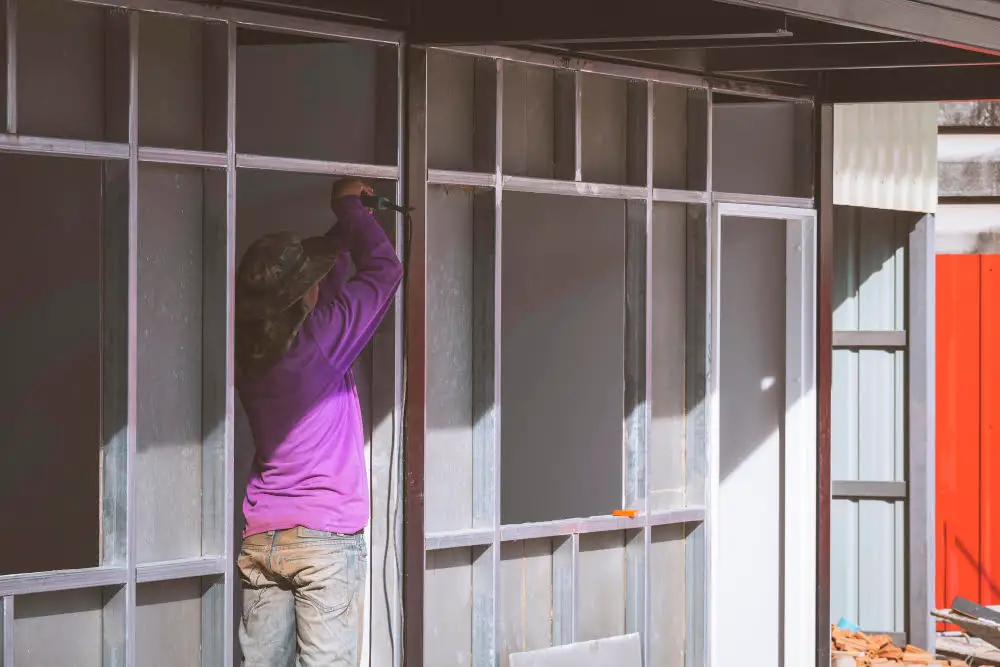
To commence, secure the window opening by measuring the dimensions accurately to avoid irregular edges. This is primarily to ensure a slick fit for your windows.
Next comes the installation of the sill pan, which serves as a line of defense against the entrance of unwanted moisture. Using a self-adhering waterproof membrane to cover the sill plate is typically suggested.
Moving forward, you would want to focus on setting the window unit in place. While doing so, place it flush with the exterior of the metal wall. For optimal results, use shims to support and level the window properly.
Subsequently, fasten the window with screws through the jambs into the metal building structure. Next, it’s pertinent to use backer rod and sealant around all sides of the window to deliver first-rate insulation.
Then, apply a high-quality flashing tape. Start from the bottom, extend up the sides and finally across the top. This well-organized setting eventually channels the water away from the window opening.
Lastly, secure the head flashing above the window, ensuring the end dams are in a position that prevents water from seeping into the building. It’s pivotal to remember, a gap should be left at the window’s corners for any water to drain away in case it finds its way behind the flashing.
Flashing Process for Windows in Steel Siding
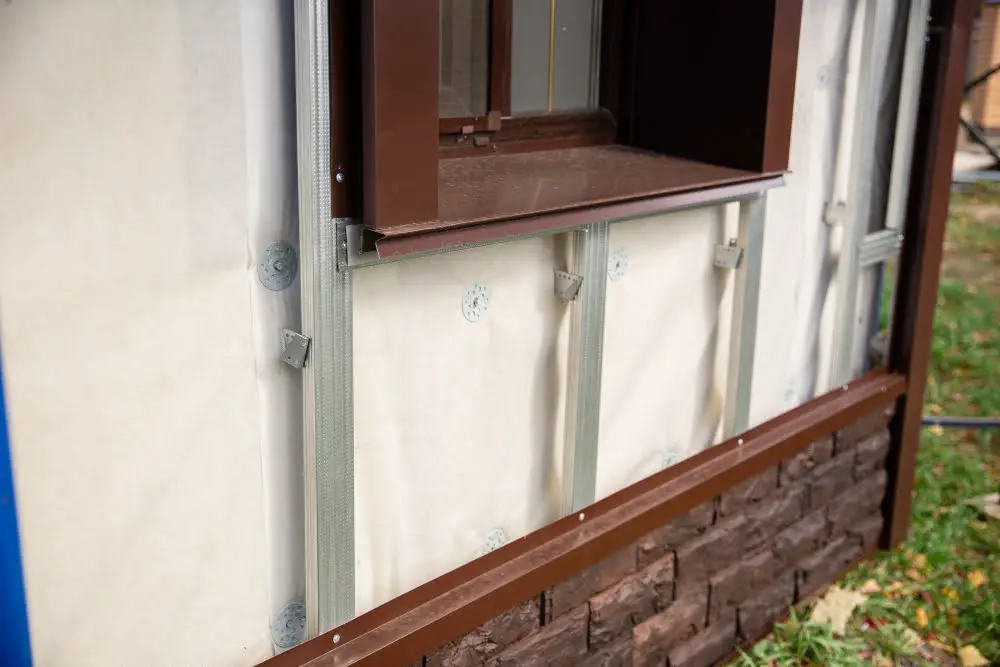
To ensure a waterproof seal, flashing is imperative when installing windows in steel siding. While the process may seem daunting, understanding the primary steps can make it less intimidating.
1. Flashing preparation: Begin by applying a layer of house wrap around the opening. Then, cut the bottom part of the wrap in a V shape and lay it flat against the sill. The sides and top should wrap around into the opening, creating a seamless transition for water.
2. Sill pan installation: Next, lay a bead of sealant around the window opening where the sill pan will be placed. Affix the sill pan onto the sealant, ensuring it’s flush with the outside of the building.
3. Bottom flashing: The bottom flashing should overlap the sill pan. It’s integral to keep water from seeping around the window frame’s bottom edge.
4. Window installation: Place the window in the opening. Check that it is level and straight before securing.
5. Side flashing: Apply side flashing, which should overlap the bottom flashing and extend up past the top of the window. This design prevents water from entering via the sides.
6. Top flashing: The final step involves applying the top flashing. Ensure it overlaps the side flashing to create an unbroken path for water to follow from the top to the bottom of the window.
Remember, the goal is always to direct water away from the window and the building. It’s the cumulative effect of these layers that make for a waterproof installation. This is not only critical for maintaining the structural integrity of the metal building but also for ensuring the longevity of the window itself.
Avoiding Common Mistakes While Flashing a Window in a Metal Building
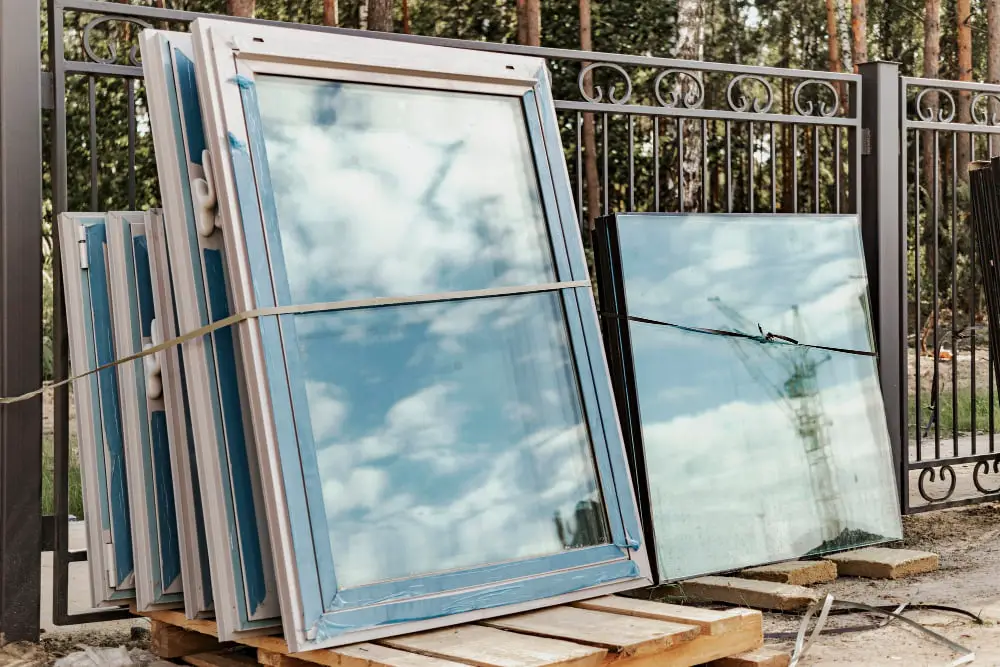
Indeed, attention to detail during the flashing process can guard against typical errors that could jeopardize your building’s integrity.
First, never underestimate the importance of following manufacturer instructions. Each product will have nuances requiring specific handling to ensure optimal performance.
Next, proper placement of flashing can’t be overstated. It should always be installed “shingle-style.” That means the upper flashing pieces overlap lower pieces.
Also, be cautious not to affix flashing in a contracted or stretched position. It may appear sufficient initially, but with temperature changes, the flashing will move. Such movement could lead to gaps, rendering the flashing ineffective.
Another common blunder is inadequate sealing. Ensure to generously seal the intersection point of the jamb flashing and the sill to halt any possible water infiltration.
Lastly, ignoring rotted or damaged framing before installation is a recipe for structural issues. Before flashing, always repair or replace flawed frames.
Remember, consistency in performing each step correctly is instrumental in achieving a leak-free and correctly flashed window in your metal building.
Maintaining and Troubleshooting Window Flashing in Metal Buildings

Regular inspection and maintenance extend the lifespan of flashing and ensure optimal performance. Lookout for signs like water leaks or condensation inside the building, which are usually the first signs of compromised window flashing.
1. Cleaning: Over time, detritus and dust can accumulate on the flashing, which can lead to rusting if not cleaned regularly. It’s important to periodically clean the flashing to prevent degradation.
2. Seals Inspection: A seal establishes a barrier between the window frame and the metal siding. Inspect these for any cracks or gaps and reseal as needed.
3. Flashing Examination: Flashing hardware should be examined and replaced if rust or any other kind of physical damage is present. Caution should be taken to use compatible materials to prevent chemical reactions leading to corrosion.
4. Professional Checks: While DIY checks are vital, an annual inspection by a professional can help to identify and fix minor issues before they become costly repairs.
The best defense against severe problems is proactive maintenance. Regular checks and prompt repairs can ensure the longevity of your window flashing, and by extension, your metal building.
Metal Building Window Buying Guide
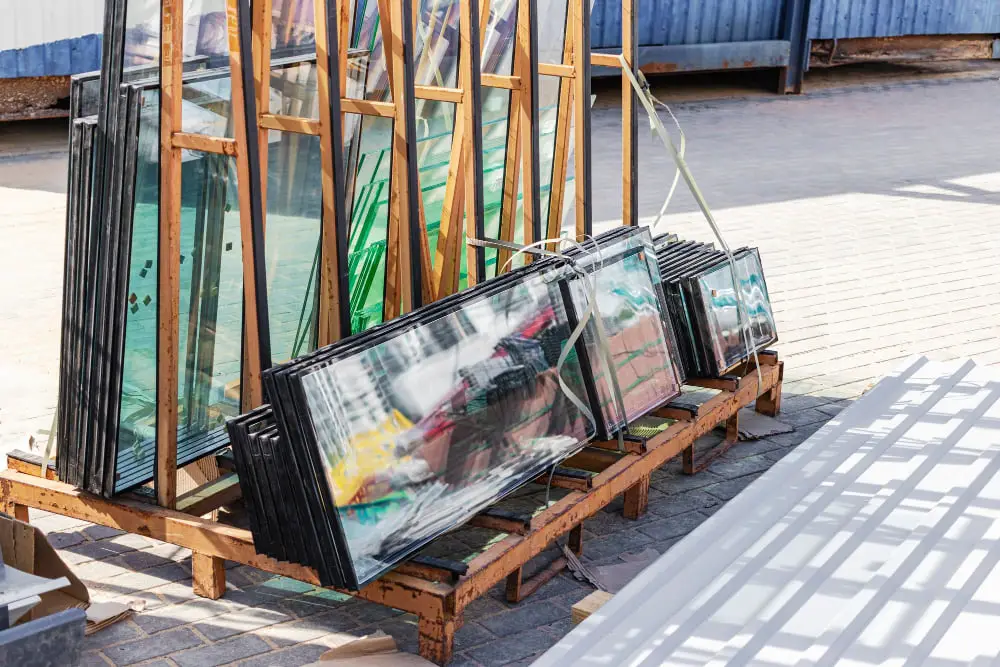
Pay attention to these key factors when investing in windows for metal buildings.
1. Material: Opt for energy-efficient window materials that can withstand metal buildings’ unique needs. This could be vinyl, which is known for being cost-effective, or aluminum, appreciated for its strength and durability.
2. Size and Style: The size and style of your window should align with the specific needs of your building and conform to local building codes. Larger windows provide natural light but may need enhanced structural support.
3. Energy Efficiency: Consider windows with Low-E glass or double glazing, which could significantly reduce energy costs by preventing heat transfer.
4. Insulation: Properly insulated windows ensure the proper sealing of your building, preventing entry of dust, and minimizing heat loss and gain.
5. Installation: Installation is crucial and the window should be installed correctly to secure its performance and lifespan. Remember, poor installation can negate the benefits of a well-selected window.
6. Maintenance: Consider the maintenance requirements of the windows you choose. Some materials may require more frequent maintenance than others.
Remember, the best window for your metal building will ultimately depend on your specific needs and budget. Opting for the right window will enhance the appearance, functionality, and energy efficiency of your structure.
Longevity and Durability of Window Flashing in Metal Buildings
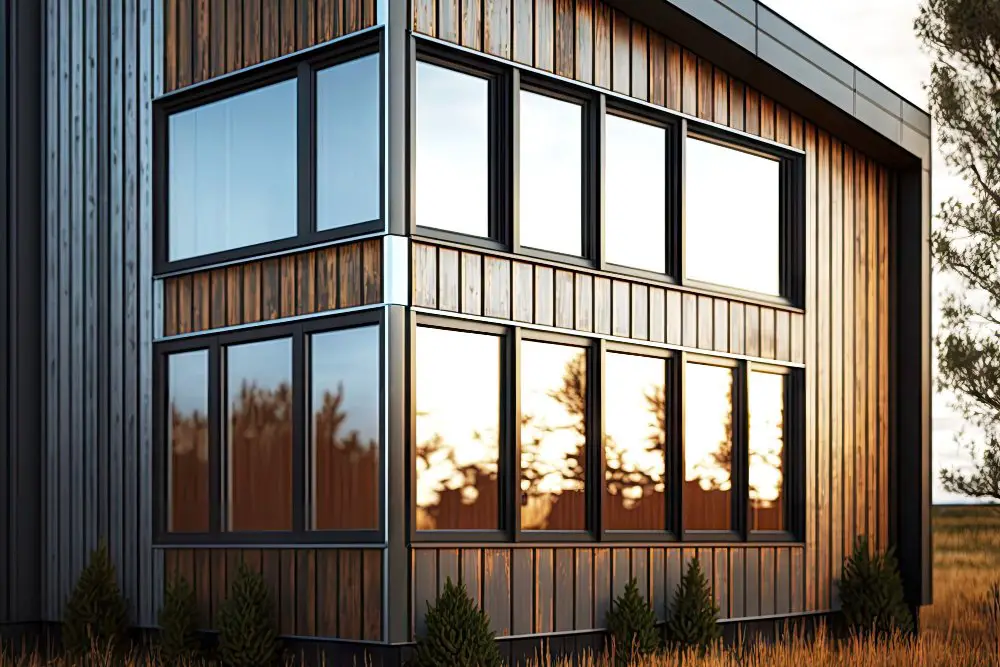
Prolonged exposure to elements often affects the longevity of window flashing in metal buildings. Therefore, understanding these underlying factors is vital.
1. Material Quality: High-grade, corrosion-resistant materials such as galvanized steel or aluminum extend the life span of window flashing.
2. Proper Installation: Adequate installation, ensuring a firm seal, prevents possible leaks and unnecessary wear and tear.
3. Regular Inspection and Maintenance: Routine checks help spot issues early, thereby preserving flashing integrity in the long term.
4. Climatic Conditions: Extreme weather conditions can affect durability. For instance, areas with heavy rainfall may require more robust flashing options.
Remember, a durable window flashing in your metal building not only sustains the building’s integrity but also contributes to better energy efficiency and enhanced indoor comfort.
Next, let’s explore some common mistakes to avoid when installing window flashing in a metal building. This way, you can ensure the project goes smoothly, extending the lifespan of your investment.
FAQ
How do you seal a window in a metal building?
To seal a window in a metal building, apply silicone caulk around its perimeter, initiate from the bottom, push the bottom trim into the caulk for a tight seal, repeat on the sides, and ensure an overlapping bead at the bottom to prevent water intrusion.
Can you use regular windows in a metal building?
Yes, you can use regular windows in a metal building as they are compatible with the structure and easy to install.
How do I flash an existing window?
To flash an existing window, affix a strip of flashing tape across the window’s top, install head flashing extending down over the front edge of the casing, and ensure the housewrap overlaps the top of the head flashing.
What types of flashing materials are best suited for windows in a metal building?
The best-suited flashing materials for windows in a metal building include bituminous, copper, stainless steel, and aluminum, given their durability, weather resistance, and compatibility with metal structures.
In what order should the flashing layers be applied around a window in a metal building?
The flashing layers around a window in a metal building should be applied in the following order: sill flashing first, followed by jamb flashing at the sides, and finally, head flashing at the top.
How do you address thermal contraction and expansion issues when flashing a window in a metal building?
Thermal contraction and expansion issues in a metal building are addressed by installing flexible flashing around the window that can expand and contract with temperature changes.
Recap
